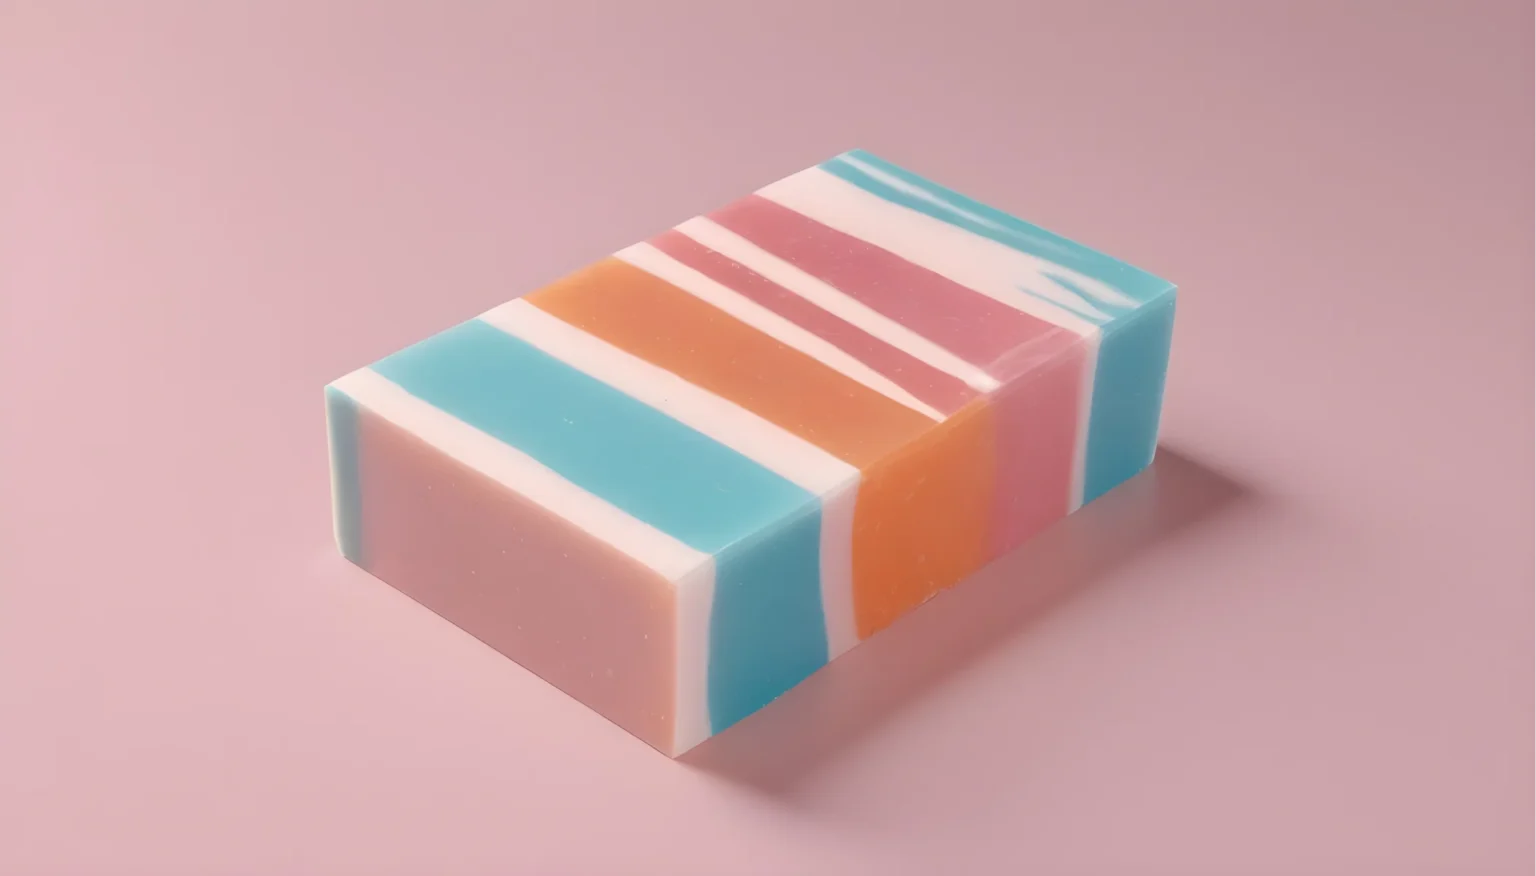
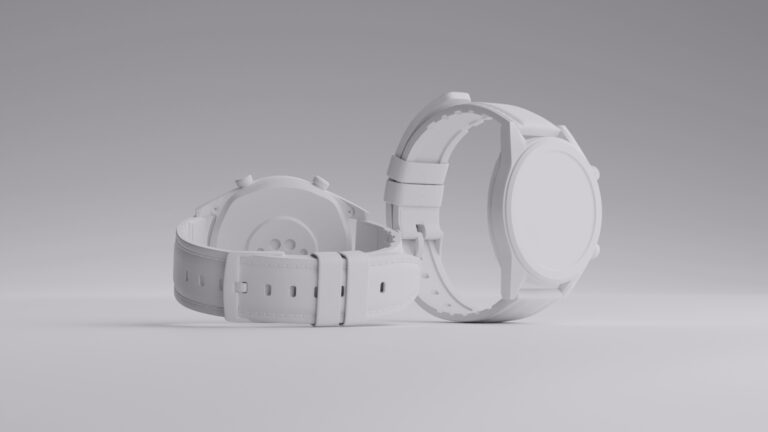
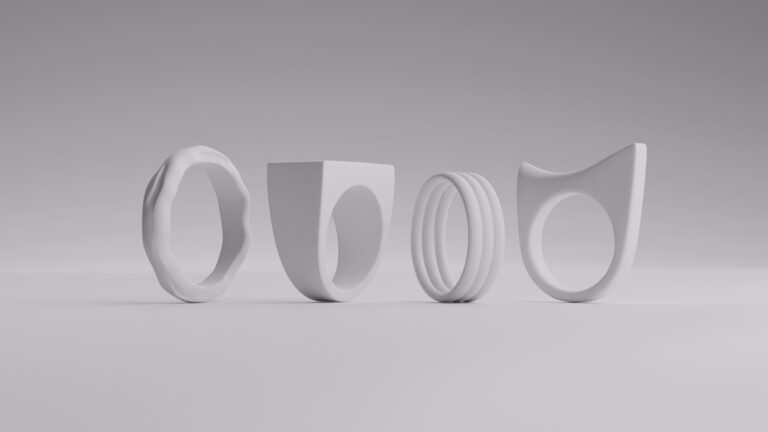
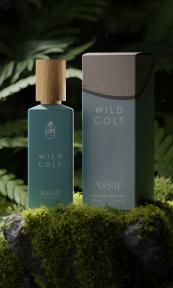
In the ever-evolving landscape of product photography, the use of CGI technology for soap product photography offers a unique and innovative approach. It helps you create visually stunning images that stand out in a crowded marketplace.
With consumers increasingly relying on online shopping, the importance of captivating product images cannot be overstated. Marketplaces are highly competitive, so compelling images play a crucial role in attracting and retaining customers. CGI is, therefore, an invaluable tool to enhance the presentation of soap products and drive engagement.
The rise of CGI in product photography
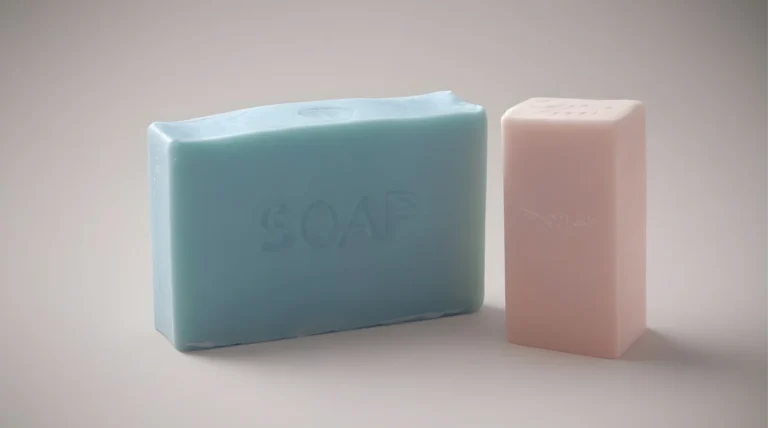
The emergence of computer-generated imagery in product photography has transformed the industry, offering endless creative possibilities and exceptional visual authenticity. More and more brands and marketers use CGI to depict products in hyper-realistic environments, resulting in photorealistic images with ideal lighting conditions and angles.
The transition to digital imagery is a cost-effective and efficient replacement for traditional photography and offers greater creative flexibility and control. This improves the overall visual appeal and effectiveness of product images in advertising and marketing.
CGI vs traditional product photography
Computer-generated imagery offers several advantages over traditional photography, particularly in terms of flexibility, creativity, and cost-efficiency. With CGI, entire environments and scenes can be created digitally, with complete control over every element of the image, from lighting to textures and angles.
This level of manipulation allows for hyper-realistic settings that would not be possible in the real world. Furthermore, the digital nature of CGI eliminates the need for expensive props, sets, or location scouting, significantly reducing production costs.
In addition, CGI images can be easily altered and edited without the need for costly reshoots, giving creators the flexibility to perfect their visual concepts efficiently. The ability to quickly iterate CGI renderings and make adjustments on the fly streamlines the production process, saving time and resources. This streamlined workflow not only encourages creativity but also ensures that deadlines are met.
Overall, the combination of flexibility, creativity, and cost-effectiveness makes CGI a powerful tool for producing visually stunning and impactful product images in advertising and marketing campaigns.
CGI benefits
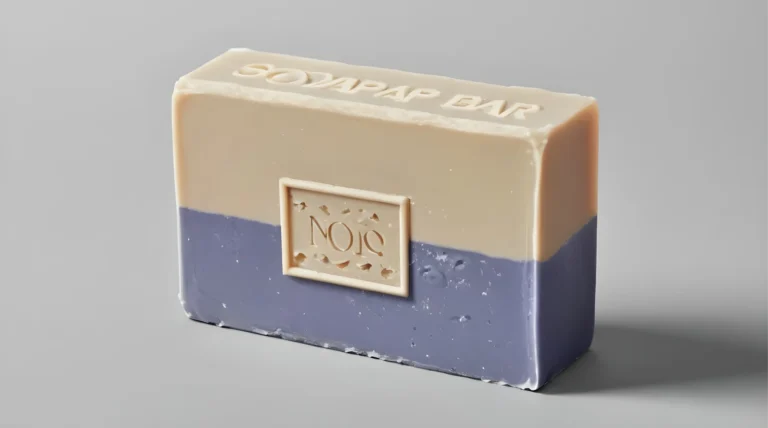
When it comes to showcasing soap products, images created with the help of computer software offer several benefits compared to the traditional means of getting them.
Through CGI you can create visually captivating and realistic soap product images without the need for actual physical props, sets, or physical products. This means that you have the flexibility to experiment with various designs, colors, and compositions and highlight the unique features of the soap products you want to sell.
Additionally, with a 3D rendering, you have precise control over lighting, textures, and reflections. This results in high-quality, lifelike visuals, showcasing the soap bar in different environments and settings. For example, you can opt for a simple image with a neutral backdrop and the soap package in the background while the soap is the main star. Or, you can choose a more intricate background and setting, with props that simulate the ingredients used to create the soap.
Furthermore, the ability to digitally render soap products eliminates the constraints of physical limitations. Thus, you can come up with imaginative and creative scenes that help to communicate the brand message effectively. For instance, you might want to show the soap floating above the package. Well, this might be an impossible task in the real world, but with computer-generated imagery, you can quickly achieve this setting.
The cost-effectiveness of CGI also plays a crucial role in showcasing soap products, as it mitigates the expenses associated with reshoots, set constructions, and prop sourcing, saving time and money. Even more, you can instantly change and customize the overall product, scene, or image without additional costs or costly alterations.
Overall, CGI provides a powerful and efficient solution for showcasing soap products through visually striking images that attract and engage consumers effectively.
Getting started with CGI soap product photography
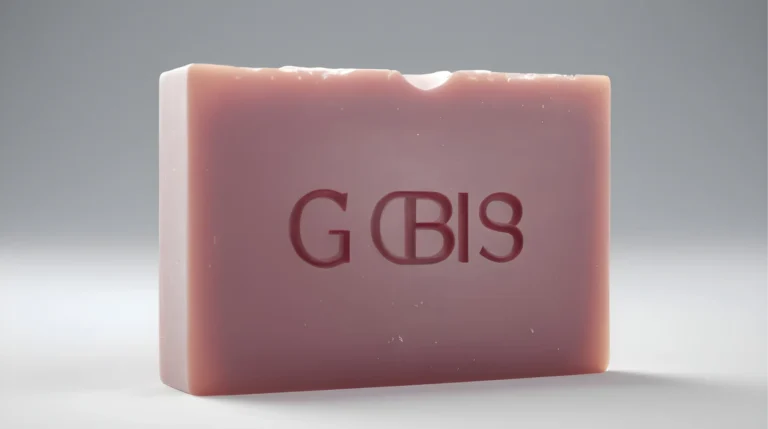
Creating soap product photography digitally can be an effective way to showcase your items. We can easily help you with this, as our professional team has more than 20 years of experience in the field.
Plus, you can try us out for free and see how your products can look like with a bit of digital magic. However, if you’re determined to start the process on your own, here’s a step-by-step guide to help you achieve get ready.
Define your concept
Defining the concept of your photography is essential before starting to work on it as it establishes a clear direction, ensuring that the final visuals align with the brand’s objectives and messaging. By defining the concept, you can determine the style, aesthetic, and overall look of the images, which helps in guiding the production process and maintaining consistency throughout.
Additionally, having a well-defined concept allows for better planning and resource allocation, ensuring that your project stays on track and meets the desired outcomes. Furthermore, a clear concept serves as a creative blueprint, providing a roadmap for the execution of the three-dimensional product photography and enhancing collaboration among team members involved in the process.
In essence, establishing a defined concept for your soap product photography is crucial for delivering impactful and cohesive visual content that resonates with the target audience and effectively showcases the products.
3D modeling
A 3D model for your computer-generated product photography can streamline the production process by providing a basis for creating the product digitally. With a 3D model, you can manipulate, rotate, and adjust the product and shape it according to the desired angles, lighting, and composition for the final visual result.
This saves time and ensures accuracy and consistency in the representation of the product. In addition, a 3D model allows flexibility in creating variations of the product and exploring different textures, colors, and features. You can use different software such as Blender, Autodesk Maya, or 3D Max to create and model your product.
Also, pay attention to the model, as it should resemble the real product to ensure an accurate and convincing representation. A lifelike 3D model can help create photorealistic imagery that effectively showcases the product’s design and features so that customers have a better idea of the product. It also helps build trust and credibility for your brand.
When you work with us, all you need to do is send us a few pictures of your product and we’ll take care of the model. We only need to create it once and can then use it in further cooperation with you. Try us for free and see how your product can look with the help of our team!
Texture mapping

Texture mapping is a powerful tool that can significantly enhance the realism and quality of CGI product photography. It involves applying a surface texture or pattern to a 3D model to mimic the real-world appearance of the product.
Texture mapping can help bring out the unique features and characteristics of the product, such as the quality of the material, grain, sheen, or color.
It can also help to create depth and dimension in the visual representation of the product, making it more appealing and engaging to the viewer.
Texturing can be done manually or through procedural techniques, depending on the requirements of the project. The precise application of texture mapping can help in creating photorealistic depictions of the product, which can be a crucial factor in driving sales and building brand recognition.
Lighting setups
In this stage, you set up virtual light settings that mimic the natural ones. To do so, consider the desired mood, texture, and details of the product. Start by using a softbox-like light or a diffused one to provide even illumination and highlight the shape and features of the soap.
You can also add accent lights if you want to create a certain mood or underline particular details. Use rim lights or backlighting to create depth and separation from the background. Experiment with different angles, intensities, and colors of light to evoke the desired mood. Continuously adjust and fine-tune the lighting setup to achieve the best results for your item.
To add texture and interest to the soap, consider using a directional light source at a slight angle to create shadows that accentuate the contours and details of the soap. Consider experimenting with different angles and intensities of the light to find a setup that best showcases the soap’s details and features in a visually appealing way.
Camera placement
Camera placement is crucial for soap product photography as it determines the perspective, composition, and overall visual impact of the final image.
Placing the camera at eye level or slightly above the product can help effectively showcase its details, texture, and dimensions. Experiment with different angles, distances, and orientations to find the most flattering and visually appealing shot.
Consider the soap’s shape, size, and features when positioning the camera to highlight its unique characteristics and create a sense of depth. Additionally, pay attention to the product’s placement within the frame and ensure it is centered or offset according to the desired aesthetic.
Overall, camera placement plays a significant role in creating captivating and visually engaging product photography.
Background and environment

A specific background and setting are very important for your product photography as they set the scene, enhance the presentation of the product, and convey the intended mood or message.
The choice of background should complement the product, avoid distractions, and provide a contrast that highlights the product. Use neutral or textured backgrounds to create a sophisticated and professional look. You can also experiment with colored or patterned backgrounds to create visual interest and personality.
In addition, props or contextual elements can further enhance the narrative and appeal of the product in its virtual environment. Ultimately, the background and environment are crucial to the overall aesthetic and impact of CGI product photography.
Rendering
Rendering is the process of generating realistic images from computer models by simulating how light interacts with objects in a virtual environment.
During this process, the computer software calculates how light would interact with the surfaces, considering factors such as reflections, refractions, shadows, and ambient lighting. This simulation of light behavior helps to create photo-realistic images that closely resemble a photograph taken in a real studio setting.
The render quality significantly impacts the final look of the CGI product image. High-grate rendering techniques can produce stunning images while accurately depicting the texture, color, and form of the product, thus making it visually appealing to potential customers.
Additionally, rendering allows flexibility and control over the final images, as you can adjust lighting, camera angles, and other aspects of the scene to achieve the desired result. This level of control is useful in product photography, where precise details and visuals are essential for showcasing the product to customers.
Overall, rendering is a fundamental step in creating breathtaking product photography, as it helps to elevate the quality and realism of the images, making it an effective marketing tool for showcasing products to a larger audience.
Post-processing and quality check
This step comes after the final image is rendered. Post-processing is a significant step in creating the perfect product photography. This step implicates enhancing and refining the rendered image to achieve the desired look and feel. It typically involves editing the image to adjust factors like color balance, contrast, sharpness, and overall aesthetics. This can help to create a more polished and visually appealing final image that effectively showcases the product.
During this stave, you can also remove any imperfections or inconsistencies in the images that may have occurred during the rendering process. Moreover, post-processing allows the addition of visual effects, textures, backgrounds, or branding elements. This further enhances the overall presentation of the product.
As for the quality check, it ensures that the final image meets the required standards of quality and accuracy. Quality checks involve reviewing the rendered and post-processed images to identify any errors, inconsistencies, or discrepancies that may need to be corrected.
During the quality check process, factors such as lighting, composition, color accuracy, texture mapping, and overall visual appeal are assessed to ensure that the final image accurately represents the product and meets your specifications. Any issues or discrepancies are addressed and corrected to produce high-quality, visually appealing product photography that effectively showcases the product to its target audience.
Remember that CGI allows for a high degree of flexibility and creativity. Experiment with different styles and settings to find the look that best represents your soap product. Additionally, if you just started using 3D models and renderings, but want fast and professional results, consider hiring a professional CGI team to ensure the best results.
Tips and tricks to spice up the images

Now that you know what entails to create a computer-generated product photography, here are some tips and tricks on how you can add more attractive elements to your image.
- Use realistic textures – incorporate high-quality textures for the soap to simulate its appearance accurately. Pay attention to details like bubbles, reflections, and the surface texture to make the soap look more authentic.
- Experiment with different compositions – play around with different angles, perspectives, and compositions to create visually interesting images. Consider close-up shots, overhead views, or creative arrangements to make the soap bar stand out.
- Incorporate dynamic lighting – experiment with different lighting techniques to create dramatic effects on the soap. Try using soft lighting for a natural look or dramatic lighting for a more artistic vibe.
- Add props and backgrounds – consider incorporating props and backgrounds to enhance the visual appeal of the soap. Use complementary colors, textures, or elements that highlight the features of the soap and create a cohesive visual narrative.
- Focus on branding elements – if the soap is part of a product line or brand, make sure to incorporate branding elements such as logos, colors, or packaging designs in the images. This will help create a cohesive and consistent visual identity for the product.
- Emphasize the benefits – highlight the unique features and benefits of the soap in the photography. Showcase the ingredients, scents, or special properties of the soap to emphasize its value to potential customers.
- Pay attention to detail – ensure that every aspect of the CGI soap photography is meticulously executed form the texture and lighting to the composition and presentation. Attention to detail will elevate the overall quality of the images and make them more visually compelling.
By incorporating these tips and tricks, you can spice up your soap product photography and create stunning images that effectively showcase the beauty and uniqueness of the product.
Wrapping up
In conclusion, CGI soap product photography offers a versatile and cost-effective way to create visually stunning and realistic representations of soap products using 3D software. By leveraging advanced lighting, textures, and visual effects, artists and brands can produce high-quality images that accurately showcase the unique features of the soap. Overall, it is a powerful tool for brands to create compelling and engaging visuals that enhance product presentation and marketing efforts.
FAQ
How is CGI soap product photography different from traditional product photography?
It involves creating realistic 3D renderings of soap products using computer-generated imagery, unlike traditional product photography which involves physically capturing images of the product. The digital version allows for greater control over the visual appearance and customization of the product.
Can CGI soap product photography be used for creating 360-degree product views?
Yes, CGI can be used to create 360-degree product views. By rendering multiple angles of the soap and sticking them together, you can create a dynamic and interactive view.
What software and tools are required for soap product photography with CGI?
Software and tools commonly used for CGI images include 3D modeling software like Blender, 3d Max, or Maya as well as rendering software. Additionally, specialized tools for creating realistic textures and lighting effects are essential for achieving high-quality results.
Can CGI soap product photography help in reducing the cost of traditional product photography?
Yes, it can. While there may be an upfront investment in software and resources, the ability to create and customize product images digitally can save costs associated with shipping, and setting up elaborate photoshoots and photographs.
How can CGI soap product images enhance marketing efforts and product presentations?
It enables customizable and visually striking product images, boosting marketing success by engaging consumers with unique presentations and immersive experiences.
