With a simple understanding of product photography and its equipment, you can skyrocket your sales. For example, choosing the right camera setting for product photography is an essential step that takes some time and effort to master.
Product photography is all about showcasing the details of your product in a way that encourages your audience to buy. To get the perfect shot, however, you need more than a simple camera. As an aspiring product photographer, you need to know the camera settings well and how they can affect the final image.
One of the most important aspects when it comes to taking professional looking product photos is the camera settings. With the right settings, you can capture an image where every detail is in focus while conveying depth and dimensionality.
Many photographers struggle to find a balance between these settings and produce high-quality images without over-complicating things. In this article, we’ll discuss some best practices for camera settings for product photography that will help you capture stunning images while keeping things simple but effective.
Choosing the right camera settings for product photography

When it comes to product photography, choosing the correct camera settings can make all the difference. These settings will influence the quality of your product images and how they appear in print or online. Whether you’re shooting for e-commerce, social media advertising, or print, picking the appropriate camera settings is critical.
When choosing camera settings for product photography, the first thing to consider is the aperture. The aperture controls the amount of light entering your lens and affects the depth of field. A smaller aperture increases depth of field and ensures that more objects in a scene are in focus. However, if you want to isolate a specific object in your product photo – for example, the face of a watch – you need to use a larger aperture to achieve a shallower depth of field.
ISO: balancing light and noise in product photography
Who likes noise in their imagery? – we certainly do not. Used correctly, you can create flawless images with the camera setting ISO without having to worry about disturbing elements.
As a rule, you should keep your ISO low, as this will help you avoid unwanted noise. However, in low light conditions, it may be advisable to select a higher ISO setting.
Thank you to the rapid development of camera technology, it is now possible to capture stunning images even under normal conditions with a higher ISO. Of course, there are many other factors to consider as you have a wide range of choices these days – so do your research thoroughly when you are looking to buy a camera.
Aperture: the key to sharp product images
Setting your camera with the right aperture is a must if you want to achieve optimum results. There are several factors that play a crucial role in getting the aperture you desire, so let’s check them out!
The first thing you should consider is the depth of field. This refers to the area of the image that is in focus. If you want your product to be against a blurred background, you should use a shallow depth of field and a large aperture. On the other hand, if you want a sharper background, you should use a smaller aperture.
There are some important aspects to consider with lenses. Different lenses have different maximum aperture values, and you should take that into account when deciding how and where to position your product. For example, a wide-angle lens has a maximum aperture of f/2.8, while a telephoto lens has a maximum aperture of f/4.0 or higher.
Finally, you should also consider the quality of available light. Simply put, the less light available, the larger the aperture should be. Conversely, if you are in an environment with a lot of light, you should control it with a smaller aperture.
Shutter speed: capturing movement and depth
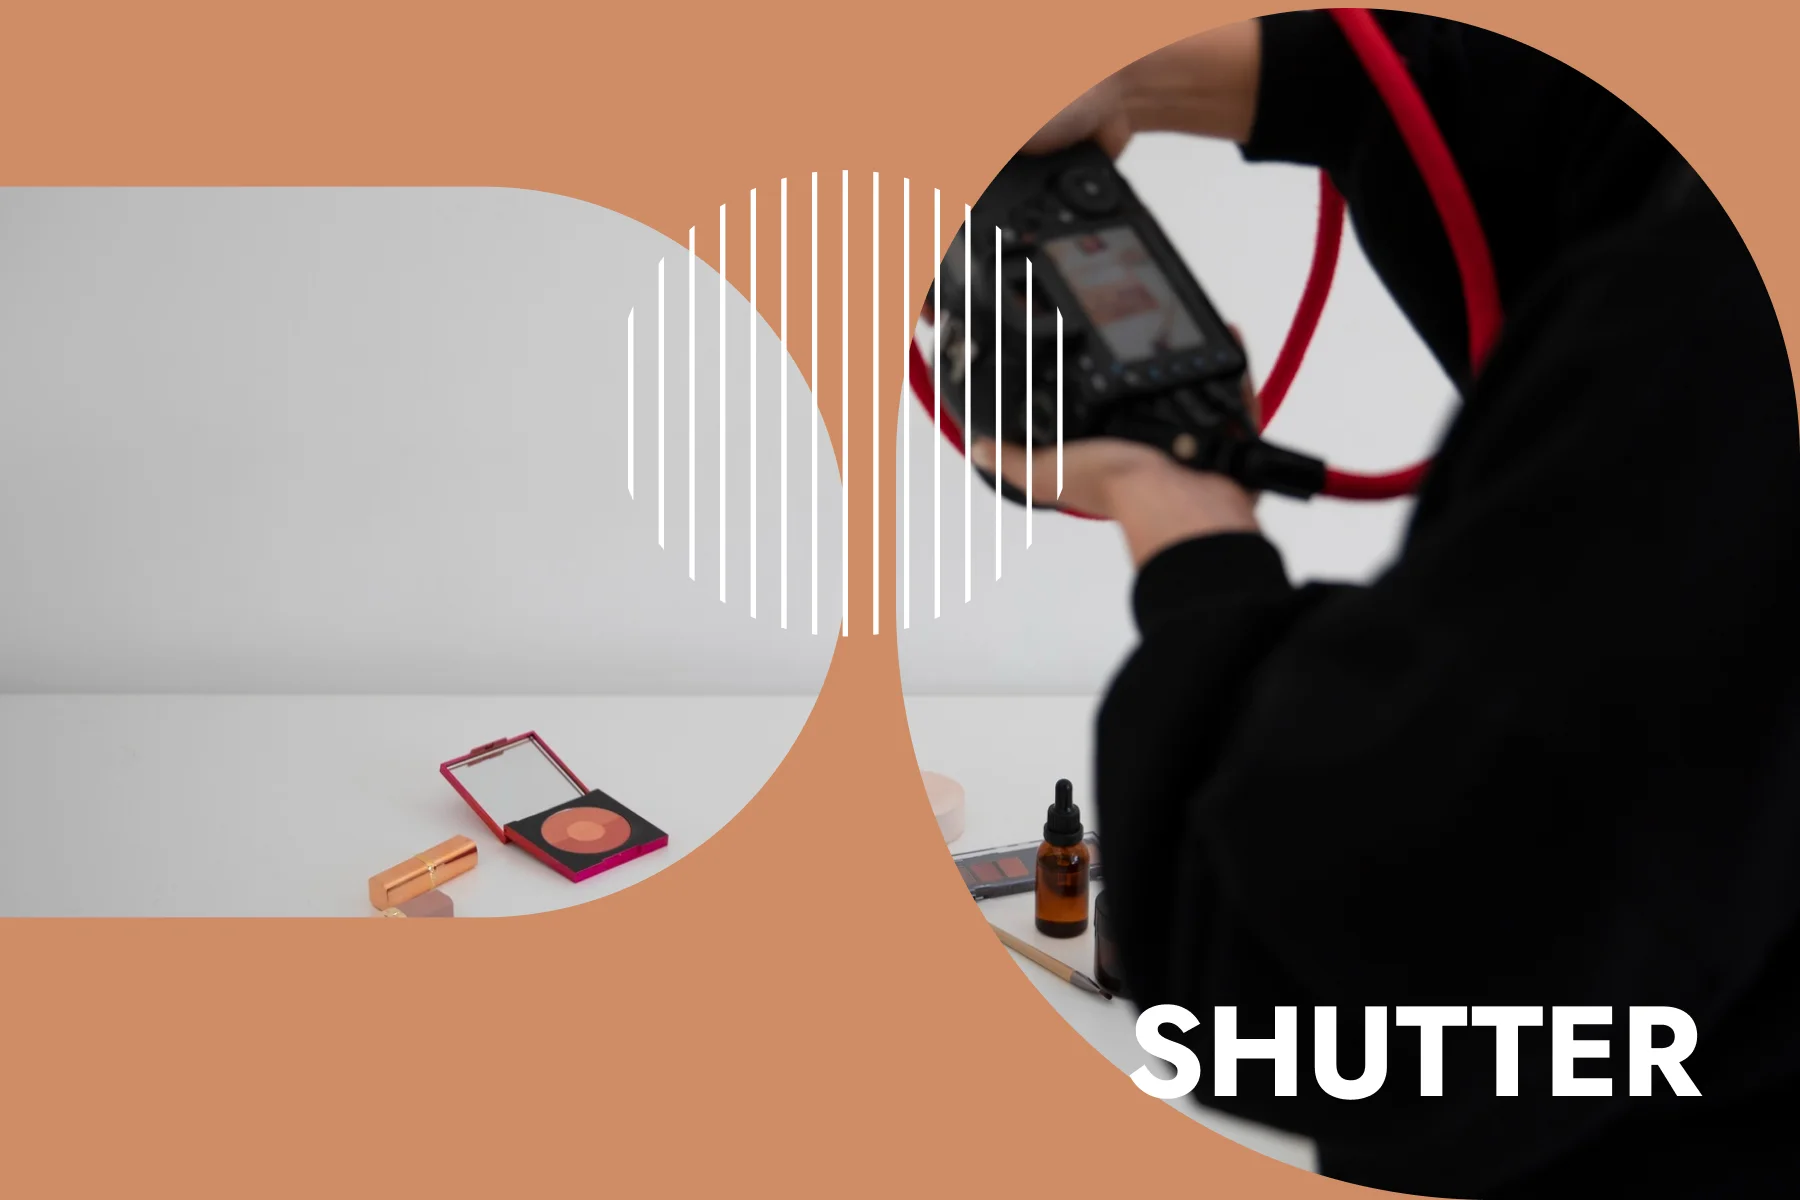
Knowing the basics of shutter speed can help ensure your pictures do not blur. Here’s how to maximize your image results with it:
First, you need to consider the condition of your product at the time you take the picture. Whether you are shooting a stationary object or a moving one, you’ll need to adjust your shutter speed accordingly. For non-moving products, you should choose a slow shutter speed. Otherwise, you’ll have to use a faster shutter speed to avoid blurring in the final image.
You should also consider the quality of your camera and lens. If your equipment already has an image stabilization feature, you can use a slower shutter speed. However, if you do not have image stabilization, you may have to use a faster shutter speed when moving the camera.
Zooming in: tell your product’s story with every detail
When it comes to product photography, the right camera settings are critical – and one of the most useful settings for capturing important details is the zoom function. This setting allows you to get a close-up view of your product, highlighting its unique features and textures for a stronger visual impact.
To get the most out of this feature, it’s important to understand how it works. The magnification setting enlarges your subject within the image, allowing you to capture finer details that may not be visible from a distance. However, too much magnification can result in grainy or blurry images. Therefore, it’s important to find the right balance based on your camera and light settings.


White balance: achieving accurate colors in your product images
Accurate colors in your product images are crucial for any eCommerce business. It’s the only way your products will stand out and look professional. One of the most important factors affecting color accuracy is white balance. Understanding and using the right camera settings for product photography can make a big difference in the final result.
White balance refers to how your camera compensates for different lighting conditions to ensure that white objects appear white in your photos. Without the proper setting, you may end up with images that have a yellow or blue cast, which can distort the true colors of your products. To achieve accurate colors, you must adjust the white balance according to the type of light source present when you take the picture.
Shooting in RAW for better post-processing
Shooting in RAW is an essential technique for any photographer who wants to take their work to the next level. You can capture more detail and color information when you shoot images in this format than you can with a standard JPEG. With this additional data, you will have much greater flexibility in post-processing and will be able to adjust exposure, white balance, and other settings without sacrificing quality.
If you want to improve your product photography, shooting with RAW is a must. It not only allows you to have greater control over your images, but it also allows you to make adjustments to bring out the details of your products. To get started with this technique, all you need to do is adjust your camera’s settings to save images as RAW instead of JPEG files.
Automatic full focus: how to make your product the star of each image
Product photography is an important aspect of any e-commerce business, and it’s important that the images you capture are high quality and visually appealing. One way to achieve this is to use the automatic focus (AFF) feature on your camera. AFF allows you to focus quickly and accurately, which can be especially helpful with small or complicated products.
To use AFF for product photography, first select the appropriate camera settings. Set the aperture to a higher value to achieve a greater depth of field and ensure that all parts of the product are in focus. You should also set ISO to the lowest possible setting to reduce noise and grain in your photos. Finally, choose a shutter speed that is fast enough to prevent camera shake, but slow enough so that you don’t lose too much light.
Using no-flash to better capture natural lighting
While there are many different settings to consider, one of the most important is choosing the right flash-free camera setting. Which camera setting is best for product photography depends on a number of factors, including lighting conditions, camera type, and personal preference.
In general, however, you should choose a low ISO setting to reduce noise and preserve the sharpness of your images. You may also want to use manual mode, so you have more control over exposure settings such as aperture and shutter speed.
Conclusion
We have finally reached the conclusion of our article on the best camera settings for product photography after extensive research and experimentation. It’s important to know that there is no one-size-fits-all solution when it comes to camera settings. It is important to consider factors such as lighting conditions, product size, and the desired outcome.
However, we can say with certainty that there are certain camera settings that consistently produce high-quality results in product photography. These include using a small aperture for greater depth of field, and adjusting the shutter speed to match the movement of the subject. In addition, white balance can help ensure that the colors in your photos are reproduced correctly.
Finding the best camera for product photography takes some trial and error and understanding how different settings affect image quality. But what if you could create your images without these techniques? What if you could save both time and money and still get the same results? In this digital age, anything is possible, and with CGI you can accomplish a lot in less time. If you want to create an efficient environment where you can get your marketing materials in no time, schedule a free consultation, and we’ll show you how we can take your business one step further – try us now for FREE.
FAQ
What is the best aperture setting for product photography?
The best aperture setting for product photography is an aperture between f/8 and f/11, which allows you to achieve a moderate depth of field while maintaining overall product sharpness.
What is the best shutter speed for product photography?
The best shutter speed is at least 1/60 of a second, which is sufficient in most situations to avoid camera shake and motion blur.
What white balance setting should I use for product photography?
The white balance setting you should use for product photography is the “Auto” White Balance setting, so your camera can adjust the white balance automatically.


