

Have you ever admired the stunning jewelry of models in magazines and wondered how they manage to capture every sparkling detail? Well, wonder no more! In this article, we will reveal the secrets of how to capture jewelry on models with finesse and precision. From choosing the perfect light to positioning the jewelry on the model correctly, we’ll walk you through every step of the process. Let’s get to it!
Necessary equipment for Jewelry Photography
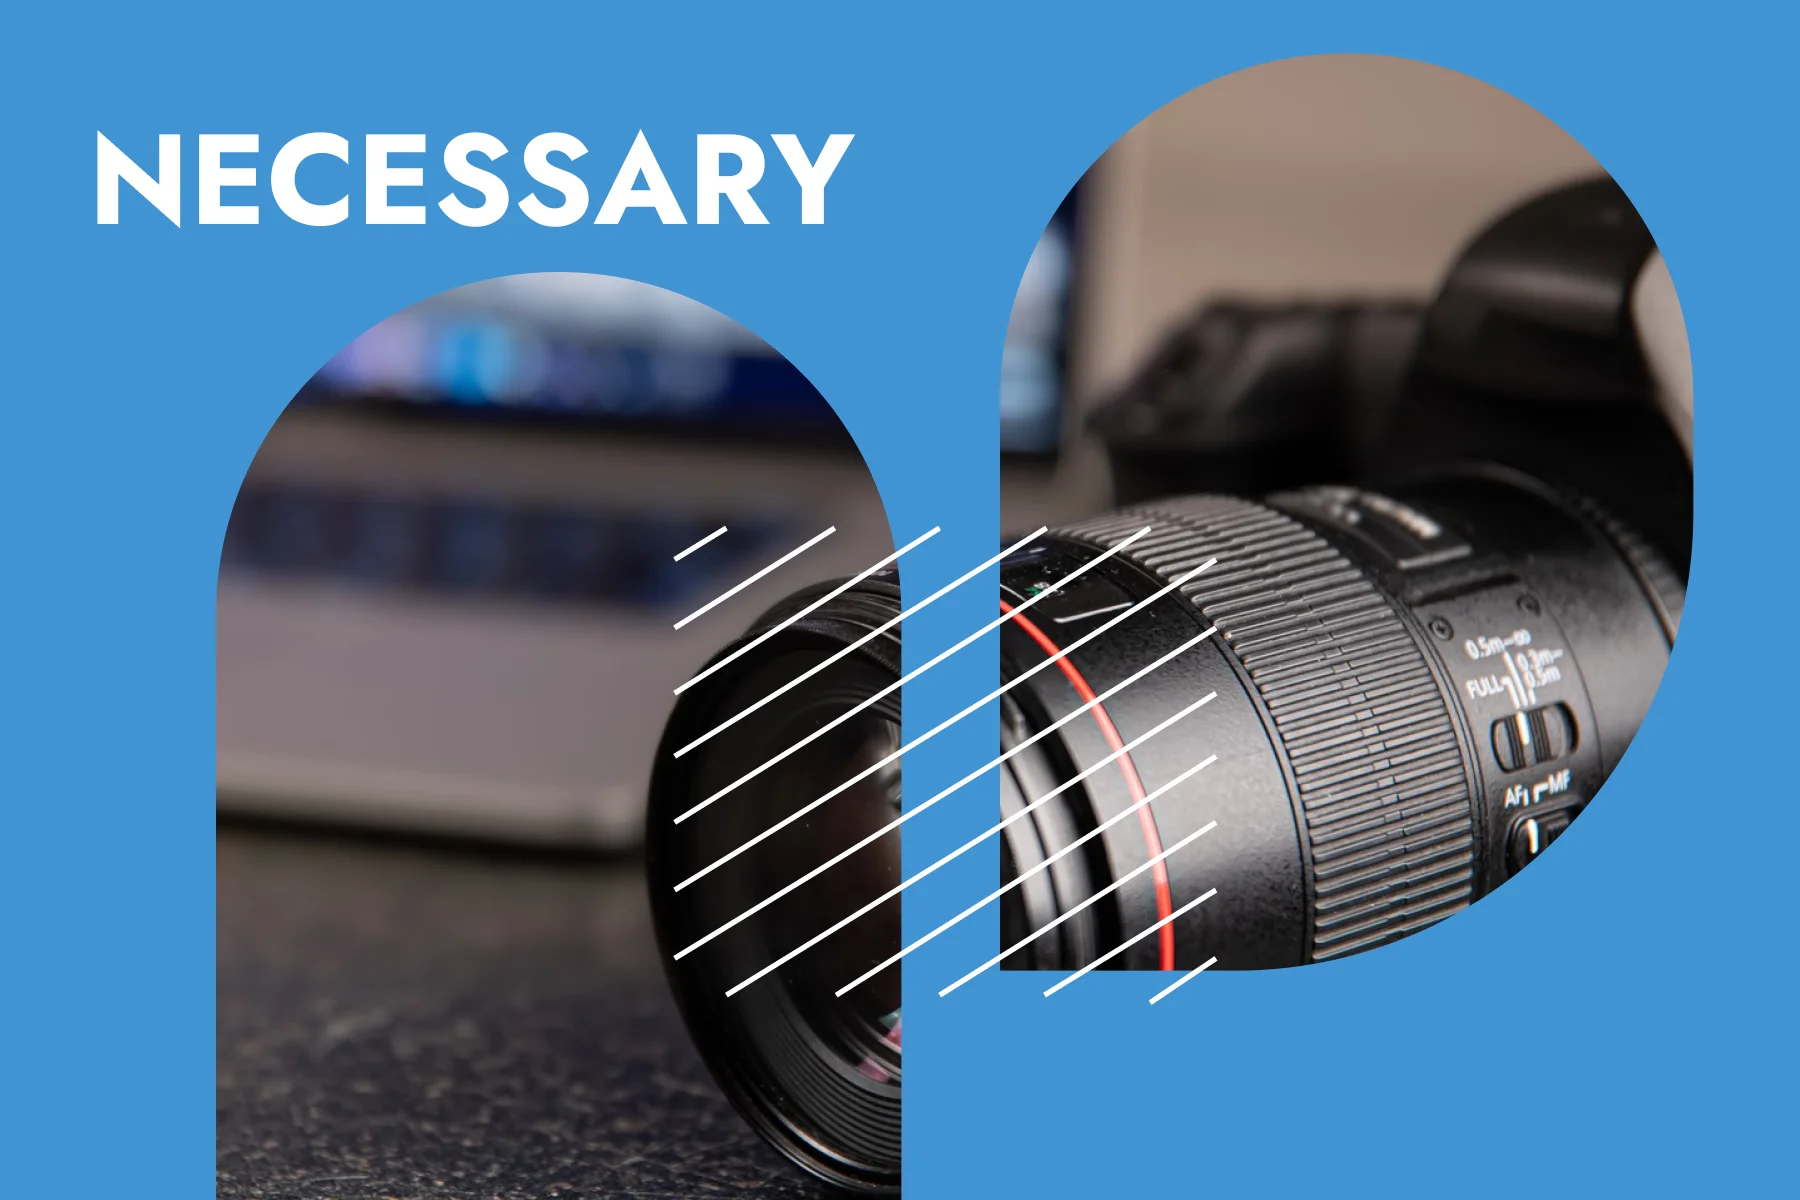
Camera
As always, the best type of camera is one that offers exceptional detail and clarity. A camera with a high-resolution sensor, such as a full-frame DSLR or mirrorless camera, will allow you to capture the intricate details of the jewelry with stunning precision. This is especially important when photographing delicate pieces like diamond rings or intricately designed pendants.
It is also indispensable to consider the cameras’ ability to handle different lighting conditions when shooting jewelry on models. You should look for a camera with excellent low-light performance and a wide dynamic range to capture accurate colors and textures in any lighting situation. Furthermore, possessing manual controls over exposure settings will enable one to fine-tune the lighting specifically for their jewelry shots.
Tripod
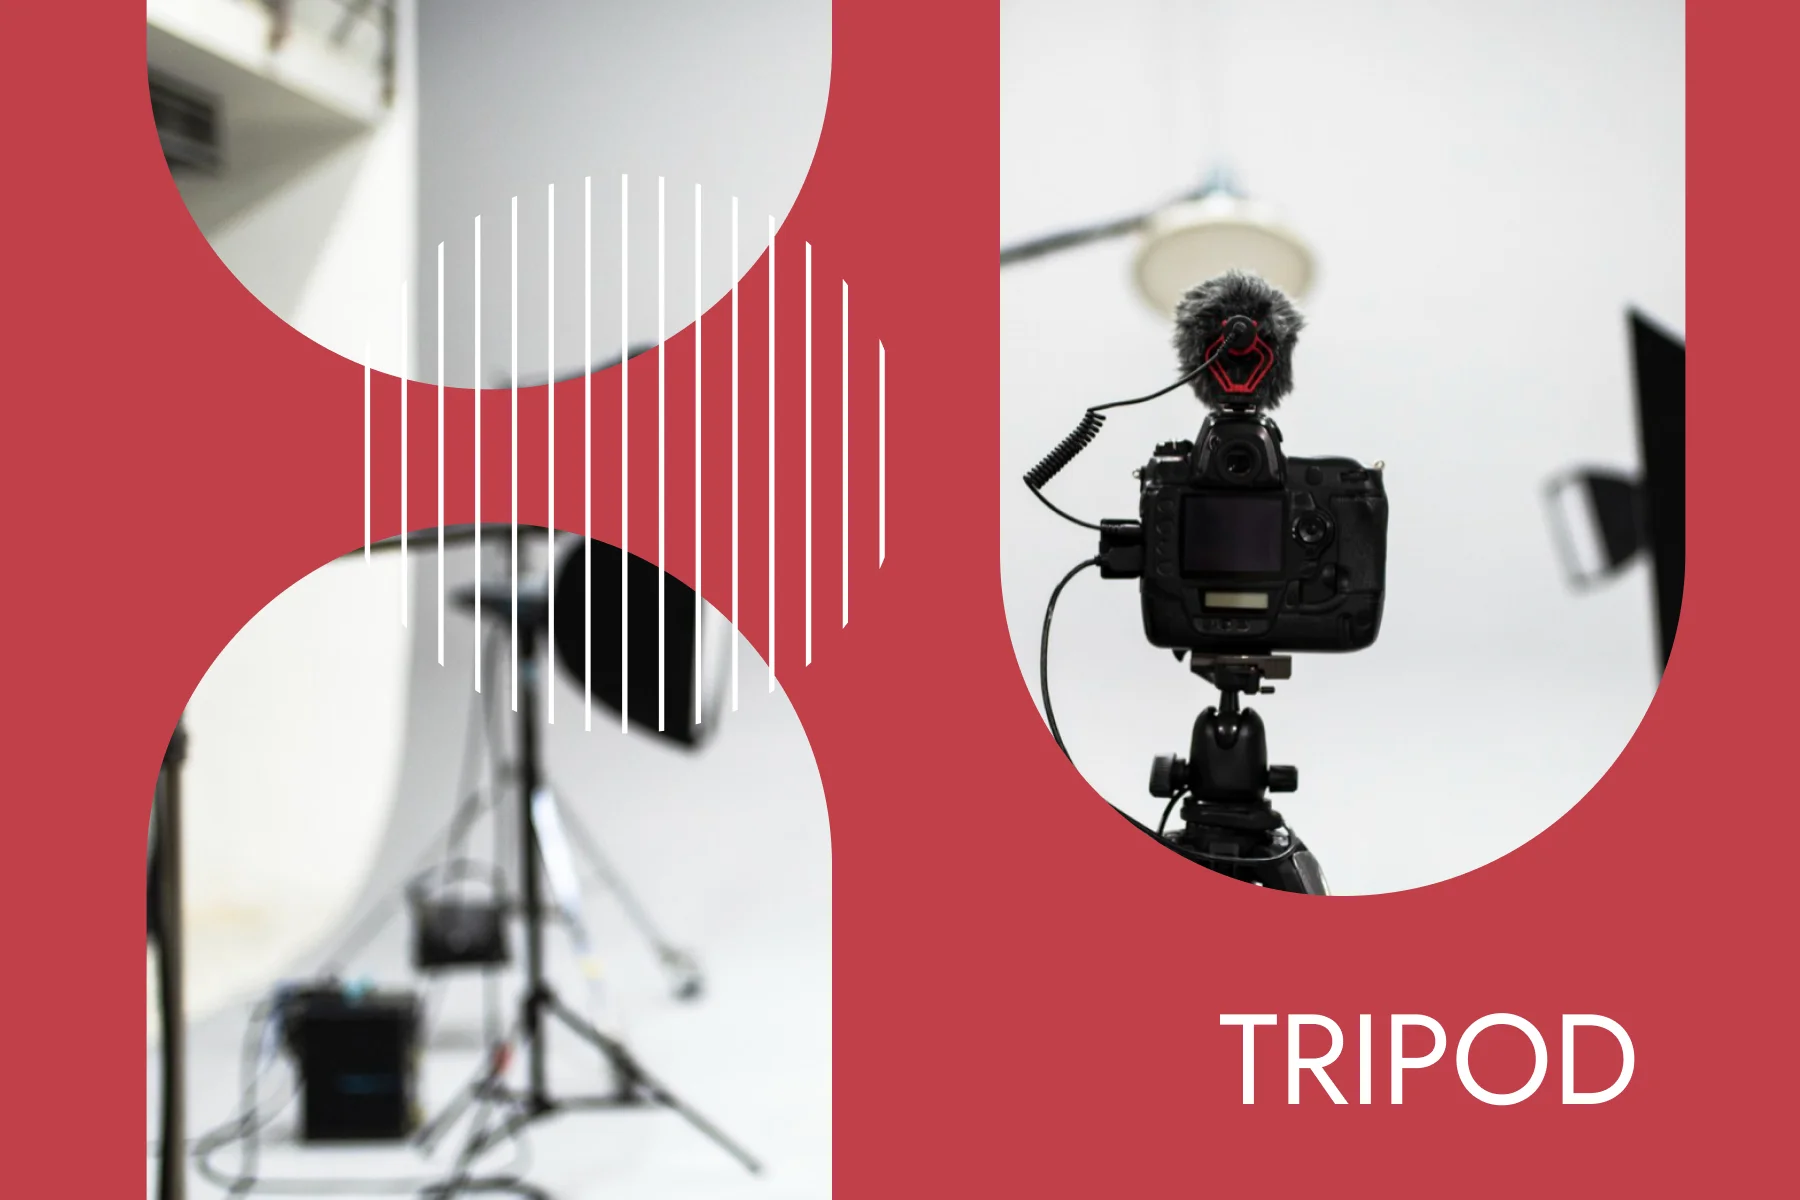
While there are various tripods on the market, one is particularly well suited for holding jewelry on a model: a flexible or bendable tripod. These tripods are often equipped with adjustable legs that can be bent and twisted into any shape imaginable. This allows photographers to easily position their cameras at unique angles and capture stunning shots of jewelry on models.
The flexibility of these tripods also allows them to adapt to different shooting environments. A tripod is a good choice for shooting in a studio with controlled lighting or outdoors where the light changes constantly. It gives you the freedom to move your camera without disturbing your model’s pose. It is especially important to use this feature when photographing small details such as delicate chains or intricate closures, as it allows you to get close while keeping the focus sharp.
The best practices for shooting jewelry on models

Focus on the jewelry
It’s essential to ensure that the jewelry stands out and takes center stage. The way you style your model and other elements in the frame can greatly influence how well the jewelry is showcased. Make sure the hair, makeup, and clothes don’t make your outfits stand out too much. Instead, they should match them. Keep in mind that less is often more when it comes to clothing, allowing for a cleaner look that directs attention towards the jewelry itself.
Taking close-up shots allows you to capture every tiny detail of your beautiful creations. Focus on individual features like gemstones or delicate metalwork by using a macro lens or zooming in with precision. This attention to detail showcases the craftsmanship and attracts potential customers who are looking for statement pieces.
Light your shot with a lightbox
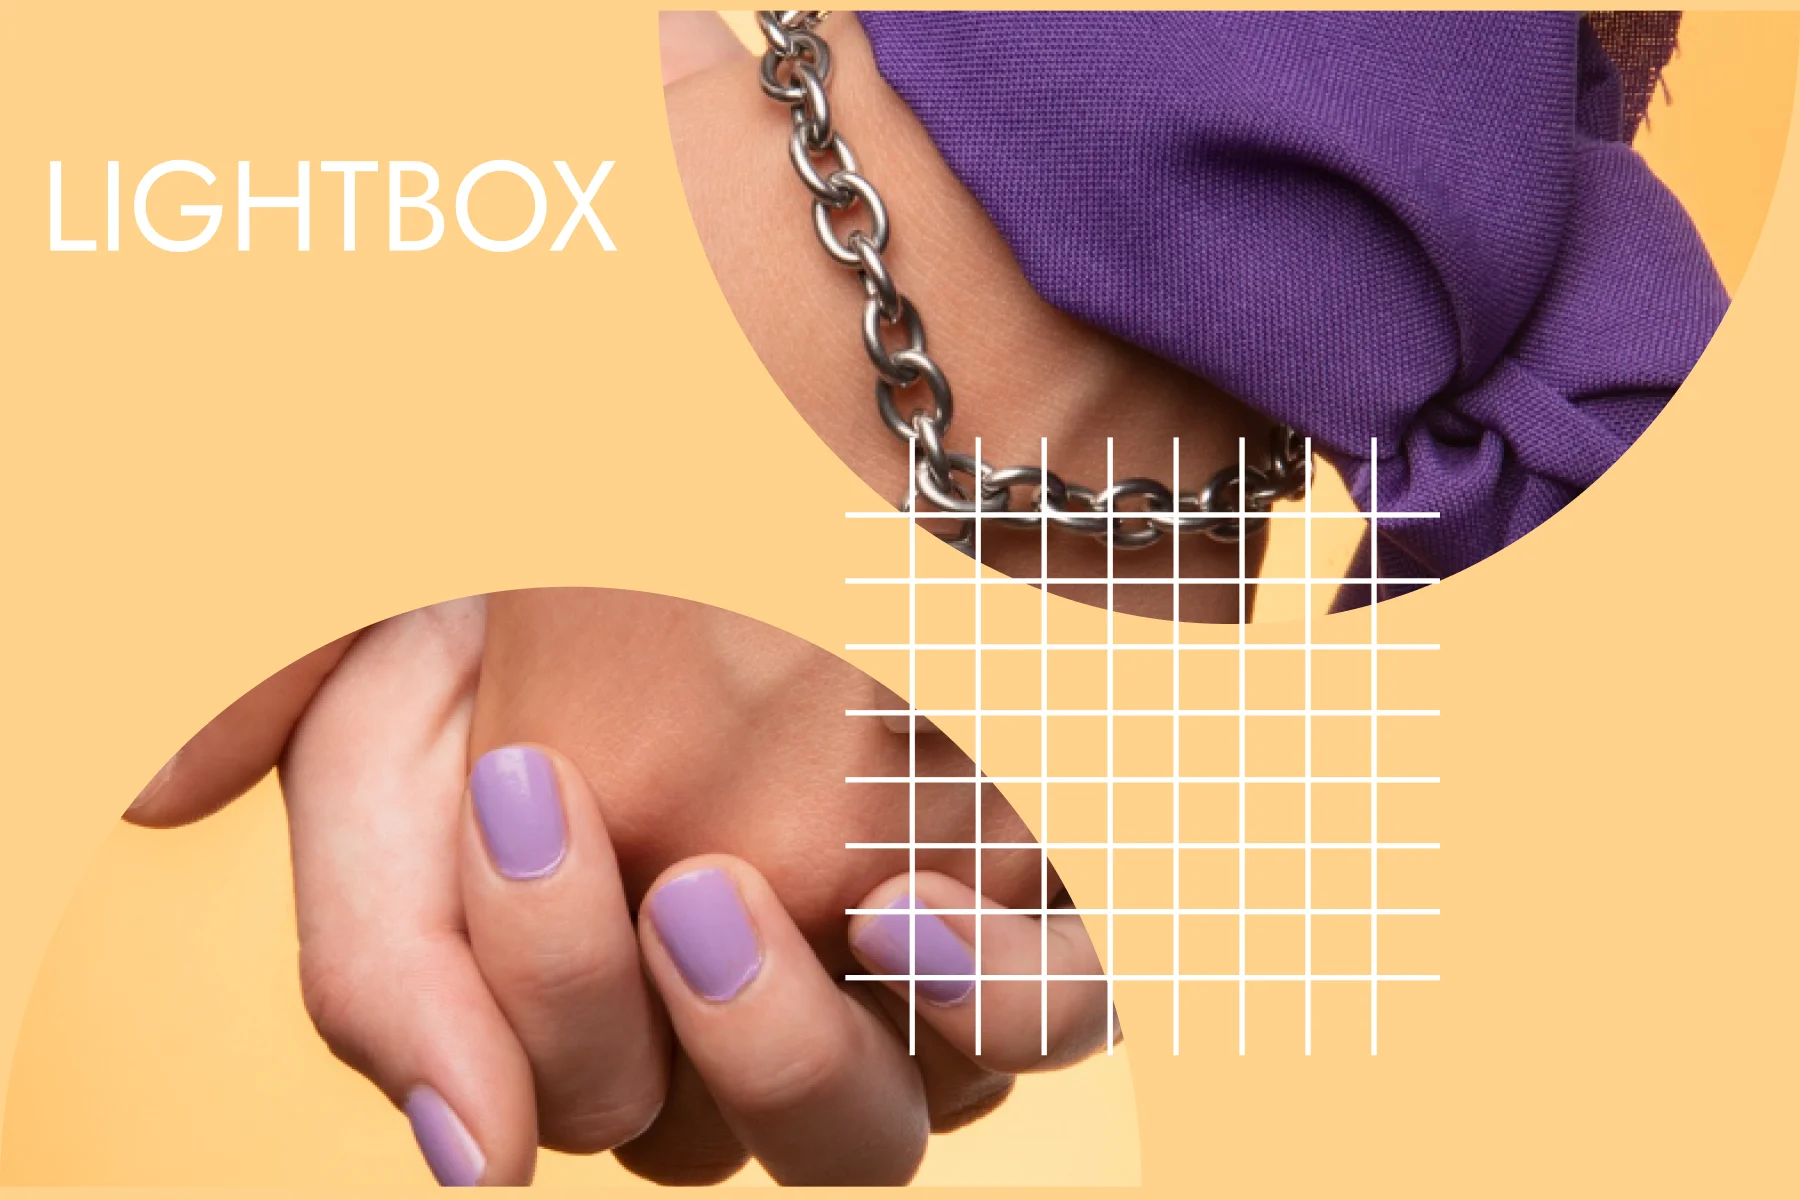
Lighting plays a crucial role in highlighting the intricate details and enhancing the overall beauty of the pieces. Consequently, using a lightbox can turn out to be immensely helpful in achieving the desired results. A lightbox provides diffused and even lighting, reducing harsh shadows and creating an appealing glow that complements the jewelry.
To start with, position the lightbox directly behind your model so that its soft light illuminates your subject from all angles. In this way, a gentle halo effect is created around the jewelry, enhancing its brilliance and luster. You can add depth to your shot by directing the light at an angle to the sides of your model.
There is another technique you can experiment with: backlighting. By placing the light directly behind or slightly below your model’s body, you can achieve captivating silhouettes while showing off the fine details of the jewelry. The contrast between dark shadows and bright lights adds drama to your composition and makes it visually intriguing.
Try different angles
Since the traditional approach may be to photograph the jewelry from a straight-on angle, consider trying out alternative perspectives to showcase the piece in an unconventional manner. An interesting technique is to shoot from above, which allows you to focus on both the model’s face and the jewelry. This angle adds drama and intrigue to your image while highlighting the details of the jewelry. Focus on the details, such as delicate gemstones or delicate chains. This can make you feel like you’re in the room and draw attention to the work of art.
A great way to get great results is to shoot from below. With the camera pointed upward at the model’s hand or neckline, you can achieve a stunning visual effect that elongates the model’s fingers or neck while highlighting the interplay between jewelry and body. This technique is especially effective when you’re photographing statement pieces like oversized earrings or eye-catching necklaces.
Retouching & post-processing


In post-processing, it’s important to pay attention to color correction and white balance. With jewelry, there are often different hues, such as gold, silver, or gemstones, so accurate rendering is critical. The natural beauty of each piece of jewelry can be brought out by subtle adjustments to saturation levels or selective color adjustments.
Moreover, don’t underestimate the power of retouching when photographing jewelry on models. Small imperfections, like dust particles or smudges from fingerprints, can mar an otherwise perfect image. Use tools like brushes to fix mistakes or stamps to remove things that might make your photos look bad. Remember that subtlety is key – aim for a polished yet natural look that emphasizes reality but doesn’t distort it.
Wrapping up
If you are looking for a faster and more cost-effective solution, consider CGI hand modeling services. The same high-end results can be achieved with CGI hand modeling at a lower price than with traditional photography. Don’t let limitations in time or budget hold you back from showcasing your jewelry in the best possible light – explore the benefits of CGI hand modeling today!
FAQ
Why is it important to capture jewelry on models effectively?
Capturing jewelry on models effectively is essential to showcase the intricate details and beauty of the pieces. It helps potential buyers visualize how the jewelry will look when worn, making it more appealing and increasing sales potential.
Should I use props or accessories with the jewelry?
Minimal props can be used to enhance the overall composition, but they should not distract from the jewelry itself. Keep the focus primarily on the jewelry.
Do I need to retouch the photos after the shoot?
Light retouching may be necessary to remove minor imperfections, adjust exposure, and enhance the jewelry’s appearance. However, avoid excessive retouching that alters the jewelry’s true appearance.


