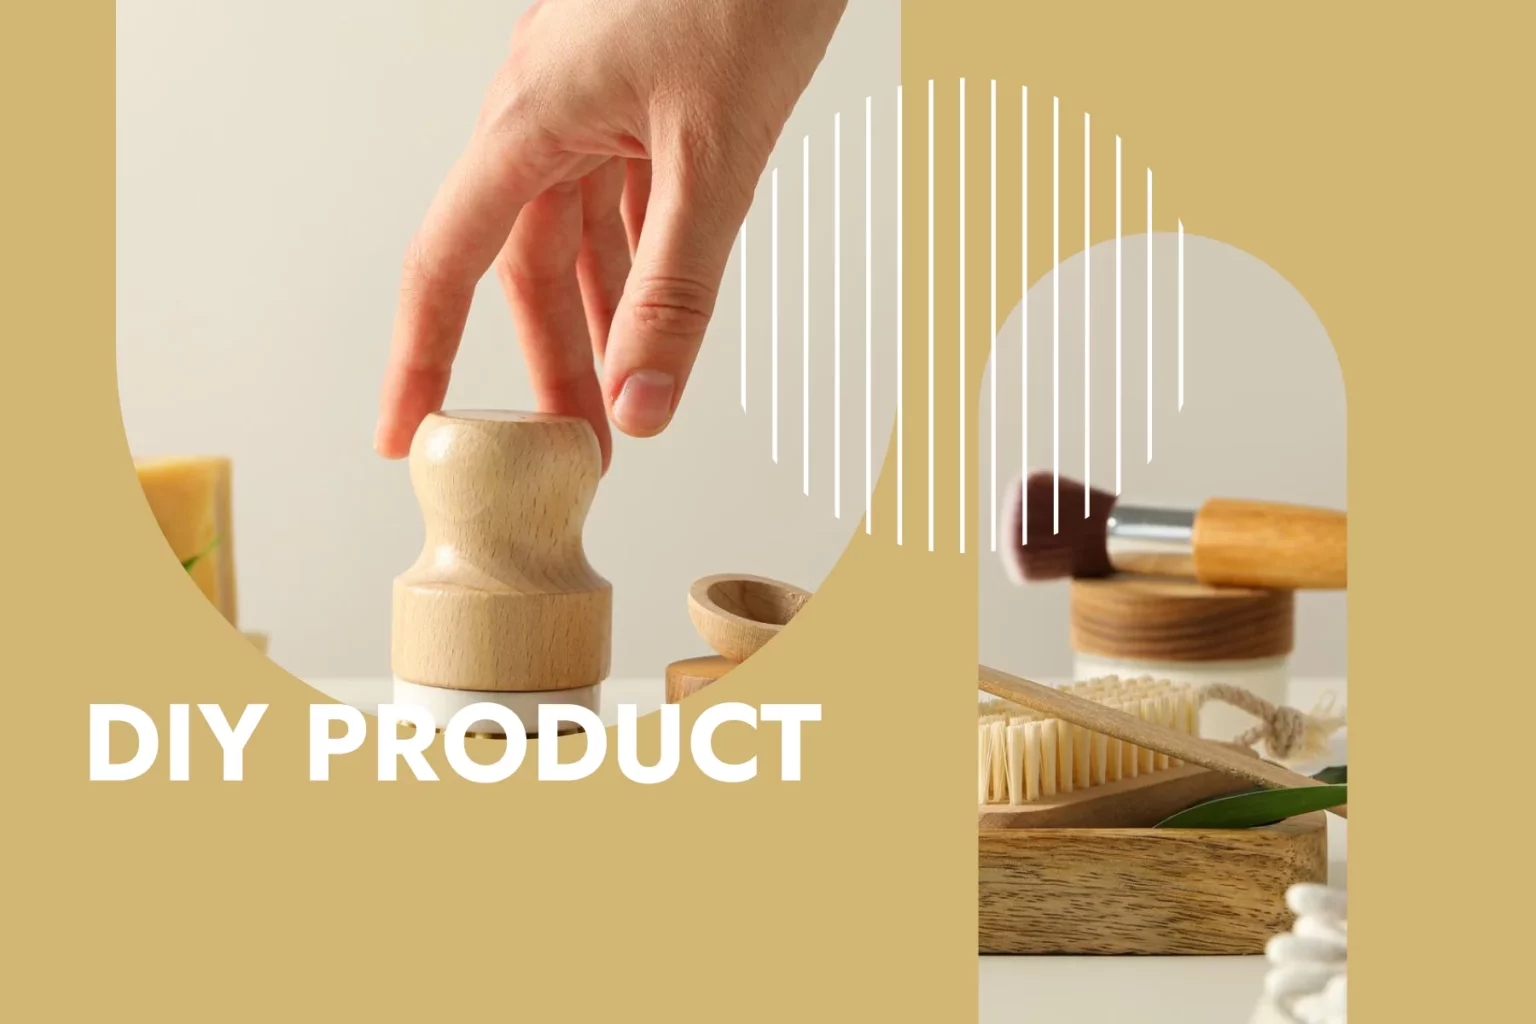
Professional photography services can be expensive and don’t always fit into a tight budget. This is where DIY product photography comes in. With a little creativity and ingenuity, you can take stunning pictures of your products without breaking the bank.
In this article, we’ll share some practical tips and budget-friendly solutions for successful DIY product photography that will help you showcase your products in the best light. Spend your next few minutes with us as we show you how our tips on DIY product photography techniques can help you achieve professional results with minimal investment!
Cost-effective equipment pieces

Camera
Let’s face it, cameras can be expensive! So how can you buy a camera for the lowest price without compromising on quality? Here are some budget-friendly tips that will help you find the best prices on product photography cameras.
First, consider buying used cameras. There is a steady supply of quality used cameras that are cheaper than brand-new ones because many professional photographers upgrade their equipment regularly. eBay and KEH Camera are sites that specialize in reselling used cameras and provide guarantees and exchange procedures to make sure you’re happy.
Second, be on the lookout for seasonal sales and promotions. Price cuts on earlier models are caused by camera manufacturers launching new models at certain times of the year. Black Friday, Cyber Monday, and holiday sales are good opportunities to snag a camera at a reduced price.
Finally, don’t limit yourself to brick-and-mortar retailers. Amazon sells cameras for cheap and has reviews from customers that can help you understand how well they work. Always remember: buying a cheap camera doesn’t mean you have to sacrifice quality, but be smart about your selection!
Tripod

With a little creativity and some budget-friendly tips, you can build yourself a tripod that will give you the stability you need. One good way is to repurpose a regular household item: a broomstick. Simply attach a camera mount to one end of the broom handle and firmly insert the other end into a weighted base. This makeshift tripod is adjustable and provides stability without breaking the budget.
Another cost-effective solution is to use PVC pipes. By cutting pipes to various lengths and connecting them with connectors, you can build an adjustable tripod stand that meets your specific needs. This DIY alternative isn’t only affordable, but also lightweight and easy to assemble – perfect for photographers on the go. Get creative, think outside the box, and get professional results without spending a fortune on expensive equipment. Have fun with your photography!
Lens
When it comes to buying camera lenses at the best price, there are a few strategies you can use to ensure you get the most for your money. Foremost, consider buying used lenses. Websites like eBay or local photography forums can be a good source for finding used lenses that are still in excellent condition.
Another money-saving tip is to look for third-party lens brands. Despite the fact that the major manufacturers frequently charge a high price, there exist numerous lesser-known brands that offer comparable quality at a discounted rate. Companies like Sigma and Tamron make lenses that are compatible with popular camera systems while offering exceptional optical performance comparable to more expensive options. Online research and reviews from trusted sources can help you find affordable alternatives without compromising image quality.
How to improve your brand’s image on a budget

Lighting
By implementing these cost-effective tips into your DIY product photography, you can achieve stunning shots that showcase your products in their best light without spending a fortune on expensive equipment or studio rentals. So, without further ado, let’s get to business!
- Natural light is your best friend when it comes to budget-friendly product photography. Take advantage of windows or other natural light sources by placing your equipment near them. Diffuse sunlight with sheer curtains or white sheets to create soft, even lighting that will make your products look professional and well-lit.
- If you need additional lighting, you can use desk lamps or floor lamps with adjustable heads. These can easily be purchased at an affordable price or even reused from items you already have at home. Experiment with different positions and angles to find the best lighting effects for each item, and play with shadows and highlights to create depth and dimension.
- Reflectors are an essential tool for any budget-conscious product photographer. Use simple materials like white foam board or aluminum foil wrapped around cardboard as reflectors that bounce light back onto your subject to fill in shadows and highlight details. Place these reflectors strategically around the set-up to control the direction and intensity of the light and achieve professional-looking results without breaking the budget.
Props & backdrops

Using props and backgrounds can make all the difference when it comes to enhancing your photos and making them stand out. The good news is that you don’t have to spend vast sums of money to create stunning images for your products.
One way to keep costs down is to build your own props. Get creative with everyday objects from your environment: wooden crates, stylish bowls, or colorful fabric scraps to add texture and interest to your shots. And if you’re crafty, you can paint or decorate these items yourself. With a little creativity and a few basic materials, one can create distinctive props that perfectly complement their products without incurring a significant expense.
Even when it comes to creating cheap backdrops for product photography, there are plenty of options. Look around your house or visit thrift stores to find old curtains or bed sheets in different colors or patterns that can serve as versatile backdrops for different products. It is also possible to take inspiration from nature, such as leaves, shells, or even sand. These simple but effective backdrops can add an organic touch while keeping costs in check.
Post-processing


Lucky for you, there are several low-cost post-processing options you can use to enhance your photos without breaking the bank. First, you can use free or low-cost photo editing software such as GIMP or Pixlr. These tools have many options and can make your product pictures look better by changing the brightness and contrast, changing the colors, and getting rid of any imperfections.
Another approach is to look for online platforms that offer affordable image editing services. Many sites offer basic retouching options at incredibly low prices, which is perfect for small business owners who want to improve their product photography without resorting to expensive professional help.
Finally, don’t underestimate the importance of learning and practicing photo editing techniques yourself. There are countless tutorials on the Internet that can walk you through the process step by step. By investing time in strengthening your skills, you can turn your photos into visually stunning masterpieces while cutting down on your budget.
Whether you choose free software programs like GIMP and Pixlr or explore low-cost online services, there are plenty of ways to edit your photos for exceptional results without draining your wallet. Grab your camera and get ready to snap some amazing product shots that will truly wow your customers while keeping your expenses low!
Wrapping up
DIY product photography can be a budget-friendly solution for small businesses and entrepreneurs who want to showcase their products without breaking the bank. By following the tips mentioned in this article, such as using natural light, using makeshift equipment, and using basic editing tools, you can achieve professional-looking product photos even on a budget.
However, it is important to note that for those seeking the cheapest option possible, CGI (computer-generated imagery) may be the way to go. With CGI, products can be digitally created and rendered in a remote digital setting, eliminating the need for physical props or models. So, what are you waiting for? Learn more about our work process and get started now!
FAQ
What is DIY product photography?
DIY product photography involves capturing high-quality images of your products using your own resources and creativity, without the need for professional photography equipment or studios.
Why should I consider DIY product photography?
With homemade product photography, you can save money, maintain creative control, and adapt to your specific branding and style while achieving visually appealing images for your products.
Do I need expensive equipment for DIY product photography?
No, you can get great results with a smartphone or a simple camera. While more advanced devices can improve your results, this article focuses on budget-friendly solutions.


