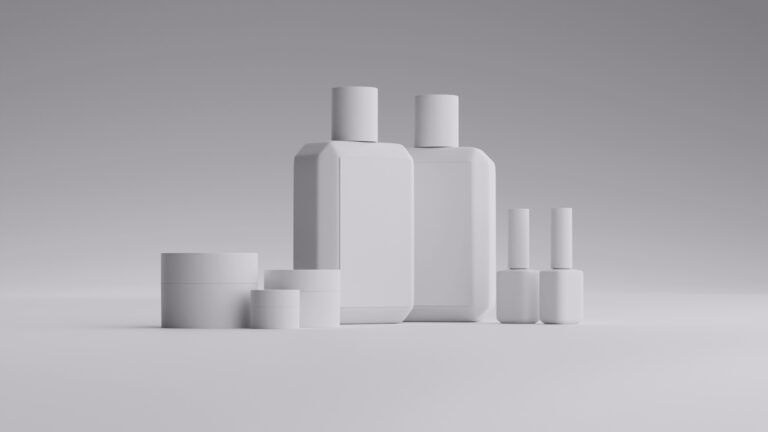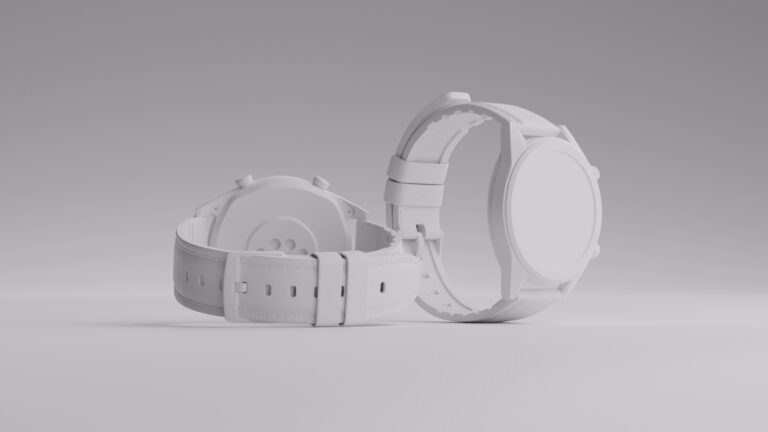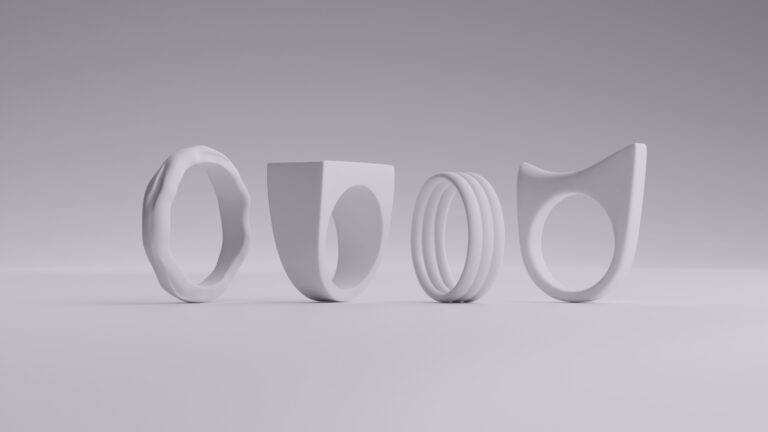
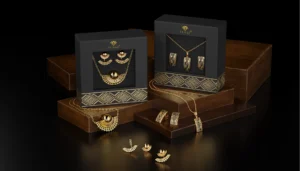
In 1999, Mark Vadon bet an entire company (Blue Nile) on a strange idea that people would buy diamonds without ever holding them. Blue Nile built its business on certified grading data and product imagery alone, at a time when jewelry was considered the one purchase nobody made sight unseen. It worked well enough that Signet Jewelers, the parent of Kay, Zales, and Jared, bought the company in 2022.
If a photo can replace the feel of a diamond in someone’s hand, it has to be doing an enormous amount of work. In this article, we’ll cover how you can carry that weight to get jewelry photography right.
Key Takeaways
- Jewelry photography demands more precision than most product categories. Small, faceted, reflective pieces leave no room for an average setup.
- Preparation, cleaning, handling, and styling, is half the work of getting a usable shot.
- Buyers scrutinize true-to-life color, scale, cleanliness, and consistency more than almost anything else in a listing.
- CGI makes the most sense for high-value pieces, remote sellers, frequent catalog updates, or products that don’t exist yet.
Essential equipments for jewerly photography
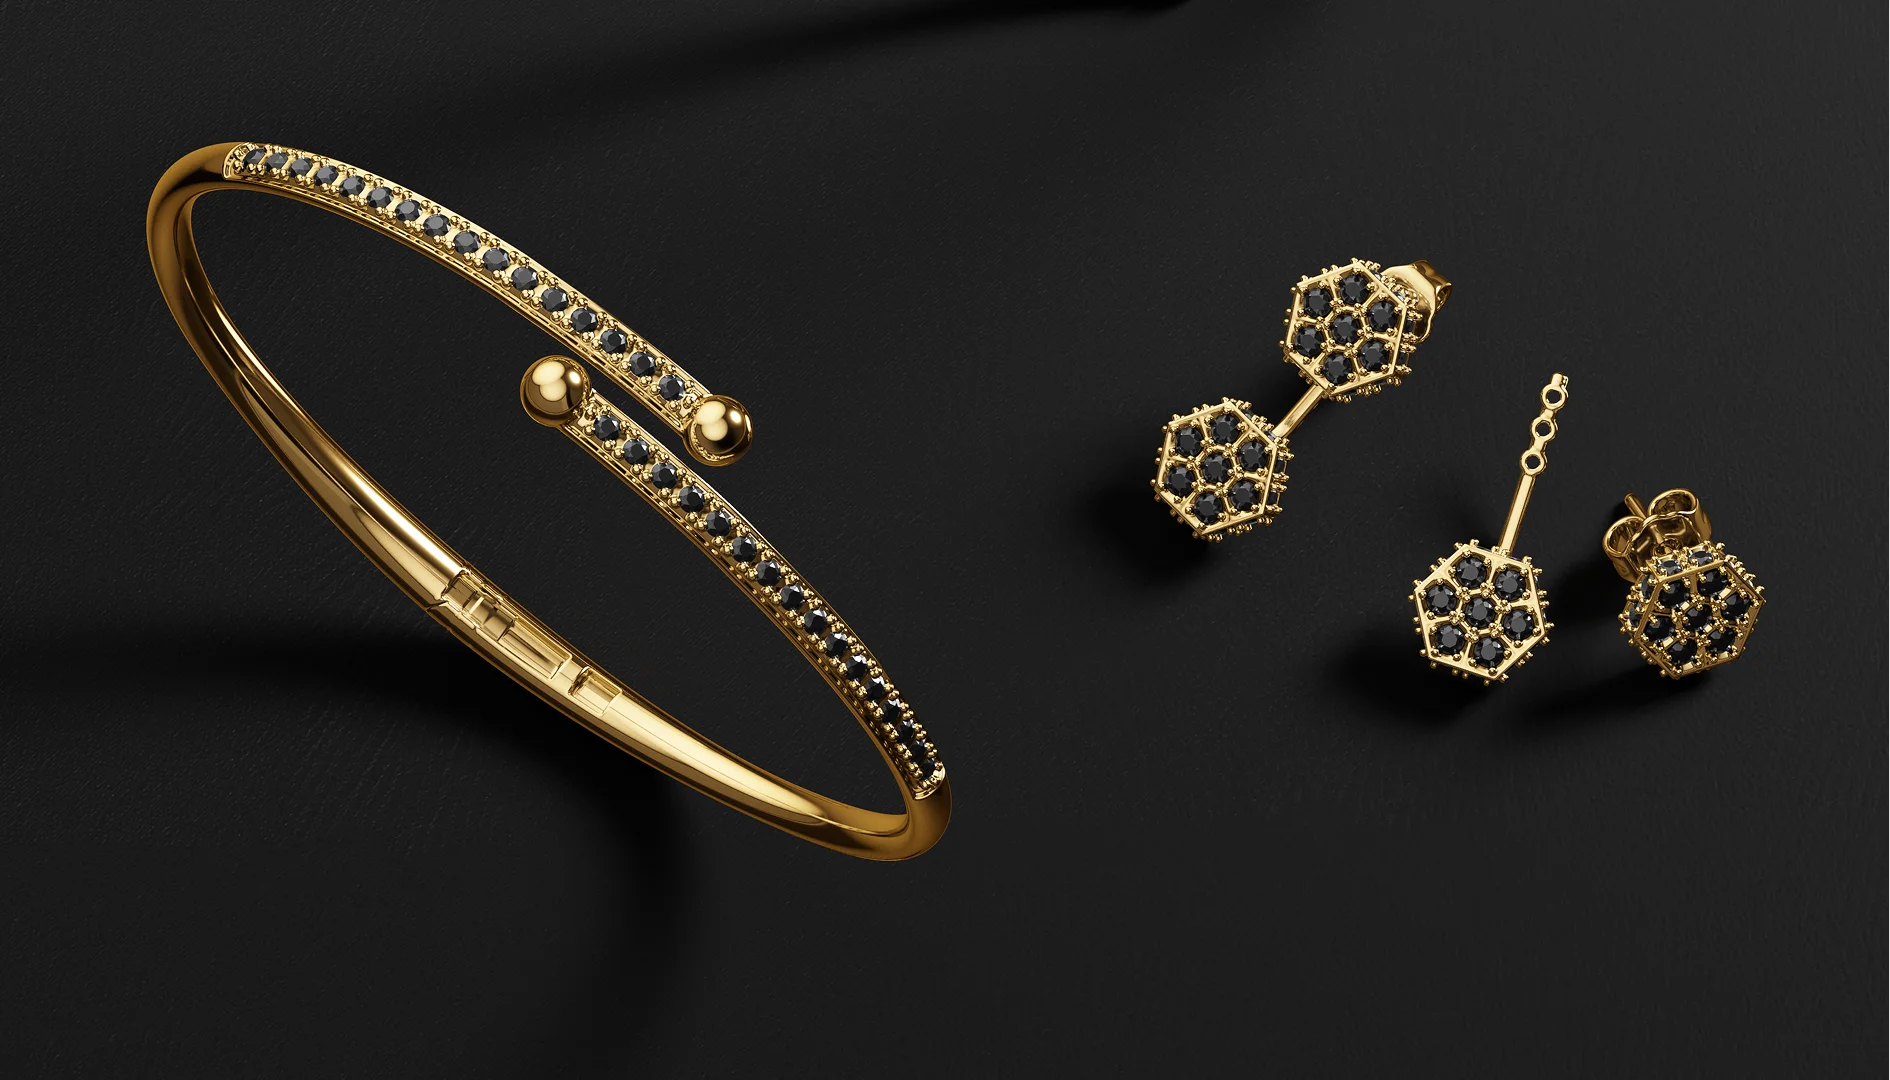
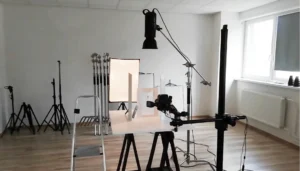
Jewelry is small, faceted, and mirror-like all at once, so the gear list is longer and the margin for error is thinner than almost any other product category you’ll shoot. Other product categories might forgive an average camera setup. Jewelry won’t.
Camera and lens
Start with a DSLR or mirrorless body with full manual control, ideally full-frame for cleaner color and more room to crop without losing detail. Around 20 megapixels is a reasonable floor. Photographers may try the Canon EOS R8, Sony a7 III, or Nikon D850 (all of which come up repeatedly as go-to bodies for this kind of work).
Smartphones can technically get the job done too, the newer iPhone Pro models in particular, but only if the lighting around them is fully controlled, since the phone has neither the working distance nor the optical depth a dedicated setup gives you.
A true macro lens, one that captures at 1:1 magnification, is what lets you get close enough to show a stone’s facets or the fine engraving on a band without softness creeping in. A 90-105mm focal length tends to be the sweet spot, making lighting easier and reducing unwanted reflections.
Lighting
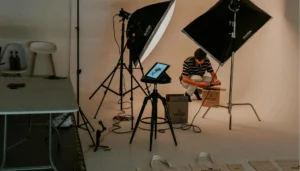
Metal and gemstones reflect everything around them, including your own lights and camera; that light has to be diffused before it reaches the piece, never fired directly at it. Most photographers build toward a three-point setup:
- A diffused key light doing the main work, usually a softbox or light tent
- A simple white reflector positioned opposite it to fill in shadows
- A rim or backlight behind the piece to separate it from the background and add depth
A light tent wraps the piece in soft light from all sides and is often the more forgiving option if you’re still finding your footing, while a softbox gives more experienced shooters finer control over how the light falls. LED is the preferred light source throughout, since flash is too harsh this close up and fluorescent tends to flicker and shift color.
Supporting gear
A few more pieces round out the kit:
- Sturdy tripod: essential at the small apertures this work requires, since shutter speeds run slow.
- Geared head: lets you nudge framing by millimeters, not degrees.
- White and black sweeps: your shooting backgrounds.
- Diffusion material (vellum or tracing paper): for building your own softbox.
- Circular polarizing filter: cuts glare on gemstones without dulling the metal.
- Gray card: keeps white balance accurate, so white gold doesn’t read as yellow gold.
Note: At macro distances, depth of field gets razor thin, so a ring photographed wide open might have its center stone in focus while the band directly behind it blurs out. The fix is to shoot the same piece at several focus points and blend the sharpest parts of each frame together in software like Helicon Focus or Photoshop. A typical starting point for settings is ISO 100 to 200, an aperture around f/11 to f/16, manual focus, and the camera locked down on a tripod.
If you’d rather not build this piece by piece, automated turntable studios like the Orbitvu Alphashot handle focus stacking, background removal, and 360-degree capture in one machine, though they come at a steeper upfront cost.
Camera settings for jewelry product photography
Here’s a rough baseline to start from before you fine-tune for the specific piece.
Setting | Specification |
|---|---|
ISO | 100–200 |
Aperture | f/11–f/16
|
Focus | Manual |
Shutter Speed | Slow (tripod-mounted) |
Lens | Macro, 90–105mm, 1:1 magnification |
Stabilization | Tripod + geared head |
Focus Technique | Focus stacking |
White Balance | Manual, set via gray card |
All of this, the macro lens, the diffusion, the polarizer, the focus stacking, the manual white balance, exists to get an accurate, sharp, glare-free image out of a physical object that resists being photographed.
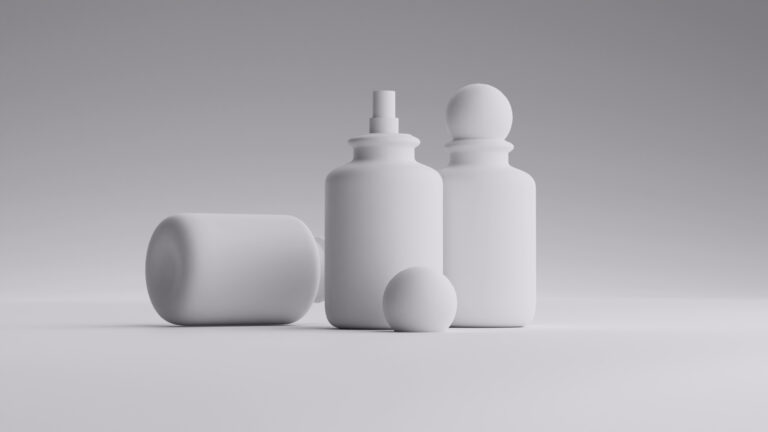
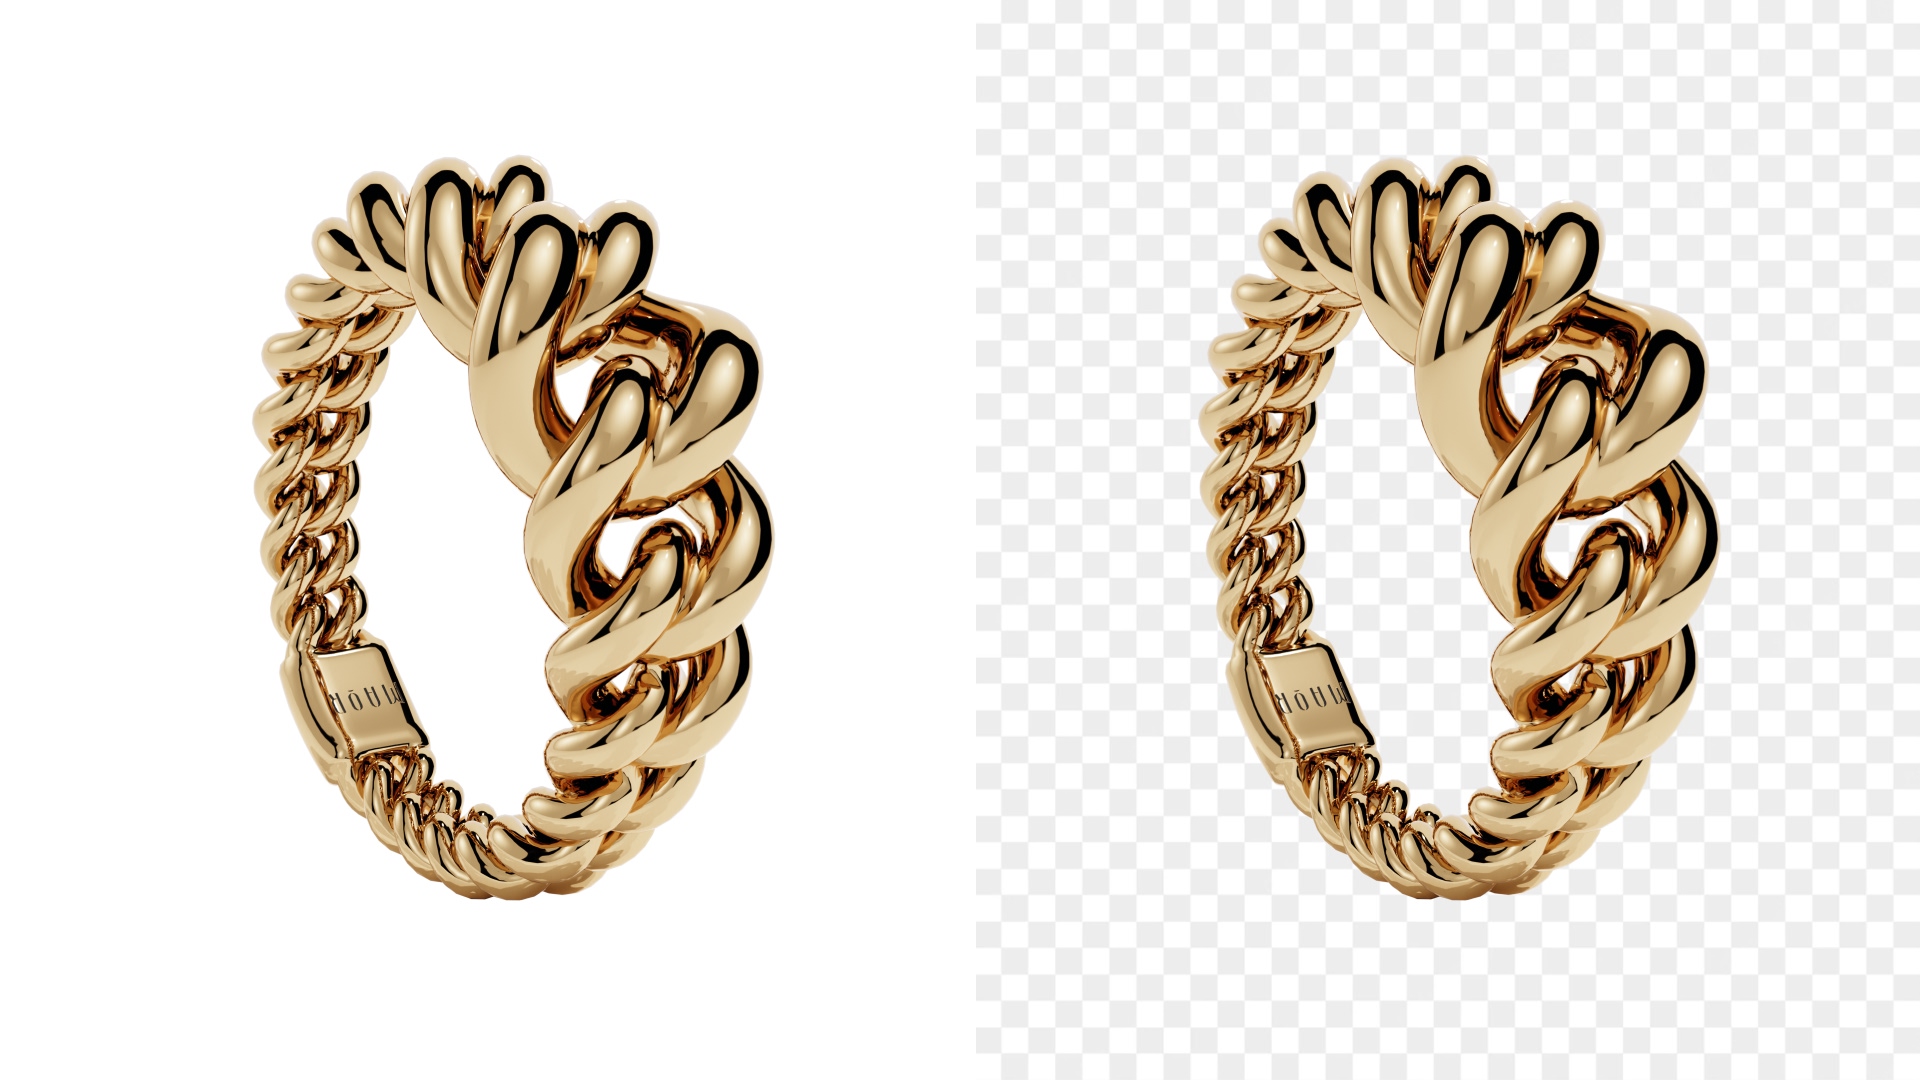
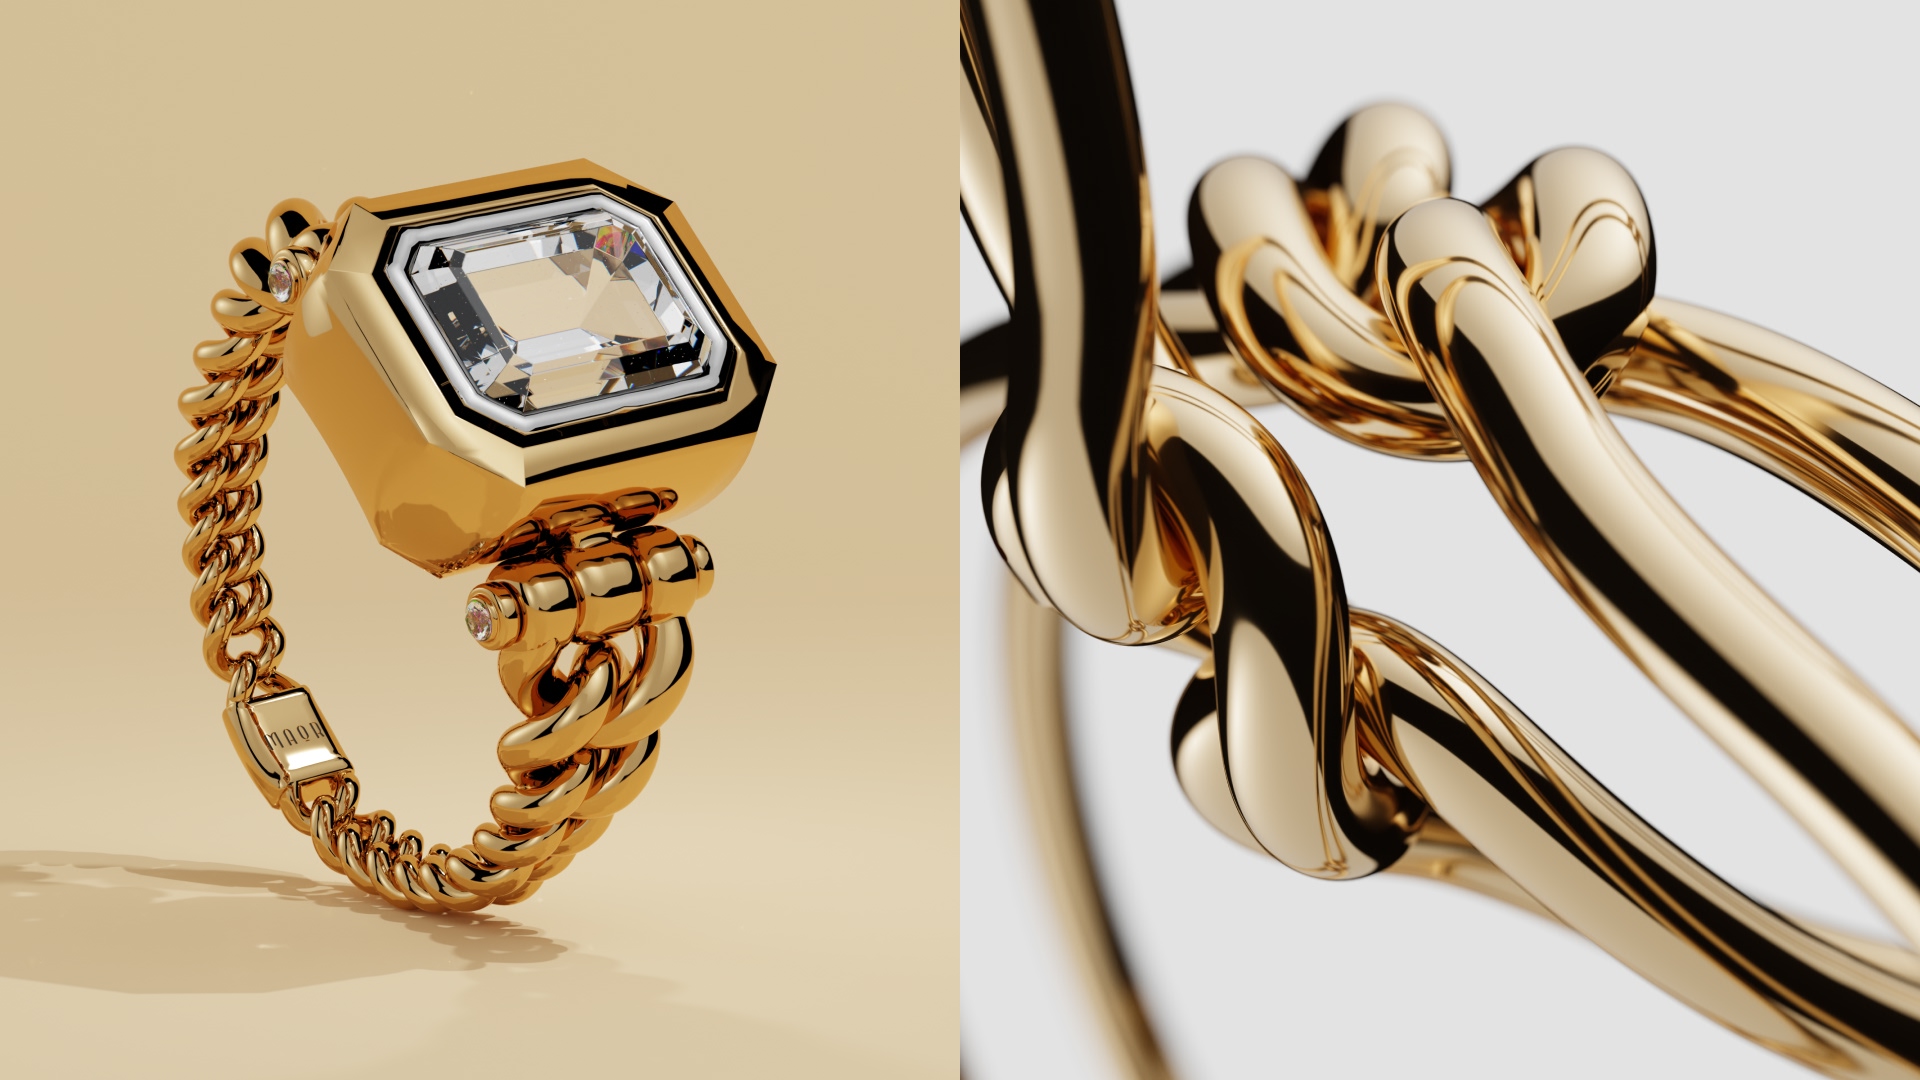
CGI sidesteps that problem entirely. Once a piece exists as a 3D model, there’s no lighting to diffuse, no reflection to chase, and no depth of field to stack; the render is built exposed and in focus from the start. We’ll get into when that trade-off actually makes sense later in this guide.
Preparing jewelry for the camera
A fingerprint on a bracelet or a speck of dust on a diamond’s table facet is invisible across a store counter. But at this magnification it becomes the first thing a buyer sees. Preparation is half the work of getting the shot right.
Cleaning by Material

Most gold, platinum, and diamond pieces can be cleaned the same way. Soak in mild dish soap and warm water for 10 to 15 minutes, gently scrub crevices with a soft toothbrush, never metal bristles, rinse in lukewarm water, and dry-polish with a microfiber cloth.
If the jewelry is made up of other materials, it might need different handling:
- Sterling silver: use a dedicated silver polishing cloth instead of soap and water.
- Pearls and opals: never soak these. Wipe gently with a soft, damp cloth, since both are porous and fragile.
- Turquoise and other soft, porous gemstones: treat the same as pearls and opals. No soaking or harsh solutions.
- Baking-soda paste: effective but abrasive. Reserve it for sturdy metal pieces only, never for pearls or gemstones.
Handling to Avoid Fingerprints and Dust
Skin oils, lotion, and sunscreen dull metal’s shine. A macro lens will also pick up every fingerprint and speck of dust that a naked eye would miss. Handle cleaned pieces with cotton gloves or a lint-free cloth from that point on. Even with careful handling, some flaws only show up once the image is on screen, which is why background cleanup, dust and fingerprint removal, and reflection fixes are a standard part of post-production.
Styling and Arrangement
White backgrounds are the industry standard and are required on most major marketplaces, while black backgrounds create a luxury contrast that makes gold and silver stand out. A few positioning tricks make the setup work:
- Glue dots or Blu-Tack: stand rings upright without a mount showing.
- Fishing wire or clear acrylic thread: float earrings in place, edited out afterward.
- Mannequin busts or white-covered cardboard forms: hold necklaces in a natural drape.
Photography guidelines for different types of jewelry
Every jewelry category has its own shooting quirks, so here’s a quick reference before you set up.
Type | Angle | Key Technique | Watch Out For |
|---|---|---|---|
Rings | Slight angle, showing face and band/shank profile | Focus stacking for prongs and settings at different focal depths | Glare on the center stone's table facet; use a polarizer and glue dots or putty to hold upright |
Necklaces | Slightly elevated or straight-on, draped in a natural curve | f/8–f/11 to keep chain and pendant sharp | Dark spots along the chain; add fill light or reflectors (Amazon allows partial cropping for necklaces) |
Earrings | ¾ view, showing front design and dimension | Stabilize studs on acrylic stands, hang danglers on thread | Motion blur; let dangling pieces stop moving before the shot, and keep the pair symmetric |
Bracelets | Top-down for flat designs, ¾ angle for raised settings | Focus stacking for pieces with height | Distortion; align carefully before shooting |
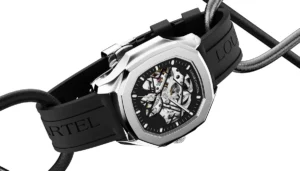
Watches | Angle that separates dial, bezel, and case | Focus stacking across the different focal depths | Reflections on the crystal and case |
Jewelry Photography for Ecommerce Platforms
Every platform has its own rules, so it’s worth building one master image and adapting it down rather than shooting separately for each.
Amazon
Amazon leaves the least room for interpretation, and a non-compliant image may suppress the whole listing.
- Background: pure white (RGB 255, 255, 255), no exceptions.
- Framing: product fills at least 85% of the frame, shown outside packaging, with no text, logos, borders, watermarks, or props.
- Size: minimum 1,000px on the longest side; 1,600px to enable zoom; 2,000–3,000px for the crispest zoom experience. Max 10,000px, capped at 10MB.
- Format: JPEG preferred, with PNG, TIFF, and non-animated GIF also accepted, ideally as a 1:1 square.
- Jewelry exception: necklaces can be partially cropped by the frame edge.
- Filenames: follow a strict convention (e.g., B08XYZ1234.MAIN.jpg).
- Secondary images: the place for lifestyle shots, infographics, and scale references.
Etsy
Etsy is the one marketplace where styled, lifestyle backgrounds tend to outperform plain white. Etsy’s own Seller Handbook credits photography as the single biggest factor in a buyer’s decision.
- Image count: up to 10 per listing.
- Size: at least 2,000px on the shortest side, kept under roughly 1MB for fast upload.
- Format: square (2000×2000) or 4:3 landscape, in sRGB color. JPG, PNG, and GIF are supported, but skip transparent PNGs, since transparency renders as black.
Shopify
Shopify has no background rule, but visual consistency across the whole catalog matters more here than compliance with any single spec.
- Size: 2048×2048 recommended, 800×800 minimum to trigger zoom, capped around 4472–5000px and 20MB.
- Page speed: aim for 200–500KB per image where possible.
- Format: JPEG, PNG, or WebP, with WebP auto-served to supported browsers.
- Volume: up to 250 media items per product.
eBay
- Size: 500×500 minimum, below which zoom won’t work; 1,600×1,600 recommended to enable zoom and Gallery Plus. Max 9,000px.
- Volume: up to 24 photos free per listing.
- Format: JPEG recommended for faster load times.
What buyers actually notice
A jewelry photo gets studied harder than almost any other product image, because the buyer knows exactly what’s easy to hide with an angle or a filter. Here’s what actually draws their eye.
True-to-life color
Nothing raises suspicion faster than metal that looks warmer or cooler on screen than it will in hand. White gold that reads slightly yellow, or silver with a blue cast from bad white balance, makes buyers assume the listing is misleading even when it isn’t.
Scale and size
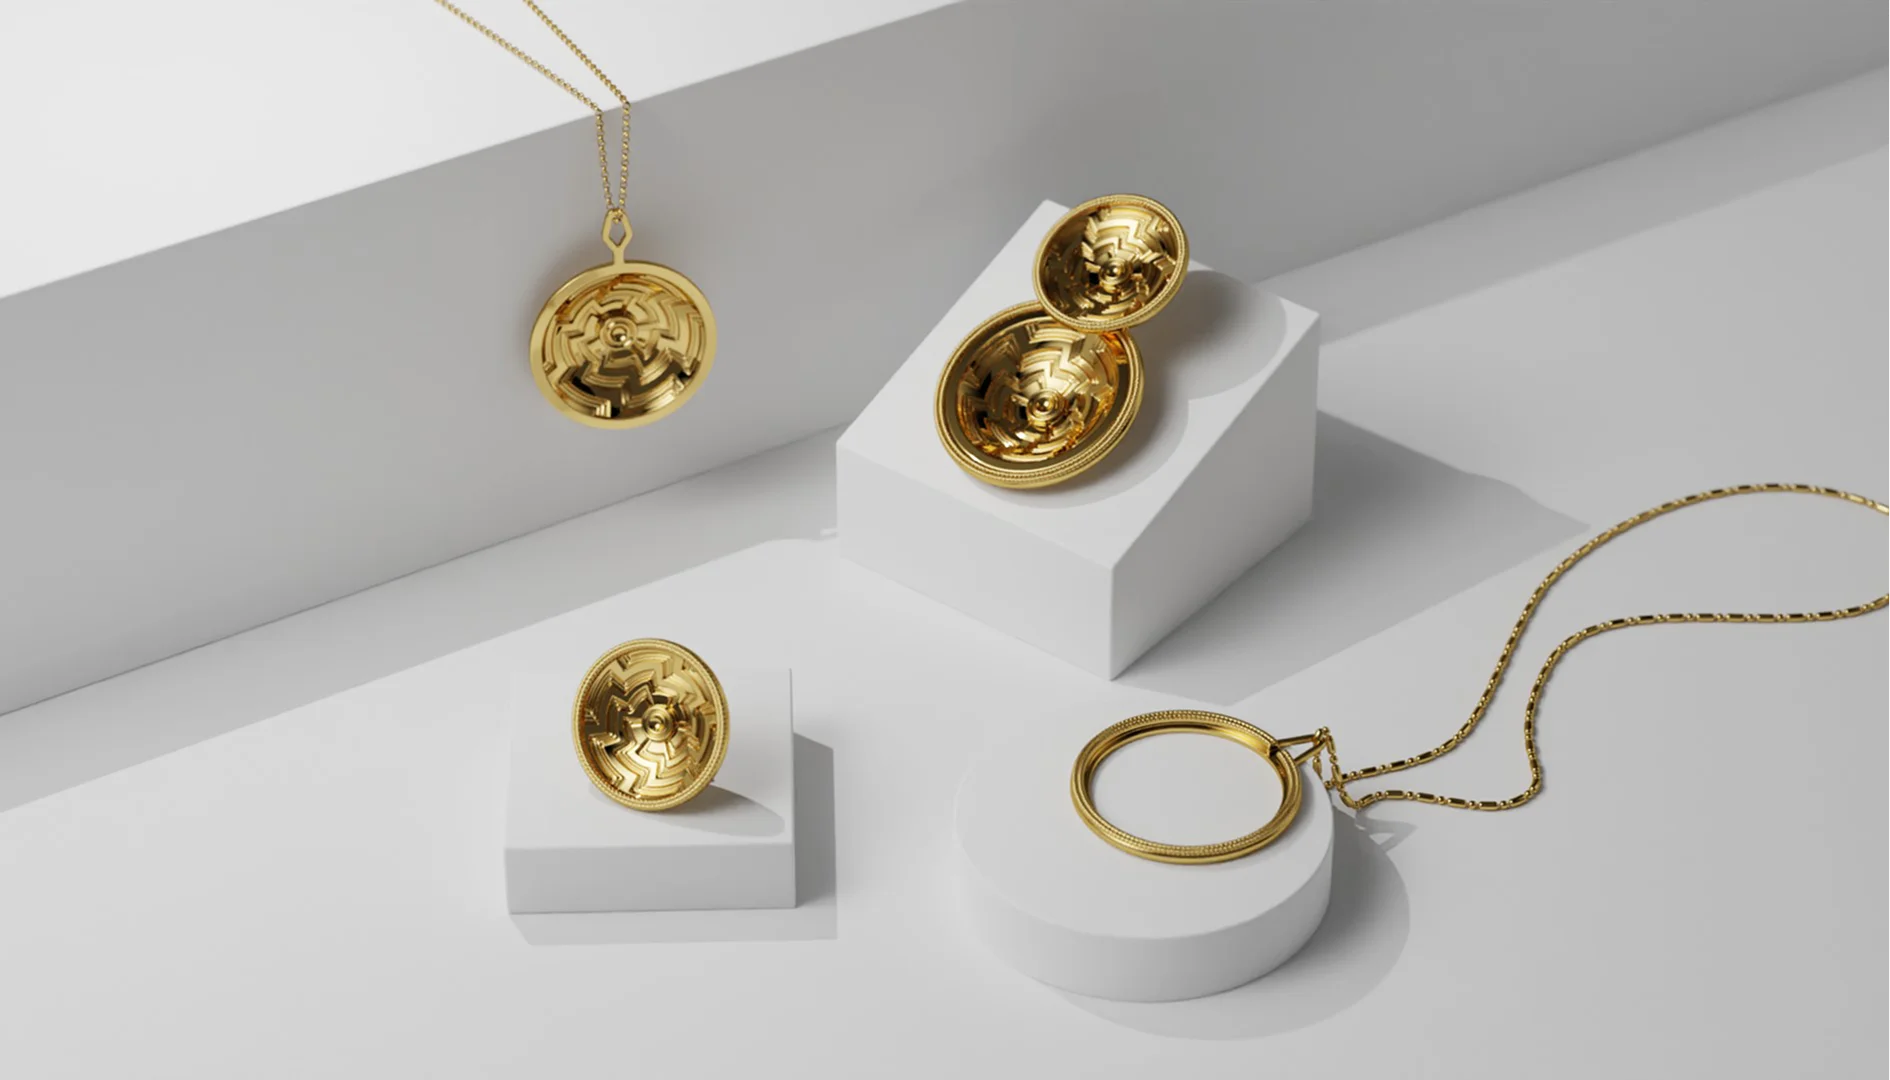
A ring or pendant photographed alone against a plain background gives no sense of how big it actually is. Baymard Institute’s usability research found that 42% of shoppers try to judge a product’s real-world size directly from its photos, yet 28% of sites never give them a true “in scale” reference to work from. A shot next to a coin, a hand, or another familiar object solves the problem.
A clean, uncluttered frame
A peer-reviewed study by Szulc and Musielak found that 68% of consumers prefer products shot in clean, distraction-free settings, and that busy or heavily styled images actually reduced how appealing a piece looked. For jewelry, props and elaborate scenes tend to compete with the very details, sparkle, texture, engraving, that buyers came to inspect.
Consistency across the full set of images
Buyers scan through every angle a listing offers, and a mismatch, one image cool-toned and the next warm, one sharp and the next slightly soft, reads as carelessness even if each individual photo is fine on its own. A documented style guide for lighting, background, and angle is what keeps a whole catalog looking like it came from the same trustworthy source.
How Much Does Jewelry Photography Cost?
Traditional studio photography runs $25 to $80 per image, about 20 to 25% above standard product photography rates given how technical jewelry is to shoot. Studios have a fixed setup cost that gets spread across the shoot, so per-image price drops sharply with volume, a $300 setup adds $30 per image at ten shots but just $3 at a hundred. Building an in-house setup costs around $100 for the basics, or low thousands for a proper kit.
In CGI, you pay once for 3D modeling, then per rendered image, priced by style. Once the model exists, it’s reused indefinitely for new angles or variations at no extra modeling cost.
When CGI makes more sense than a studio
Neither approach is universally better. The right choice depends on what you’re shooting, how often, and what you need from the images afterward. Here’s how to think through it.
Traditional studio photography makes sense if:
- Shooting a small, one-off batch
- The piece is easy to ship or already in-house
- You want a flagship shot with tactile authenticity
- No need for multiple metal or gemstone variations
CGI makes more sense if:
- The piece is high-value and risky to ship or handle
- You’re selling remotely, since only reference photos are needed
- You need the same design in multiple metals or stones
- The product isn’t manufactured yet, but you need images now
- Turnaround time matters more than a scheduled shoot
- You’re managing a large or frequently updated catalog
- Consistency across many SKUs matters more than individual character
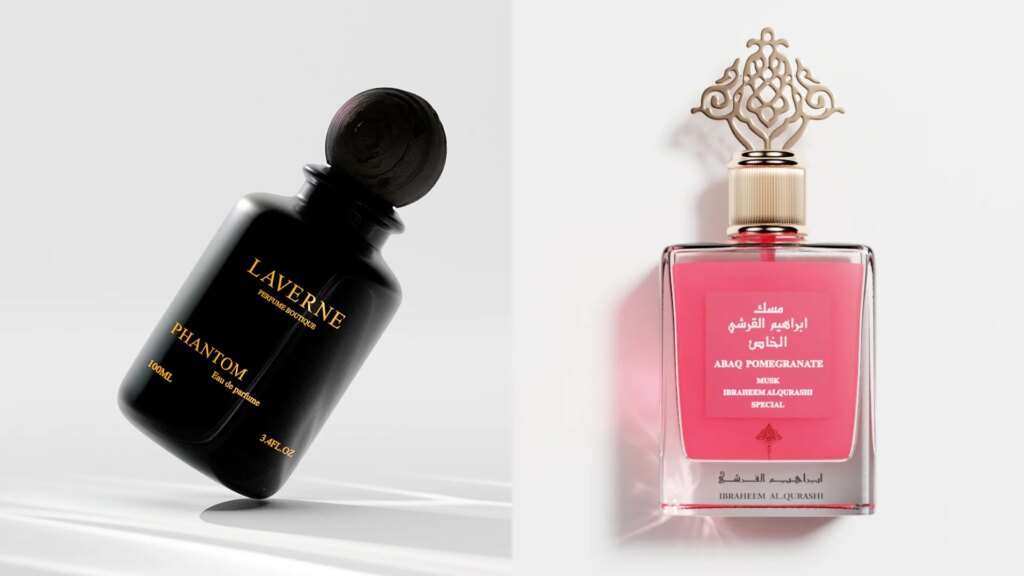
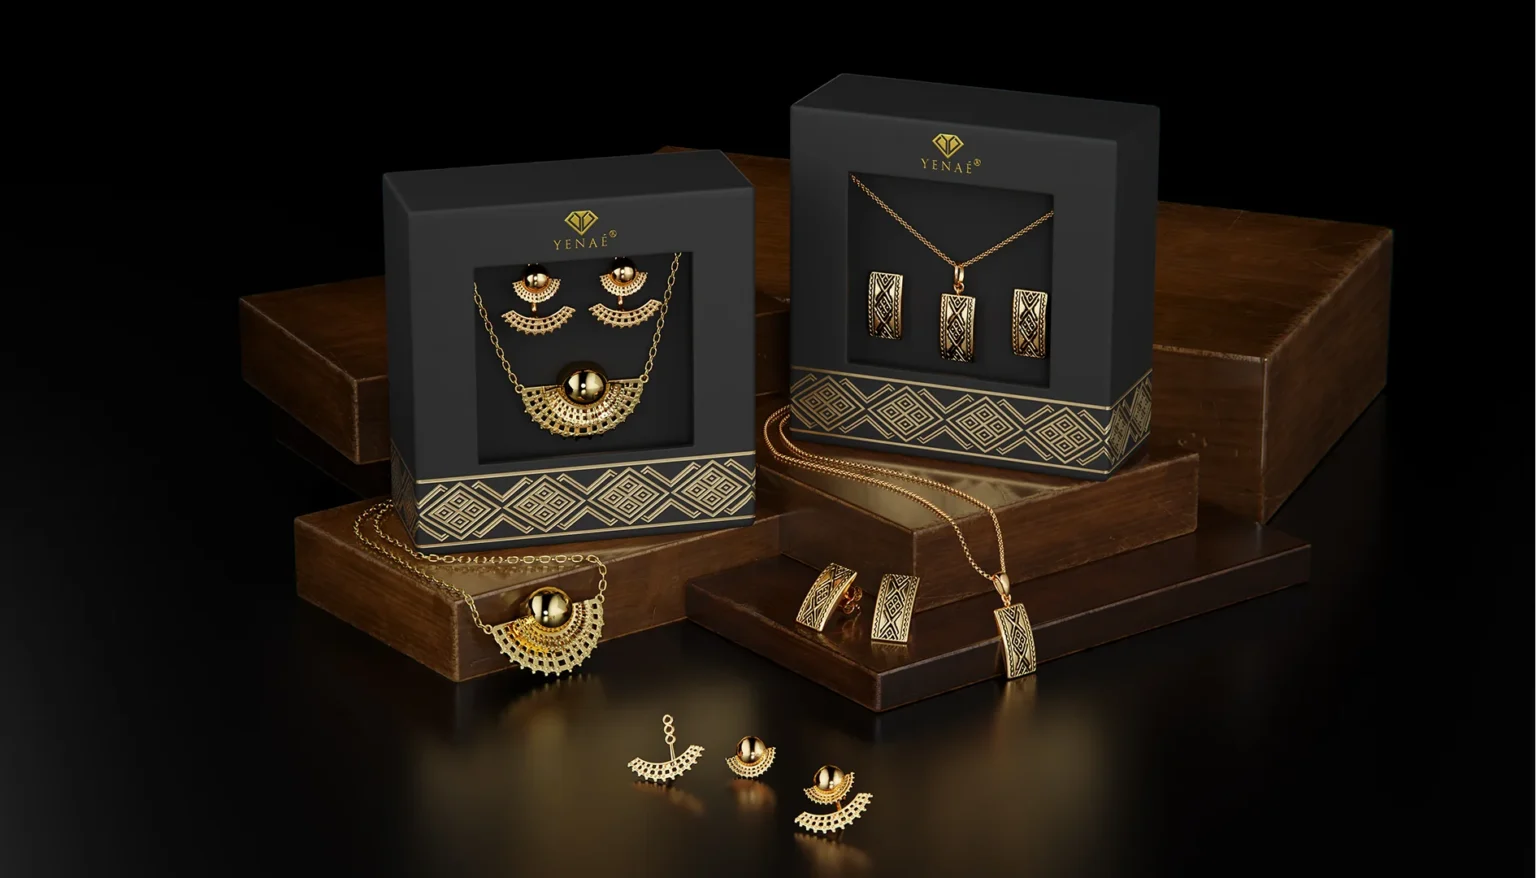
Welpix is a CGI studio that builds photorealistic renders of jewelry, watches, and other hard-surface products, no physical shoot required. Even a well-executed shoot comes with real costs (shipping, insurance, studio time, and reshoots). Welpix builds the same trust into a 3D render instead, without any of that overhead.
Send over a few reference images of your product, and we’ll show you what it looks like rendered, at no cost. Look at what CGI could do for your catalog before you decide anything.


FAQs
How long does a jewelry photoshoot actually take?
A single piece, once lighting and setup are dialed in, might take 15 to 30 minutes to shoot properly with focus stacking. The real time cost is in setup and retouching, not the shutter clicks, which is why batching multiple pieces into one session is far more efficient than shooting one at a time.
How many images does a single jewelry listing need?
Enough to answer every question a buyer would ask in person: a straight-on shot, a detail or macro shot, a scale reference, and any angle specific to that piece type, a profile view for a ring, a drape shot for a necklace. Marketplaces that allow more images generally reward using most of the available slots.
Is video or a 360-degree spin worth doing for jewelry?
For higher-priced pieces, yes, it lets buyers see how a stone catches light from different angles, which a single photo can’t convey. It’s more achievable with CGI than with a physical shoot, since a 3D model can be rotated and rendered from any angle without additional setup time.