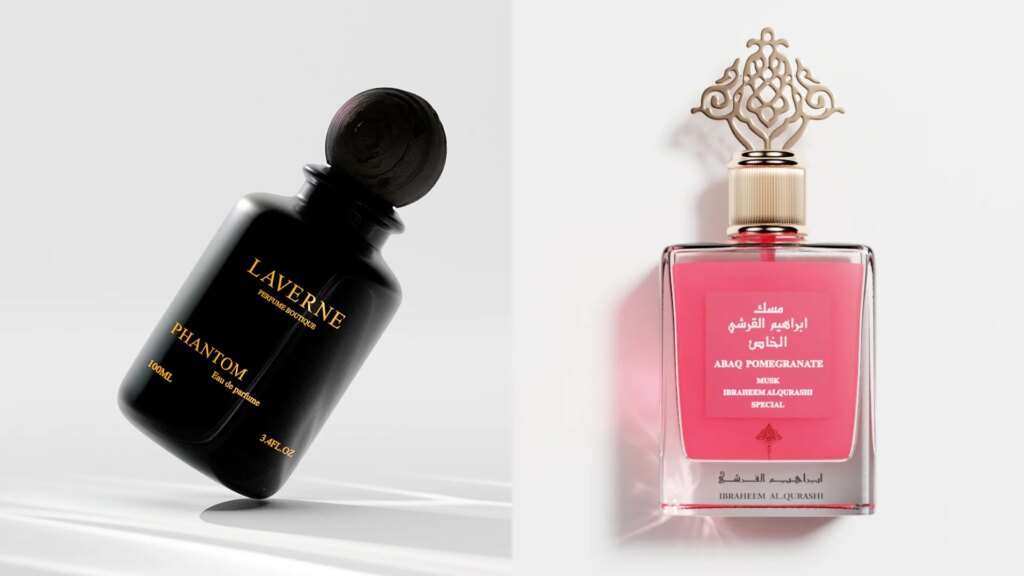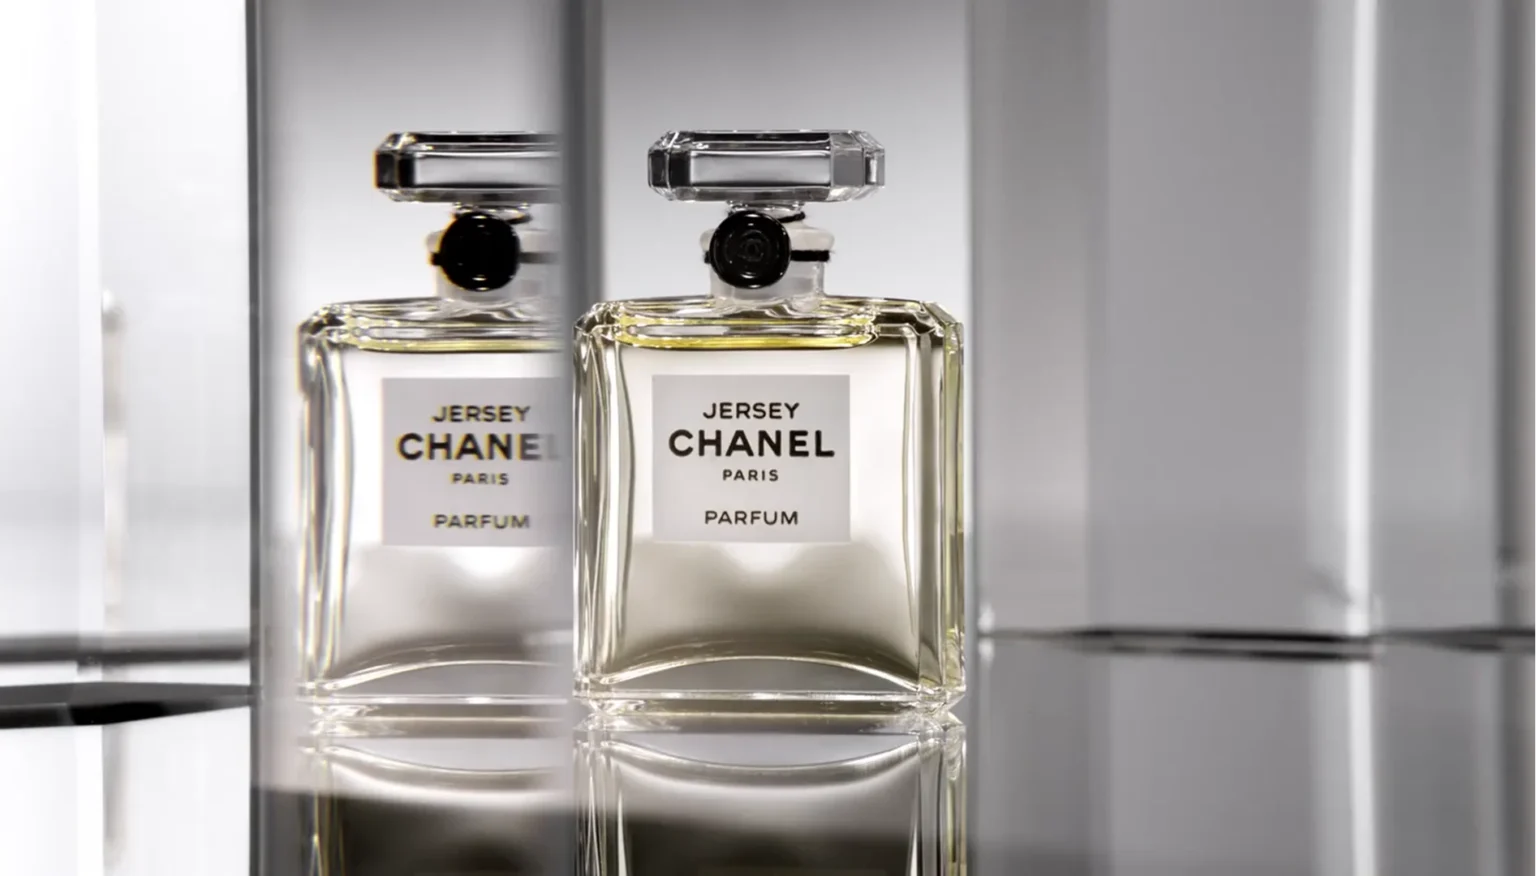

Perfume is, by definition, invisible.
No lens captures the sharp, clean hit of an opening note, or the deep amber warmth that settles into a fragrance’s dry-down.
That paradox is exactly what makes perfume bottle photography so demanding and so fascinating. This guide breaks down how fragrance brands pull that off, and the two very different paths available to get there: traditional photography and CGI.
Key Takeaways
- Perfume bottle photography is technically demanding because glass refracts, reflects, and distorts light in ways that expose every flaw in a setup.
- The final image in a professional shoot is almost always a composite of multiple exposures, not a single frame.
- Props should reference the scent notes directly, not just fill the frame.
- CGI produces perfume visuals without a physical shoot, a studio, or a post-processing pass, and its cost advantage grows as output volume grows.
- For brands shooting before the bottle physically exists, CGI is the only viable option.
- Many brands run both in parallel. For example, CGI for catalog, variant, and scale needs; traditional photography for hero campaign shots and lifestyle storytelling.


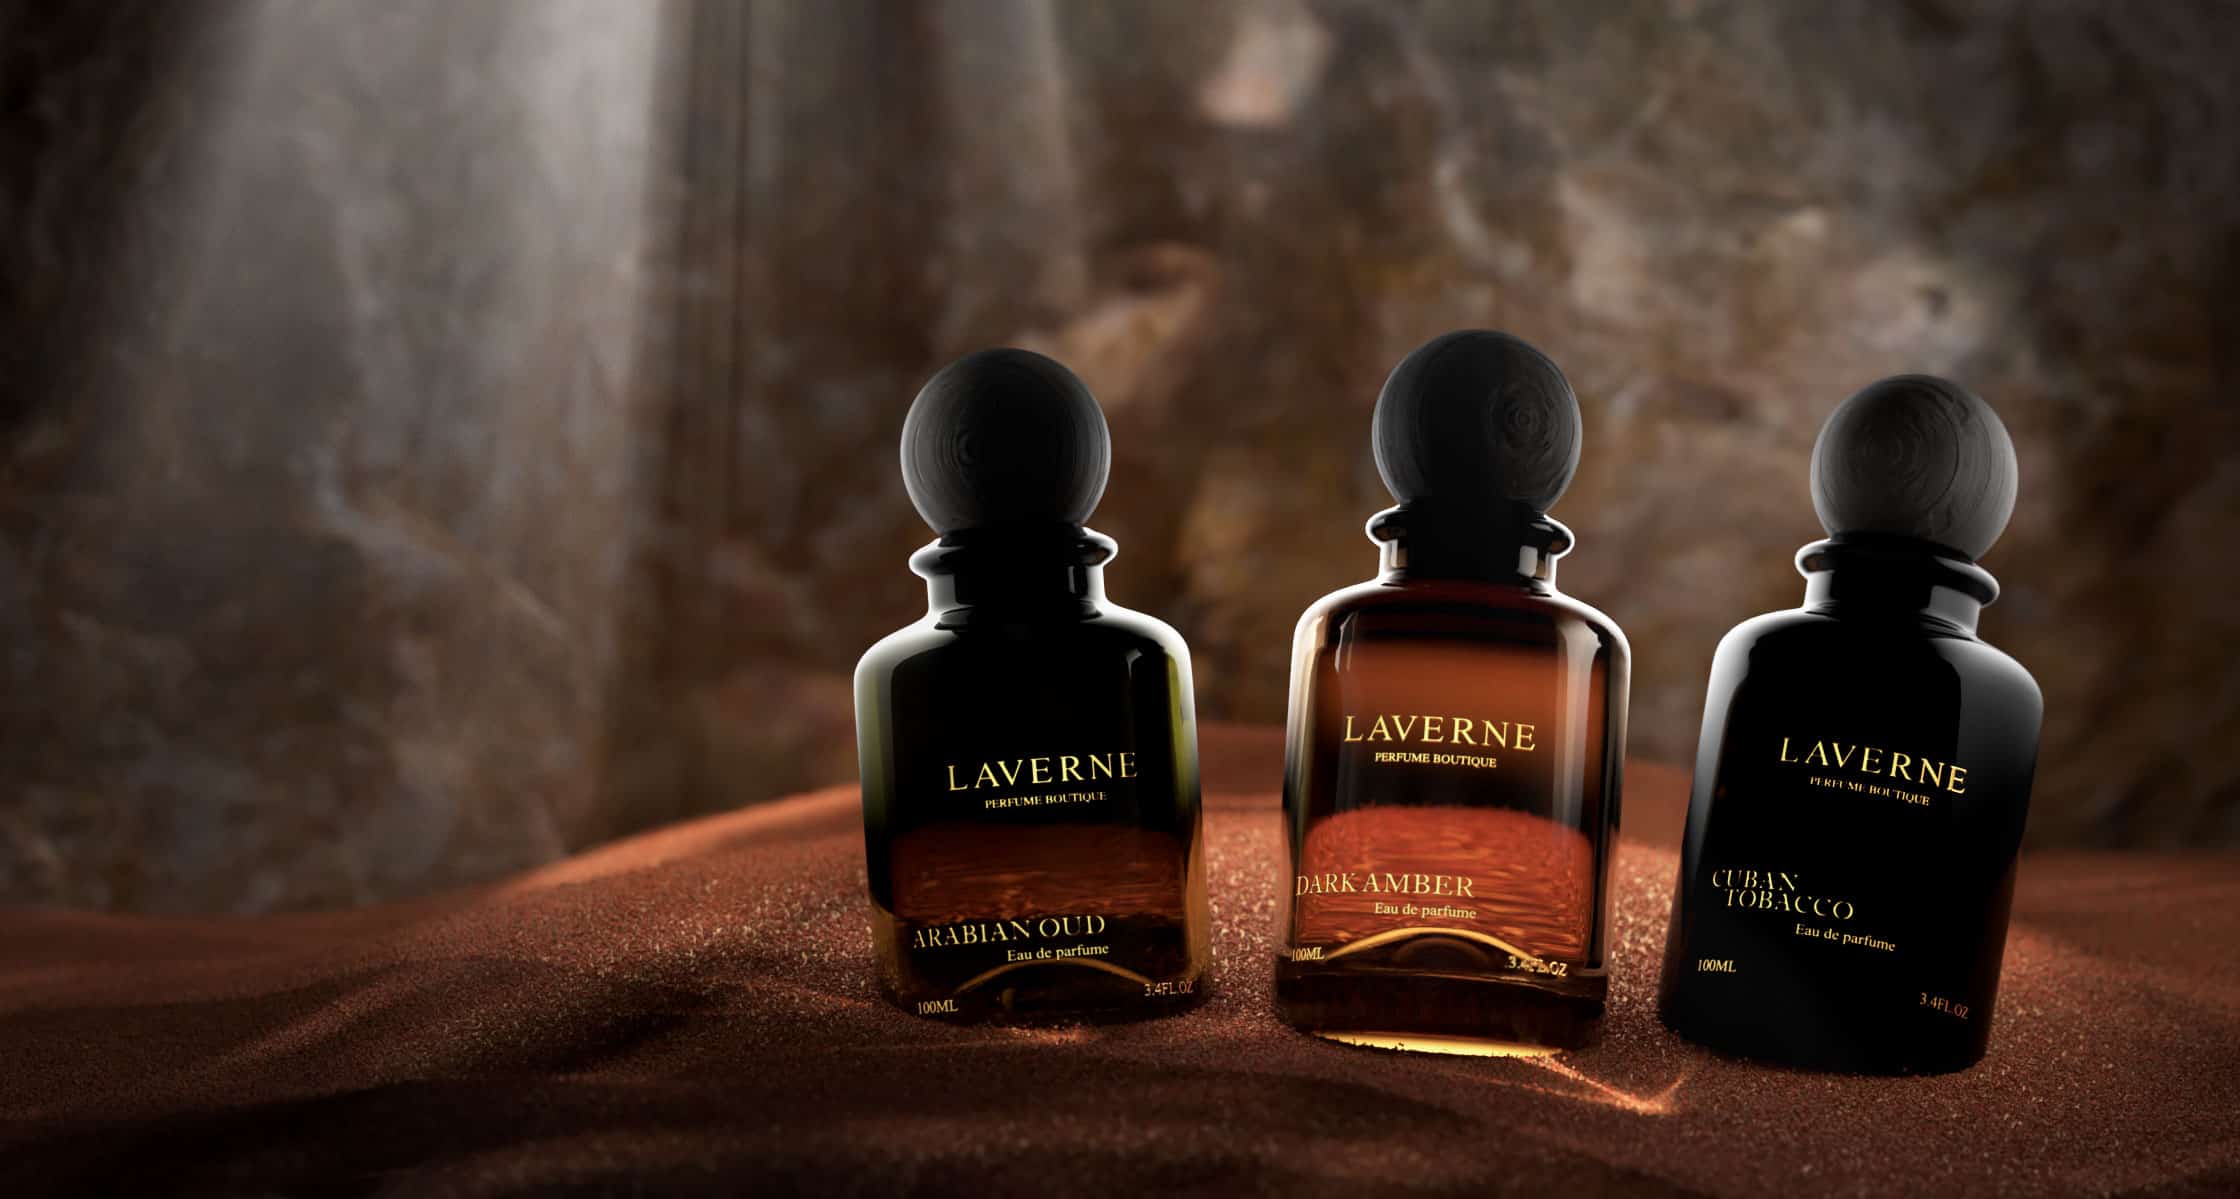


The Two Ways to Create Perfume Visuals
There are two fundamentally different approaches to perfume product photography, and the one you choose changes everything about your process, timeline, and budget.
Traditional Photography
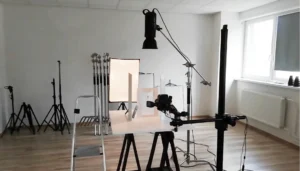
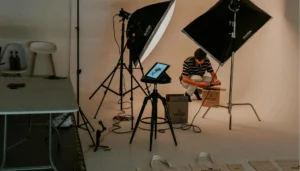
A studio setup with cameras, lights, and equipment. A photographer spends hours arranging modifiers, shooting multiple exposures, and managing the inherent chaos of working with reflective glass. Post-processing follows with retouching fingerprints, compositing exposures, and correcting reflections. A single finished image can take several hours from setup to delivery.
For hero campaign imagery where authenticity and mood are the entire brief, this is often the right tool.
CGI (Computer Generated Imagery)
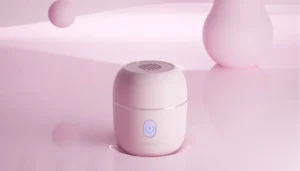
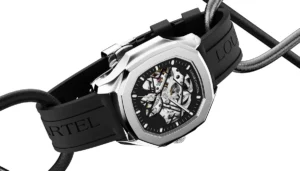
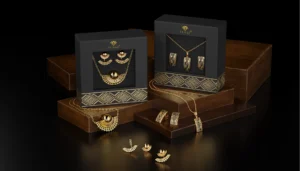
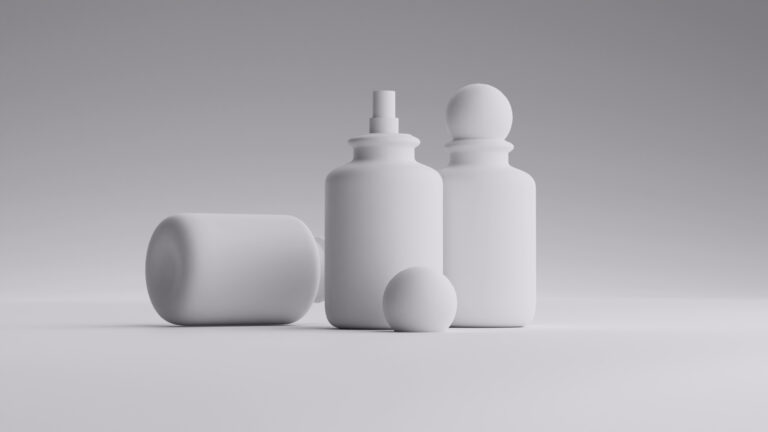
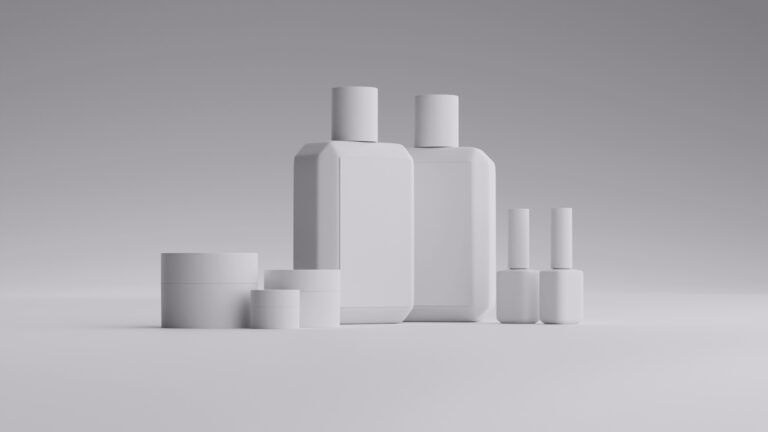
Your product is modeled in 3D software, textured to replicate the exact glass finish, liquid color, and label, then rendered in a fully controllable virtual environment. There is no physical studio. There are no fingerprints or dust. Light is a parameter, not a physical object.
It’s a strong fit for catalog libraries, frequent variant updates, and e-commerce volume.
Not sure what CGI could look like for your bottle? Send us a few photos, and we’ll show you — no commitment, no cost. [Show us your product →]
The practical trade-offs for fragrance brands:
First name | Traditional Photography | CGI |
|---|---|---|
Need to ship the product | Yes | No |
Turnaround time | Days to weeks | As fast as 1–2 days |
Revisions | Costly reshoots | Unlimited, at no extra cost |
Consistency across variants | Manual, more variable | Consistent by design
|
Works before bottle exists | No | Yes |
Organic/lifestyle authenticity | Strongest | Improving, but still an approximation |
Best fit | Hero shots, campaigns, lifestyle | Catalog, variants, scale, pre-launch |
For most established fragrance brands, the honest answer isn’t “pick one.” A common workflow uses traditional photography for a handful of flagship hero and lifestyle images that anchor a campaign, then extends that same visual identity across every variant, seasonal update, and regional catalog need using CGI, without re-shooting each time.
Essential Equipment & Studio Setup
Perfume bottle photography is an exercise in precision meeting atmosphere. The equipment you choose determines whether the final image feels clinical or cinematic, flat or alive.
Camera Body
For perfume bottle work, a full-frame DSLR or mirrorless body is the baseline. You need the sensor size and dynamic range to handle the demands of reflective glass. Entry-level crop sensor cameras struggle here.
Here are some cameras commonly used by perfume photographers:
Camera | Type | Why It's Used |
|---|---|---|
Sony a7 IV | Full-frame mirrorless | 33MP, strong value for static product work |
Canon 5D Mark IV | Full-frame DSLR | Reliable workhorse, wide lens ecosystem |
Canon R6 | Full-frame mirrorless | Strong autofocus, good dynamic range |
Hasselblad H6D-400c MS | Medium format | Used in high-end fragrance campaigns |
Lenses
If the camera is the instrument, the lens is the voice.
A dedicated macro lens with 1:1 magnification is the consensus choice across professional product photographers. The focal length matters too. If it shoots too short, the bottle’s curves distort; too long, the compression flattens what should feel dimensional. The 90–150mm range is where most professionals land.
Lens | Focal Length | Best For |
|---|---|---|
Sony FE 90mm f/2.8 Macro G OSS | 90mm | Sony system, excellent sharpness |
Sony 100mm f/2.8 GM | 100mm | Premium Sony option, exceptional rendering |
Canon EF 100mm f/2.8 Macro USM | 100mm | Canon system standard |
Sigma 105mm f/2.8 Macro | 105mm | Cross-system, strong value |
Nikon AF-S 50mm f/1.8G | 50mm | Budget option, closest to human sight |
One note on the 50mm argument: a focal length equivalent to human vision produces the least perceptual distortion. But at that distance, the camera is close enough to the bottle that the photographer (and the studio behind them) can appear in the reflection. It is a technically valid choice that creates a logistical problem.
Lighting
Every other equipment choice is secondary to this one.
Glass does not simply sit under light. It will react to it, bend it, and throw it back at the camera in ways that expose every flaw in your setup. This is where most perfume shoots either succeed or quietly fall apart, and why the debate between continuous light and strobe is genuinely consequential:
- Continuous light lets you see reflections in real time. Adjustments happen in real time. For a subject as sensitive to light placement as a perfume bottle, that immediacy has real value.
- Strobe offers more power and consistency, and eliminates ambient light entirely. Many studio professionals work this way, using systems like the Godox AD600 Pro (600 Ws) or the Profoto D2 and D30 for high-end work.
Light Type | Advantage | Limitation |
|---|---|---|
Continuous | See reflections in real time | Less power, generates heat |
Strobe | More power, consistent output | Can't preview reflections live |
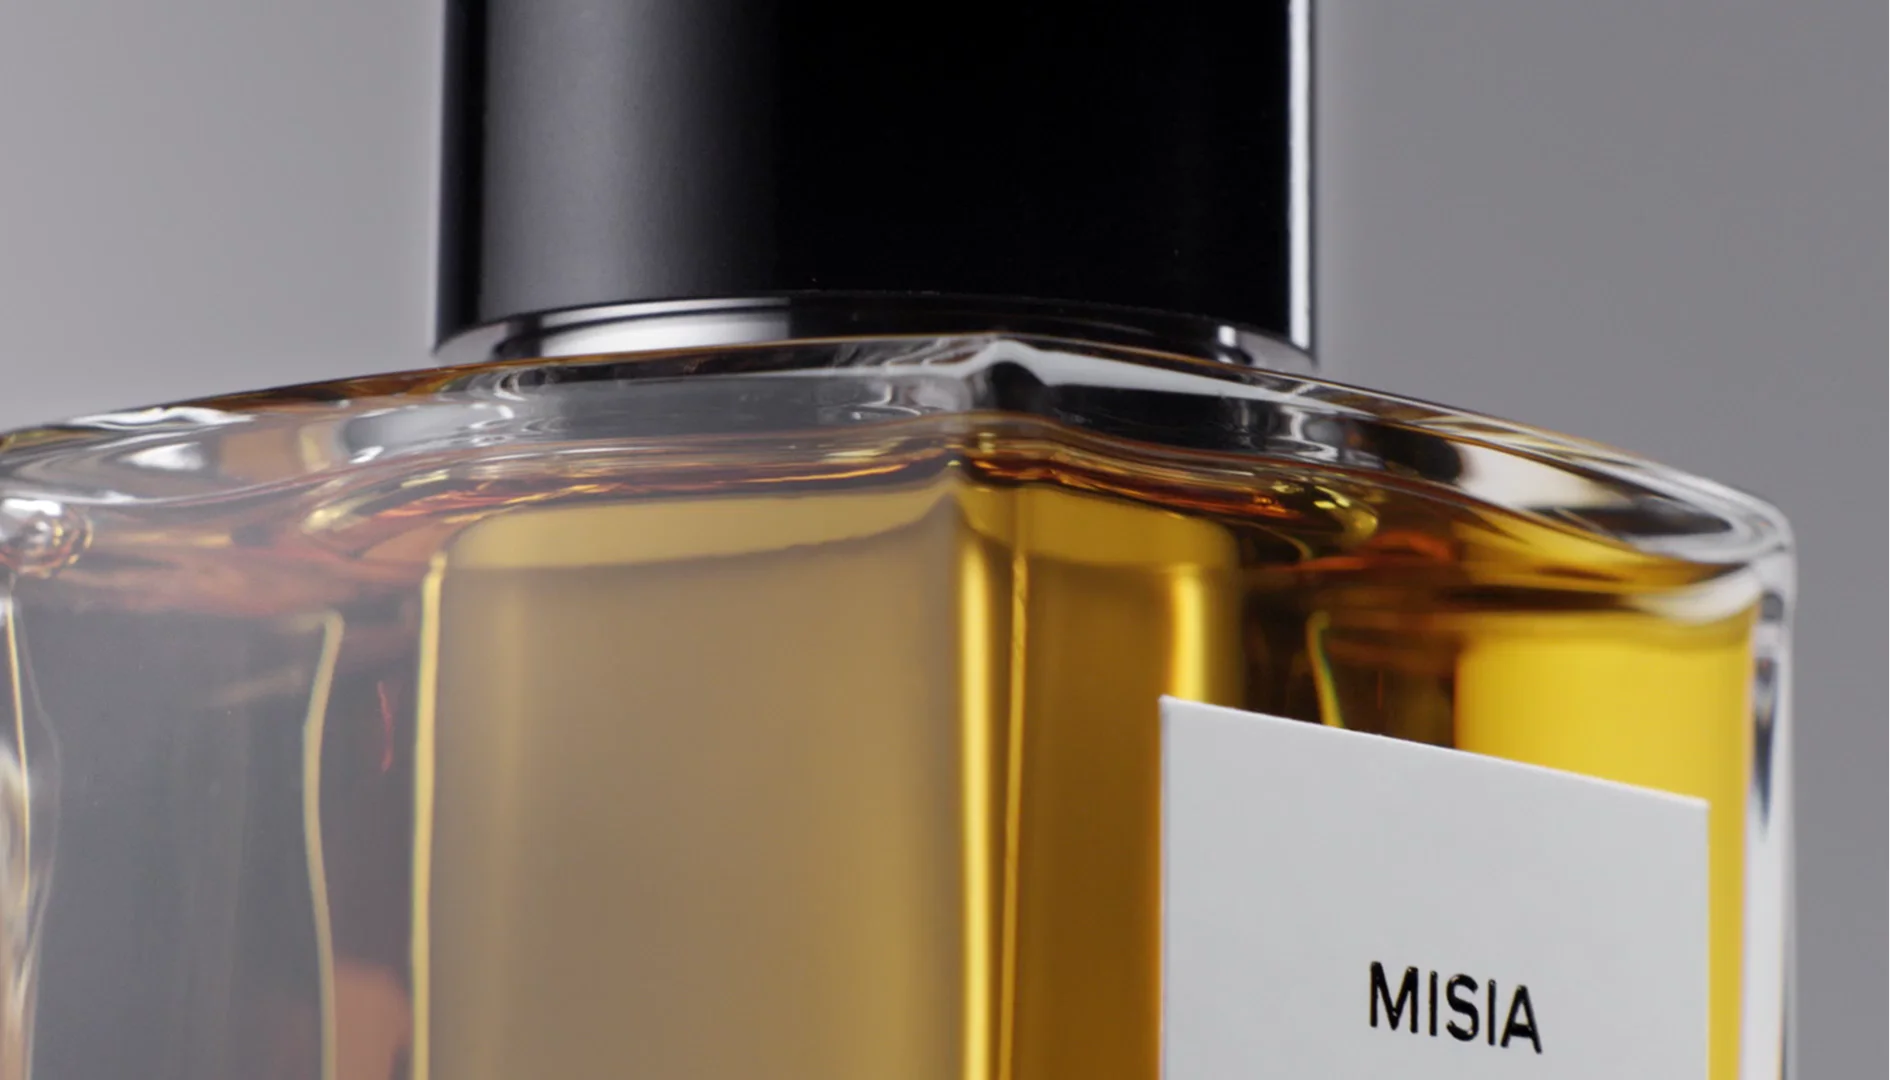
Both approaches demand significant skill to execute well, and both still leave the photographer at the mercy of physical variables such as the room, the bottle’s exact surface finish, and the angle of every modifier relative to every curved edge of glass.
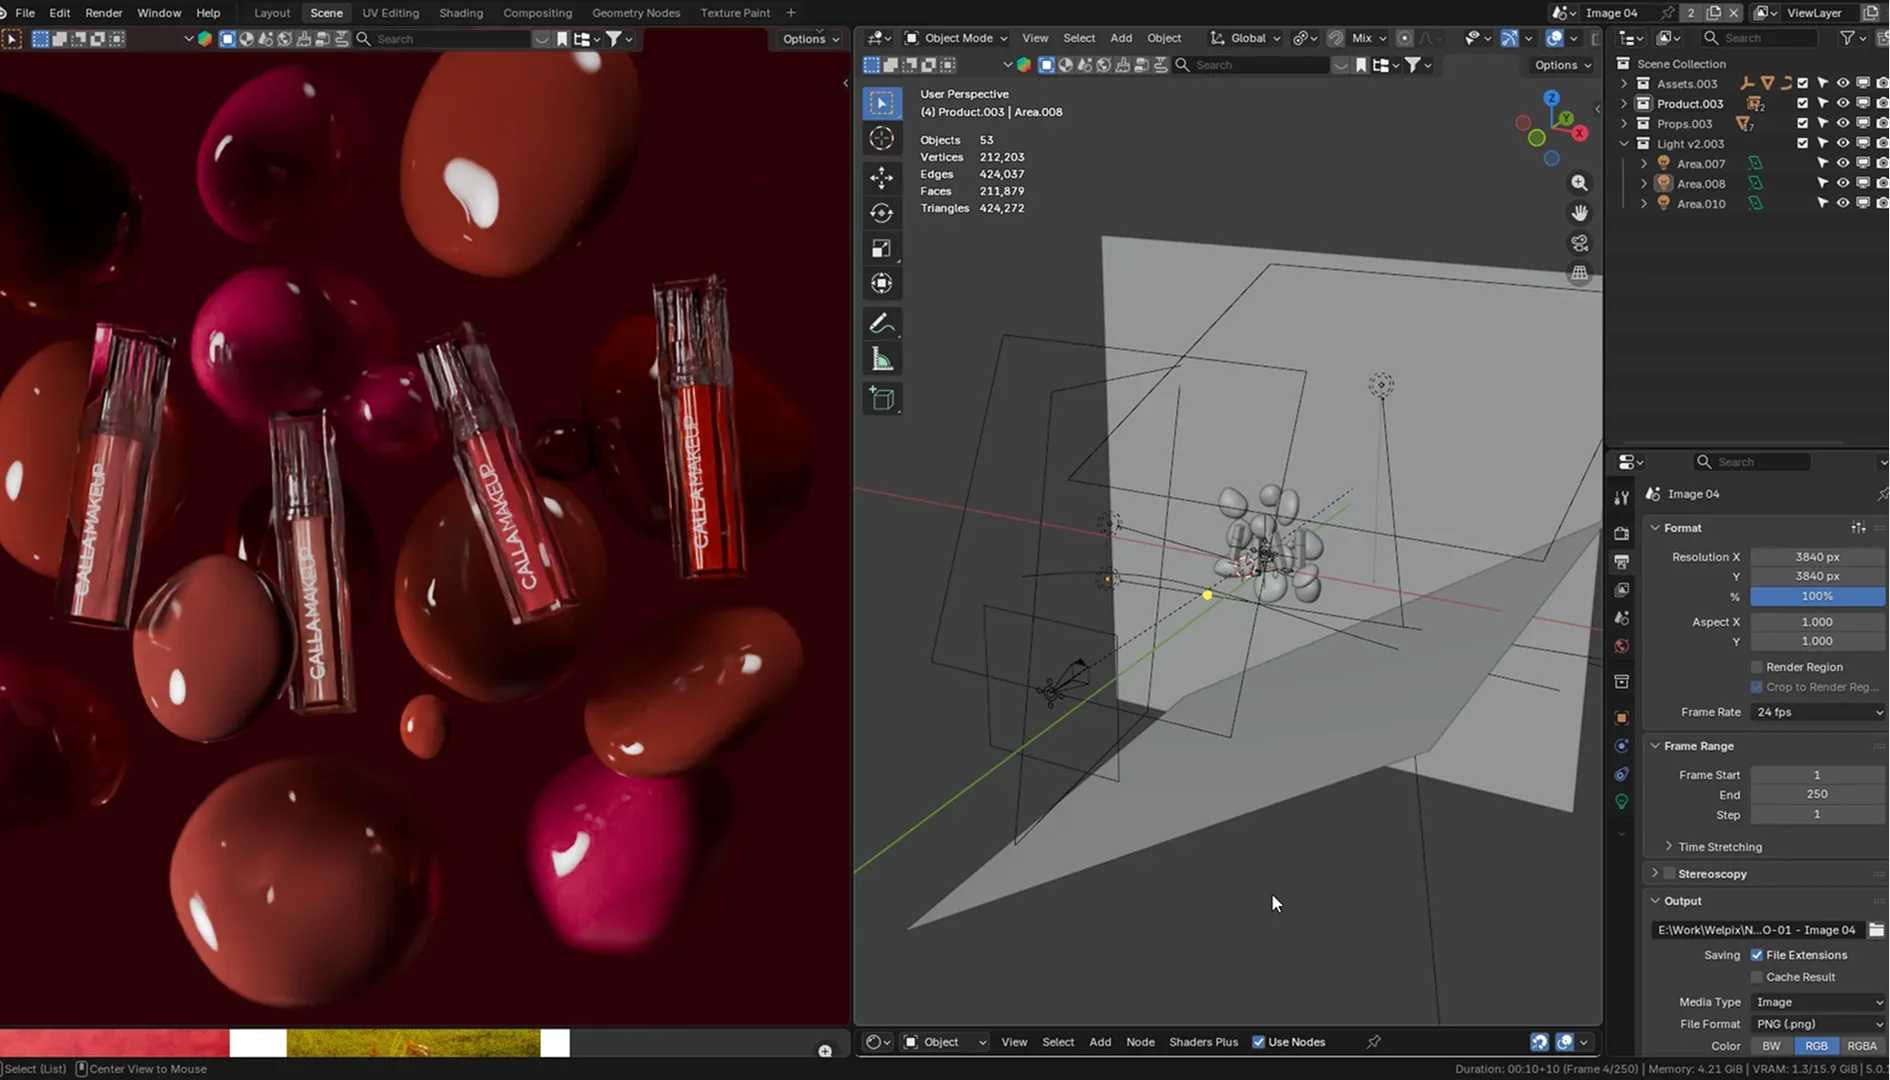
A CGI note: In a 3D render, light is handled differently, as a parameter rather than a physical object, which means a CGI artist can test placements and softness instantly without physically repositioning a stand.
Light Modifiers & Diffusion
Controlling light on glass requires layers.
A softbox pointed directly at a perfume bottle produces one thing reliably: a rectangular reflection of itself. The modifier is only the beginning. The diffusion material between the light and the bottle is what actually controls the quality of light on the glass.
Large rectangular softboxes (31″×47″ is a common working size) paired with diffusion paper are the professional standard. Rosco Cinegel diffusion filters hung from a C-stand boom arm smooth out reflections in ways the softbox alone cannot, including eliminating wrinkle artifacts that appear when a softbox’s internal surface reflects on curved glass.
Every experienced bottle photographer lives by one principle: diffuse, diffuse, diffuse. Here is what that looks like in practice:
Material | Purpose |
|---|---|
White plexiglass panels | Backlighting, light tables |
Tracing / wax paper | Inexpensive diffusion layer |
Full-stop diffusion gel | Smoothing harsh sources |
Rosco Cinegel filter | Professional-grade diffusion |
Strip lights | Controlled edge lighting |
Tripod & Stabilization
Perfume bottle photography routinely requires focus stacking and multi-frame compositing. Both techniques demand that the camera not move by even a fraction of a millimeter between shots. A cheap tripod that flexes under the weight of a full-frame body with a macro lens will undermine everything else in the setup.
Tethering
Shooting tethered connects the camera to a workstation in real time, so every frame appears at full resolution on a calibrated monitor the moment it is captured. Capture One Pro is the professional standard, compatible with most Nikon and Canon bodies and select Sony and Fujifilm systems. Adobe Lightroom also supports tethering.
Use a quality USB cable and keep the run under five meters to avoid signal issues.
A CGI note: Because a render is generated rather than captured, there’s no equivalent tethering step. The artist is simply working directly at final-image quality throughout.
Turntables for 360° Photography
Brands increasingly expect 360-degree product views for e-commerce. This requires a motorized turntable and a fixed camera position.
Tier | Examples | Price Range |
|---|---|---|
Entry-level | Foldio360, manual options | $50–$200 |
Professional motorized | Iconasys, SpinShot | $1,500–$5,000 |
Enterprise multi-camera | PhotoRobot Centerless Table | $10,000+ |
The minimum for a smooth 360 rotation is 24 frames. The professional standard is 36.
In CGI, a 360-degree view is a byproduct of having a 3D asset. Once the bottle is modeled and lit, rotating it costs nothing.
Lighting Techniques for Elegant Perfume Bottle Photography
Light is the difference between a bottle that looks like a product and one that looks like an object worth desiring. Here are some helpful techniques:
Backlighting
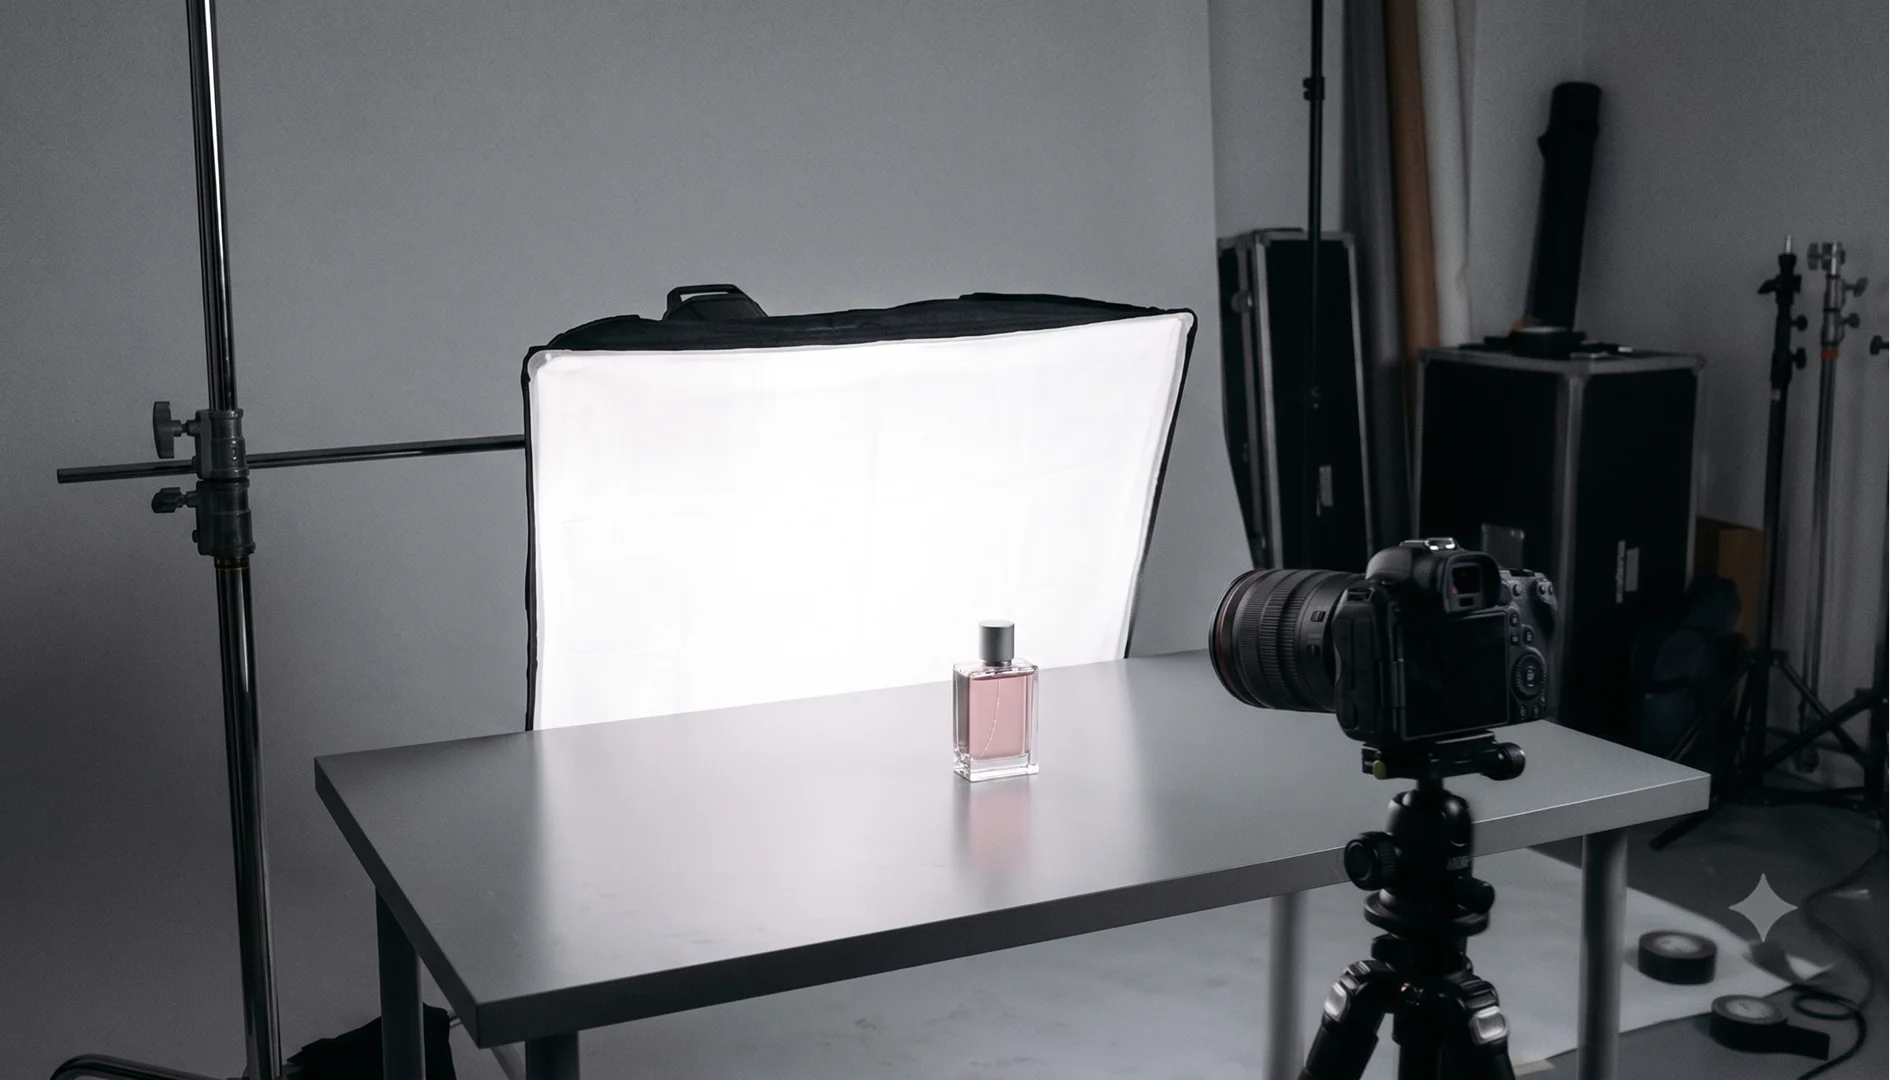
A light source placed behind the bottle pushes through the glass, illuminates the liquid inside, and creates a rim of light around the silhouette. It is the reason a perfume bottle glows in a photograph rather than sitting flat. A separate, softer light on the label keeps the text legible without killing the mood.
Side Lighting at 45°
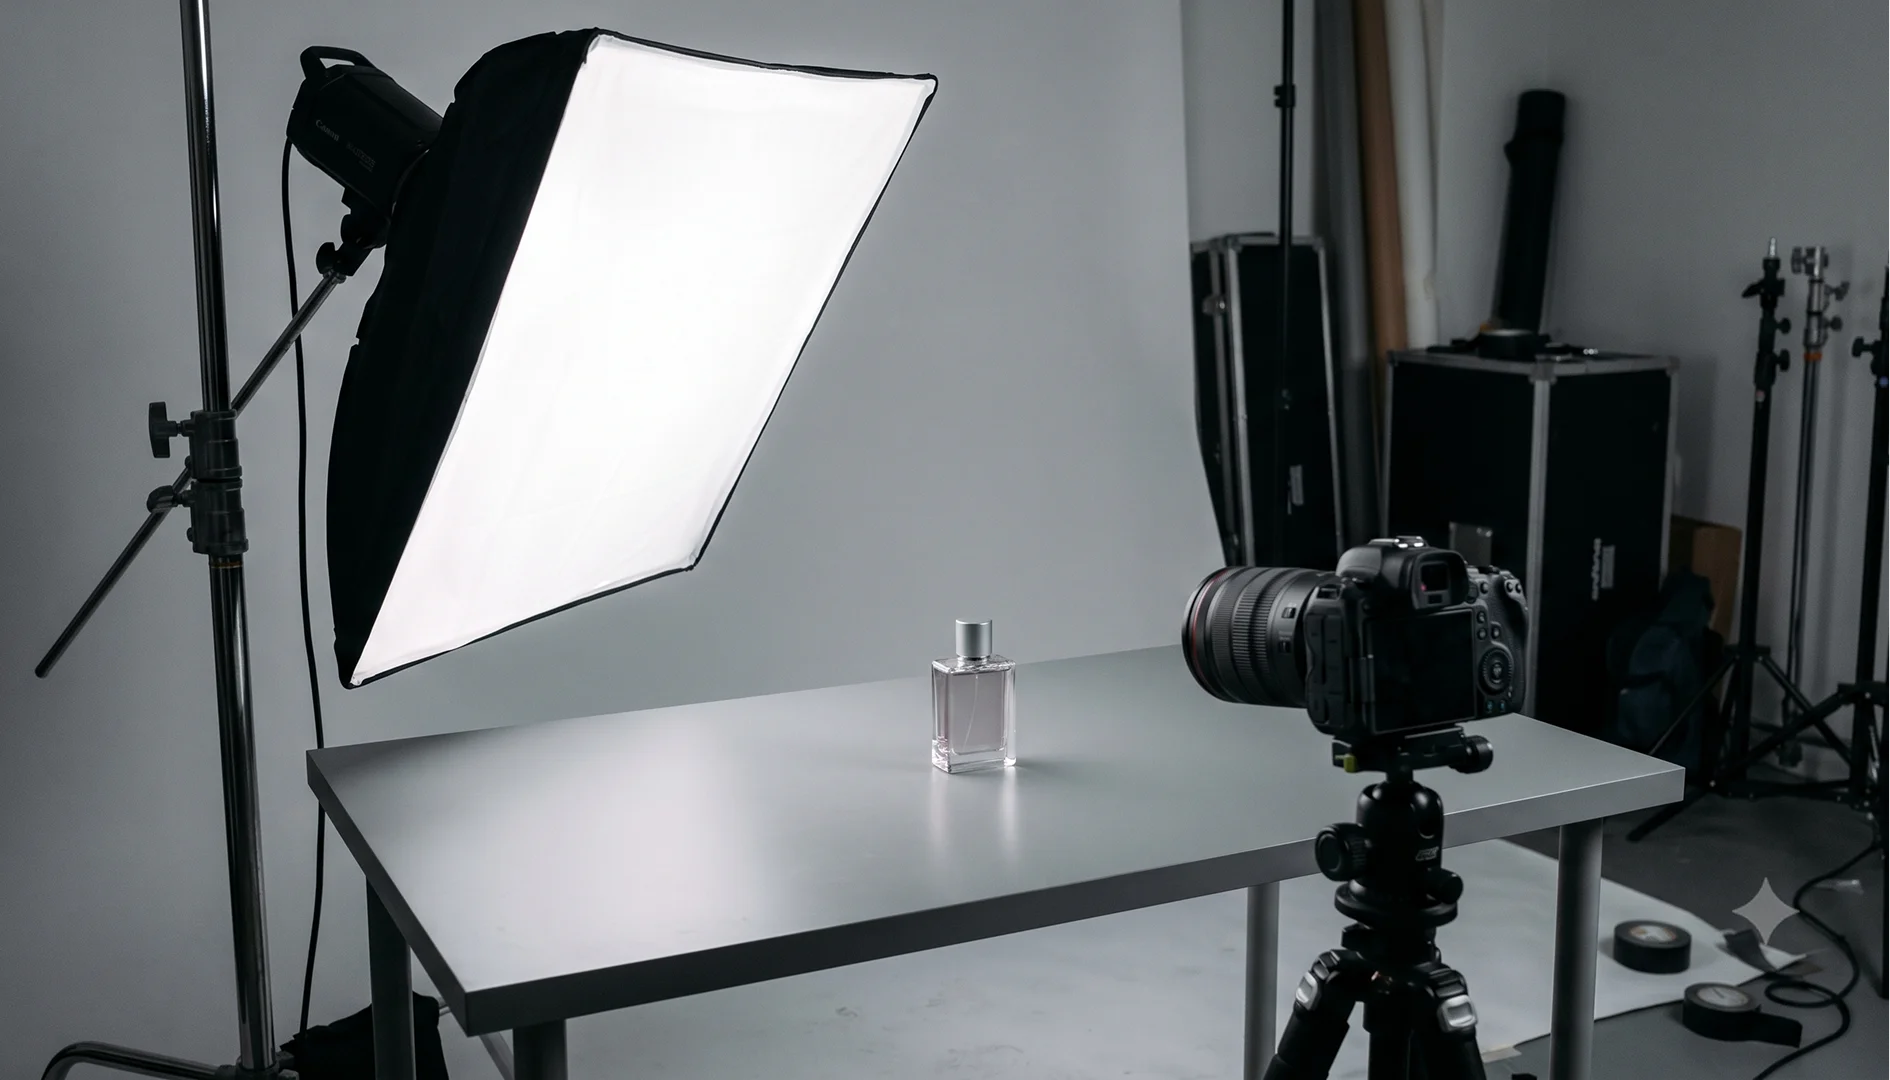
A large softbox positioned at 45° to the bottle is the classic single-light setup, and for good reason. It adds dimension, traces the curve of the glass, and creates the kind of shadow that makes a bottle look three-dimensional rather than printed.
Edge and Rim Lighting
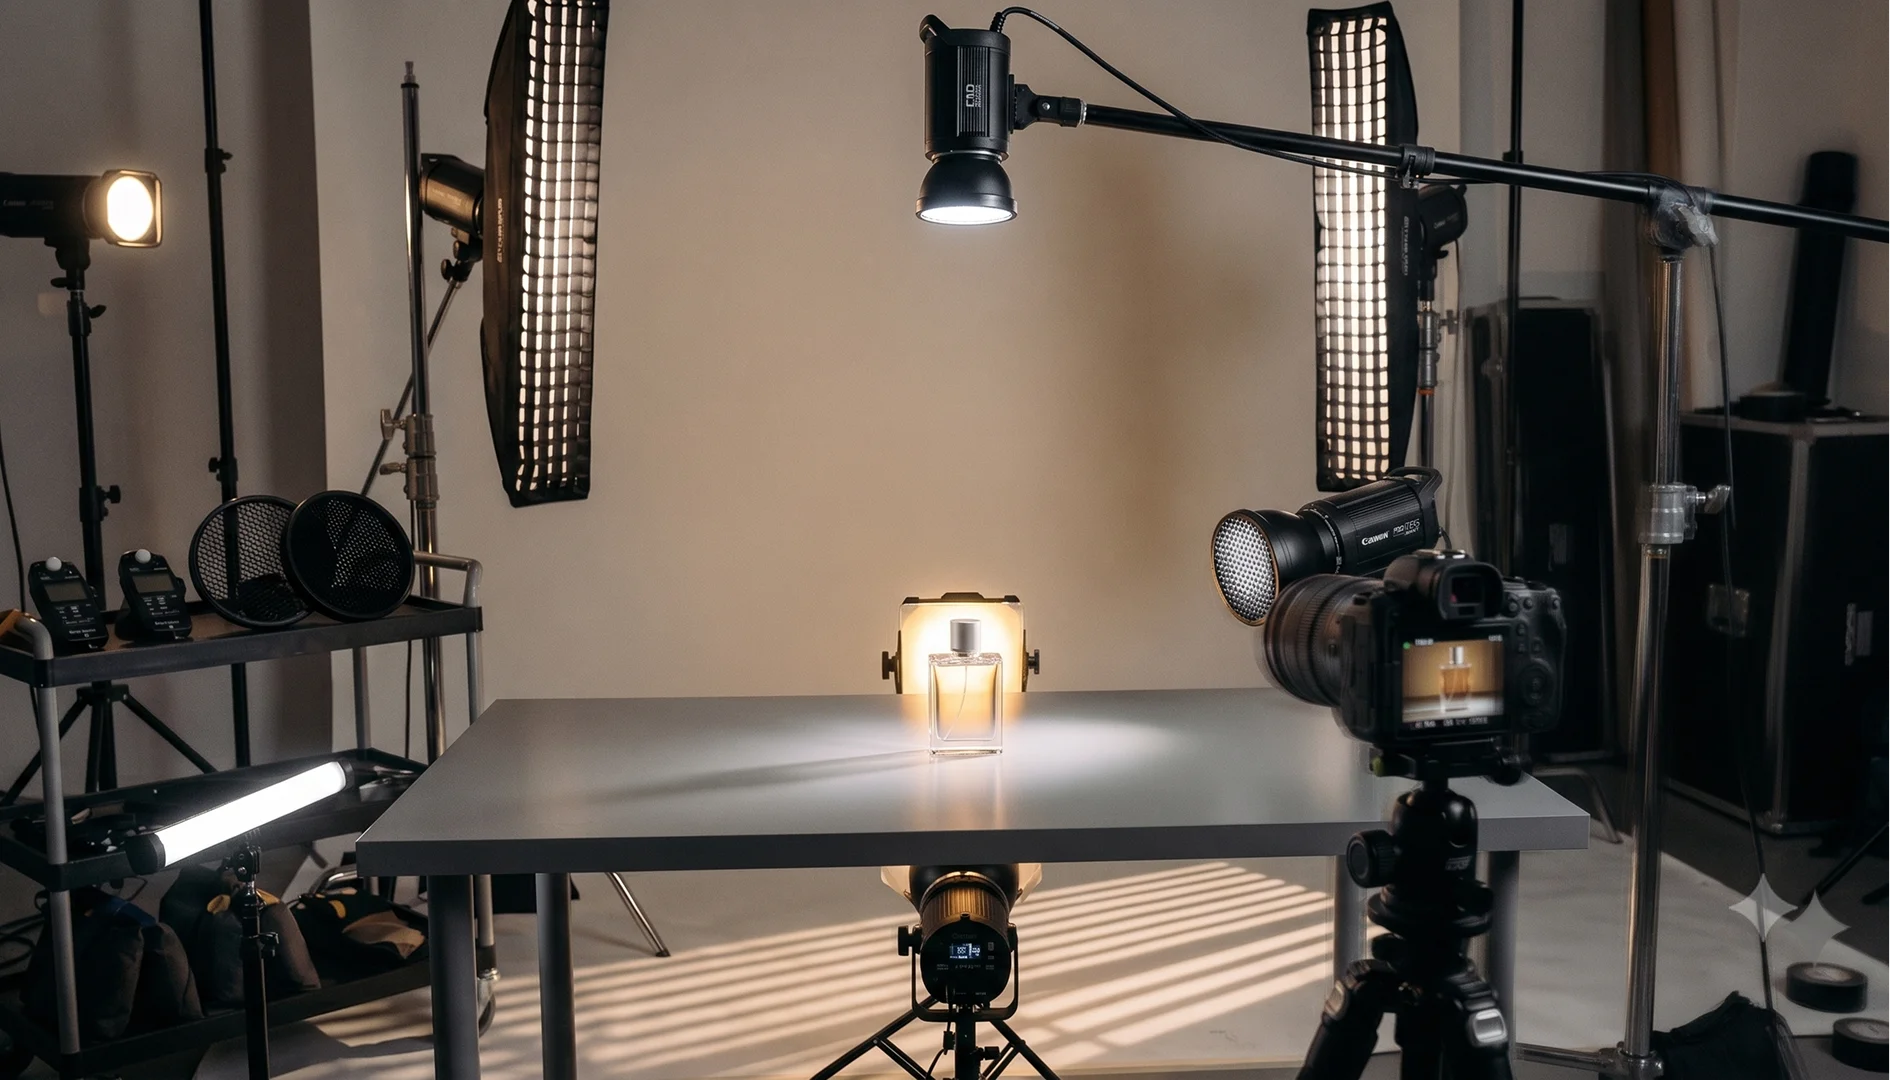
One popular three-light recipe uses a backlight with a CTO gel to simulate warm sunlight, a tightly gridded bottle light for precision, and a top light to define the cap and shoulders. Or you can run two high lights with 20° honeycomb grids for sharp shadow edges, a horizontal side light for fill, and a separate backdrop light.
Controlling Reflections
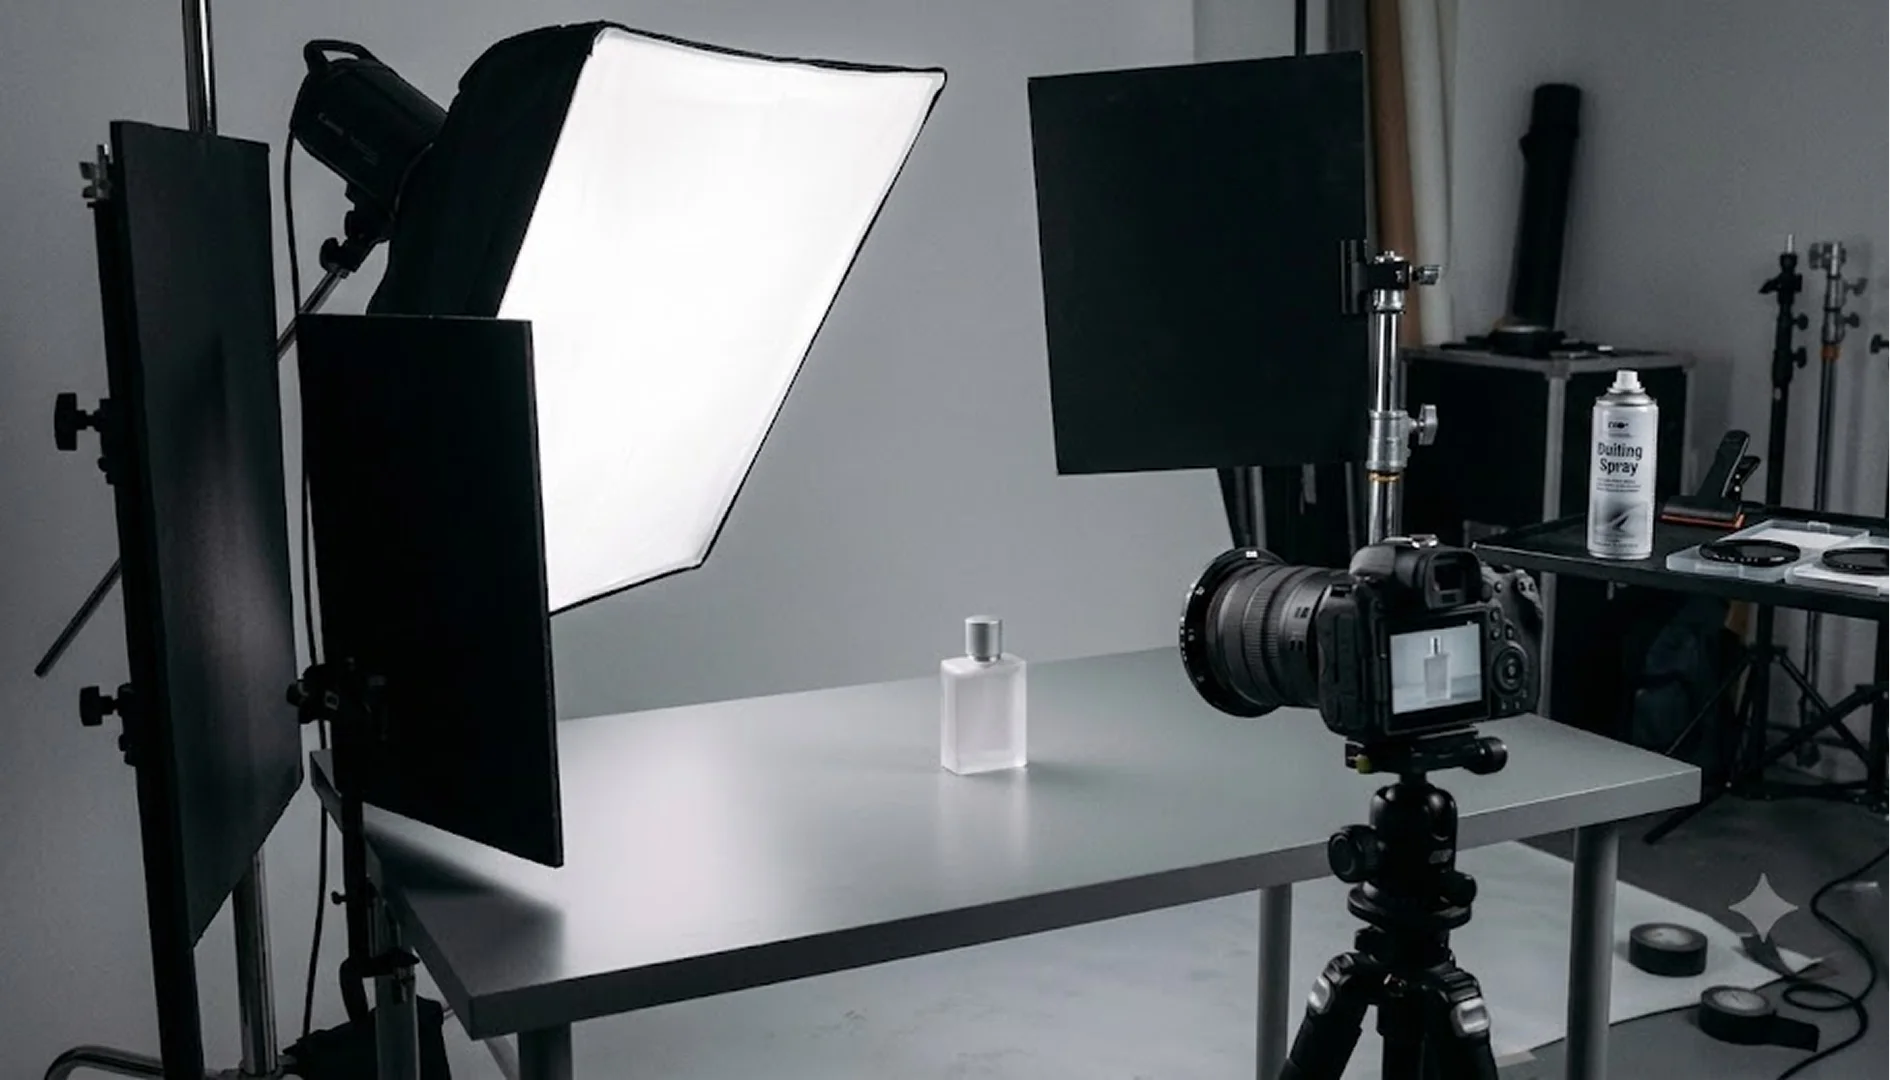
Glass reflects everything, including whatever you did not intend to put in the frame. The primary tools for controlling this are light placement and diffusion, but black cards and flags placed just outside the frame kill unwanted reflections fast.
Matte dulling spray reduces surface glare on particularly problematic finishes. A polarizing filter helps, though it changes the character of the light in ways that need to be accounted for.
Mirrors and Reflectors
A white card placed behind or beside the bottle bounces light through the liquid, adding depth and warmth. A black acrylic base beneath the bottle creates the clean, elegant reflection common in luxury fragrance photography.
Natural Light
Soft window light is free, flattering, and genuinely usable. Many independent perfumers shoot outdoors with small reflectors and get results that hold up well for social media and marketplaces. The limitation is control: natural light shifts in color and intensity, direct sun creates glare, and a dull interior produces images that look exactly like what they are.
Choosing the Background
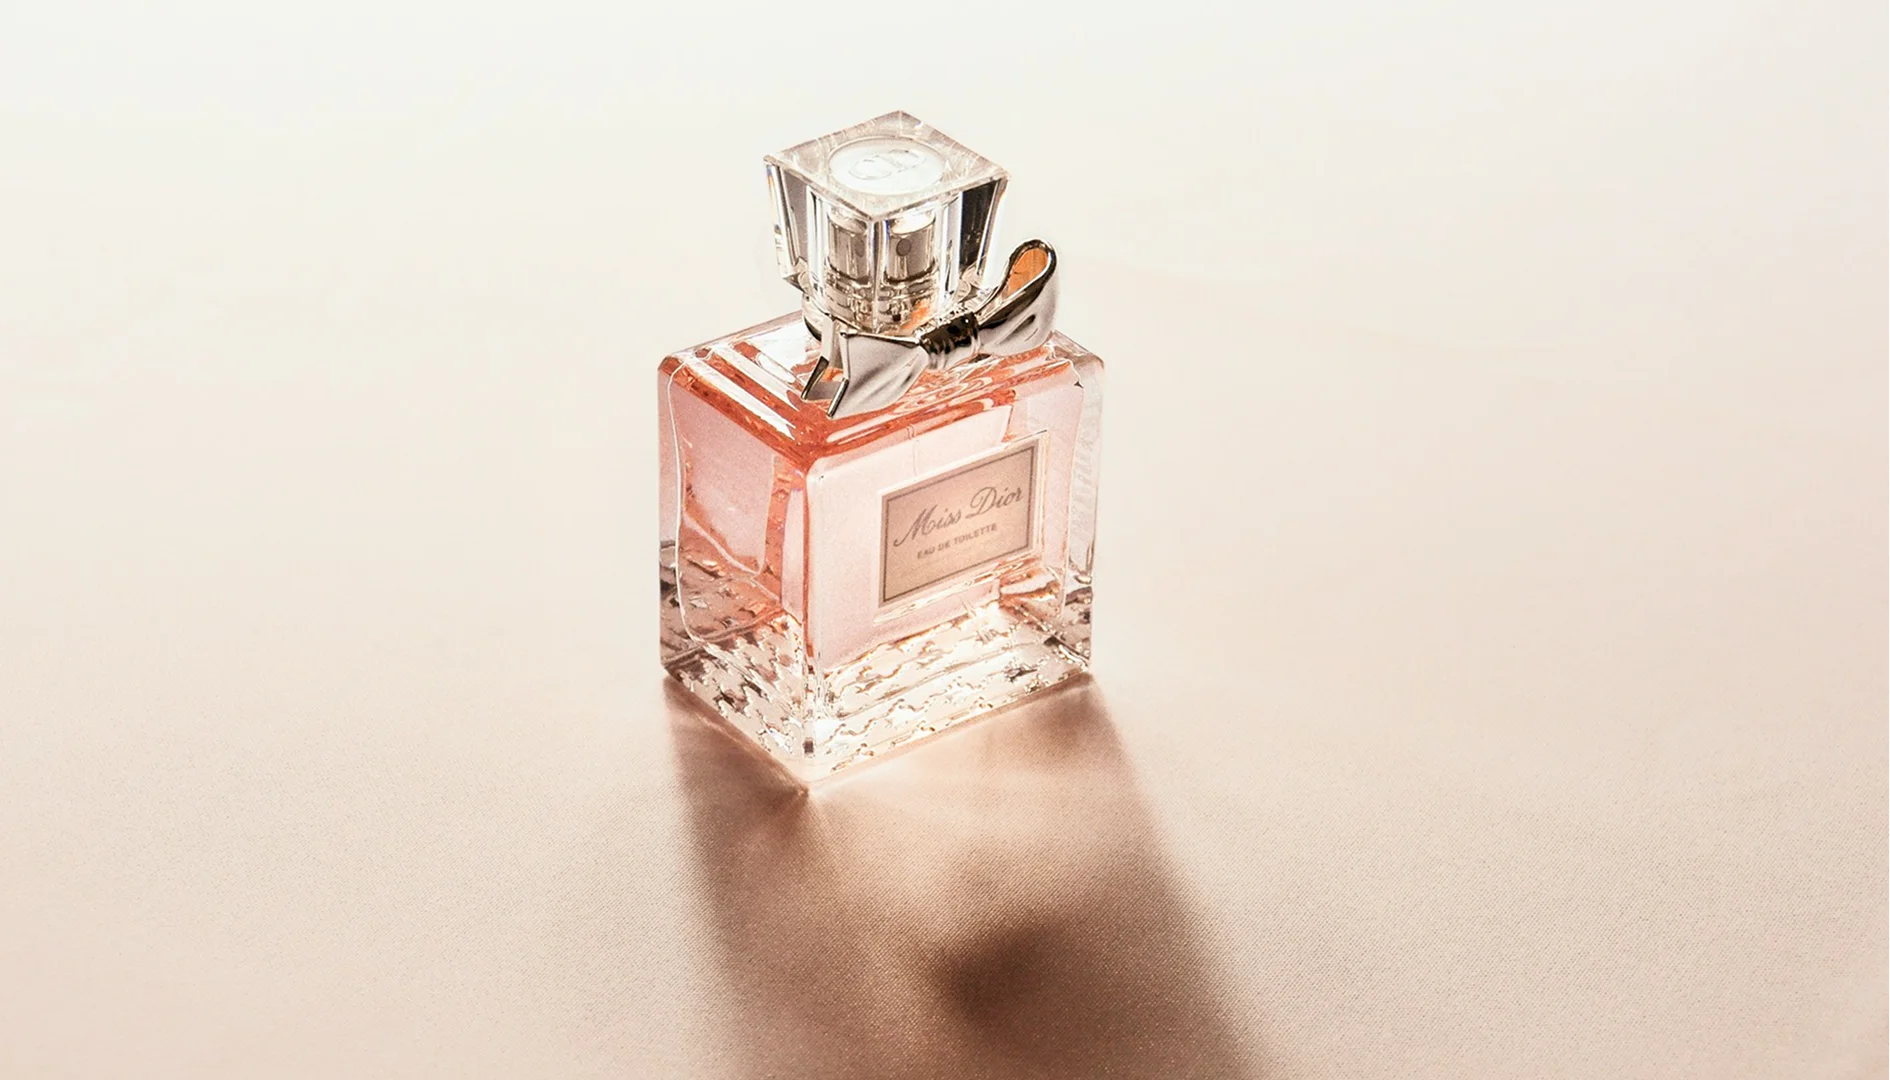
Background is not a neutral decision. It is the second most important lighting choice in the frame.
Photographers are encouraged to match the background tone to the liquid inside the bottle. Clear or light-colored liquids backlit on dark backgrounds look unnatural; the light passing through the glass has nowhere to land.
Amber and darker liquids, on the other hand, come alive against dark backgrounds, with the liquid’s depth echoing the richness of the setting. It is not a rigid rule, but ignoring it produces images that feel slightly wrong without the viewer knowing why.
Background | Best For | Lighting Note | Scent Style |
|---|---|---|---|
White seamless | E-commerce, catalog | Soft diffused light; must be spotless | Universal, mass market |
Black or dark | Luxury, editorial | Highlights metallic accents and cap details | Masculine, opulent, intense |
Gradient | Premium advertising | Controlled with light falloff on backdrop | Mid to high-end |
Marble | Luxury storytelling | Reflective surface needs careful placement | Feminine, classic, high-end |
Wood | Natural, artisanal | Warm light complements grain texture | Organic, niche, indie |
Fabric or draped textile | Editorial, lifestyle | Diffused side light for texture depth | Soft, romantic, niche |
Colored sets | Campaign, social | Must match or contrast the scent story intentionally | Editorial, creative direction |
In CGI, the background is a scene parameter. Switching from white to marble to a full-custom set incurs no additional setup time.
Composition and Framing
A perfume bottle is a small object carrying a large amount of brand meaning. How it sits in the frame determines whether that meaning comes through or gets lost.
Composition Rules
Here are the principles that separate a centered product snapshot from an image that feels intentional:
- Rule of thirds: Place the bottle or label at the intersection points of an imaginary 3×3 grid rather than dead center. It creates balance without rigidity.
- Negative space: Generous empty space around the bottle signals elegance. It also leaves room for ad copy.
- Leading lines: The bottle’s own shape, a prop, or a surface texture can guide the viewer’s eye toward the subject.
- Rule of odds: When shooting multiple bottles, arrange them in odd numbers. Three reads as a composition. Two reads as a comparison.
- Object-to-space ratio: A 60:40 to 70:30 subject-to-negative-space ratio is the professional standard for flat lays.
Angles
Angle | What It Communicates | Best Used For |
|---|---|---|
Straight-on / frontal | Clean, precise, design-forward | E-commerce, label visibility |
45-degree | Natural, approachable, dimensional | General product shots, tabletop |
Overhead / flat lay | Artistic, story-driven, contextual | Editorial, lifestyle, prop-heavy shots |
Low angle | Dramatic, larger-than-life, elegant | Luxury campaigns, hero shots |
Props and Styling
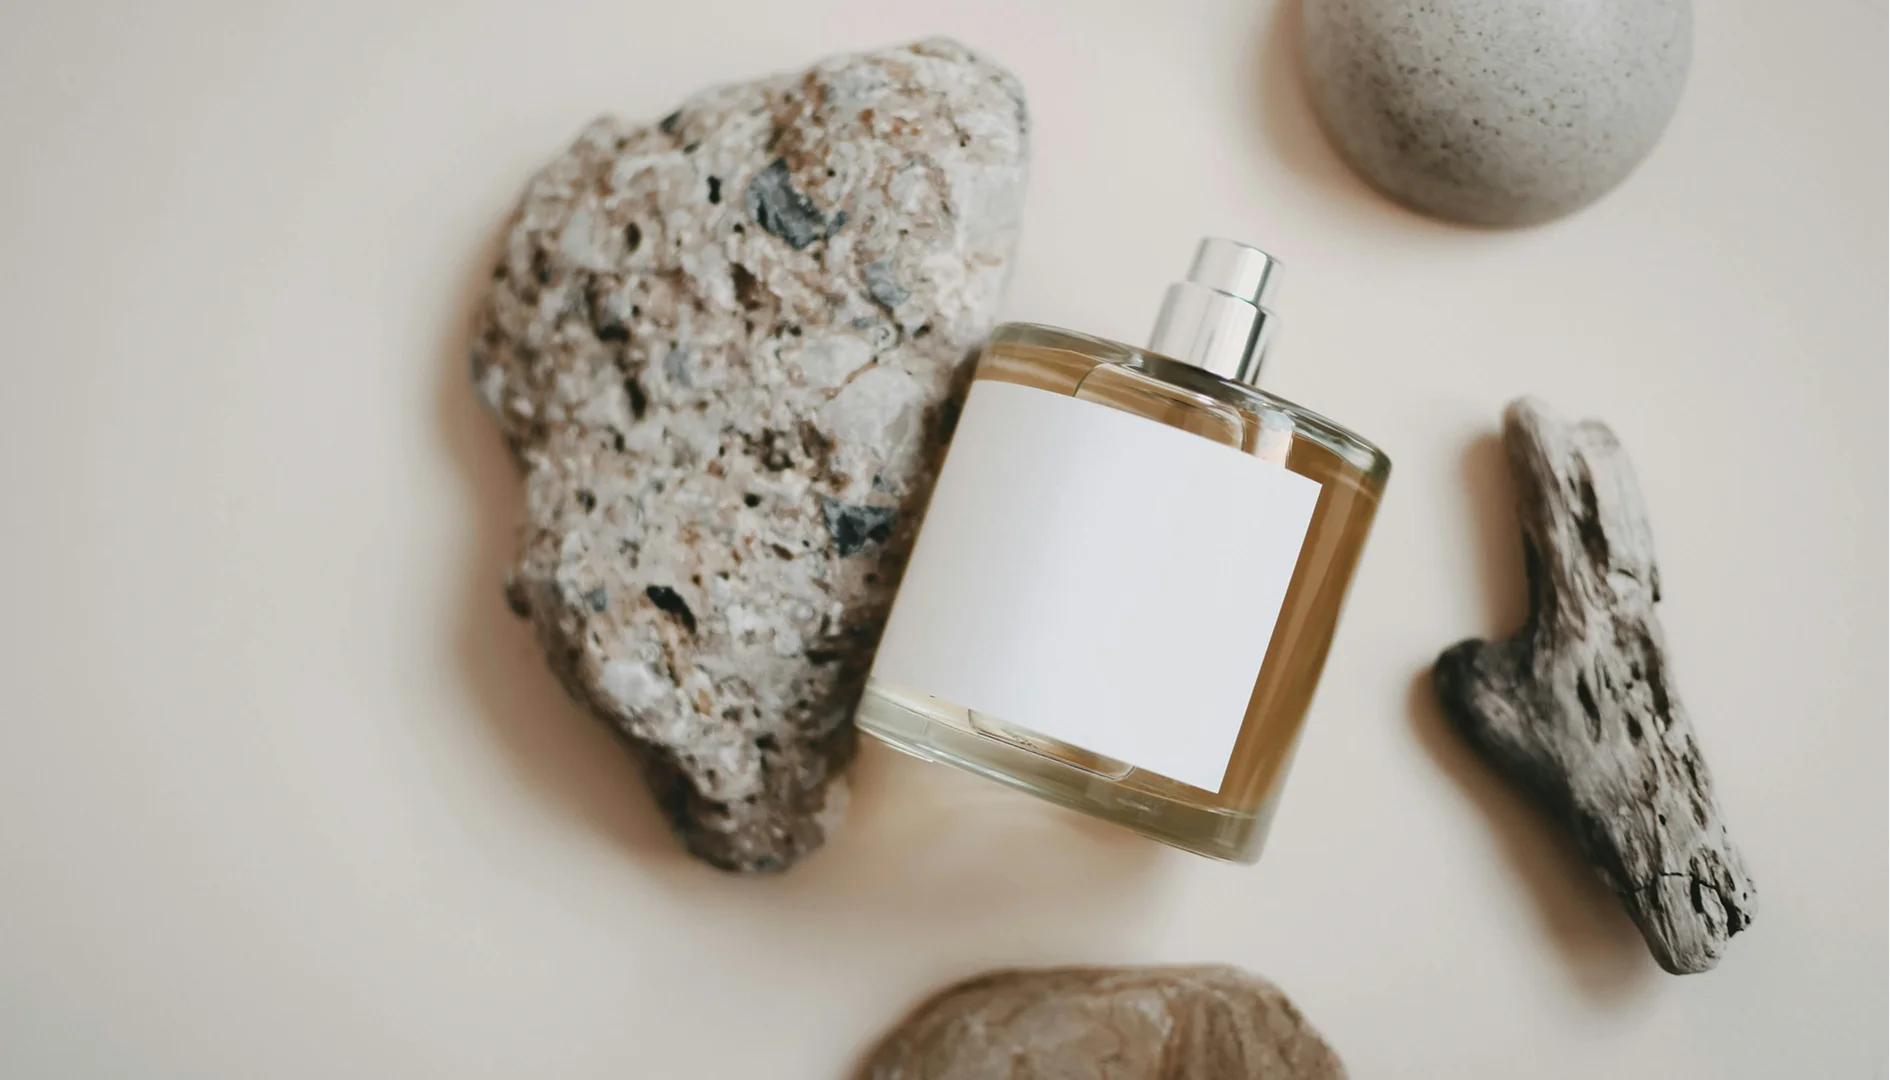
Props should be used as a context (not just decoration) for creative perfume bottle photography. They are visual shorthand for what the bottle cannot say on its own. Make sure you don’t overdo it. A cluttered setup may distract from the bottle and reflect directly into the glass.
Here are some perfume bottle photography ideas for styling your shot around the scent itself:
- Florals: dried botanicals, flower petals, rose heads
- Citrus: sliced lemons, oranges, or lime halves
- Woody or earthy: raw wood slabs, bark, pebbles, moss
- Leather or spice: leather swatches, cinnamon sticks, dried herbs
- Fresh or aquatic: water droplets, splashes, sea glass
Beyond scent storytelling, certain materials recur for good reason:
- Silk and velvet add softness and tactility.
- Mirrors and reflective glass echo the bottle’s own surfaces.
- Marble slabs communicate luxury without effort.
- Water droplets or splashes suggest freshness and immediacy.
Details to Capture
These are the details worth isolating in dedicated close-up shots:
- Atomizer and spray mechanism: Often overlooked, but a well-lit spray nozzle communicates quality and precision.
- Cap texture and metal finish: Embossed patterns, brushed metal, and lacquered surfaces each catch light differently and deserve their own frame.
- Liquid color: The color of the juice inside the bottle is part of the product’s identity — backlight it to bring it alive.
- Label embossing and foil: Flat lighting kills these details; raking side light at a low angle reveals them.
- Engraved logos: Shallow depth of field and precise focus draw attention to craftsmanship that a wide shot loses entirely.
Camera Settings
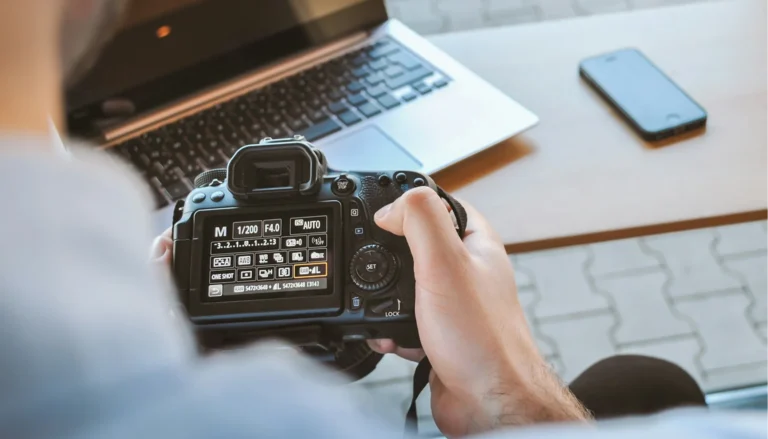
Use the table below as a starting point, then adjust based on your lighting setup and the look you are after.
Setting | Recommended Value | When to Adjust |
|---|---|---|
Aperture | f/8 to f/16 | Drop to f/2.8 for selective focus or dreamy detail shots |
Shutter Speed | 1/160s to 1/250s | Stay at or below max sync speed with strobes; above it produces a dark band |
ISO | 100 (native) | Keep as low as possible; raise only if light is insufficient |
White Balance | Daylight / Flash (5500K) | Use a grey card for precision; keep consistent across the shoot |
File Format | RAW | JPEG only if storage is a hard constraint |
Focus Mode | Single point, manual fine-tune | Switch to focus stacking when diffraction softens the image at small apertures |
A note on focus stacking: Shooting at f/16 or beyond introduces diffraction (a physics problem where the aperture itself starts softening the image). Focus stacking solves this by capturing multiple frames at a wider aperture, each focused on a different depth plane, then merging them in post.
Post-Processing and Editing

A raw file from even the most controlled perfume shoot carries dust, fingerprints, stray reflections, and tonal inconsistencies that only become visible at full resolution on a calibrated monitor.
Here is how professionals work through it:
- Lightroom: Establish the baseline. Exposure, white balance, lens corrections, and saturation adjustments before anything moves to Photoshop.
- Photoshop retouching: Remove fingerprints, smudges, and surface imperfections using the Healing Brush and Clone Stamp. Clean or replace backgrounds. Correct misaligned caps.
- Frequency separation: Split the image into two layers, one for texture and one for tone, so each can be edited independently. A smudge cleans without disturbing the light gradient behind it.
- Compositing: Combine multiple exposures using layer masks, one optimized for the label, one for the liquid, one for the cap, into a single finished frame.
- Color grading: Warm grades communicate luxury. Cool grades communicate freshness. Match the grade to the fragrance identity, not just the aesthetic.
Retouching runs $50 to $300 per image. High-end composited shots can take several hours. For brands producing a full product range, that cost adds up fast.
CGI sidesteps this entirely. A rendered image arrives without dust, fingerprints, or compositing work. The retouching budget becomes a rendering budget, and the output is already finished.
Common Mistakes To Avoid
Even a well-equipped studio with the right lighting setup can produce unusable images. Most perfume photography mistakes are oversights that compound. Here are the ones that show up most often:
- Fingerprints and dust on the bottle: Wipe with a microfiber cloth before the shoot and between setups, and wear gloves when handling and repositioning the bottle.
- Inconsistent color temperature: Mixing ambient light with flash, or shifting white balance between frames in a composite, produces tonal inconsistencies that survive all the way to the final image. Lock white balance early and keep it consistent.
- Unreadable label: Backlighting illuminates the liquid but kills the label. A separate softer light directed at the label keeps it legible without disrupting the overall mood.
- Misaligned cap: A crooked cap reads as careless regardless of how well everything else is lit. Check alignment before every shot, not just at the start of the setup.
- Over-editing: Frequency separation overdone produces skin-smooth glass that looks synthetic.
- Wrong sensor angle: Shooting with the sensor at any angle other than parallel to the bottle distorts its shape. Keep the sensor plane parallel to the bottle face to preserve the geometry the designer intended.
- Missing shadows and depth: Flat images with no shadow and uniform focus look unreal. Shadows give the bottle weight. Selective depth of field gives it presence.
Get Campaign-Ready Perfume Visuals with Welpix
Everything in this guide exists to solve one problem: making a glass bottle look as desirable in an image as the fragrance inside it smells in real life.
If your priority is a handful of hero images with real, organic texture and mood, traditional photography is worth the time and cost it takes. If you’re managing a growing catalog, frequent variants, or need visuals before a bottle physically exists, CGI is built for exactly that. And for many brands, the two work best side by side
Welpix works on the CGI side of that equation. We model your bottle in 3D, replicate the glass, liquid color, and label with precision, then place it in a fully controllable virtual environment. Projects are typically turned around in one to two days.
You just need to take a few photos of your product with your smartphone and send them over. If you want to see what that looks like for your own bottle before deciding anything, send us a few reference images
- 3D modeling
- White bg.
- Minimalistic
- Simple prop
- Custom
- 3D modeling
- White bg.
- Minimalistic
- Simple prop
- Custom

FAQ
Can I use a phone for luxury perfume bottle photography?
Yes, for social media and indie use. Switch to Pro mode, set ISO as low as possible, and shoot in good diffused light. A DSLR or mirrorless with a macro lens still delivers significantly more control and quality for anything beyond casual use.
What is CGI perfume photography, and how does it work?
CGI perfume photography produces product images entirely in 3D software rather than a physical studio. A 3D artist models the bottle, replicates the glass material, liquid color, and label, then places it in a virtual environment with fully controllable lighting. The output is a rendered image indistinguishable from a photograph.
How many lights do I need for a professional perfume shot?
A single large softbox at 45° is enough for a clean, competent result. Most professional setups use two to three lights: a backlight to illuminate the liquid, a bottle light for surface detail, and a top or fill light for the cap and shoulders.
How do I avoid my own reflection in the bottle?
Use black flags or cards around the camera, cut a lens hole in a diffusion panel placed between the camera and bottle, and pay close attention to light placement. Most unwanted reflections come from the camera position.
Is CGI cheaper than a traditional photoshoot?
For brands that need multiple variants, frequent updates, or a scalable asset they can reuse across campaigns, CGI becomes the more cost-effective option over time. The 3D asset is built once and adapted indefinitely.
Can CGI replicate the look of real glass and liquid accurately?
Yes. Modern 3D rendering engines simulate the optical properties of glass with precision. In some cases, particularly with complex bottle shapes or environments that would be physically impossible to shoot, CGI produces results a camera cannot match.
Should I choose traditional photography, CGI, or both?
It depends on the job. Traditional photography is generally the stronger choice for a small number of hero or lifestyle images where organic texture and authenticity matter most. CGI tends to fit better for catalog-scale needs, frequent variants, or pre-launch visuals. Many brands use both: a traditional shoot for flagship imagery, CGI to extend that same look across the rest of the range.