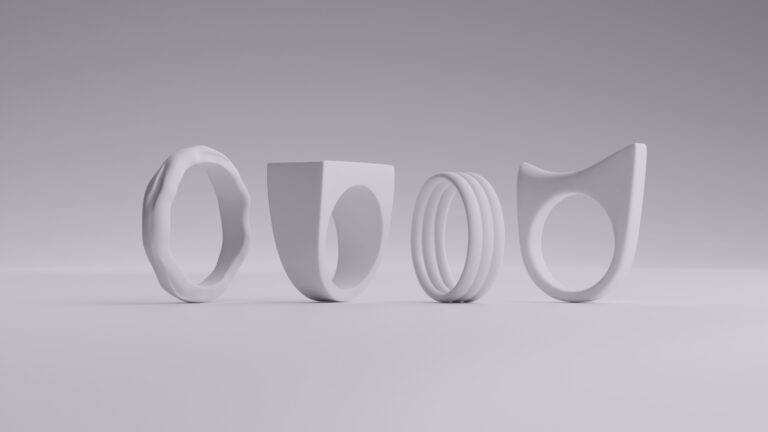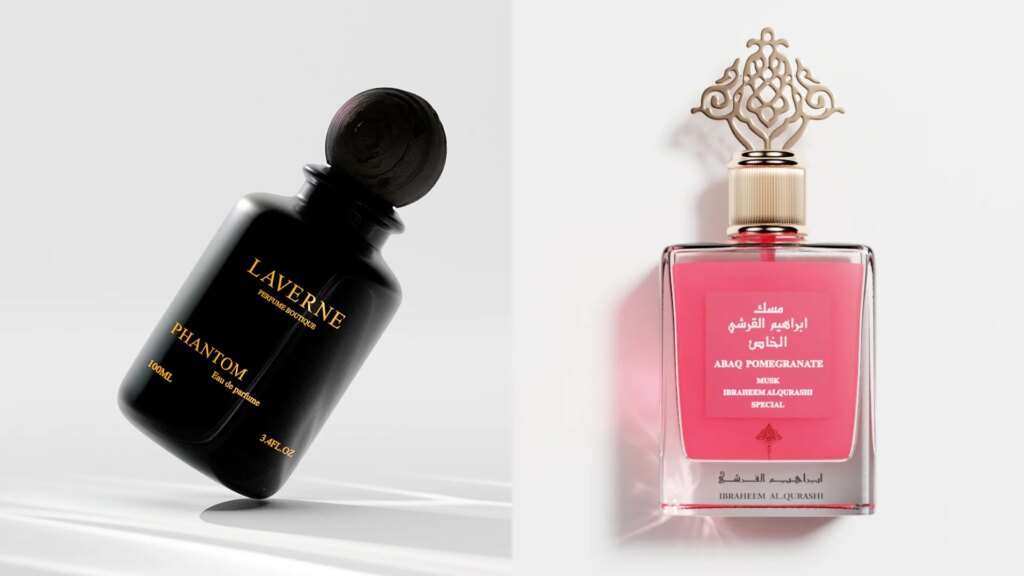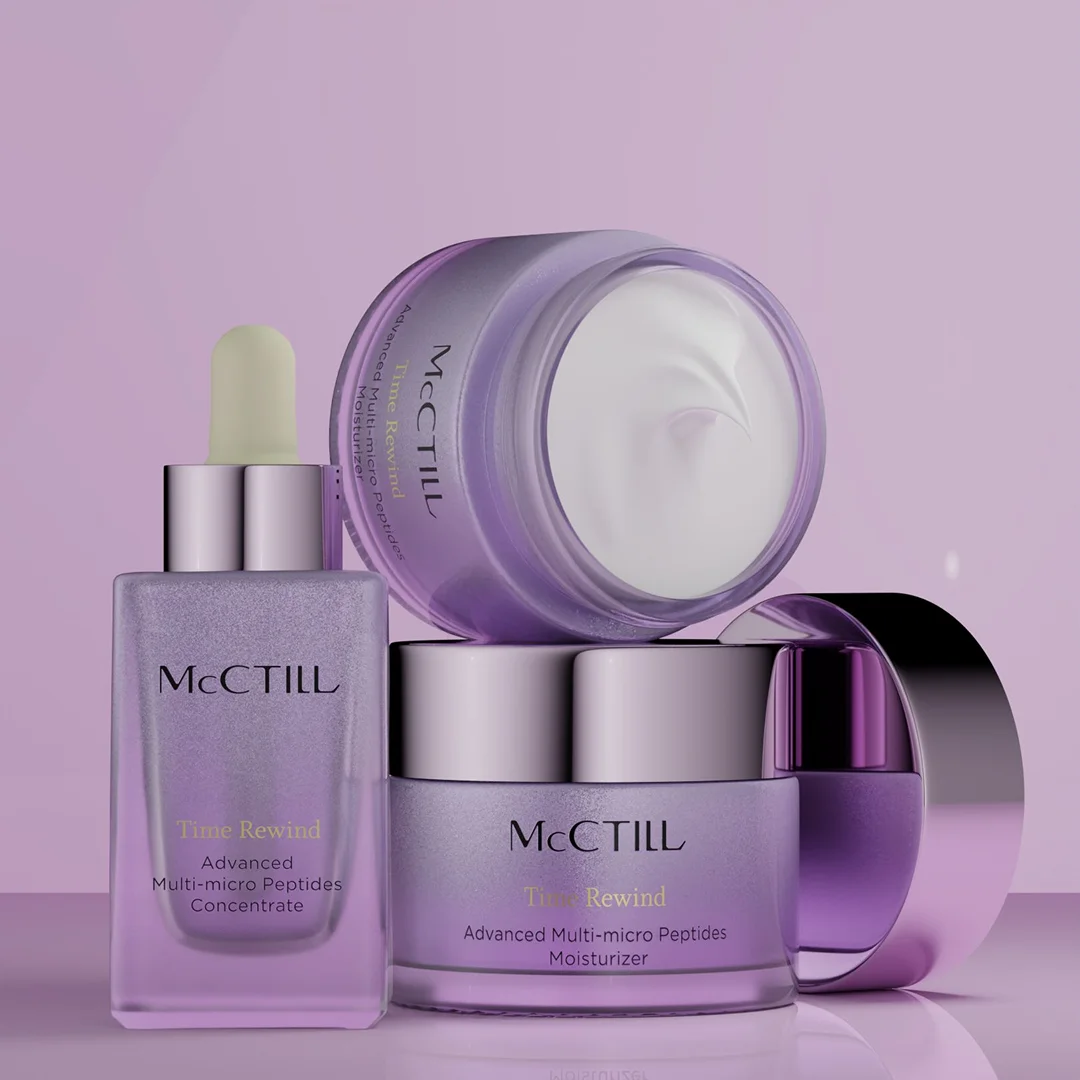

Beauty and cosmetics are a glamour-driven industry. And there’s no better way to prove that glamour than through excellent beauty product photography.
It’s one of the most competitive fields in the world, simply because it’s one of the biggest retail niches out there (with the market projected to hit ~$698 billion in 2026 alone).
That’s why being mediocre isn’t an option anymore. One flat, uninspired image may lose the customer to a competitor with a better shot.
In this guide, we’ll break down what it actually takes to get beauty and cosmetics photography right.
Key takeaways
- Beauty products need precise gear. Macro lenses, polarizing filters, and color-calibrated monitors matter more here than in most product photography.
- Product prep is non-negotiable. Clean, groom, and let products acclimate to temperature before shooting glass or metal.
- Color accuracy drives conversions. A shade that photographs wrong leads directly to returns and bad reviews.
- AI retouching still falls short of commercial quality. Manual review remains necessary.
- CGI scales well for hard-surface products, frequent catalog updates, and fast turnarounds.
Types of cosmetics & beauty product photography shots
First of all, as a photographer or brand, you need to decide which type of shot you actually need. Not every style makes sense for every product, nor does everyone have the budget/resources to shoot all of them.
1. White background/e-commerce shots
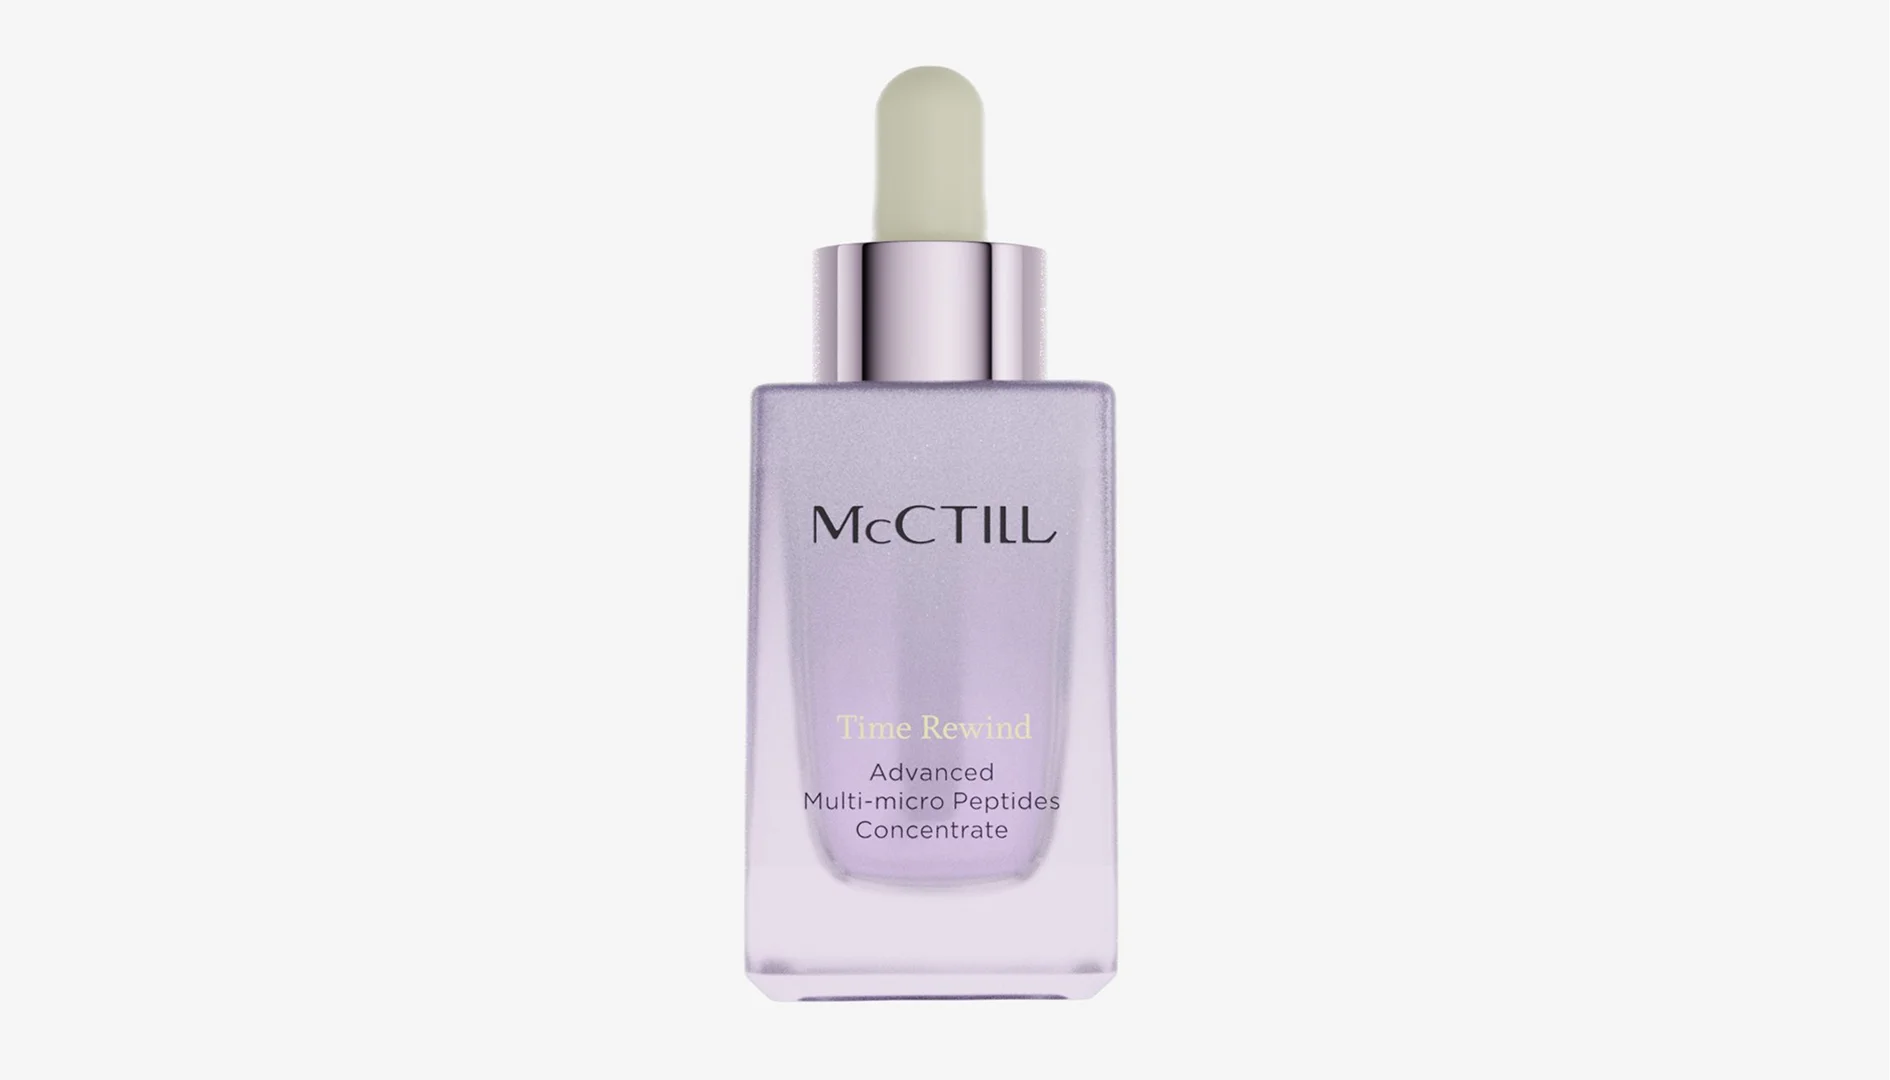
Best for: Online listings, marketplaces, and catalog pages.
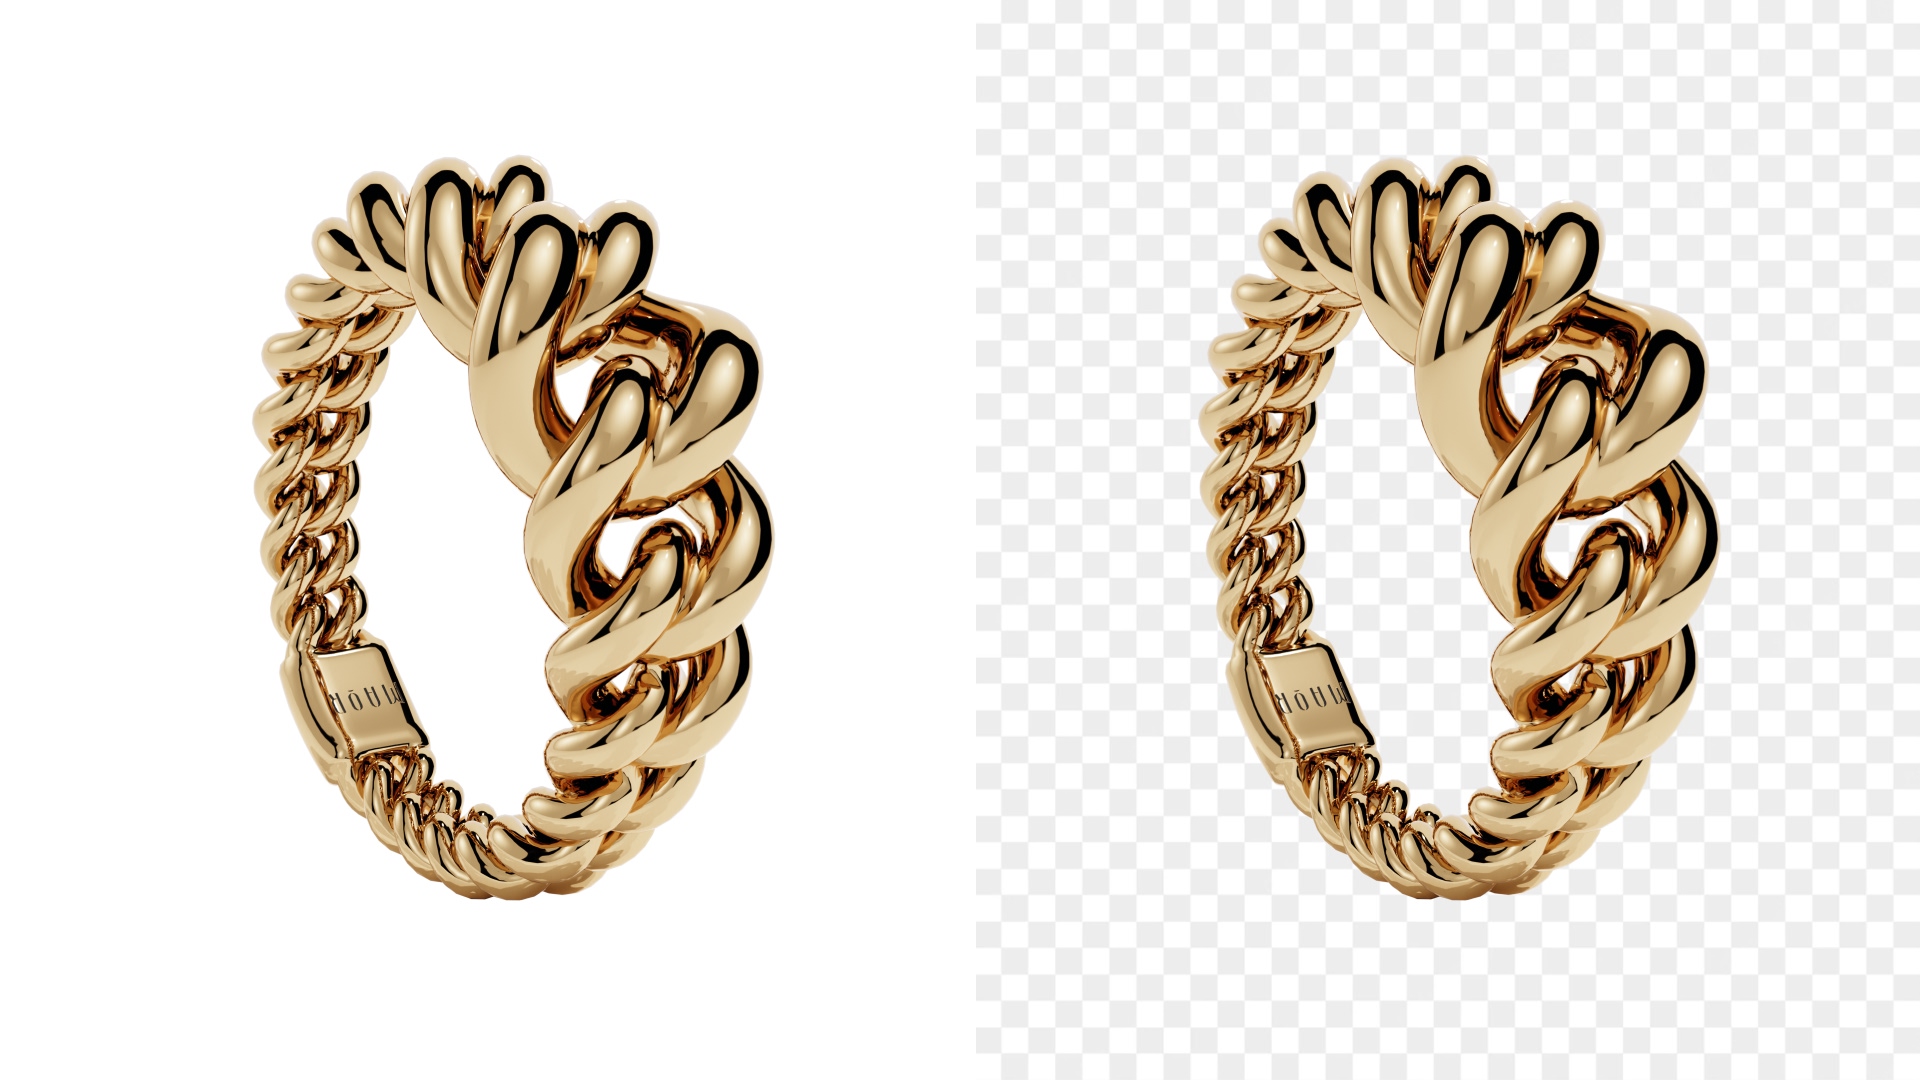
Clean, distraction-free shots on a pure white or transparent background, built for platforms like Amazon and Shopify (or your own website) where the product needs to stand on its own. Brands often use them as the first product image (hero image) shown to the customer.
These will be the workhorse images for your beauty brand. Functional rather than artistic, but essential for conversion.
2. Lifestyle shots
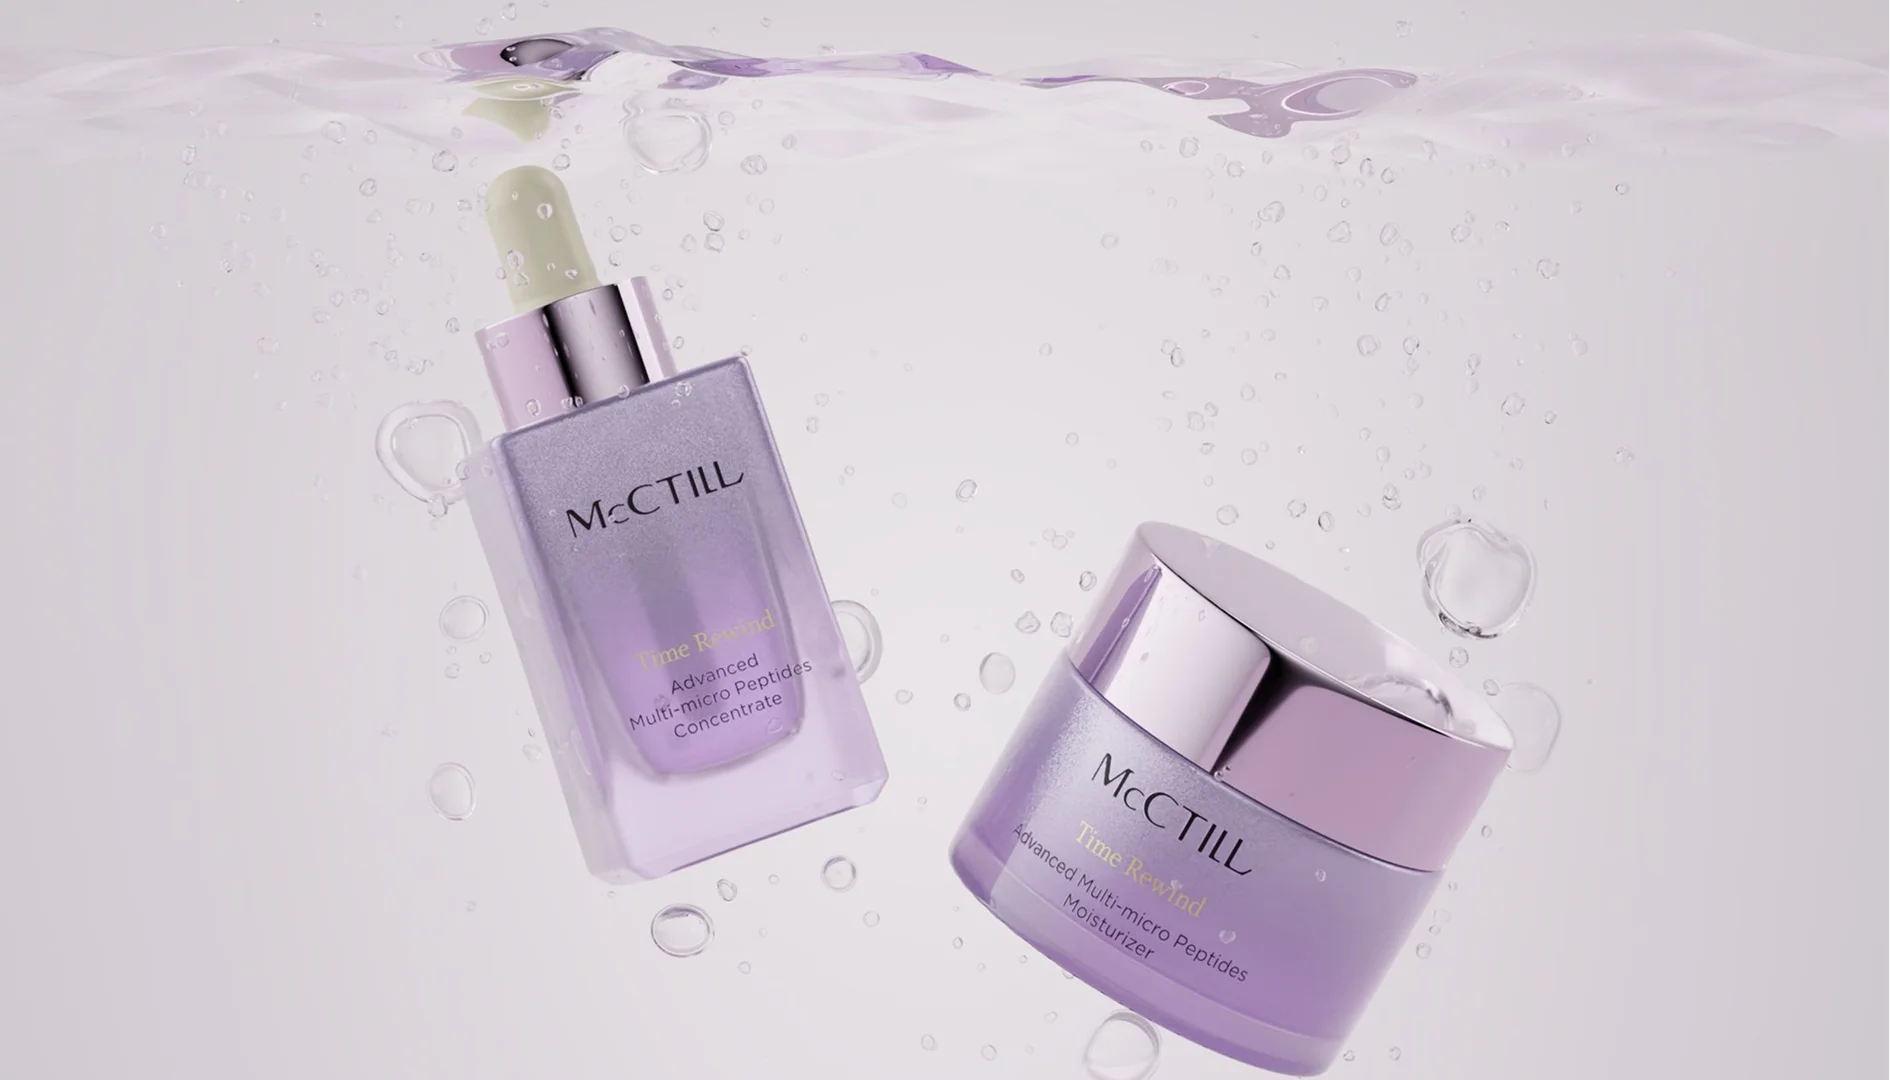
Best for: Social media, ad campaigns, blogs, and brand storytelling.
The product is shown in context (e.g., on a vanity, in a model’s hand, mid-application) to help customers picture it in their own routine. Product details matter less here because styling and mood do the emotional work.
3. Flat Lay shots
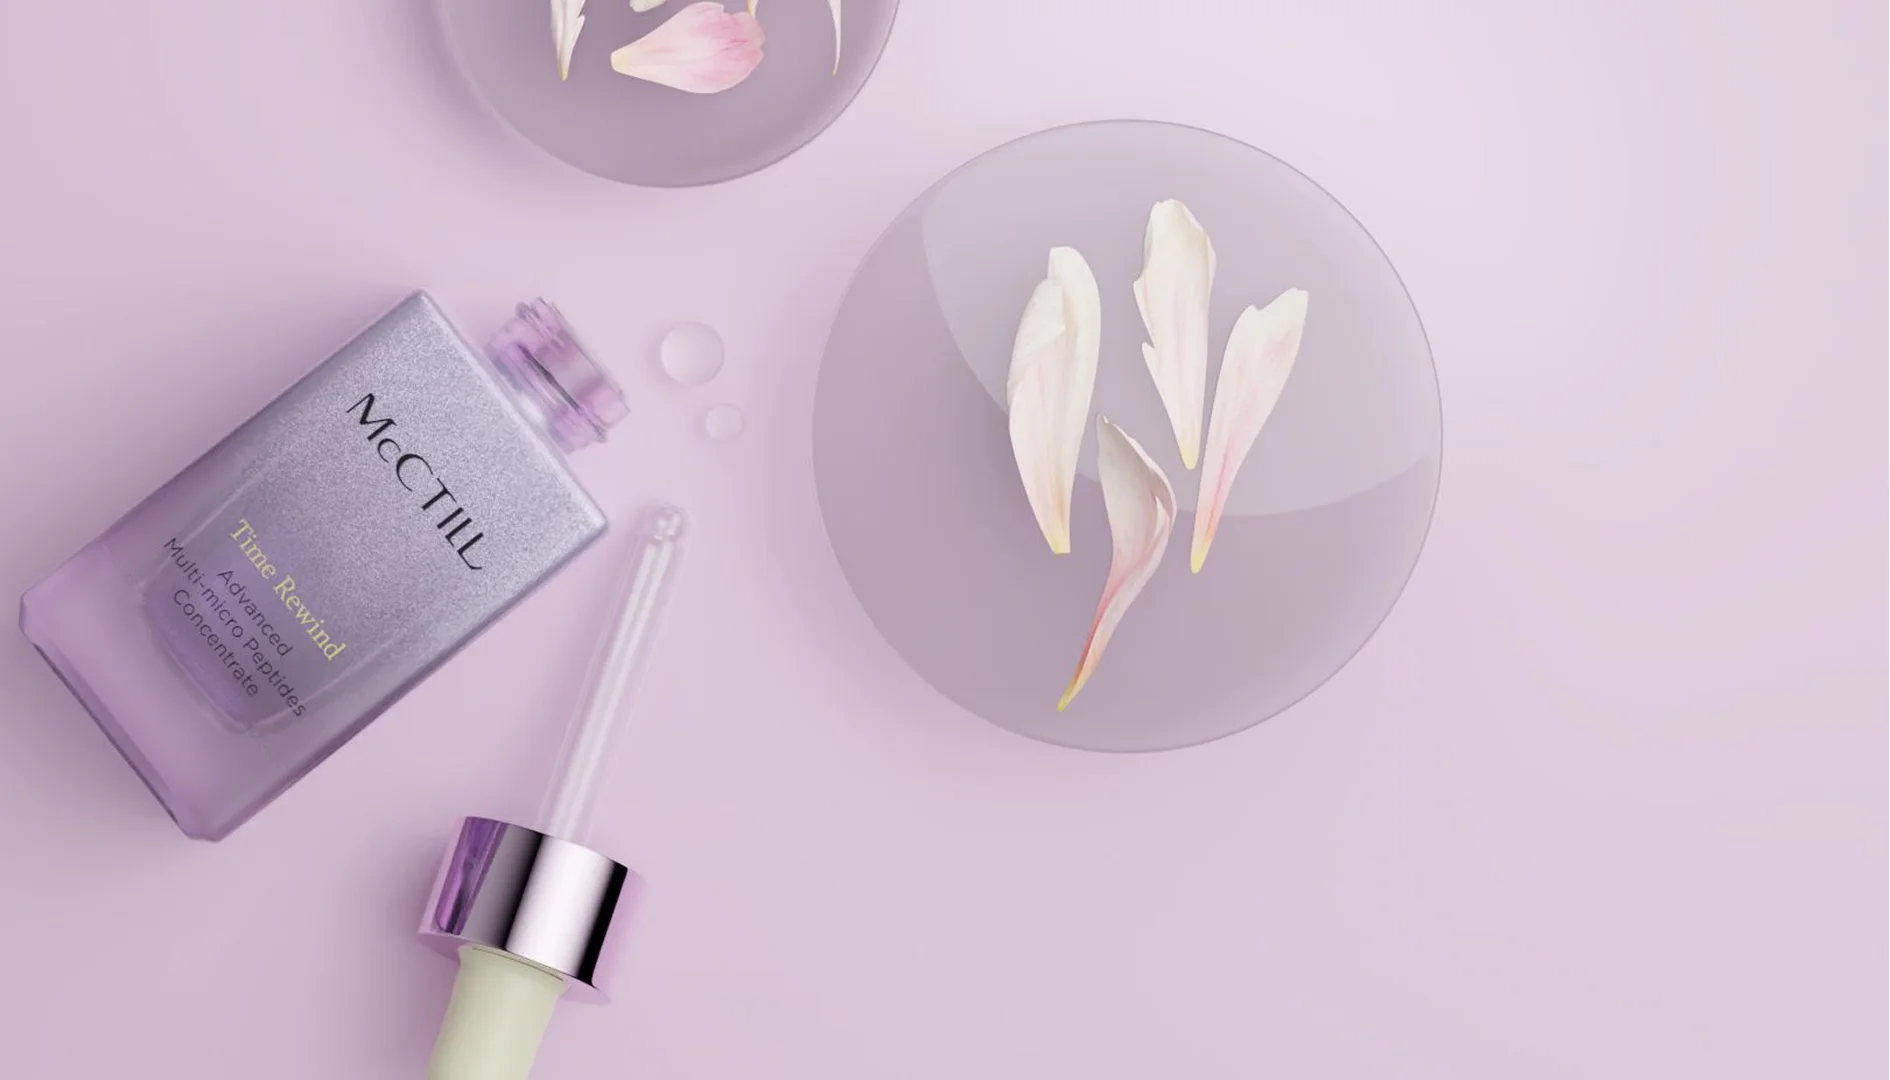
Best for: Instagram, Pinterest, and editorial-style content.
Products are arranged overhead on a styled surface, often with props like flowers, brushes, or fabric. Flat lays are popular for launches and gift sets because they let you tell a visual story with multiple products at once.
4. Macro/detail shots
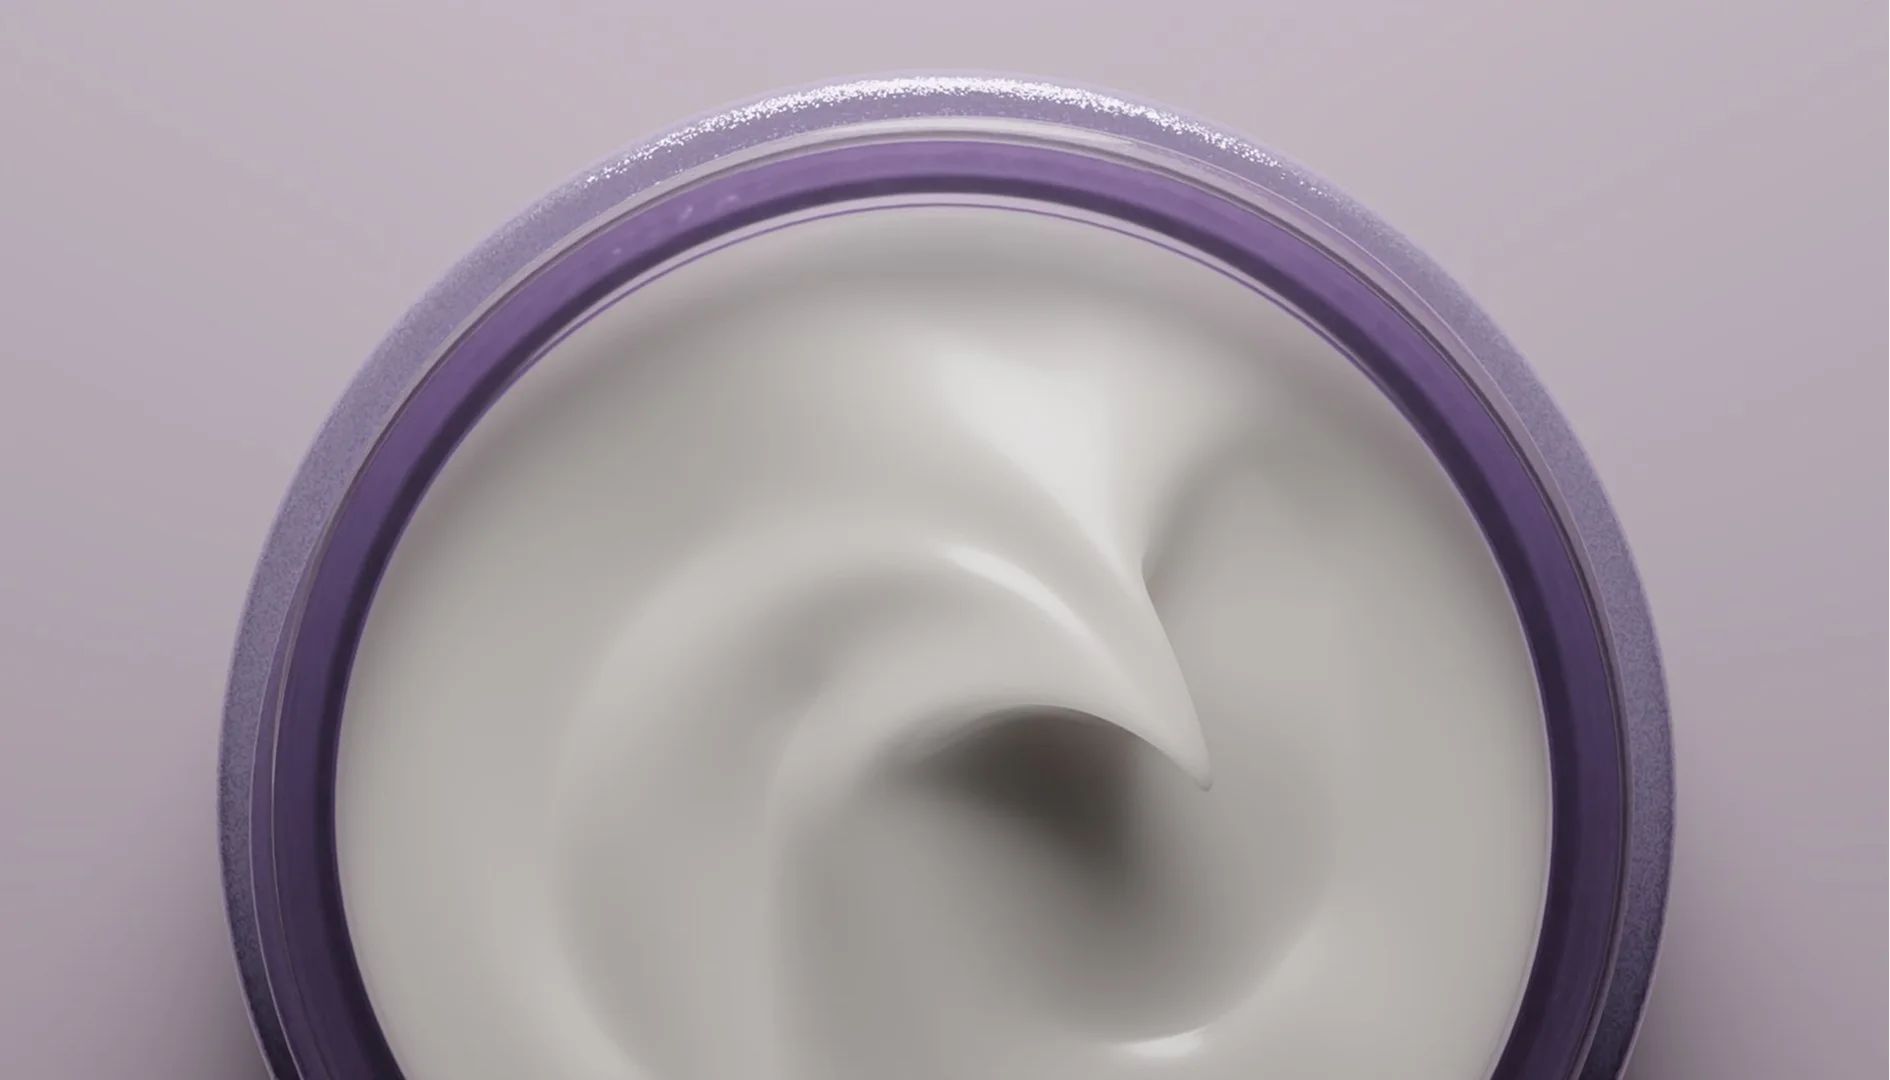
Best for: Highlighting texture, packaging finish, or product quality.
Extreme close-ups that show off things like a lipstick’s pigment, a serum’s texture, or the metallic finish on a compact. These build trust by proving quality up close, but they demand precise lighting and retouching to avoid looking flat or overexposed.
5. Group/collection shots
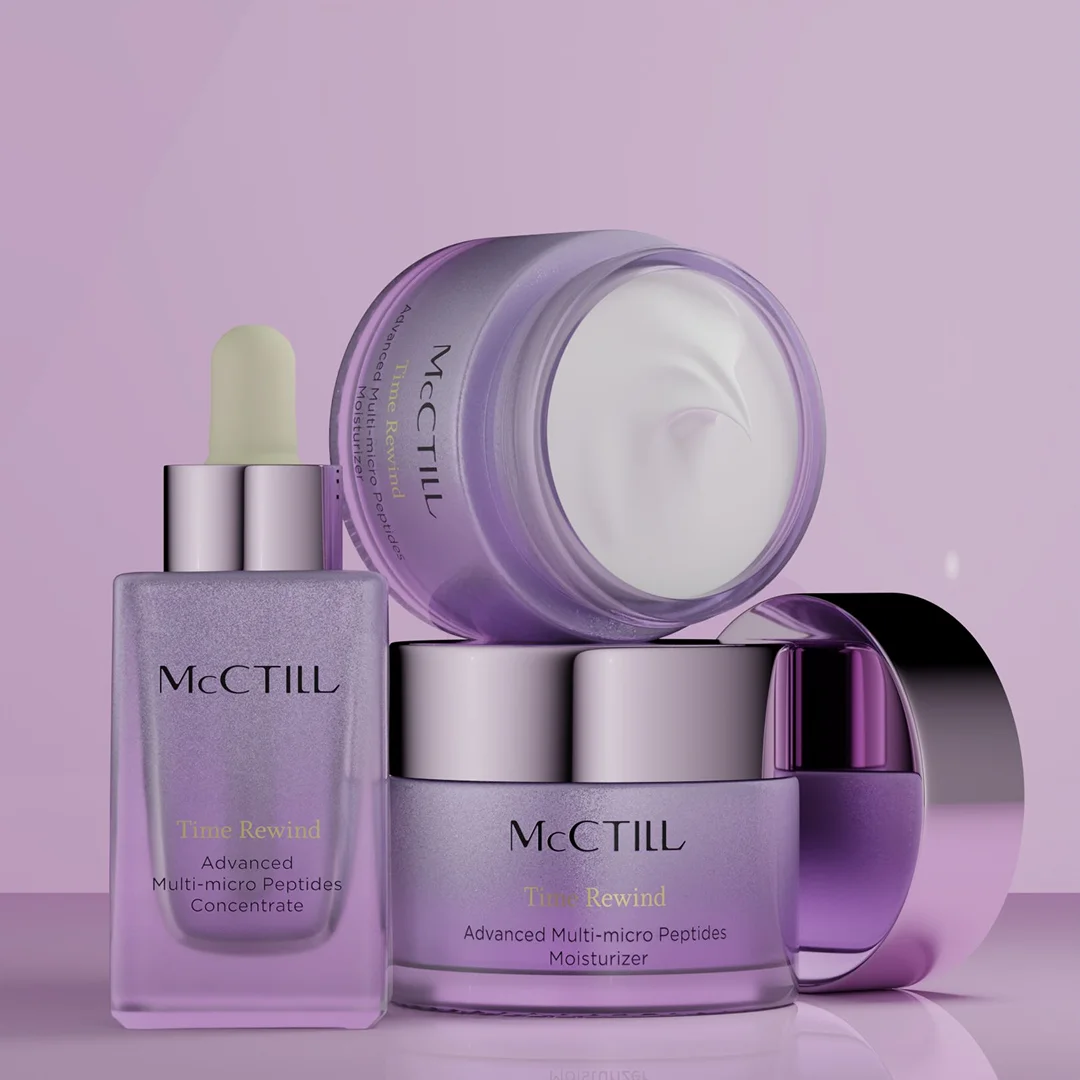
Best for: Product lines, bundles, and seasonal collections.
Multiple products are shot together to show range, consistency, and how items relate to one another as a set. These are trickier than single-product shots because lighting and spacing have to remain consistent across every item in the frame.
6. Motion/video shots
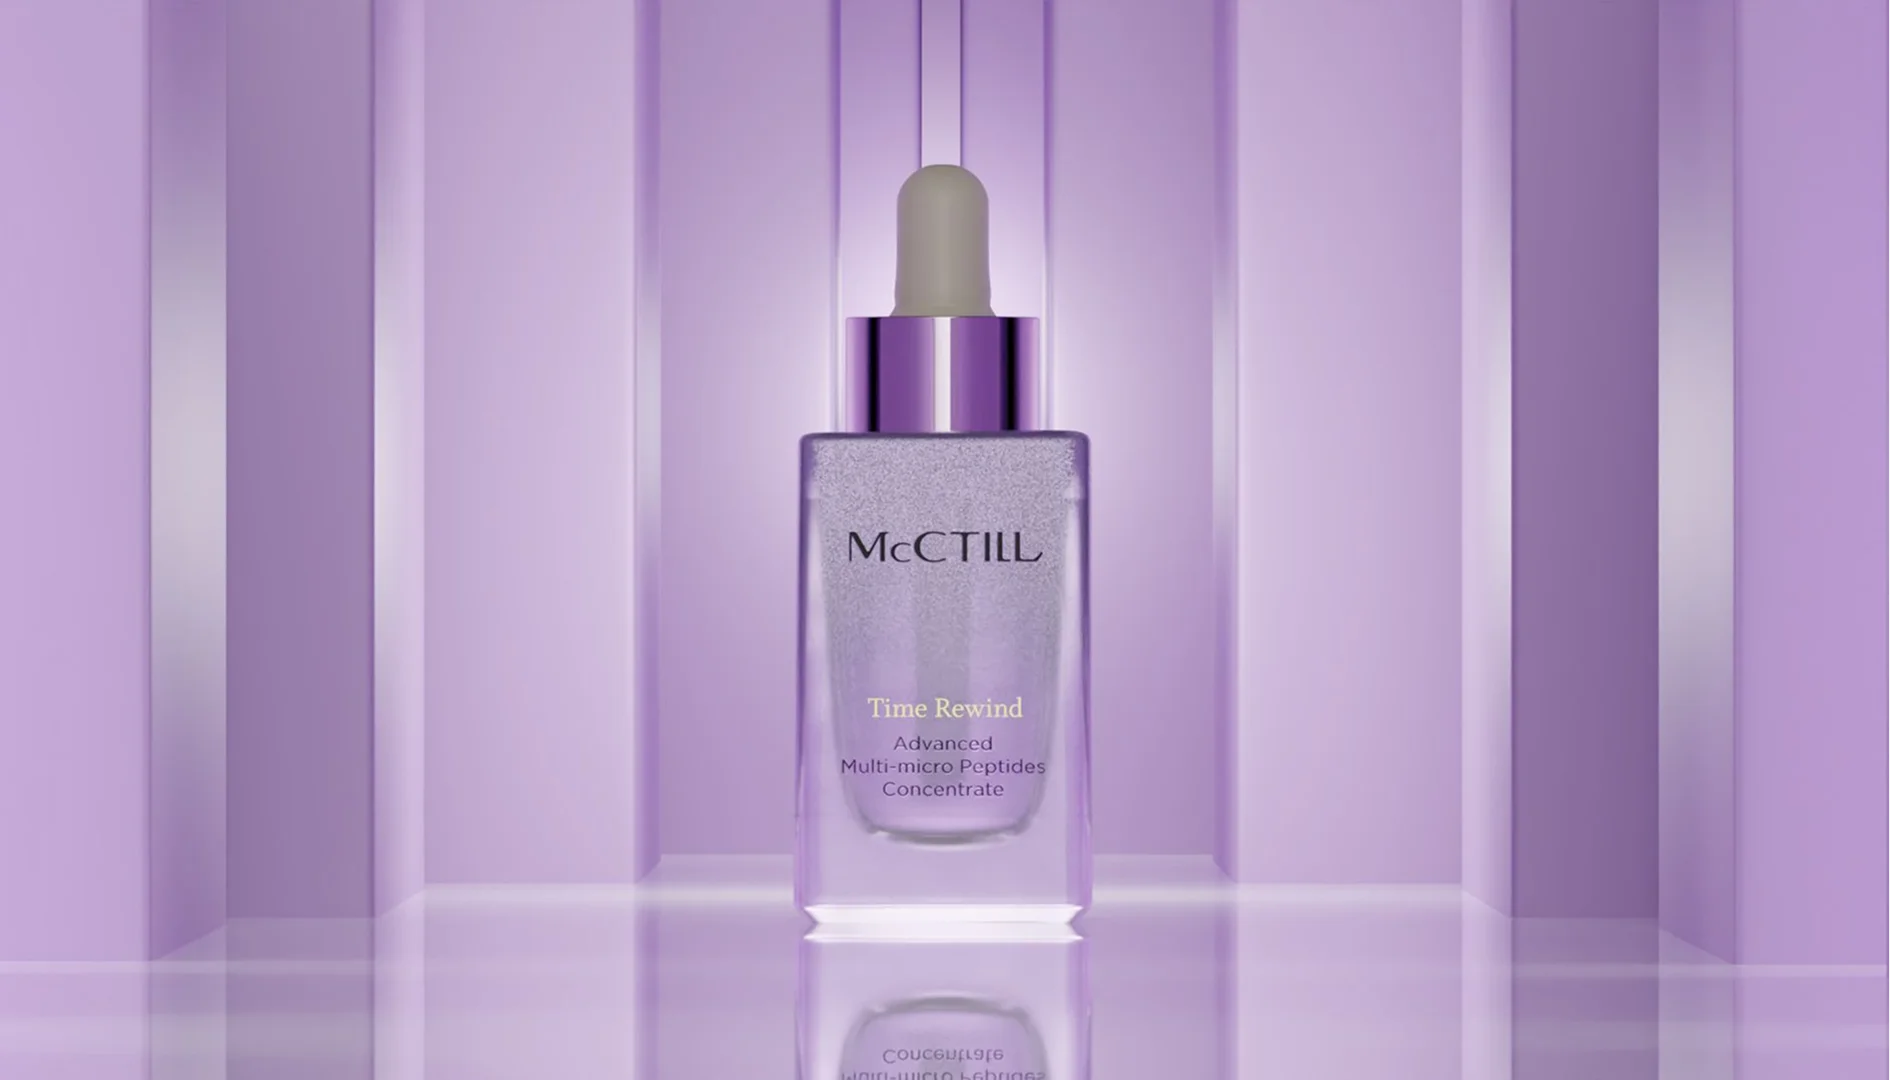
Best for: Ads, product launches, and short-form social content.
Motion shots may include swatch swipes, liquid pours, or a cap twisting open. This category is where CGI has a real edge, since simulating motion (like a serum dripping) is often faster and more controllable digitally than it is on set.
Essential equipment for beauty product photography
Like any product photography, you’ll need the basics:
- a solid camera (DSLR or mirrorless)
- a couple of lenses
- a tripod
- a lighting setup with softboxes or strobes.
Here’s a table with recommended camera specs:
Product Type | ISO | Aperture | Shutter Speed | Focus Distance | Notes |
|---|---|---|---|---|---|
Lipstick/lip products | 100 | f/11–16 | 1/125s | 20–40 cm | Tighter aperture needed to keep the entire bullet in focus given its cylindrical shape |
Glass bottles (perfume, serums) | 100 | f/13–18 | 1/125s | 40–70 cm | Narrower aperture reduces glare and keeps both the cap and liquid level sharp; use a polarizer |
Pressed powders/eyeshadow palettes | 100 | f/11–14 | 1/160s | 30–50 cm
| Slightly faster shutter helps avoid motion blur when capturing fine shimmer or texture |
Loose powders | 100–200 | f/14–18 | 1/200s
| 25–40 cm | Faster shutter and smaller aperture needed if shooting powder mid-air or in motion |
Liquid foundation/concealer bottles | 100 | f/13–16 | 1/125s | 40–60 cm | Watch for reflections on pump/dropper hardware; narrower aperture keeps label and cap both sharp |
Cream jars (moisturizer, balm) | 100 | f/11–14 | 1/125s | 30–50 cm | Wider aperture range works since cream surface has more natural texture and forgiving depth |
Metallic packaging (compacts, cases) | 100 | f/14–18 | 1/125s | 30–60 cm | Smaller aperture and controlled lighting critical |
Nail polish bottles | 100 | f/13–16 | 1/125s | 30–50 cm | Small subject with glossy glass and cap; needs tight aperture and careful reflection control |
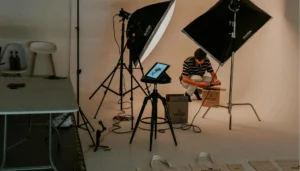
But beauty products may need some extra filters and lighting equipment due to reflective glass, tiny text, metallic caps, and shades that shift under the wrong light. Here’s what actually makes or breaks a beauty shoot:
Macro lens
A dedicated macro lens (100mm is a common choice) lets you capture the beauty product details without distortion, which a standard lens simply can’t do cleanly.
If you are taking ultra-close shots (showing the texture of a cream or the sparkle in a powder), a focus rail lets you make tiny, precise adjustments. Plus, it also supports focus stacking.
Diffused, controllable lighting
Cosmetics packaging reflects light aggressively due to glass, glossy plastic, or metallic surfaces. Softboxes, diffusion panels, and light tents help control reflections and hot spots. This is especially important for color-critical products like lipstick or foundation.
A light tent or shooting table
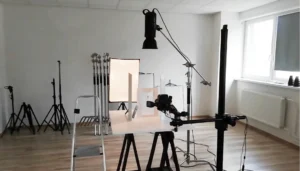
If your product is a bottle, compact, or a jar, a light tent is a must-have (or you can also use a simple shooting table with diffusion panels). Small, reflective products need even, contained lighting from multiple angles to avoid harsh shadows and unwanted reflections on glass or metal surfaces.
Polarizing filters
Glass perfume bottles and glossy packaging almost always pick up glare and reflections that are hard to remove in post-production. A polarizing filter cuts through these reflections at the time of shooting so you don’t have to spend time later.
Color-accurate monitor & calibration tools
Color is the single most important factor because there are literally hundreds of red lipsticks available. And guess what? Women are remarkably good at telling one shade from another. You don’t want returns or bad reviews because your photo showed a warm red when the customer ordered a blue-based one.
A calibrated monitor (and ideally a color checker card during the shoot) keeps what you capture true to what the customer will receive
Preparing the product for the shoot
Cosmetics and beauty products need more hands-on prep than most product categories.
1. Clean every surface meticulously
Macro lenses expose fingerprints and dust on the glass bottles and compacts. Use lint-free microfiber cloths and compressed air rather than regular cloths, which can leave fibers or streaks on glass and glossy plastic. You may also use rubbing alcohol for metallic dispensers and glossy packaging.
2. Groom the product
Keep a fresh, unused unit specifically for photography rather than one that’s already been sampled. If needed, here’s how to prepare some products:
- Lipstick/lip products: Reshape the bullet with a small blade if it’s gotten rounded or smudged from testing.
- Loose powders: Smooth the surface with a clean tool right before shooting, since loose powder shifts and dents easily from just moving the jar into position.
- Liquid foundation/concealer: Wipe the neck and cap of the bottle where product tends to pool or dry, and check the applicator or dropper for residue before it enters frame.
- Cream products (balms, moisturizers): Smooth the surface flat with a clean spatula if the jar is being shot open, since finger-dipped or uneven cream reads as “used”.
Note: Cold products (especially anything stored in a fridge, like some skincare) can fog up or “sweat” when brought into a warm studio. Let products acclimate to room temperature before shooting.
How to do cosmetics & beauty product photography: Step-by-step guide
Lighting Techniques
Lighting determines whether color reads accurately, whether packaging looks clean or glare-covered, and whether texture shows up the way it should. Here are the core techniques worth knowing:
- Softbox lighting: Most beauty photographers use this technique. In it, a large softbox is positioned at a 45° angle to the product which softens shadows and controls hot spots on glass and glossy surfaces.
- Three-point lighting: Key light for the main exposure, fill light to soften shadows on the opposite side, and a back or rim light to separate the product from the background and add a subtle highlight edge.
- Reflectors: White or silver reflectors bounce light back into shadow areas without adding a second light source. If you have a small setup, this might be useful.
- Continuous vs. strobe lighting: Continuous LED panels let you see the lighting effect in real time (helpful for beginners), while strobes offer more power and freeze motion better for products in mid-pour or mid-swipe shots.
Note: For colored products like lipstick or eyeshadow, keep lighting consistent and neutral (avoid warm or cool-tinted bulbs).
Choosing Background
Background choice depends entirely on where the image will be used.
Background Type | Best For |
|---|---|
Pure white (#FFFFFF) | Amazon, Shopify, marketplace listings |
Light gradient / seamless paper | Website galleries, catalogs |
Colored backdrop | Social media, brand campaigns |
Textured surfaces (marble, stone, wood) | Lifestyle and flat lay shots |
Transparent/PNG cutout | Flexible use across ads and website banners |
Composition and Styling
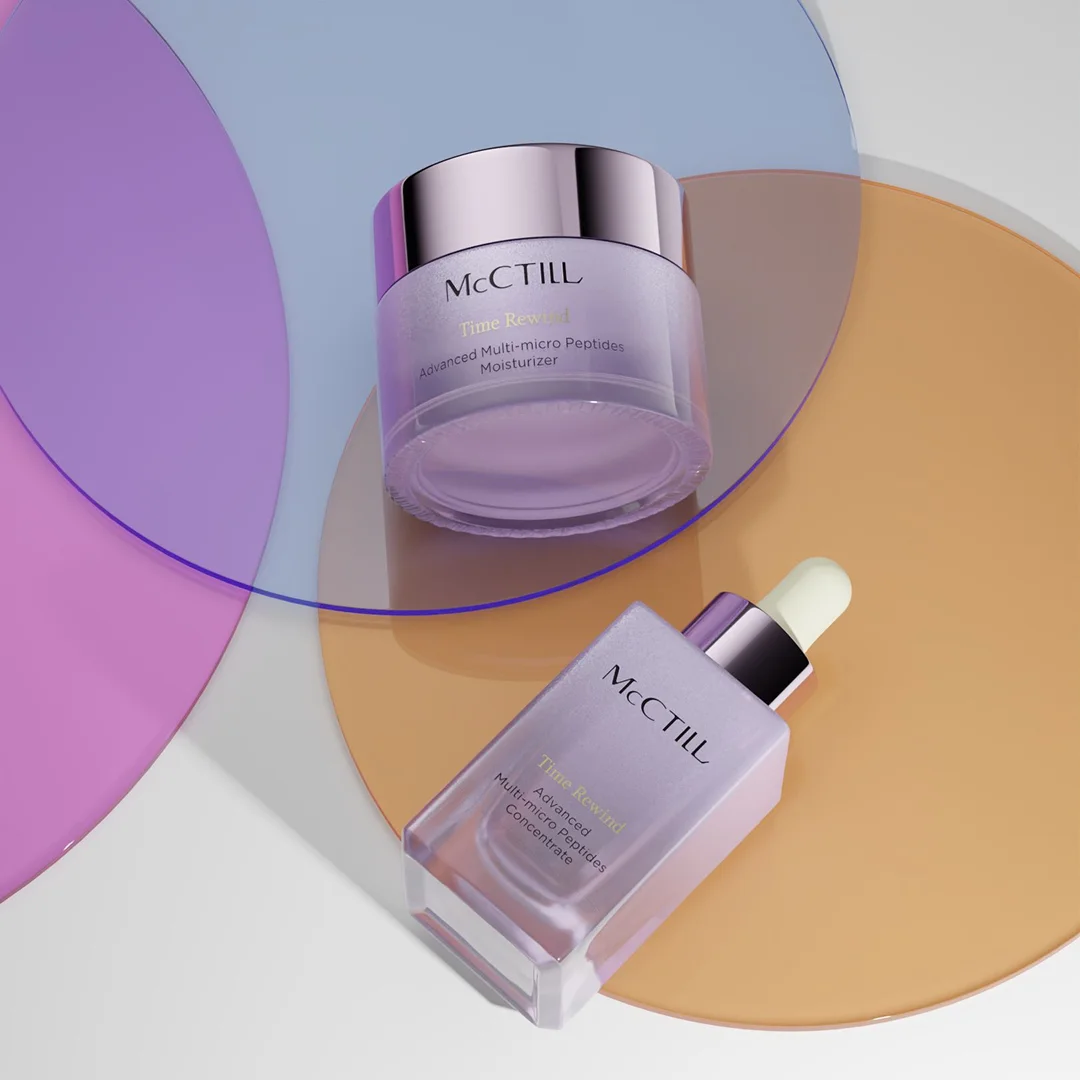
Good styling should support the product’s story without stealing attention from it. The moment a prop becomes more interesting than the product itself, it’s working against you.
With styling set, composition is what determines how the product and its surroundings actually get framed in the shot:
- Rule of thirds: Position the product slightly off-center along the grid rather than dead-center, for a more natural, less “stock photo” feel.
- Symmetry and centering: For clean e-commerce or catalog shots, dead-center framing is often the right call.
- Leading lines: Use props, shadows, or surface edges to draw the eye toward the product, especially useful in lifestyle or flat lay shots with multiple elements.
- Negative space: Leave open, uncluttered space around the product, particularly for images that may later have text or branding overlaid on them.
- Layering and depth: Place a soft, blurred element in the foreground or background (like out-of-focus petals or fabric) to add dimension without competing with the sharp product in focus.
- Angle variety: Combine a straight-on hero shot with a 3/4 angle and a top-down view, so the same product covers listing, social, and detail-shot use cases from one setup.
Camera Settings for Perfect Shots
Whenever possible, shoot tethered by connecting the camera directly to a laptop. This lets you review each shot at full size in real time, so you catch focus issues or unwanted reflections before you break down the setup rather than discovering them during editing.
For macro work in particular, switch to manual focus. Autofocus tends to hunt or lock onto the wrong point on reflective or textured surfaces.
It also helps to bracket your exposures on tricky products, like dark packaging photographed against a white background.
Take a few shots at slightly different exposure levels to be more flexible in picking the best result later, instead of betting the whole shoot on one “perfect” frame that turns out slightly blown out.
Post-Production & Editing
The amount of post production work depends heavily on decisions made before the shutter ever clicks.
1. Fix Problems During the Shoot
The biggest editing time-sink is the cleanup that could’ve been avoided entirely.
One Redditor retoucher summed it up bluntly:
“Uneven lighting is the biggest culprit. Those harsh shadows and hotspots that look “fixable” during the shoot? They triple your editing time. Take an extra 5 minutes to adjust your lighting setup – it’ll save hours later.”
2. Standard edits for beauty products
Commercial retouching for beauty products tends to follow a fairly predictable checklist:
- Dust and scratch removal
- Background cleanup or replacement
- Clipping paths
- Color correction
- Shadow refinement
- Packaging retouching
- Reflection cleanup
- Transparent background exports for e-commerce
None of these are optional extras for beauty photography specifically.
3. AI still needs manual review
AI-assisted retouching has gotten faster, but it hasn’t fully earned trust at the top end of the market. Photographers who experimented with AI tools or outsourced editing reported mixed results. Many still leaned on manual editing, since AI output often needed additional correction to actually meet commercial-quality standards.
Traditional beauty product photography vs. CGI
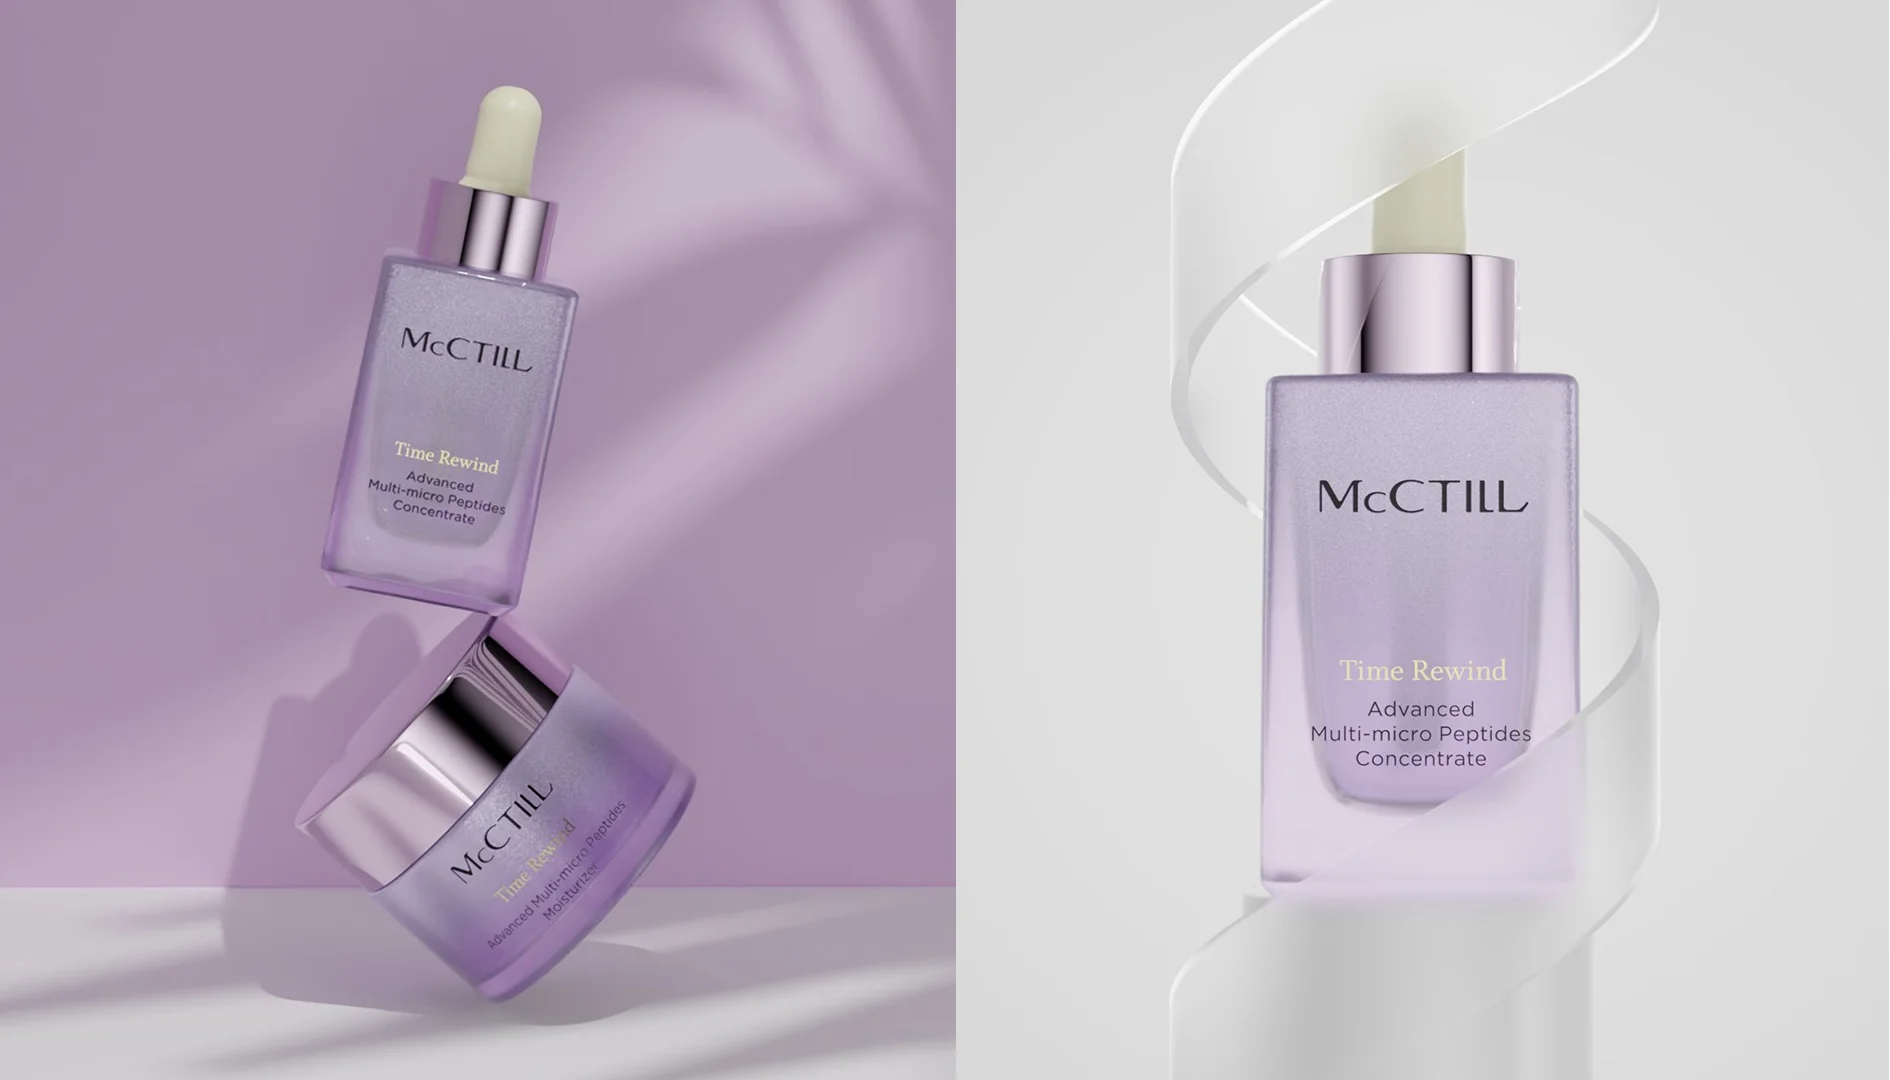
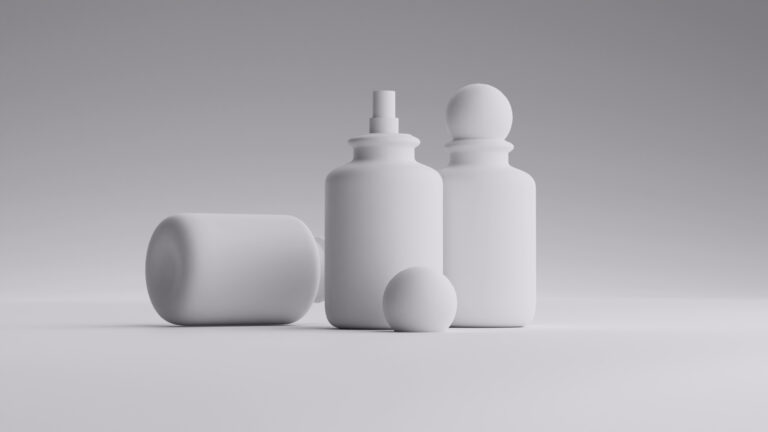
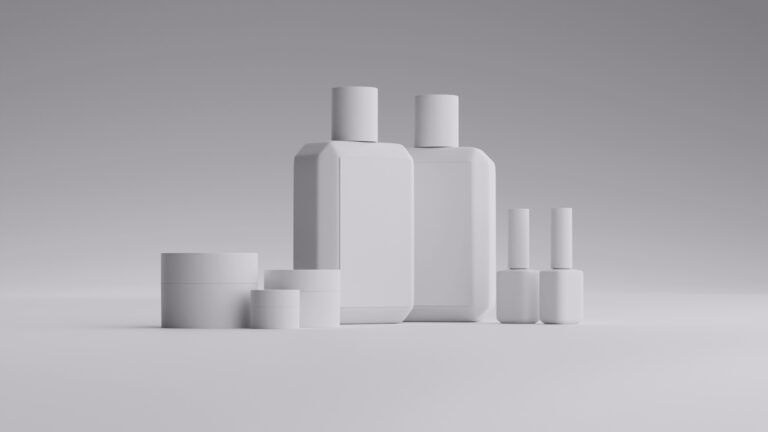
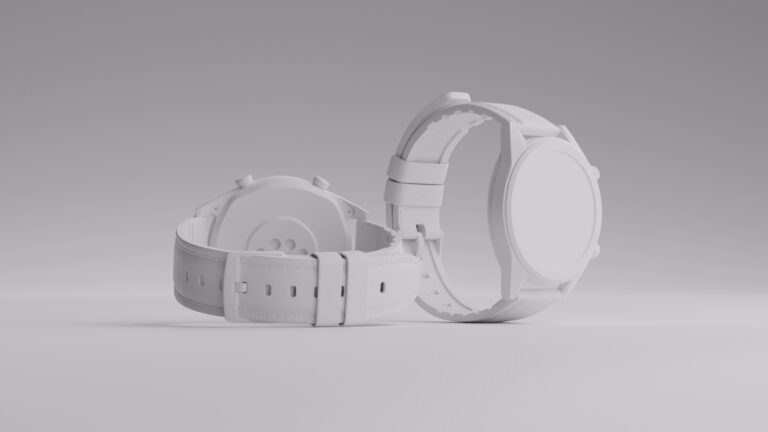
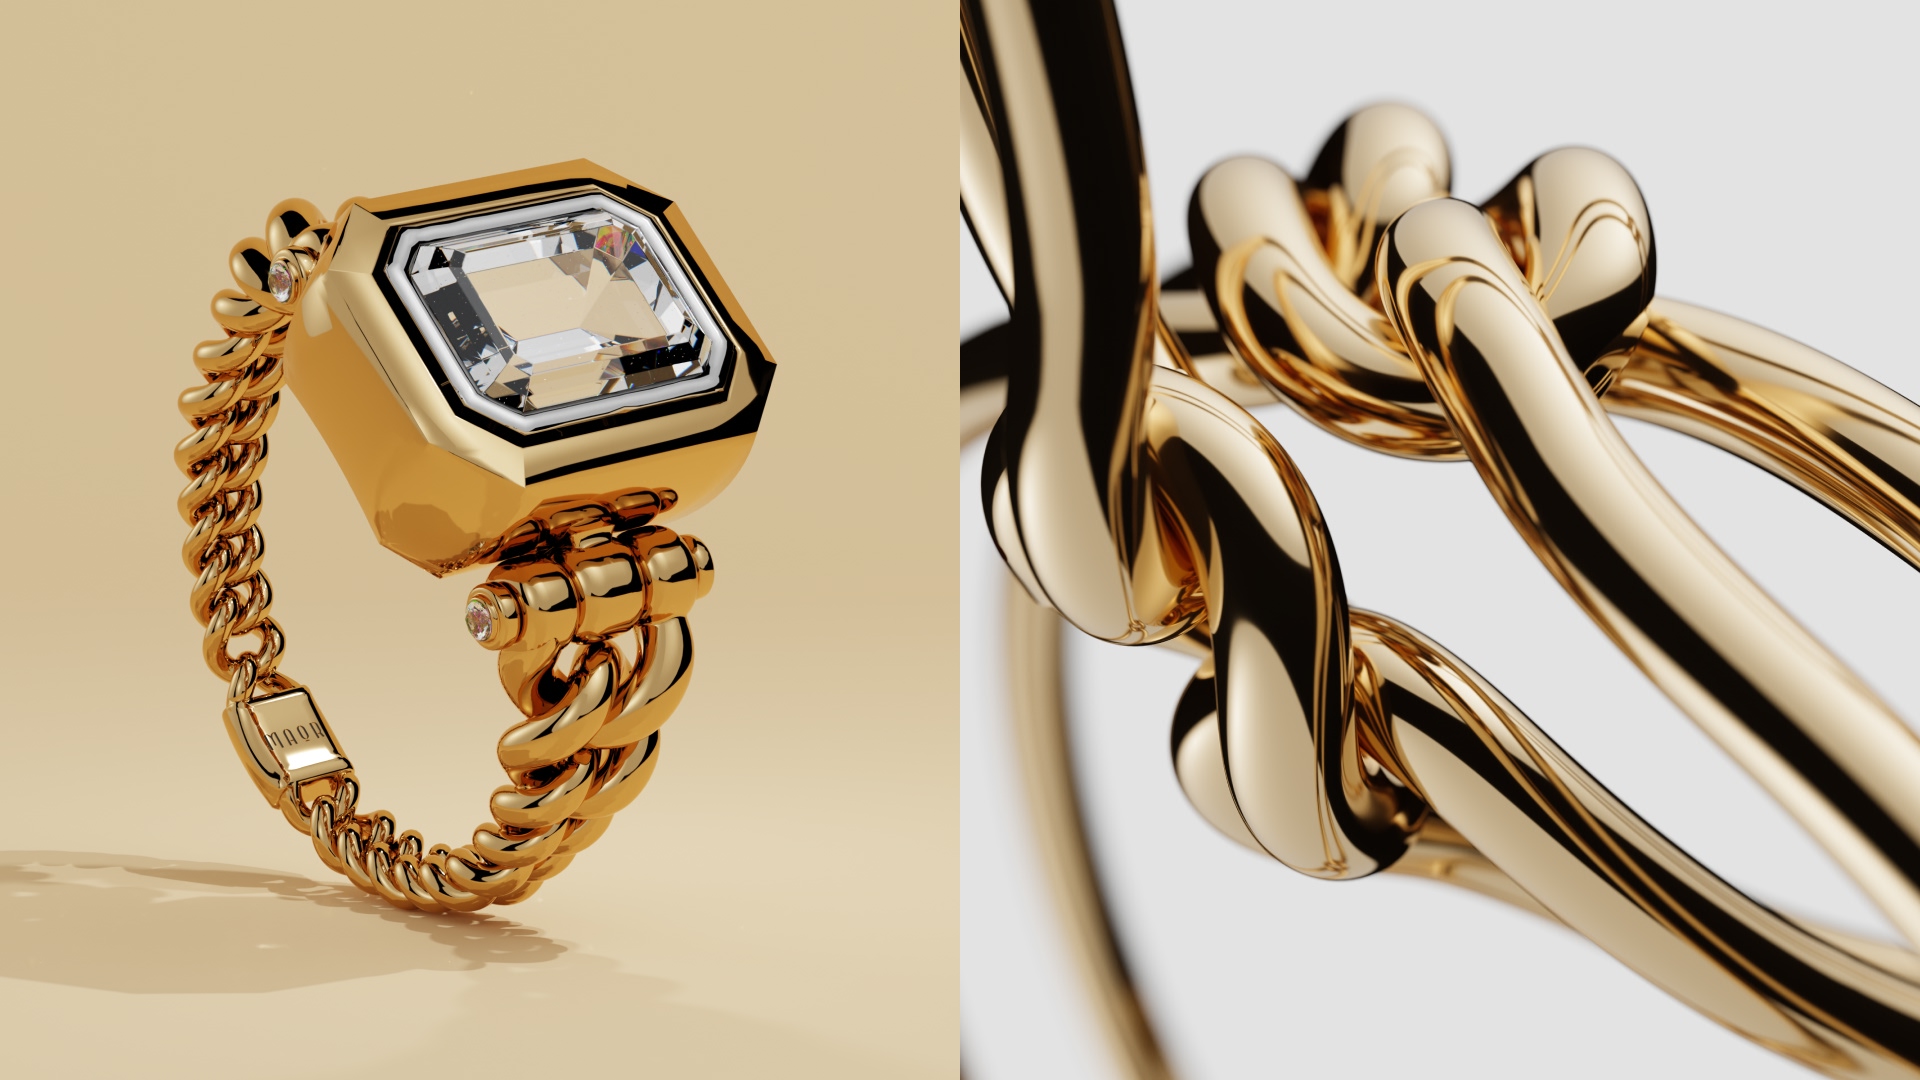
CGI (computer-generated imagery) uses 3D modeling and rendering to create photo-realistic images or videos of a product entirely inside a computer.
Instead of shooting the physical item, a brand sends reference photos from multiple angles. From there, a 3D model is built and textured, then rendered into final images or video. The result is designed to be visually indistinguishable from a traditional photograph.
The right choice depends on your product, timeline, budget, and how often you’re likely to update your catalog.
Traditional photography tends to be the better fit if:
- Your products have complex, organic textures that are hard to simulate digitally (like certain natural or matte finishes).
- You’re shooting a very small batch of products as a one-off project, where 3D modeling costs wouldn’t pay off over time.
- You want authentic lifestyle context (real hands, real skin, real environments) that feels distinctly human rather than rendered.
- You already have a studio setup and workflow in place, and turnaround speed isn’t a major constraint.
CGI tends to be the better fit if:
- You need to scale across a large catalog or product line without shipping every physical item.
- Your products are hard-surface (glass, metal, plastic) which render with exceptional accuracy and photorealism. This is often the case with beauty items.
- Your catalog updates frequently (new colors, seasonal packaging, limited editions), since a 3D model can be reused indefinitely once built.
- You want to produce both images and video/motion content from the same asset without a second shoot.
- You prioritize speed. CGI projects can often turn around in days rather than weeks.
Welpix is a CGI studio specializing in jewelry, watches, cosmetics, and perfumes. We handle the 3D modeling, texturing, and rendering process end-to-end. All you need to send are a few clear reference photos of your product from different angles.
Check our detailed pricing table and instructional video below.


FAQ
Should I hire a photographer or shoot beauty products myself?
It depends on volume and budget. DIY works reasonably well for small catalogs or early-stage brands with basic equipment and patience for lighting and retouching. Once you’re managing dozens of SKUs, frequent seasonal updates, or need consistent, polished results across a full catalog, a professional photographer (or a CGI studio) usually pays for itself in saved time and consistency.
How long does a typical beauty product photoshoot take?
A single product with a few angles can take anywhere from 30 minutes to a couple of hours, depending on lighting complexity and how reflective the packaging is.
Do I need a model for beauty product photography?
Not always. Product-only shots don’t require a model at all. Models become relevant mainly for lifestyle shots showing application or in-use context.