Every retoucher knows the grind of removing dust, fixing reflections, cleaning up fingerprints, and evening out skin on a product surface. All of them are the same corrections repeated across hundreds of frames. They end up eating hours you never get back.
The problem is that clean, flawless retouching takes time, and time is the one thing you never have enough of.
This guide breaks down the techniques, tools, and workflow that close that gap, so you spend less time fixing and more time delivering.
Key takeaways
- Product retouching turns raw shots into clean, market-ready images.
- The core techniques are background removal, color correction, reflection control, dust cleanup, retexturing, and compositing.
- Reflective and transparent products like watches, jewelry, glass, and metal are the ones that punish retouchers hardest.
- DIY retouching is cheap in dollars but costly in time, while outsourcing runs from under a dollar to $50-plus per image depending on complexity.
- CGI is the alternative for hard-surface catalogs, front-loading one 3D model that stays spotless and gets reused endlessly without a reshoot.
What is product photo retouching?
Product photo retouching is the post-production process of refining raw product shots into clean, market-ready images. It covers everything from removing dust and correcting color to fixing reflections, so the final image shows the product exactly as it should look.
When people decide on an online purchase, 88% say high-quality product imagery is important to them, and up to three-quarters of shoppers make their buying decision based on the product photography. A raw shot, without retouching, rarely clears that bar on its own.

Depending on the product, retouching typically includes:
- Cleanup: Removing dust, fingerprints, scratches, and stray particles from the surface.
- Reflection and glare control: Taming hotspots and unwanted reflections on metal, glass, and other shiny surfaces.
- Color correction: Matching the image to the product’s true color so what ships is what the shopper saw.
- Background work: Cleaning, replacing, or knocking out the background to a clean or transparent field.
- Shadow and highlight adjustment: Shaping light to give the product depth and dimension.
- Shape and geometry fixes: Straightening lines, correcting distortion, and reshaping surfaces that photographed poorly.
- Retexturing: Evening out inconsistent finishes, grain, or material texture across the surface.
- Compositing: Merging multiple exposures or angles into a single clean frame.
Around 22% of online returns happen because the product looked different in person than it did online, and most of those mismatches trace back to color, texture, and finish, the exact things retouching controls.
Product retouching techniques for ecommerce
These are the core techniques that turn a decent product shot into a listing-ready image, and where each one actually matters.
Background cleanup and removal

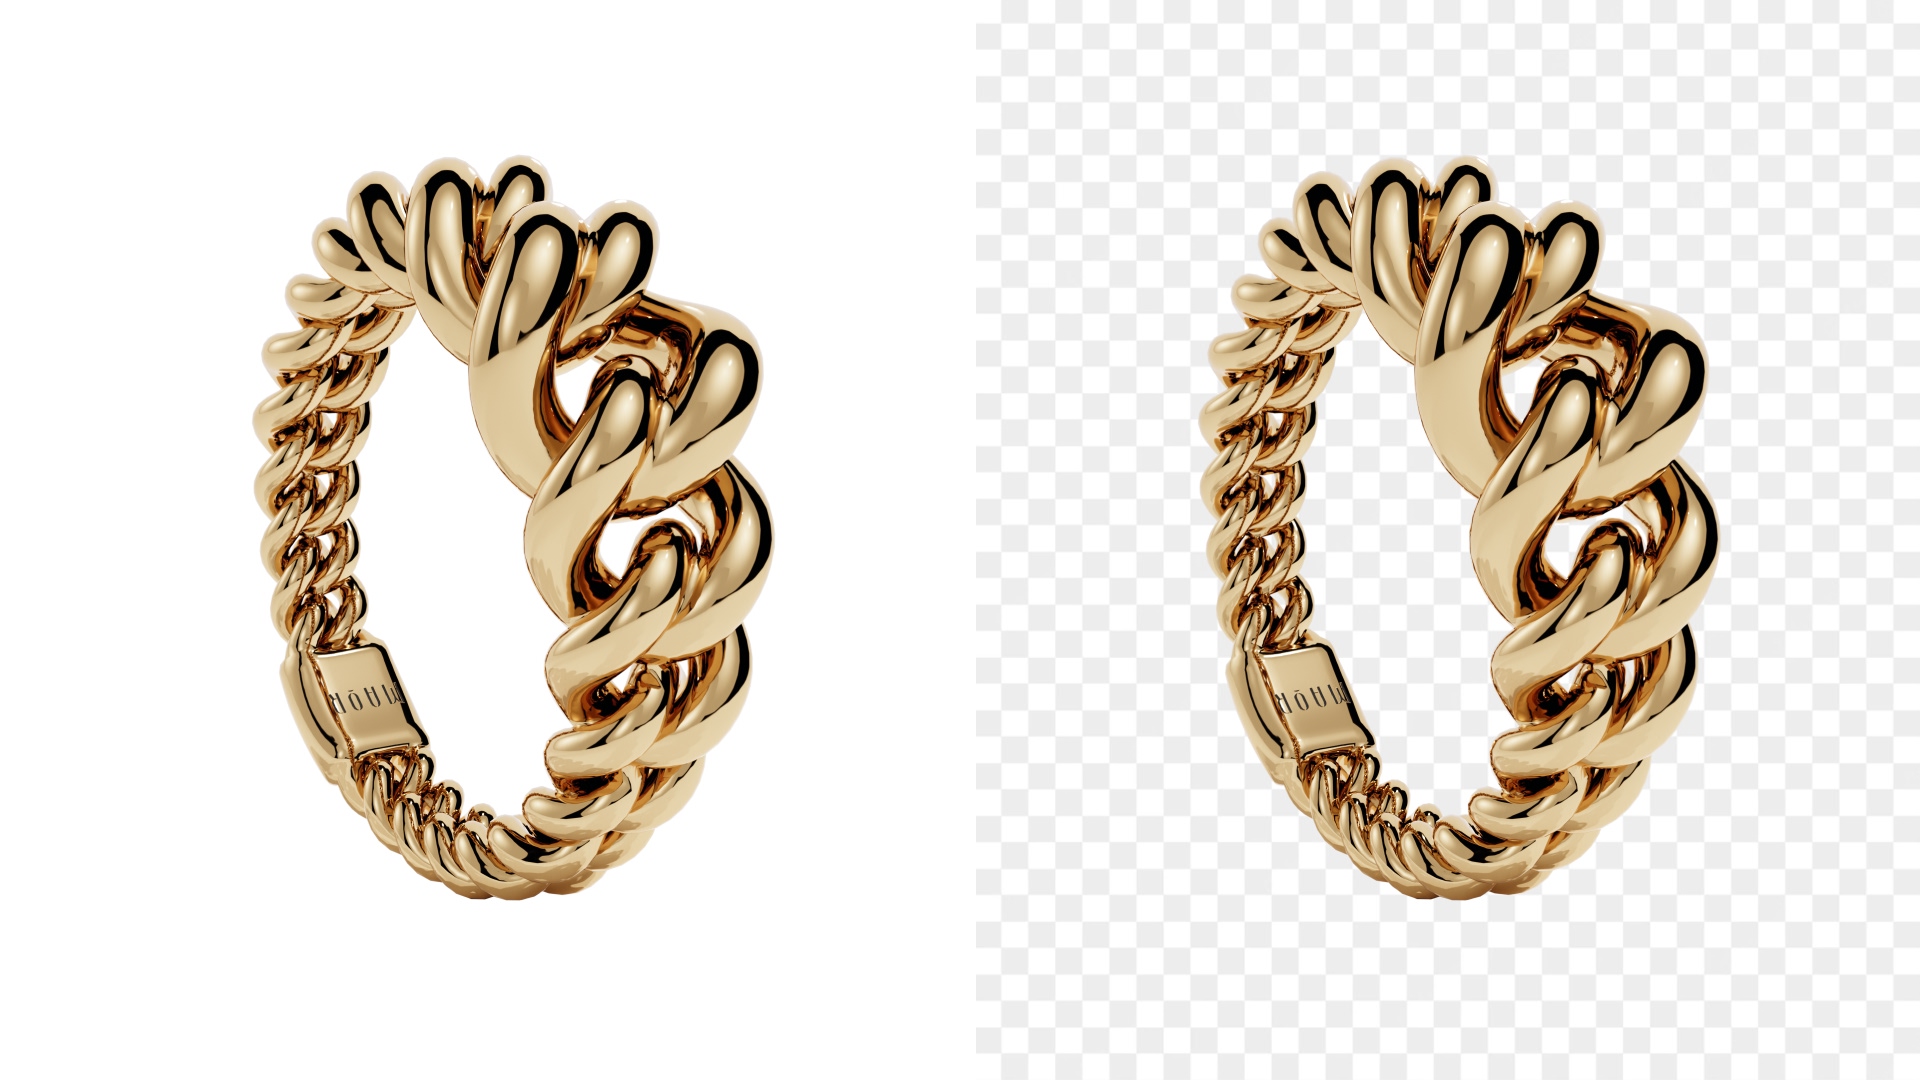
It means knocking out the original background for a clean white, transparent, or replacement field so the product stands on its own. White backgrounds are required for Amazon main images (RGB 255, 255, 255), which makes this non-negotiable for anyone selling across marketplaces.
The hard part is the edges. Basic tools handle simple shapes fine but fall apart on reflective, transparent, and fine-detailed products like glass, jewelry, and anything with wispy edges, where cheaper removers leave halos and artifacts. The fix is either manual pen-tool masking in Photoshop for those tricky edges, or stepping up to a retouching tool built to handle reflective and transparent surfaces cleanly.
Color correction and matching

Color correction aligns the image to the product’s true color so what ships matches what the shopper saw. The bigger challenge is consistency across a growing catalog, matching the same product’s color across shots taken at different times, by different people, sometimes without any hex reference to work from. Getting this right depends on a few controls:
- Consistent capture: Same camera body, lens, lighting, and background across every shoot so images start from the same baseline.
- Calibrated monitors: A shared color profile across everyone editing so the same file doesn’t look different on different screens.
- A reference sample: One color-corrected image per SKU that every other asset is matched against.
Reflection and glare control

Metal, glass, and polished surfaces catch hotspots, unwanted reflections, and stray highlights that flatten the product or distract from it. Taming these without killing the material’s natural shine is one of the harder retouching skills, and it’s the reason reflective products so often get reshot rather than salvaged.
The fix is mostly damage control at the pixel level. You clone and heal out the worst hotspots, then rebuild the highlight by hand so the surface still reads as metal or glass rather than a flat gray patch.
The catch is that retouching can only do so much here. If the reflection captured the whole room, no amount of editing recovers a clean surface, which is why control at capture (a proper light tent, polarizing filters, careful light placement) saves hours in post.
Dust, scratch, and blemish removal

Close-up product shots expose every speck of dust, fingerprint, lint fiber, and micro-scratch that the eye skips over in person. Removing them cleanly, without smearing texture or leaving obvious patches, is slow, repetitive work, and it’s exactly the kind of task that eats hours across a large catalog.
Retexturing and surface repair

Uneven finishes, blotchy grain, inconsistent leather, or patchy fabric can be evened out so the surface looks like the real product at its best. The trap here is overdoing it. Stripping out pores, grain, or weave to make a surface look “clean” makes it look plastic and fake, which undercuts trust rather than building it.
Ghost mannequin and compositing

The technique that shows a product’s shape without a body or a seam. Ghost mannequin (or hollow-man) work removes the mannequin from apparel while keeping the garment’s form, and compositing merges multiple exposures or angles into one clean frame. Both are about assembling a single believable image from parts that were never shot together, which takes precision at the edges to avoid a stitched-together look.
Recommended tools and software for photo retouching
There’s no single best tool, only the right one for your volume, skill level, and how tricky your products are. Here’s how the common options shake out.
- Photoshop: The professional standard and still the ceiling for precision work like edge masking and highlight rebuilding. Steep learning curve and a subscription, but batches well once you learn actions.
- Lightroom: Built for color correction and consistency across large sets, with presets and portable metadata that keep a growing catalog aligned. Pair it with Photoshop rather than choosing between them.
- Affinity Photo: The one-time-purchase alternative to Photoshop, covering most manual retouching without a monthly bill. Not quite as deep on advanced work, but close enough for most products.
- GIMP: A free, full-featured editor that handles cropping, levels, and background work. Rougher interface, but gets a beginner surprisingly far.
- Canva: Light and template-driven, fine for quick background removal and simple cleanup. Limited once you need precision or catalog-wide consistency.
- AI background tools (Photoroom, remove.bg): The fastest path for stripping and swapping backgrounds, now handling glass and reflective surfaces reasonably well. Great for batch consistency, but won’t rescue a genuinely bad photo.
- Retouching services (Pixelz and similar): Outsourced color matching, background removal, ghost mannequin, and cleanup at scale, often with next-day turnaround. Costs more per image, but frees your time once editing outgrows doing it yourself.
You don’t need all of them. Most sellers land on two, one editor for real cleanup (Photoshop, or Affinity if you’d rather skip the subscription) and one fast tool for background work at volume (an AI tool like Photoroom), with outsourcing reserved for when the catalog outgrows doing it yourself.
How to do product photo retouching: step-by-step workflow
Retouching goes faster and looks more consistent when you run every image through the same sequence instead of improvising each time. Here’s a workflow that scales from a single hero shot to a full catalog.
Step 1: Global adjustments first
Start in Lightroom (or any raw editor) and correct the whole image before touching individual details. Pull the highlights down, lift the shadows to recover detail, set your whites and blacks, and add a touch of contrast. There’s no single correct recipe here; the goal is a balanced, natural-looking base. Isolate the product with a subject or masking tool, so you’re brightening what matters rather than lifting the entire scene.
Step 2: Crop and straighten
Set your crop early so you’re editing only the area that will actually ship. A 4:5 ratio is a safe starting point since it holds up on mobile and crops down cleanly to 1:1 or other formats later. Straighten by eye against the product’s own lines rather than relying on auto-level, which often reads the wrong edge.
Step 3: Fix the background
Move into Photoshop and clean up the backdrop. Where the background didn’t fully fill the frame, select the gap and use content-aware fill to extend it seamlessly. For a full knockout to white or transparent, mask the product carefully at the edges. This is the step that reads as “professional” or “amateur” depending on how clean the edges are.
Step 4: Clean the product surface
Zoom in and remove what the camera caught that the eye skips over: dust, fingerprints, lint, and shipping scuffs. The spot healing brush handles most of it. For larger flat areas like a tabletop or seamless floor, the dust and scratches filter clears debris quickly, but keep it low (around 2) and mask it off the product itself, since it strips real texture along with the noise.
Step 5: Repair shape and edges
Fix anything distorted or uneven, like a warped rim, a bent reflection, or a rough edge. The clone stamp rebuilds these areas, and the pen tool gives you crisp, deliberate selections when you need a clean boundary to work against. The trick that keeps repairs believable is dropping the edited layer’s opacity so it blends with the original surface instead of sitting on top as an obvious patch.
Step 6: Color correction and matching
Even out inconsistent color across the product, and match it to your reference for that SKU. The eyedropper plus color-replacement approach lets you push an off-tone toward the true color, then an opacity drop blends it so the correction doesn’t look painted on. This is also where you align the shot against the rest of the catalog so the same product looks identical everywhere it appears.
Step 7: Shadows and finishing
Add or rebuild shadows to give the product weight, but keep them physically honest. A shadow has to fall away from the light source and match the direction and softness of any real shadows already in the scene. If you composite one in, warp it to the right length and match its color to the existing shadow before dropping the opacity; otherwise the eye immediately flags it as fake.
Retouching challenges by product category
What goes wrong depends entirely on the material in front of the lens, and the products that fill a jewelry or beauty catalog each break in their own way.
Watches
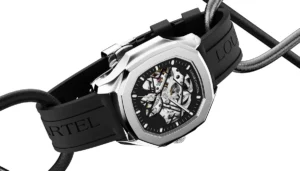
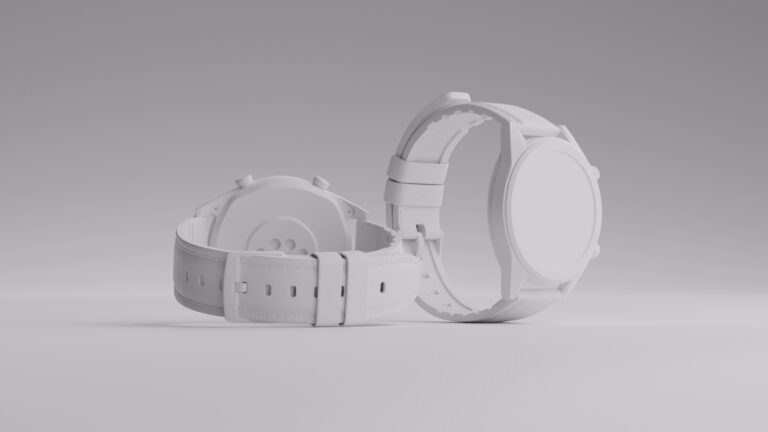
A watch face throws glare across the dial and hands, and the polished case and bracelet catch every light in the room. Retouching means killing hotspots on the crystal without flattening the dial underneath, then rebuilding clean highlights along the case so brushed and polished sections still read as different finishes. Sub-dials, indices, and date windows add fine detail that has to survive the cleanup rather than get smeared away.
Jewelry
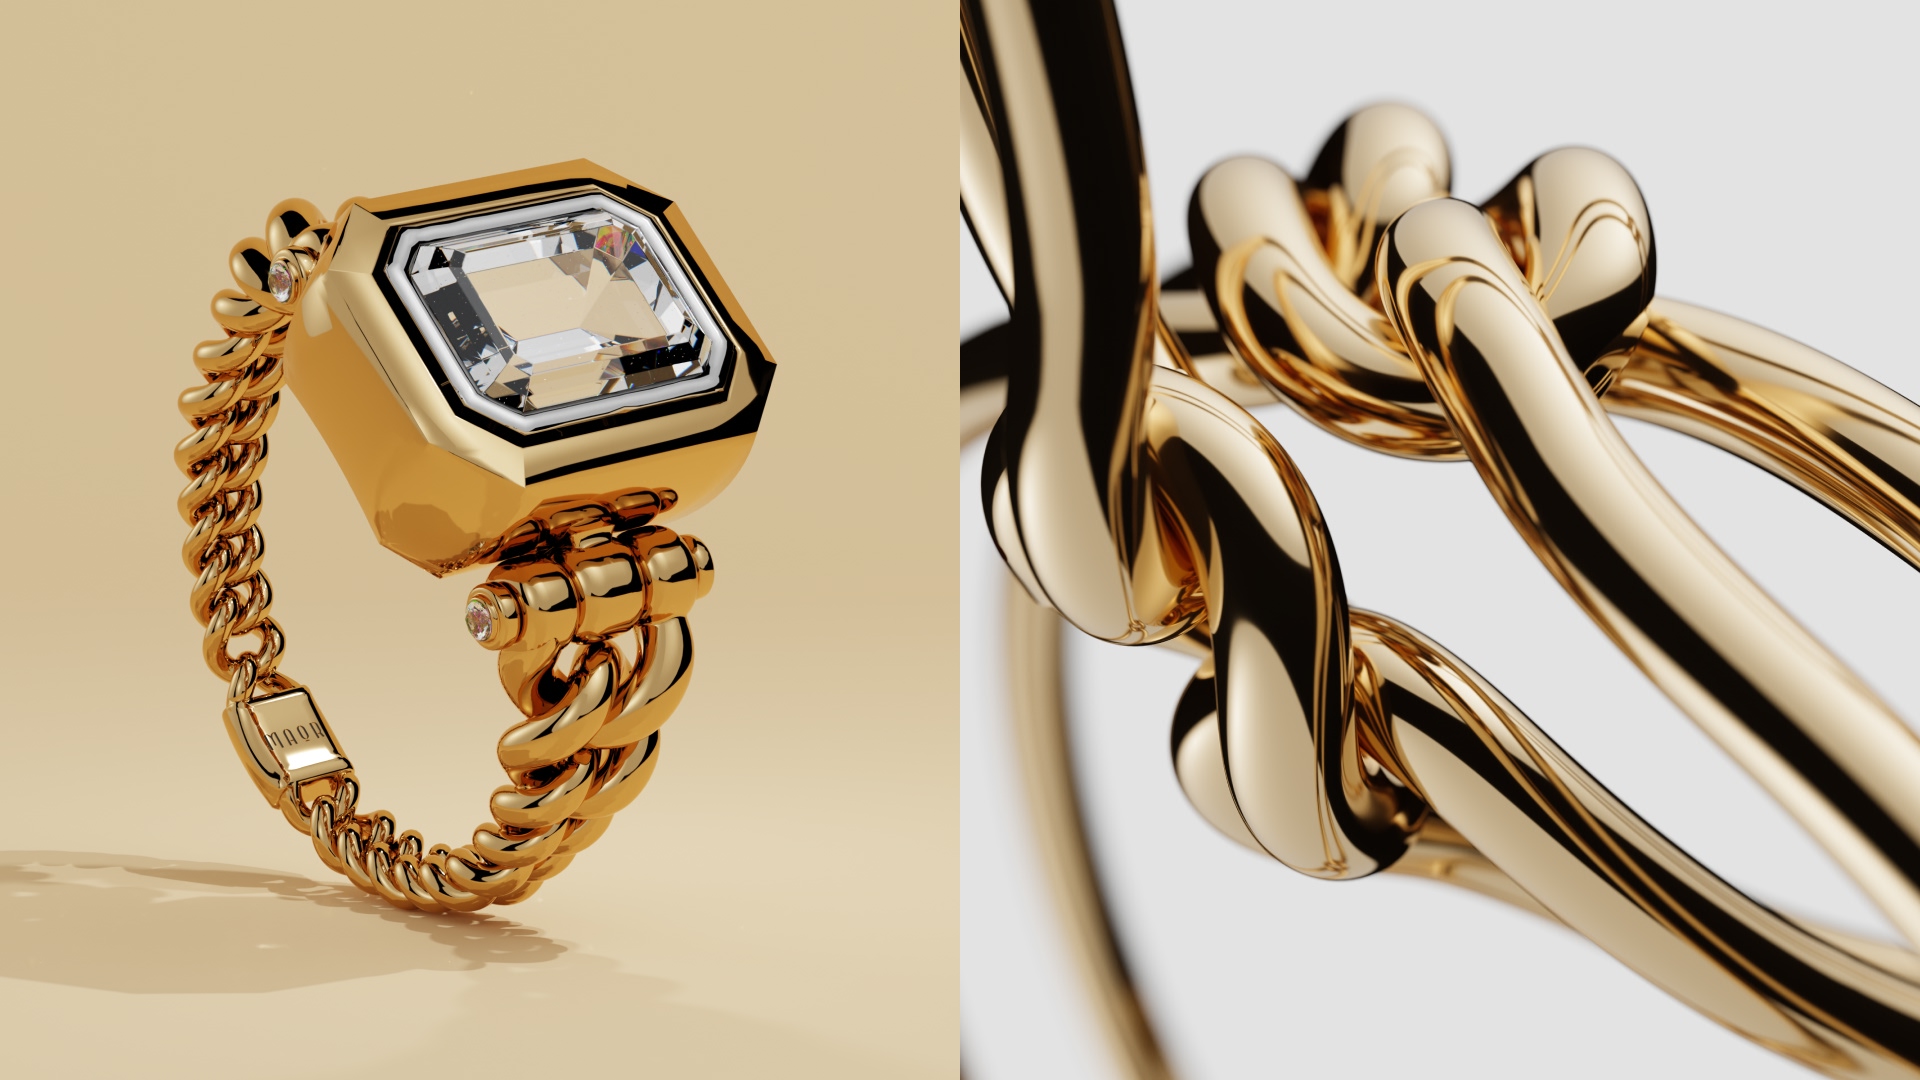
Set diamonds and gemstones are tiny, and every facet is its own little mirror catching reflections and dust that only appear once you zoom in for the shot. Metal settings pick up fingerprints and the reflection of the whole studio.
The work is slow and microscopic, such as cleaning each stone, restoring the sparkle that harsh lighting either blows out or deadens, and evening out gold or silver tone across a piece without making it look painted.
Perfume
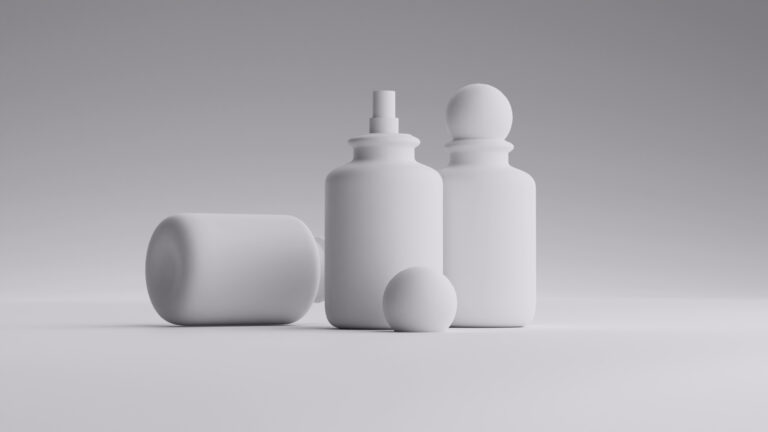
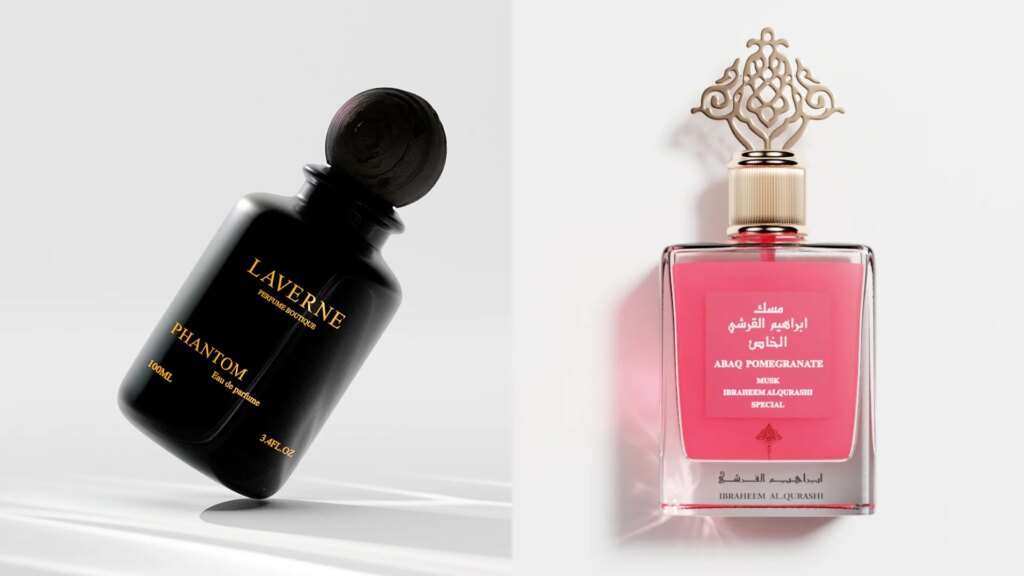
Glass bottles are see-through and reflective at once, so the retoucher is managing what’s behind the bottle, what’s reflected on it, and what’s refracted through it, all in the same frame.
Caps and collars are often mirror-polished metal, liquid color has to stay true, and edges have to stay crisp against the background without the halos cheaper background tools leave on glass.
Cosmetics
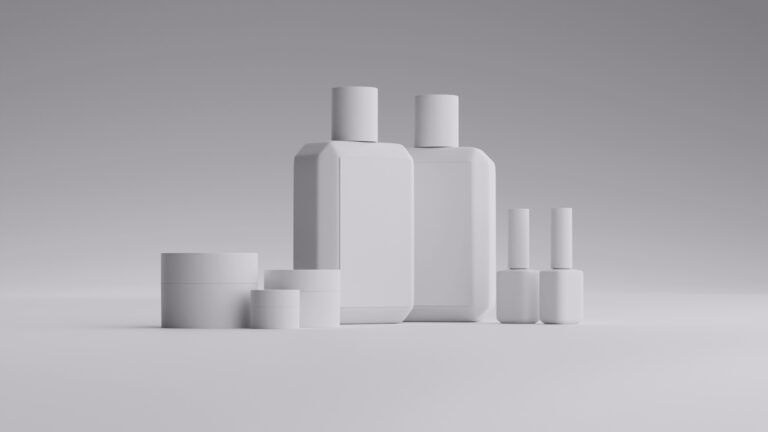
A single line spans glossy compacts, matte tubes, reflective foils, and printed labels, each reflecting light differently, and they all have to look like one coherent family on the page.
Add tight brand-color accuracy (a lipstick that ships the wrong red gets returned) and repetitive label cleanup across dozens of near-identical SKUs, and the challenge shifts from any one image to keeping the whole set aligned.
How much does product retouching cost?
Retouching cost comes down to one decision: do it yourself, or hand it off.
Doing it yourself
The out-of-pocket cost is low, but it’s not zero, and the real expense is your time.
The tools themselves range from free to a modest monthly subscription. GIMP and Canva’s basic tier cost nothing, AI background tools like Photoroom run on affordable monthly plans, and the professional stack (Photoshop and Lightroom) sits at a recurring subscription, with Affinity Photo available as a one-time purchase if you’d rather avoid the monthly bill.
Add a one-time hardware spend if you don’t already have a decent monitor to edit on, since color work is unreliable on an uncalibrated screen.
The larger cost is time. A skilled editor processes somewhere between 10 and 30 images an hour depending on complexity, and if you’re still learning, expect to be well below that.
Hiring a professional
Here, the cost is transparent and per-image, and it scales cleanly with your SKU count. Rates vary widely by complexity:
- Basic cleanup (dust, spots, background): Roughly $0.69 to around $2.50 per image, the tier most straightforward ecommerce listings fall into.
- Standard product retouching (reflections, minor fixes): Usually under $3 per image at outsourced-service rates.
- Reflective surfaces (glass, chrome, polished metal): Expect a premium, since these need specialized handling. That expertise typically adds $20 to $50 per image.
- Advanced or commercial retouching (high-end beauty, editorial, complex composites): Anywhere from $15 to $150 or more per image.
- Freelance retouchers billing hourly: Commonly $30 to $50 an hour rather than per image, which favors irregular or one-off work.
The hidden cost most people miss
If retouching is bundled into a full photography package, the quoted per-image rate hides the rest of the pipeline. A $40-per-image quote can quietly become $84 once you add retouching, studio rental, shipping products back and forth, and the hours you spend coordinating the shoot. The retouching line item is only one piece, and the surrounding logistics often cost more than the editing itself.
That full-pipeline math is also why hard-surface sellers increasingly look at CGI. When the product is modeled once in 3D, there’s no reshoot, no shipping, and no dust or reflections to retouch out on every new image, which changes the cost curve entirely as the catalog grows.
Product retouching vs CGI
Retouching and CGI solve the same problem from opposite ends. Retouching starts with a real photograph and fixes what the camera caught, cleaning up dust, taming reflections, correcting color, and repairing surfaces after the shoot. CGI skips the shoot entirely, building a 3D model from reference images, texturing it with the real materials, and rendering a finished image inside a computer.
The difference shows up most on hard-surface products like watches, jewelry, glass, and metal. These are the items that punish retouching, since every shot fights hotspots, reflections, and dust that get cleaned frame by frame. With CGI, none of that exists to remove.
Retouching scales with every image and reshoot, while CGI front-loads the work into a one-time model that’s reused endlessly, for new angles, backgrounds, campaigns, even video, without touching the product again.
Product Retouching | CGI | |
|---|---|---|
Starting point | A real photograph | Reference images, no shoot required |
Best for | Existing photos, lifestyle and authentic context | Hard-surface products (watches, jewelry, glass, metal) |
Physical product | Must be photographed | Never shipped or handled |
Reflections, dust, fingerprints | Removed manually, shot by shot | Don't exist to begin with |
Cost structure | Scales per image and per reshoot | One-time model, then reused freely |
Reusability | New needs often mean new shoots | New angles, scenes, and video from one model |
Turnaround at scale | Grows with catalog size | Fast once the model exists |
Upfront investment | Minimal | Higher, offset by reuse over time |
See What CGI Can Do With Your Product
If you sell watches, jewelry, cosmetics, or perfume, CGI can produce spotless, photorealistic images without you shipping a single product. Just send a few reference photos, and we handle the rest, faster and more conveniently than a traditional shoot, with unlimited revisions until it’s right.
Show us your product and try it free today, and we’ll send back a custom demo so you can see exactly what’s possible before committing to anything.