Have you ever wondered how jewelers manage to showcase their products so flawlessly in photographs? The secret lies in the art of editing and retouching! In this article, we explore a range of tricks and techniques of jewelry product photo retouching and editing that professionals use to bring out the best.
From enhancing your gemstone’s beauty to removing blemishes on precious metals, these clever edits can make all the difference when it comes to showcasing your jewelry online or in print. So get ready to unlock the power of post-processing as we guide you through an array of creative hacks that will have your customers drooling over their screens.
Importance of Jewelry product photo Retouching

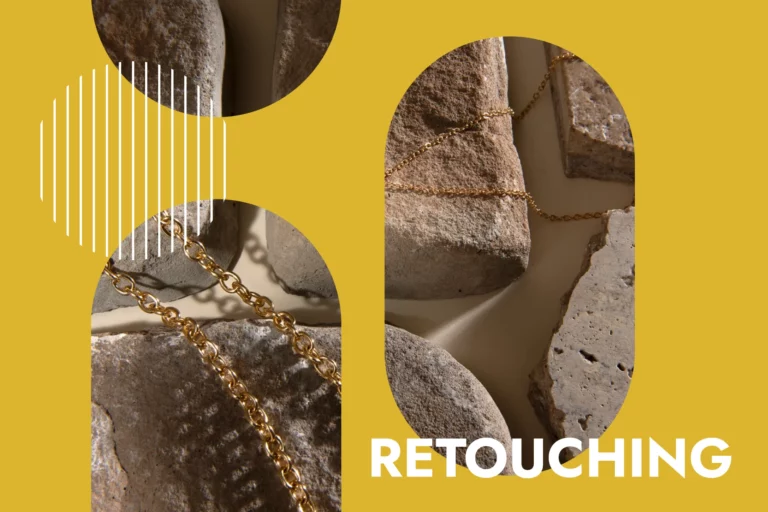
Proper editing and retouching in jewelry product photography can make a significant difference in the overall presentation of the piece. While the primary goal is to showcase the product accurately, investing time and effort into retouching can elevate it to a whole new level. The essence and allure of the jewelry can be captured by enhancing details, adjusting brightness and contrast, and perfecting textures.
Regardless of how skilled a photographer is, small marks or scratches are inevitable during photography. However, with careful retouching techniques, these flaws can be easily removed without compromising the integrity of the image. Potential clients can focus solely on assessing beauty by eliminating distracting elements, which enhances visual appeal.
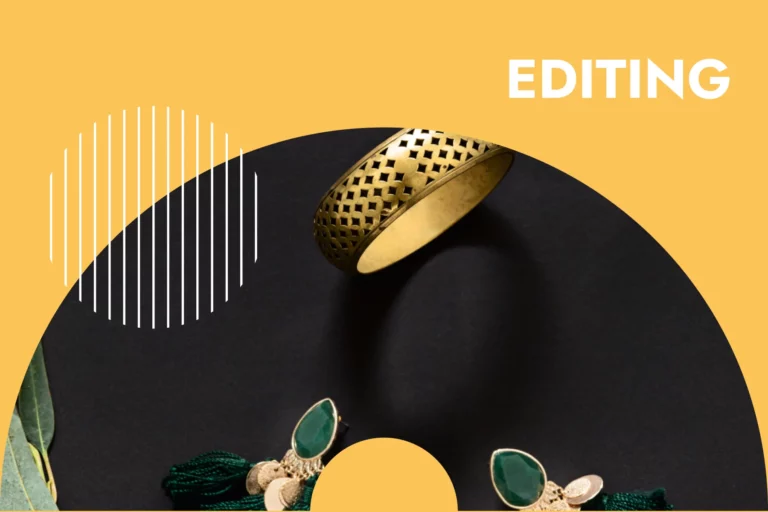
Image editing offers endless possibilities for showcasing different aspects of jewelry. Certain features like gemstones or intricate designs are often highlighted by subtle color adjustments or background enhancements. You can create an image that highlights every exquisite detail while maintaining its authenticity with just a few clicks and tweaks.
What software should you use?

There are a handful of software options that can truly bring out the brilliance and allure of your jewelry, and we’ll start off with Adobe Photoshop. With its sophisticated editing tools and extensive array of features, Photoshop enables you to manipulate and enhance every aspect of your jewelry images, ranging from adjusting colors and tones to eradicating imperfections.
Another popular option among jewelry photographers is Lightroom by Adobe. This software specializes in organizing and enhancing large collections of photos, making it perfect for managing various angles and shots of your exquisite pieces. Lightroom’s user-friendly interface makes it a preferred choice for novice photographers who desire to achieve professional-looking outcomes with ease.
Choosing the right software is crucial in creating visually stunning images that accurately represent the beauty of your jewelry collection. With top-notch software like Adobe Photoshop and Lightroom, you’ll be well-equipped to elevate your jewelry images while captivating your audience with dazzling brilliance.
Must-know editing and retouching tricks

Retouching the jewelry before shooting
To ensure that your photographs look polished and professional, it’s essential to remove any dust or blemishes before shooting. Use a soft-bristle brush or compressed air to gently remove dust particles from the surface of the jewelry. This step may seem simple, but it can make a significant difference in the final result.
In addition to removing dust, paying attention to blemishes is crucial for achieving flawless shots. To improve clarity and image quality, many photographers opt for post-processing techniques such as spot healing or cloning. These tools allow you to seamlessly retouch any imperfections on the jewelry without distorting its original shape or texture. It is important to remember that less is often more when it comes to retouching – strive for natural-looking results while maintaining the integrity of the piece.
Creating a 3D look using shadows

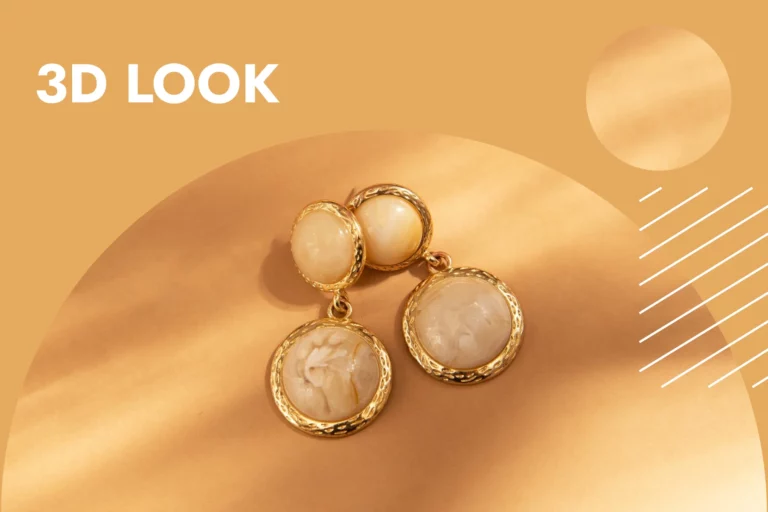
Editing and retouching tricks can work wonders when it comes to enhancing the visual appeal of your jewelry, and shadows are a good way to make your pieces look 3D. By carefully manipulating shadows in editing software, you can add depth and dimension to your jewelry images, elevating them from flat and lifeless to eye-catching and realistic. Learn about Flat Lay Product photography.
Start by understanding the source of light in your image. Use image editing software like Adobe Photoshop to create new shadow layers or darken existing ones. Play with the opacity and blending modes to create a natural-looking effect that mimics the interaction of light and real objects.
Consider the form and substance of your jewelry when experimenting with shadows. A round pendant may cast a circular shadow underneath, while a pair of earrings may have a curved shadow along the edges. Try different shadow shapes and sizes until you find the one that looks the best on your jewelry.
Exposure and white balance
Overexposure can wash out colors and details, while underexposure can make them appear dull and lifeless. It’s important to find a balance that brings out the intricate details, vivid gems, and reflective surfaces.
To achieve the perfect exposure, you should first adjust the brightness and contrast. If you lighten darker areas, hidden details will come out better without overpowering the highlights. Adjusting shadows and highlights individually also gives you more control over certain parts of the image.
White balance is also crucial when editing jewelry products, as it ensures the accurate representation of colors in your images. Auto-white balance doesn’t always give accurate results because different lighting conditions can affect color temperature differently. Use tools such as the White Balance slider or the Color Correction slider to accurately match the warmth or coolness in your images.
Brightness and contrast
When editing product shots for jewelry, getting the brightness and contrast right is critical to capturing the fine details that make each piece unique. One approach is to gradually adjust the brightness in small increments until you attain a balance that enhances the luster and luster of the jewelry without obscuring the colors.
Contrast plays an equally important role when editing jewelry products. Finding the appropriate contrast allows you to highlight shadows and contours, making your pieces stand out on screen. Be careful not to overdo it, though, as this can lead to hard edges and unnatural lines. Balancing softness and sharpness adds depth and dimension to every gemstone, metal texture, and intricate detail in your images.
Wrapping up
Using editing and retouching techniques can make jewelry product photos look better and more appealing to people who might buy them. The beauty of your jewelry can be shown off using techniques such as adjusting brightness and contrast, removing minor imperfections and adding reflections or shadows.
However, it’s significant to strike a balance between enhancing the photo and maintaining its authenticity. Remember to always be transparent with your clients when editing or retouching photos. So experiment with these tricks to take your product photos to new heights of visual appeal, or hire a professional photographer to do it!
FAQ
Why is editing and retouching important for jewelry product photos?
Editing and retouching enhance the overall quality of jewelry product photos by improving clarity, color accuracy, and removing imperfections, making them more appealing to potential customers.
What are the common issues in jewelry product photos that require editing and retouching?
Common issues include dust, scratches, reflections, uneven lighting, background distractions, and color inconsistencies.
What software should you use for editing and retouching jewelry photos?
We recommend you use Adobe Photoshop and Adobe Lightroom for editing and retouching jewelry product photos due to their powerful features and versatility.


