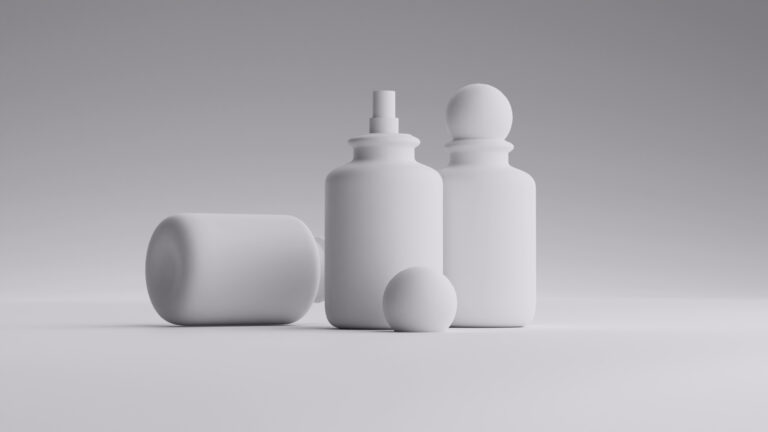
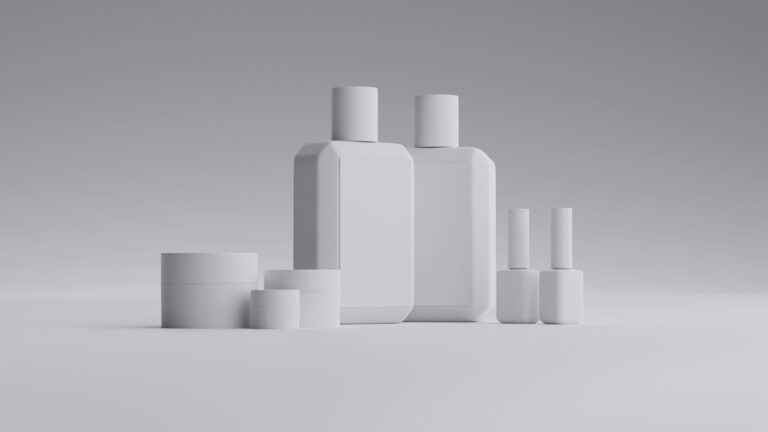
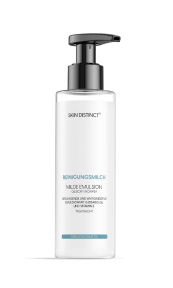
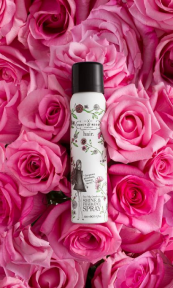
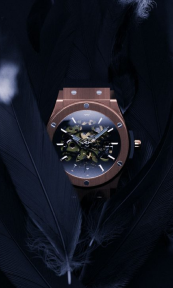
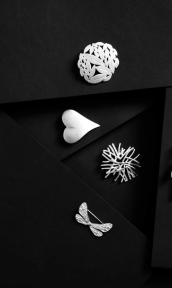
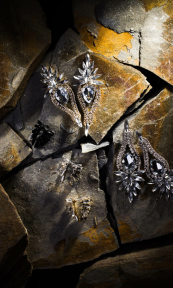
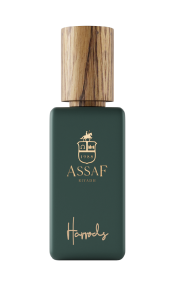
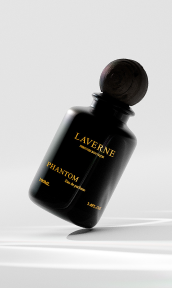
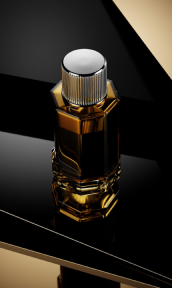
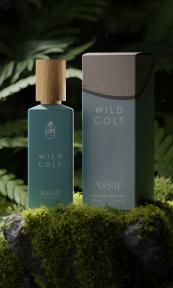
In the world of skincare product photography, captivating visuals are key to attracting consumers and communicating the essence of the product. With advancements in technology, CGI has emerged as a powerful tool for creating hyper-realistic images that rival traditional photography. In this article, we’ll delve into the realm of CGI and explore how it can help you produce striking photos for lotion products.
Understanding CGI in skincare photography

CGI stands out as a transformative technology, offering a revolutionary approach to product visualization. It enables artists and designers to create photorealistic images that showcase the product and evoke emotion while effectively conveying the brand’s message.
By harnessing the power of computer software, you have precise control over every aspect of the image, from lighting and textures to composition and mood. This level of control is particularly advantageous in skincare photography, where the emphasis lies on presenting the product in its best light, quite literally.
With CGI, you can manipulate lighting conditions to simulate different environments, highlight product features, and accentuate textures, resulting in visuals that are striking and immersive.
For instance, consider a scenario where a skincare brand wants to promote a new moisturizing lotion. Traditional photography might struggle to capture the desired level of hydration and luminosity, especially under controlled studio conditions.
However, with CGI, artists can meticulously craft the perfect balance of light and shadow, ensuring that the lotion appears dewy and radiant, inviting consumers to experience its moisturizing benefits firsthand.
Also, we can help you with this. Our team uses CGI to elevate skincare product photography to new heights. Whether you are launching a new skincare line or revamping your marketing materials, we’re here to bring your ideas to life with unparalleled precision and attention to detail.
Try us for free and experience the power of CGI firsthand. Let us help you showcase the full potential of CGI in creating stunning visuals that resonate with your audience, and elevate your brand. Witness the transformative impact it has on your skincare photography projects.
Step-by-step guide to stunning lotion product visuals

Creating stunning lotion product visuals through CGI involves a meticulous process that combines technical expertise with artistic creativity. Whether you’re a seasoned CGI artist or a novice exploring the world of digital visualization, this guide will provide valuable insights into crafting captivating visuals that fascinate audiences and promote your brand.
Step 1 . Conceptualization and Planning
Begin by defining the concept and mood you want to convey through your CGI imagery. Consider factors such as brand identity, target audience, and the desired aesthetic.
Sketch out ideas and gather reference images to serve as inspiration for your project. Determine the key features of your lotion product photography that you want to highlight, whether it’s its hydrating properties, luxurious texture, or natural ingredients.
Step 2. Model Creation
Start by creating a 3D model of the lotion bottle or container using specialized software such as Blender, Maya, or 3ds Max. Pay close attention to details like shape, size, and label design.
Make sure the model accurately reflects the real-life product, including any unique contours or embossing. If your lotion product comes in different packaging variations, consider creating multiple models to showcase the entire product range.
Step 3. Texturing and Material Definition
Next, apply textures and materials to the 3D model to simulate the appearance of the lotion container. Use high-resolution images to create realistic labels, cap textures, and surface finishes.
Experiment with different shaders and material properties to achieve the desired look and feel. Consider factors such as glossiness, reflectivity, and transparency to accurately replicate the physical properties of the packaging material.
Step 4. Lighting Setup
One of the most crucial aspects of CGI photography is lighting. Set up virtual lights within your 3D scene to illuminate the lotion container from various angles.
Aim for soft, diffused lighting to accentuate the product’s contours and textures. Experiment with different lighting setups to create mood and drama in your lotion product visuals. Consider using HDR (High Dynamic Range) environment maps to simulate realistic lighting conditions and reflections.
Step 5. Texture Rendering
Once your lighting setup is complete, focus on rendering the textures of the lotion product itself. Pay close attention to details such as skin texture, moisture droplets, and light reflection.
Use advanced rendering techniques such as subsurface scattering to mimic the way light interacts with the lotion’s surface, creating a sense of depth and realism. Experiment with different rendering settings to achieve the desired level of detail and fidelity in your visuals.
Step 6. Composition and Camera Angles
Experiment with different camera angles, focal lengths, and compositions to create visually engaging shots of your lotion product. Consider the rule of thirds, leading lines, and negative space to create dynamic compositions that draw the viewer’s eye.
Play with depth of field to emphasize specific elements of the scene, such as the product label or texture. Don’t be afraid to explore unconventional angles or perspectives to create a sense of intrigue and curiosity.
Step 7. Post-Processing
After rendering, fine-tune your images in a post-processing software like Adobe Photoshop. Enhance colors, adjust contrast, and add subtle effects to further refine the visual appeal.
Pay attention to details such as reflections and highlights to make the image pop. Consider adding subtle atmospheric effects such as lens flares to add depth and realism to your CGI visuals.
Step 8. Presentation and Final Touches
Finally, present your CGI lotion visuals in a compelling manner that highlights the product’s features and benefits. Consider creating a series of images that showcase different angles, packaging variations, or usage scenarios.
Incorporate branding elements such as logos, typography, and color schemes to reinforce brand identity. Experiment with different presentation formats such as social media posts, website banners, or print advertisements to reach your target audience effectively.
Mastering CGI for skincare product photography opens up a world of possibilities for creating stunning visuals that leave a lasting impression. By following the step-by-step guide outlined above, you can harness the power of CGI to showcase your lotion products in the best possible light.
Composition strategies for CGI lotion product photography

Composition is key to creating visually engaging CGI imagery that captures the attention of viewers and communicates the essence of the product. By applying composition strategies, you can create compelling arrangements that highlight the features and benefits of products in a captivating manner.
- Rule of Thirds
Utilize the rule of thirds to create visually balanced compositions that draw the viewer’s eye to key elements of your CGI visuals. Divide your frame into thirds, both horizontally and vertically, positioning important elements such as the lotion bottle or product label at the intersections of these gridlines.
- Depth and Layering
Create depth and dimension in your CGI skincare compositions by incorporating foreground, midground, and background elements. Experiment with overlapping layers to add visual interest and convey a sense of depth. Consider incorporating props or background elements that complement the product and enhance the overall storytelling.
- Dynamic Angles and Perspectives
Explore dynamic camera angles and perspectives to capture the essence of your CGI skincare product from unique vantage points. Experiment with low angles for a dramatic, larger-than-life effect or overhead shots for a bird’s-eye view of the product range. Play with depth of field to selectively focus on specific product features while blurring out distracting background elements.
- Symmetry and Balance
When creating CGI skincare photography, using symmetry and balance can help to create visually pleasing compositions. Symmetrical compositions can evoke a sense of harmony and order, drawing the viewer’s eye to the central focal point of the image. Experiment with mirror-like reflections and repeating patterns to create a sense of balance and stability, enhancing the visual impact of your skincare visuals.
- Negative Space
Embrace the concept of negative space to create minimalist compositions that allow the skincare product to take center stage. By strategically incorporating empty spaces around the product, you can create a sense of openness and simplicity that emphasizes the product’s importance. Experiment with different negative space ratios and placements to achieve a sense of visual balance and elegance in your CGI skincare imagery.
To create effective CGI skincare imagery, the composition is crucial. By paying close attention to composition, you can create engaging imagery that reinforces brand identity and encourages consumer engagement. As you experiment with new techniques and styles, the potential for captivating CGI skincare visuals is limitless.
Wrapping up
CGI technology offers limitless possibilities for creating captivating skincare product photography. By mastering techniques such as model creation, texturing, lighting, and composition, artists can enhance brand perception. With CGI, you can bring your creative vision to life and create visuals that leave a lasting impression.
FAQ
What is CGI, and how is it used in skincare product photography?
CGI, or Computer-Generated Imagery, refers to the creation of images, videos, or animations using computer software. In skincare product photography, CGI allows artists to create hyper-realistic visuals of lotion products by digitally modeling, texturing, lighting, and rendering them, providing unparalleled control over the creative process.
Can CGI lotion visuals achieve the same level of quality as traditional photography?
Yes, CGI lotion visuals can achieve photorealistic results that rival traditional photography. With advancements in CGI technology and rendering techniques, artists can create lifelike textures, lighting effects, and compositions that closely resemble real-world environments and products.
What software is commonly used for creating CGI lotion visuals?
Popular software programs include Blender, Maya, 3ds Max, and Cinema 4D. These programs offer a wide range of tools and features for modeling, texturing, lighting, and rendering, allowing artists to create stunning visuals with precision and flexibility.
How long does it take to create CGI lotion visuals?
The time required to create CGI lotion visuals varies depending on the complexity of the project and the level of detail required. Simple visuals may be created relatively quickly, while more complex scenes with intricate textures and lighting setups may take several days, or even weeks to complete.
What are the benefits of using CGI for creating lotion visuals?
CGI allows for easy customization and updates, ensuring that skincare brands can keep their imagery fresh and relevant in a rapidly evolving market. Additionally, CGI provides artists with the flexibility to experiment with different lighting setups, compositions, and textures, resulting in visually stunning visuals that captivate audiences and elevate brand perception.


