Electronic product photography means showing phones, headphones, speakers, chargers and other devices so clearly that a shopper understands the product without touching it. The hard parts are glossy screens, black plastic that swallows light, tiny ports and buttons, and fingerprints on everything.
This guide covers the shots you need, the gear, lighting for screens and dark surfaces, styling and editing, and when CGI is the better way to create electronics images.
The Shots Every Electronics Listing Needs

Shot | What it shows | Tip |
|---|---|---|
Main image on white | The whole product, front three-quarter view | Pure white background, product filling most of the frame |
Angles | Front, back, sides, top | Same light and distance for every angle |
Details | Ports, buttons, textures, materials | Macro lens, focus stacking for depth |
Screen on | The display or interface | Add the screen in editing for a clean result |
In the box | Everything the customer gets | Lay out cables and accessories neatly |
Scale or in use | Size and how it's used | In a hand, on a desk, worn by a person |
Feature or exploded view | What's inside or how it works | Often easier in CGI |
Equipment for Electronic Product Photography

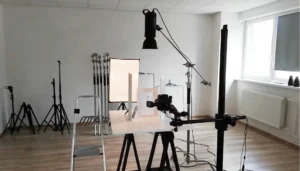
- A camera with manual controls and a macro lens (around 90 to 105 mm) for sharp details.
- A sturdy tripod, so every angle uses the same framing.
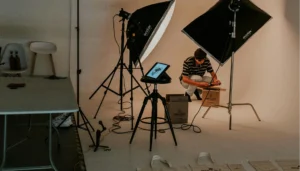
- Two or three lights with large softboxes or strip boxes, plus black and white cards.
- A white sweep or shooting table, and a black surface for dark, premium shots.
- A polarizing filter to control reflections on glossy plastic and on screens that are switched off (with a screen on, a polarizer can darken it).
- Cotton gloves, microfiber cloths, a blower brush and screen cleaner.
- Editing software such as Photoshop for dust removal, screen inserts and backgrounds.
Lighting Electronics: Screens, Black Plastic and Metal
Large, soft light for glossy surfaces
Glossy plastic and glass act like mirrors. Use the biggest, softest light sources you can, such as large softboxes or diffusion panels, placed to the sides. They create smooth, even reflections instead of hard hot spots.
One clean reflection on screens and glass
For phones and tablets, a popular look is one long, soft reflection across the glass with a mirror image on a glossy surface below. One large diffused light and a dark room give the cleanest result. Our glass product photography guide shows the setup step by step.
Strip lights for edges and metal
Narrow strip boxes on each side draw a clean highlight along the edges of a phone or laptop and show the shape of metal parts. Move them a few centimeters at a time and watch the highlight change.
Black products
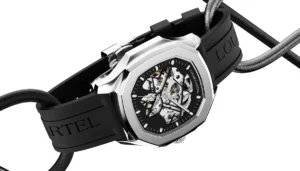
Black devices lose their shape against dark backgrounds. Light them with large soft sources from the side or above, and use white cards or strip lights to put narrow, graded reflections along the edges and curves. Keep most of the surface dark, so the shape shows without the product turning grey.
Screens
Turn the screen off for the shoot and avoid reflections of the lights on it. Add the screen image later in editing. It gives a sharp, evenly lit display and lets you change the content for each market.
Preparing and Styling Electronics

- Remove protective films, labels and stickers, unless you want to show them.
- Clean every surface with a microfiber cloth, then only handle the product with gloves.
- Hide or tidy cables. Coil them neatly with a small piece of tape behind the product.
- Keep the background simple for product pages, and use styled scenes (a desk, a backpack, a car interior) for ads and social media.
- Show scale: a hand holding the device, or familiar objects next to it.
- Keep the same angles, light and background across your whole range.
Five Tips for Better Electronic Product Photos

- Focus on details. Close-ups of ports, buttons and materials answer the questions shoppers would ask in a store.
- Use focus stacking. Combine several shots focused at different depths, so a small device is sharp from front to back.
- Tell a story. A smartwatch on a runner’s wrist or headphones on a commute show what the product does for the buyer.
- Be accurate. Colors, finishes and sizes must match the real product, or returns go up.
- Stay consistent. One look across all products builds a recognizable brand and a tidy store.


Got it — we're on it
Tell us a bit more and we'll tailor the sample. Totally optional.
Thank you!
We've got everything. We'll get back to you by email soon.
Editing Electronic Product Photos
- Remove dust, fingerprints and small scratches.
- Clean the background to pure white for marketplace images.
- Insert screen content and make sure it’s sharp and straight.
- Straighten lines and check that edges are clean.
- Export in the sizes and formats each channel needs.
When CGI Is Better for Electronics

Electronics are a strong case for CGI. Products often need images before they’re manufactured, many come in several colors, and their glossy, dark surfaces are hard to light. In 3D, the product is built from its CAD file or from photos and dimensions, and every highlight and screen is controlled. You can also show the inside of the device, an exploded view, or a feature animation, which is very hard to do with a camera.
Two real examples
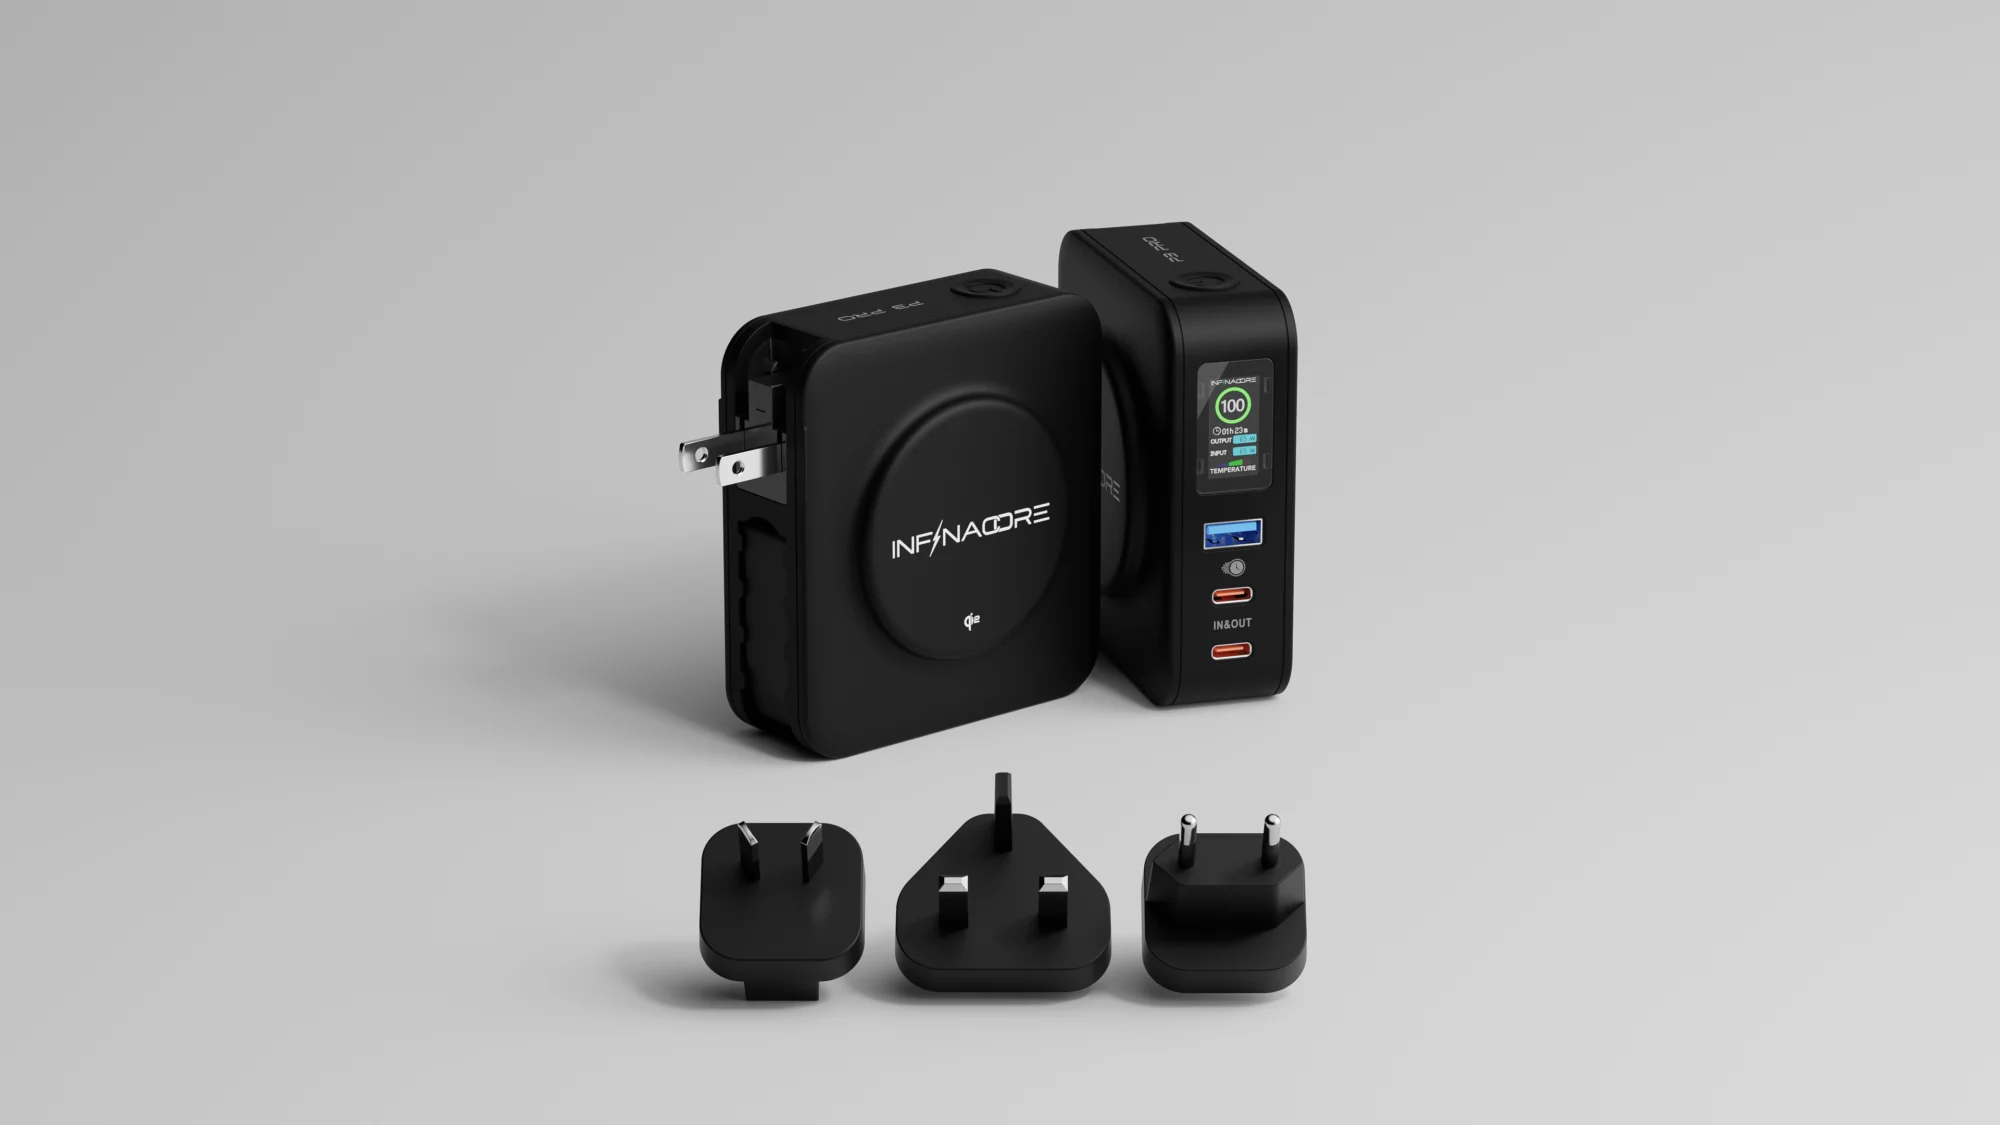
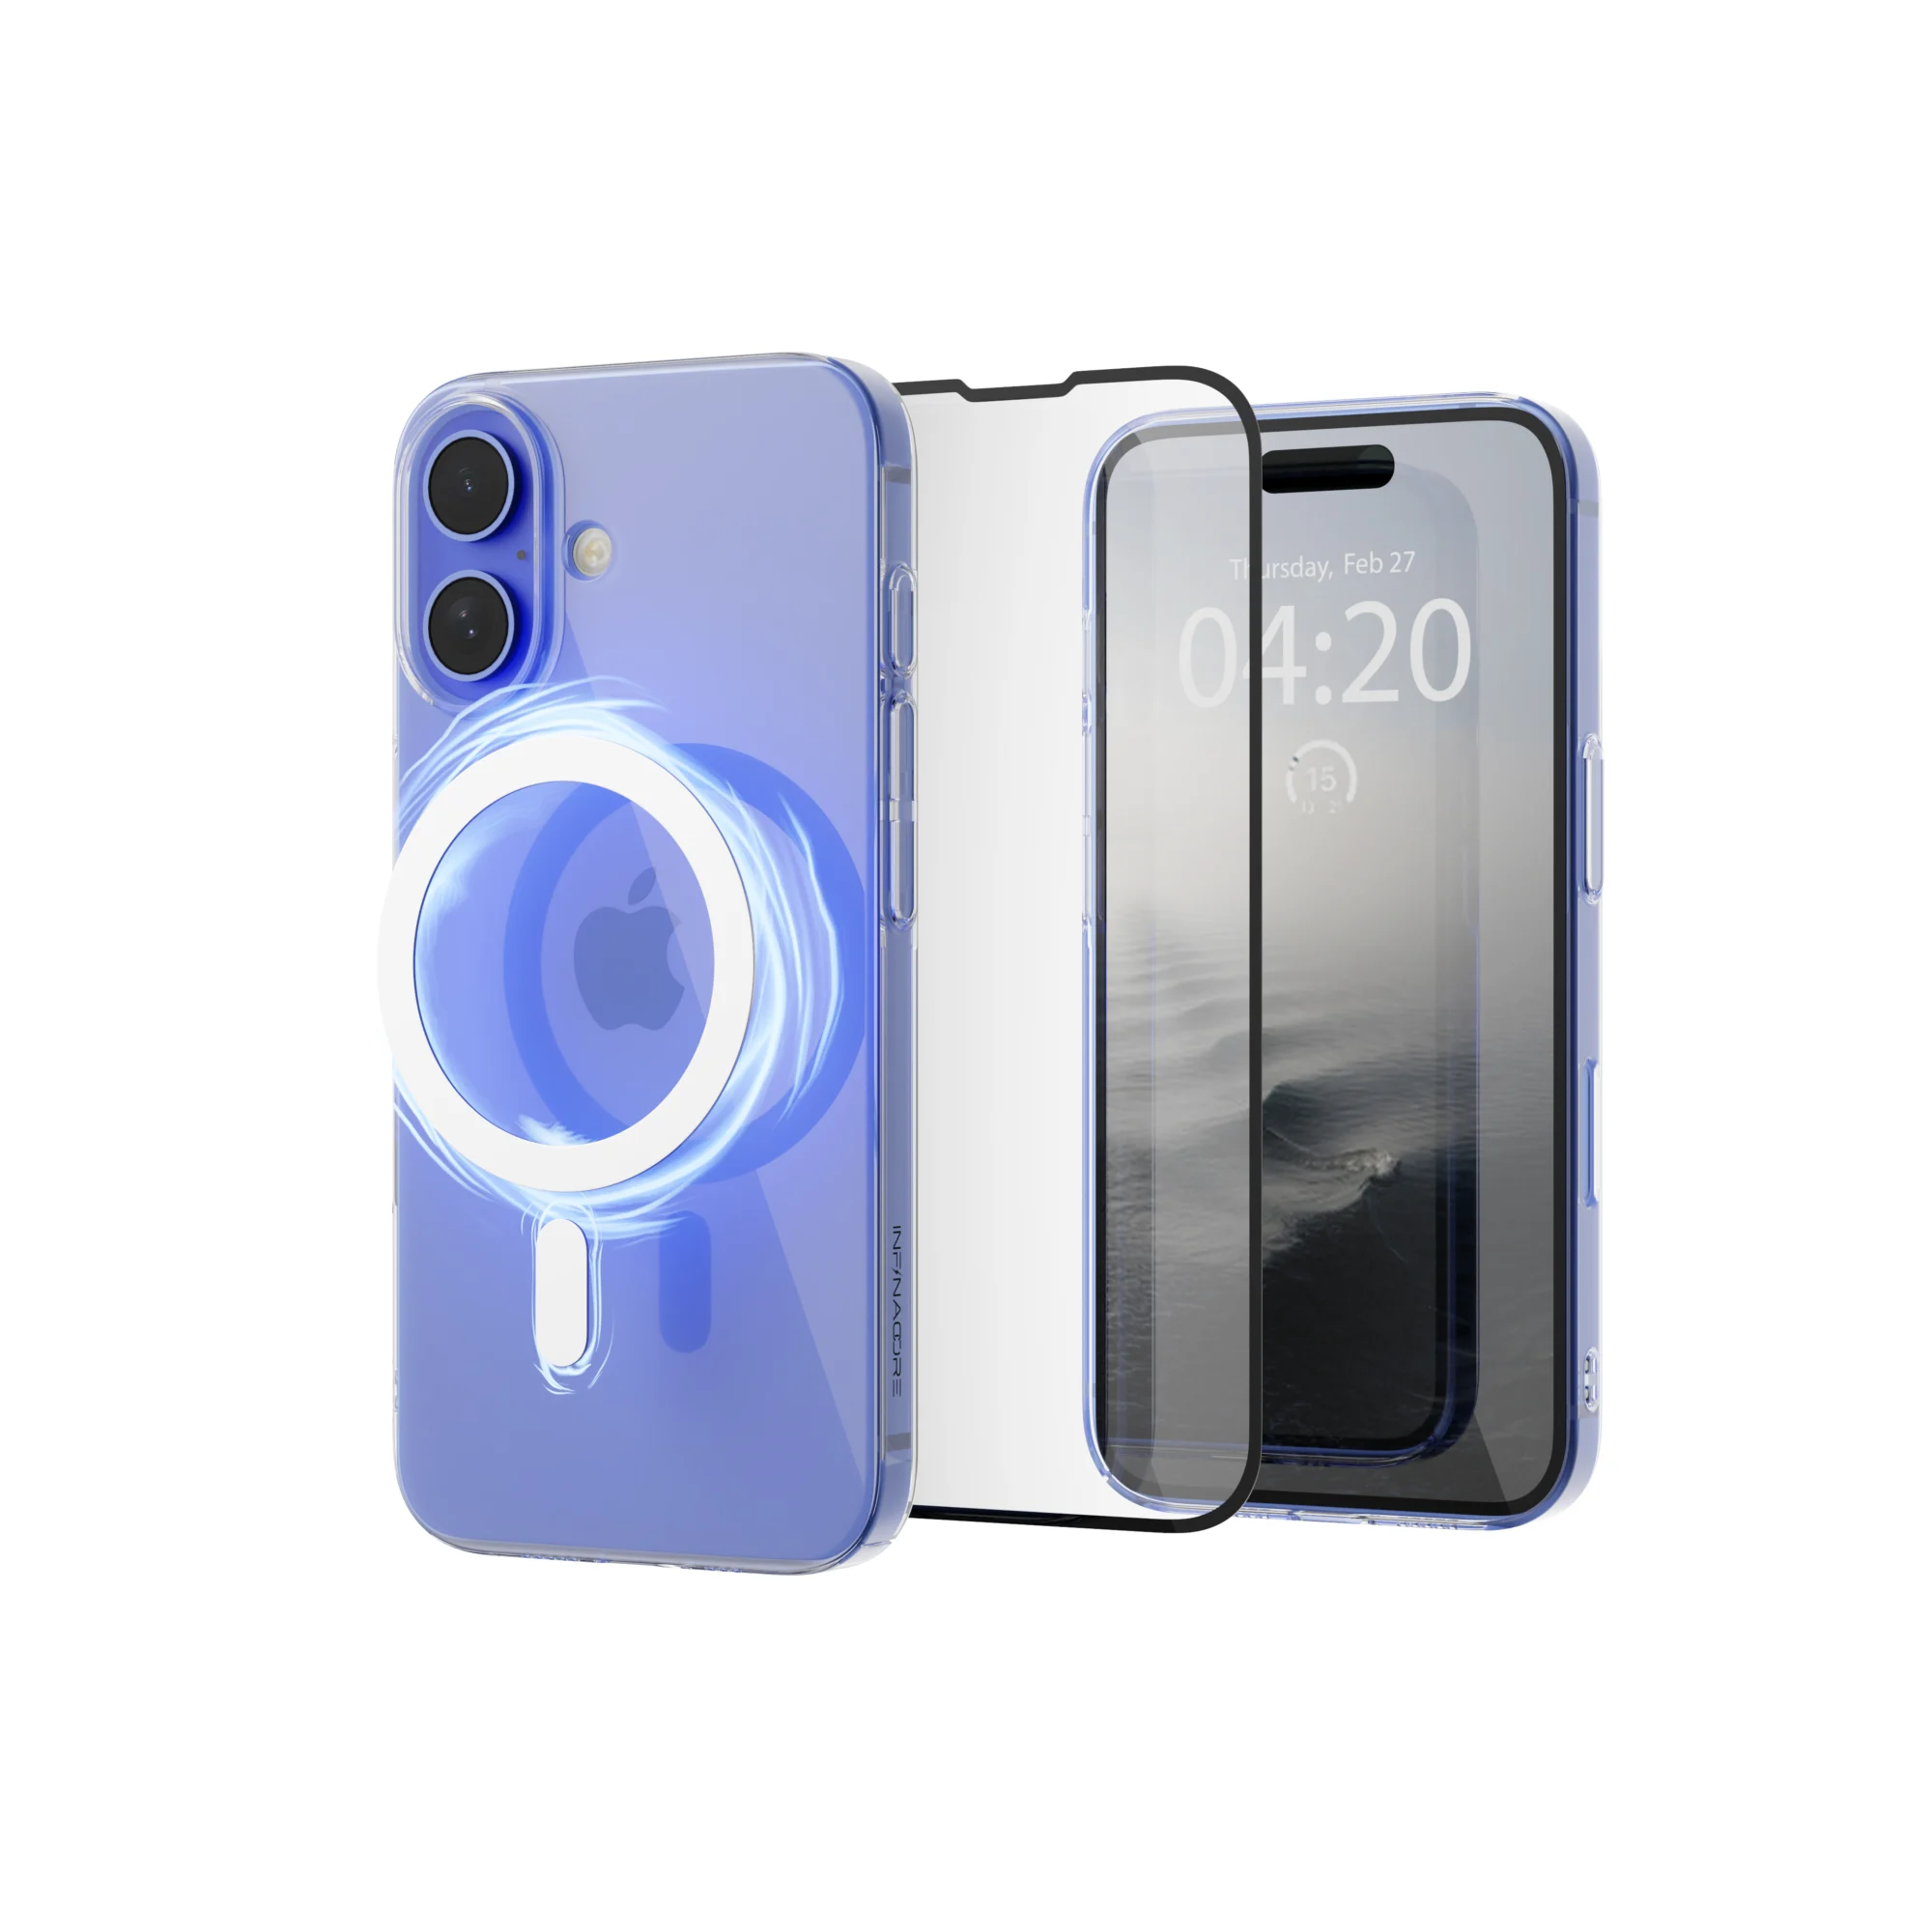
- Infinicore chargers and power banks. We render chargers and power banks for Infinicore while they are still being manufactured in China, so they can launch products before the first units arrive. The display designs they already have go straight onto the 3D model, so we can show the screen, its brightness and how the product works, even in an animation.
- A public transport ticket validator. For a device with a screen, we made exploded views and white background images combined with wireframes on a tight deadline. The client is already using them in print, and received layered PSD files so their designers can adapt them. The full product animation comes next, from the same 3D model.
At Welpix, CGI images cost €49 (white background), €99 (minimalistic), €149 (simple props) or €299 (custom scene) per image, plus a one-time 3D modeling fee of €29 an hour. Once the model exists, new colors and angles are just new renders, and the same model can be used for 3D product animation. See our CGI product photography page and the full price list.
- 3D modeling
- White bg.
- Minimalistic
- Simple prop
- Custom
- 3D modeling
- White bg.
- Minimalistic
- Simple prop
- Custom
Got it — we're on it
Tell us a bit more and we'll tailor the sample. Totally optional.
Thank you!
We've got everything. We'll get back to you by email soon.
Wrapping Up
Good electronics photos come from spotless products, large soft light, careful control of reflections and a complete set of shots: main image, angles, details, screen, box contents and scale. Keep everything consistent across your range. For pre-launch products, many colors or exploded views, CGI is often faster and more reliable than a shoot.
FAQs
How do you photograph electronics without reflections?
Use large, soft light sources placed to the sides, keep bright objects away from the set, use a polarizing filter on glossy surfaces and switched-off screens, and add white or black cards to control what the product reflects.
How do you photograph a phone or laptop screen?
Shoot with the screen off and without reflections, then add the screen content in editing. It gives a sharper, more even result than photographing a live screen.
How do you photograph black electronics?
Use large soft lights from the side or above and white cards or strip lights to put narrow reflections along the edges, so the shape shows. Avoid a black background for product pages, so the product doesn’t disappear.
What lens is best for electronic product photography?
A macro lens around 90 to 105 mm works for phones, headphones and other small devices, and for close-up details. For larger products, a 50 to 70 mm lens is easier in a small studio. Use focus stacking for small devices.
Is CGI cheaper than photography for electronics?
For a few products that already exist, a photo shoot is often cheaper. For products that aren’t made yet, many color variants, or exploded and in-use views, CGI usually costs less over time because the 3D model is reused.