Capturing the elegance and intricacy of glass products through photography requires a skilled and thoughtful approach. The reflective surfaces and transparent quality of glass present a unique challenge for photographers, demanding a keen eye for composition and lighting.
In this article, we delve into the art and technique of glass product photography, offering insights and tips to help photographers master this specialized craft and showcase glass items appealingly and engagingly.
Types of glass product photography
Before you start taking photos, you need to be clear about the type of glass product photography you want to take. Should it be a standard photo? Or do you opt for a more creative image that better suits your glassware? Let’s discuss both options to make your decision easier.
Standard glass product photography
In this classic approach, photographers often pay close attention to the positioning of the lights and use softboxes or diffusers.
This creates a soft, even light that emphasizes the contours and details of the glass without causing harsh reflections. They also use polarization filters to reduce glare and increase the transparency of the glass.
When composing the image, the photographers experiment with different angles and perspectives to highlight the unique characteristics of the glass, such as shape, color, and texture.
In addition, using a tripod and a small aperture can help to maintain the sharpness of the overall image and ensure that the intricate details of the glass are captured with clarity and precision.
Overall, the standard approach to photographing glass requires a blend of technical expertise, attention to detail, and careful consideration of lighting and composition to create a visually stunning and aesthetically pleasing image.
Creative glassware photography
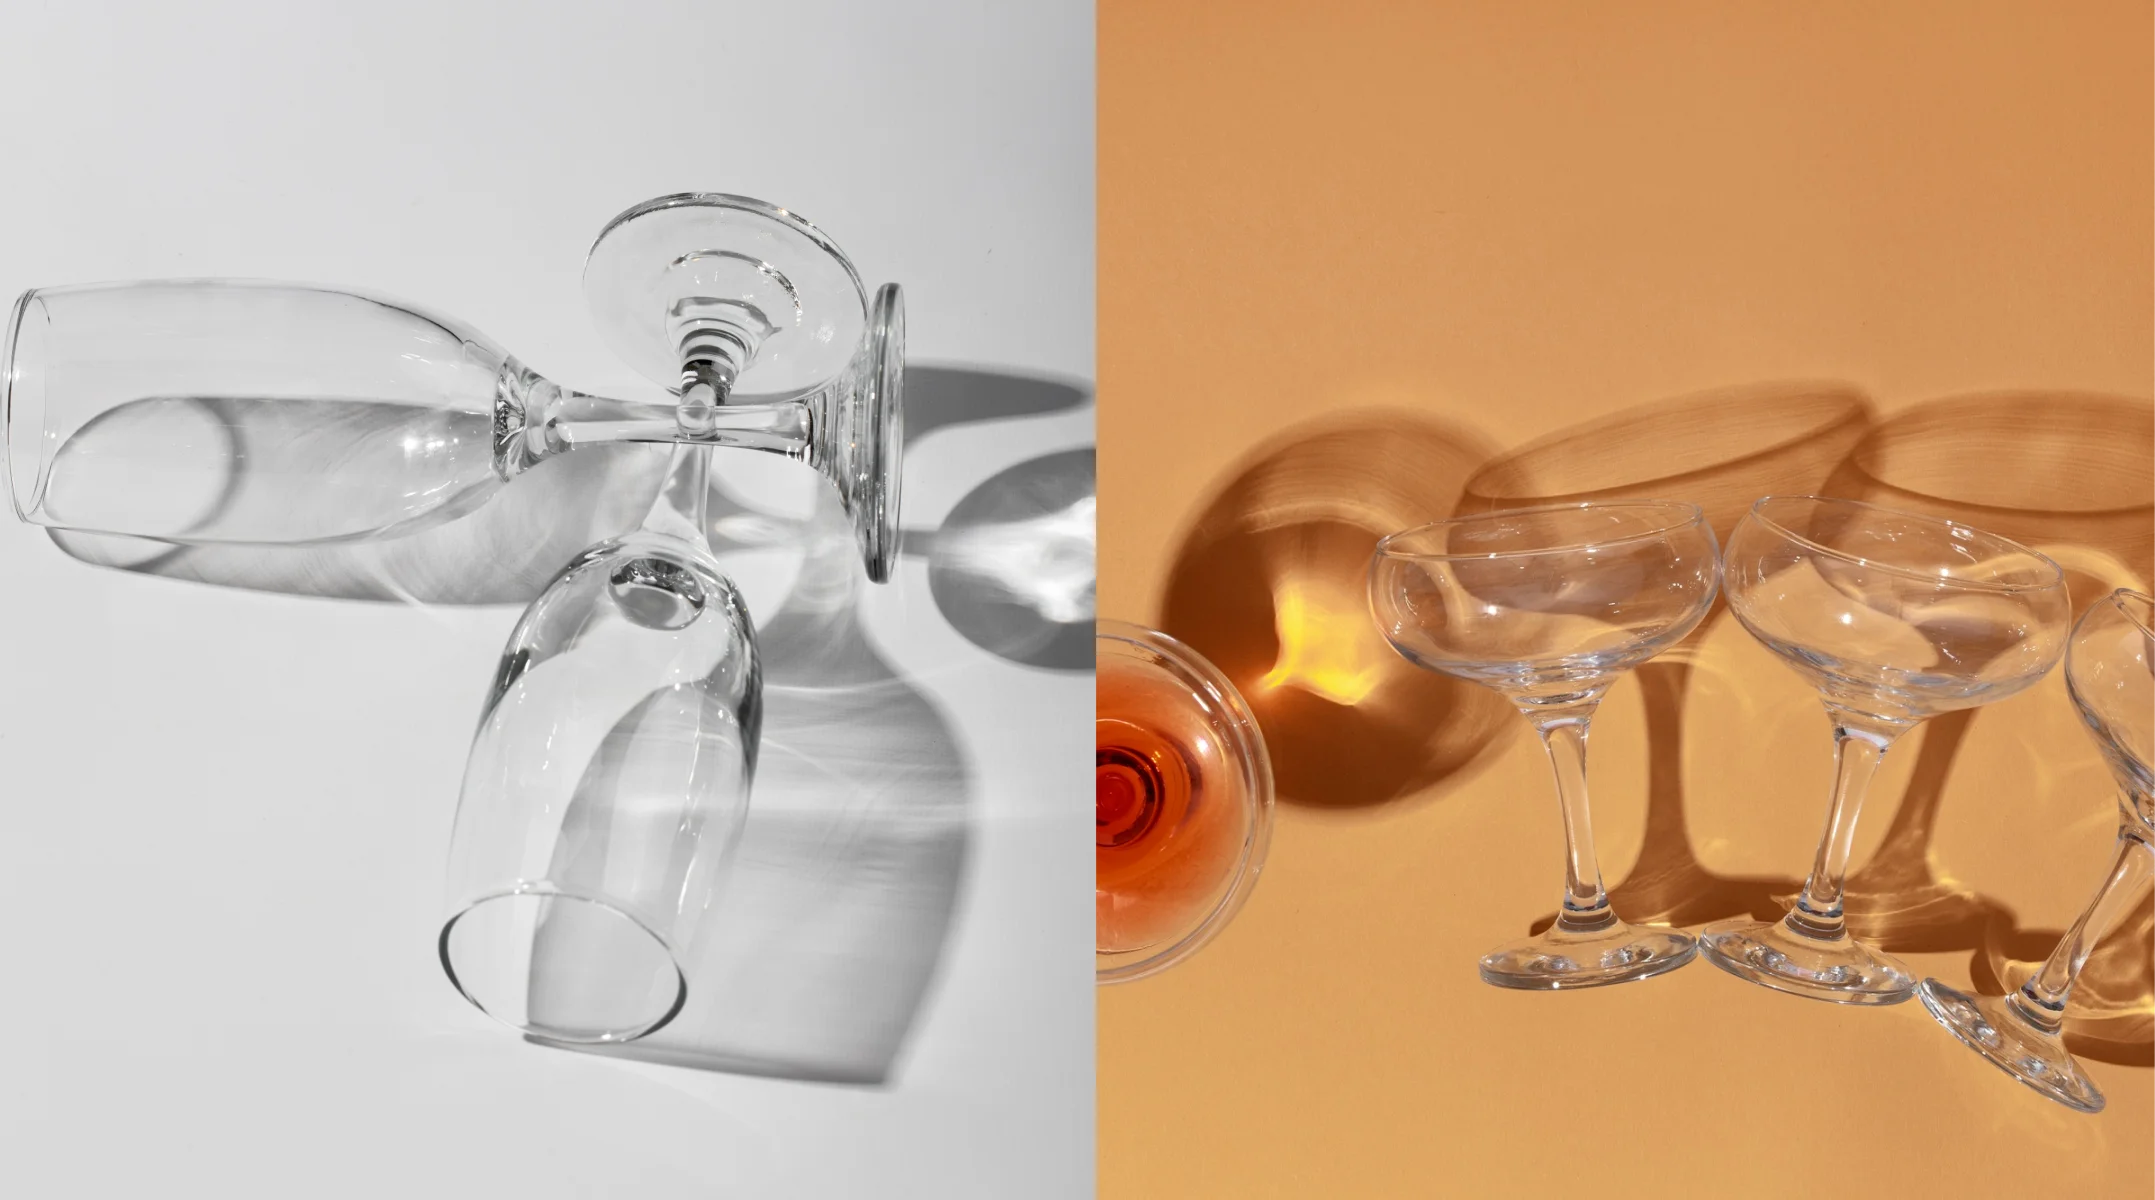
In contrast to the standard approach, the creative way of photographing glass products involves thinking outside the box and experimenting with unconventional techniques to create visually captivating and artistically unique images.
This involves using experimental lighting setups such as colored gels, projections, or light painting to create dynamic and visually appealing effects that highlight the unique properties and beauty of the glass.
In addition, similar to the standard type, photographers should experiment with different shooting angles, perspectives, and compositions to create striking and distinctive images that evoke emotion and tell a compelling visual story.
Utilizing post-processing techniques, such as the creative use of color grading, textures, overlays, and blending modes, can further enhance the artistic and aesthetic appeal of the final images, allowing for the creation of imaginative and thought-provoking interpretations of the glass object.
This creative type of glass product photography celebrates artistic expression and innovation, offering a fresh and unconventional perspective that captivates viewers and leaves a lasting impression.
Necessary equipment
To create high-quality glass product photography, having good equipment is crucial. Let’s take a look at what tools you’ll need for your project.
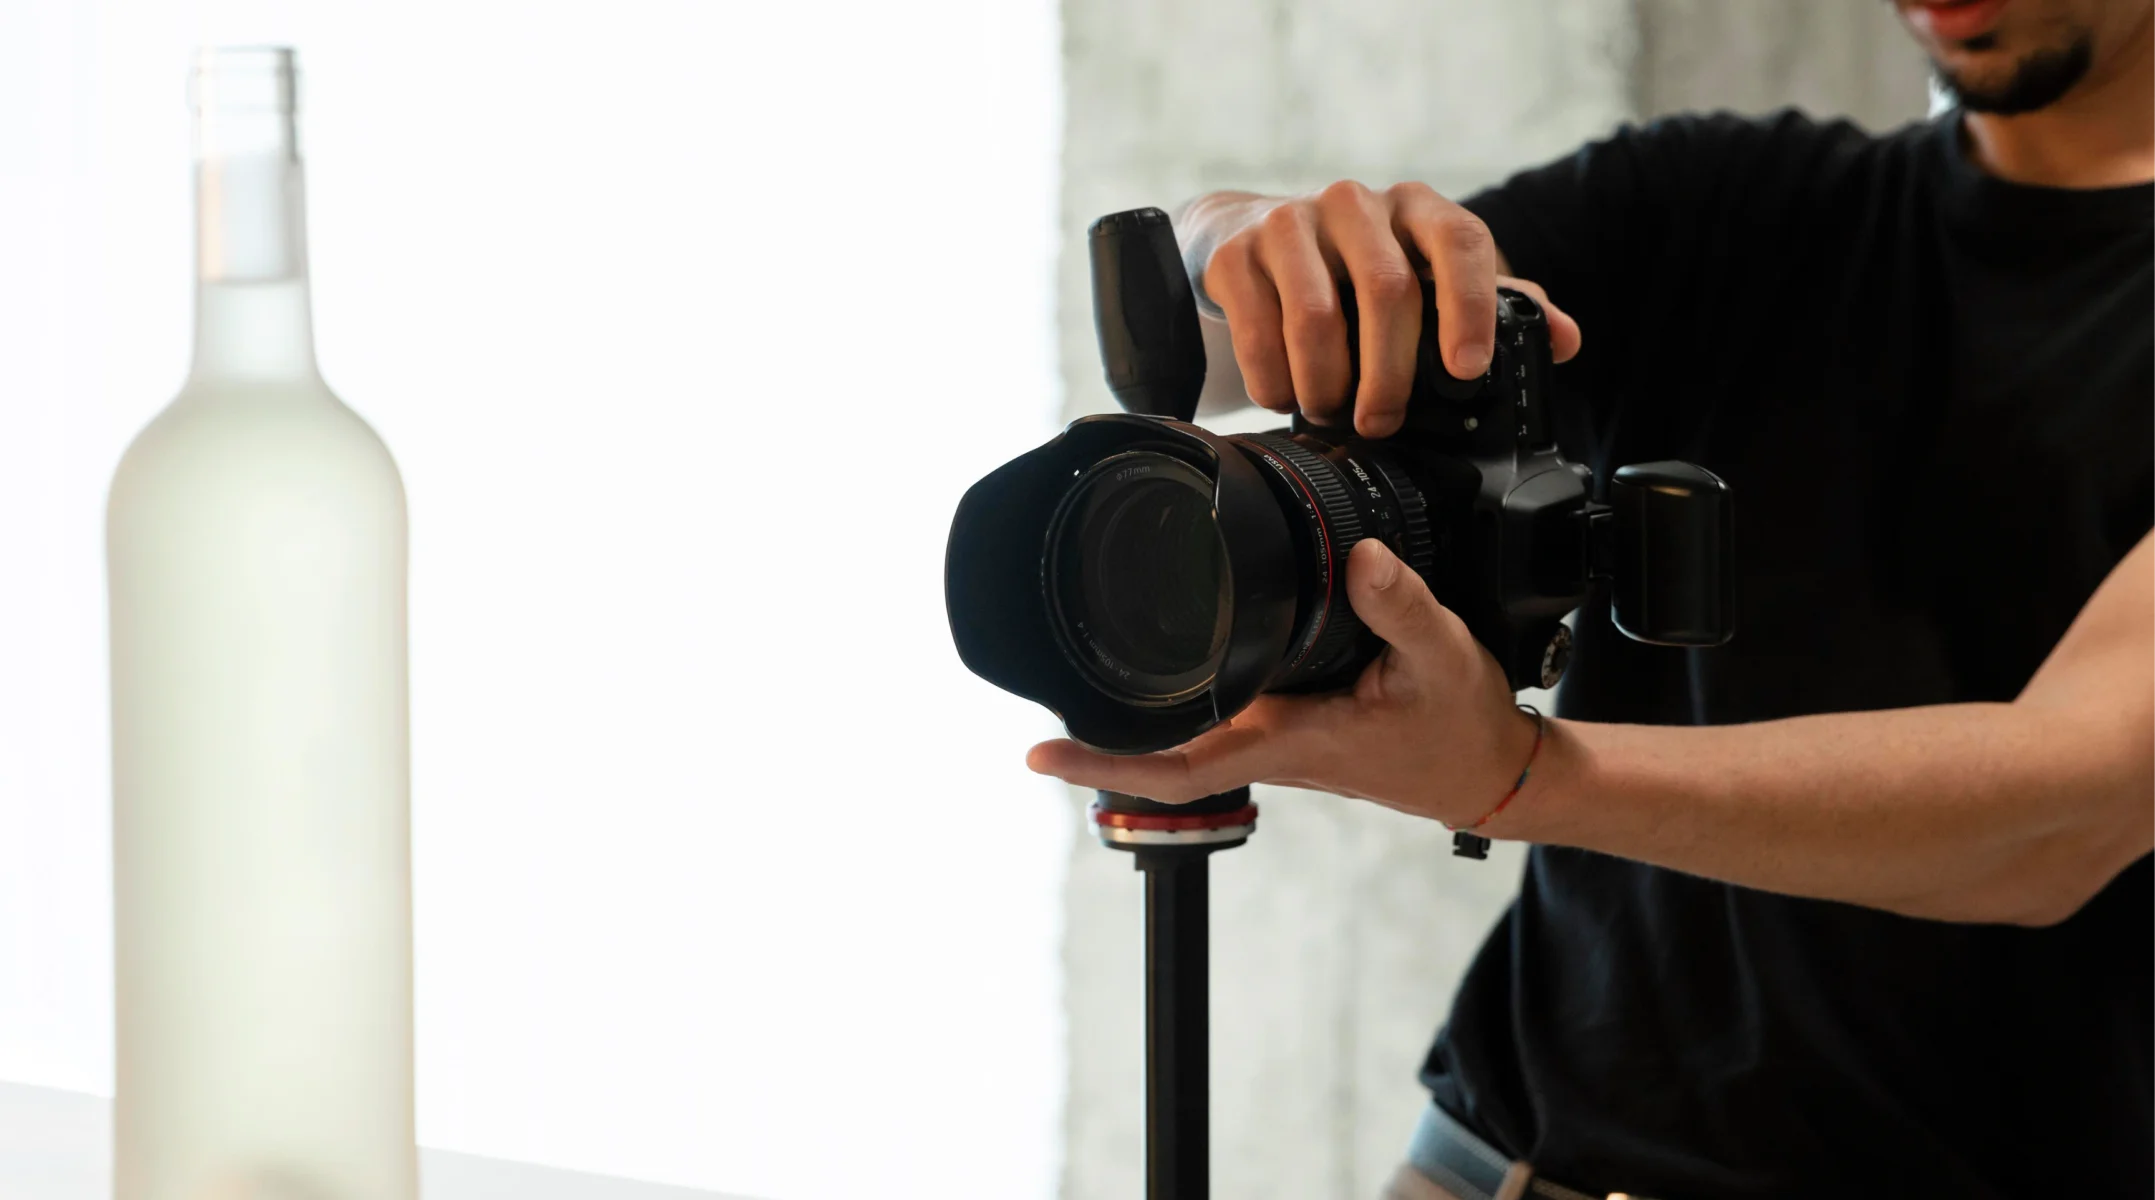
The first tool you’ll need is a camera with manual controls, such as a DSLR or mirrorless camera. These cameras allow photographers to adjust settings like aperture, shutter speed, and ISO for optimal image quality.
Additionally, a macro lens is often a good choice for capturing detailed close-up shots with clarity and sharpness. To ensure stability and prevent camera shake, using a sturdy tripod is essential, especially in low-light conditions.
Lighting plays a significant role in glass photography, with tools like softboxes, diffusers, reflectors, or LED lights used to control and shape light. These help reduce reflections, enhance transparency, and highlight the glass object’s texture and shape.
Reflective surfaces like whiteboards or blackboards can be strategically positioned to bounce, absorb, or block light for desired effects. Props such as colored gels, backgrounds, or decorative elements can add visual interest and context to the composition.
Finally, post-processing software like Adobe Photoshop or Lightroom is ideal to fine-tune and enhance images during editing. You can adjust colors, contrast, and sharpness and remove imperfections to create captivating glass product photographs.
With the right equipment and techniques, photographers can showcase the beauty and uniqueness of glass objects through stunning imagery.


The ideal space for shooting glass photos
When preparing a space for shooting glass product photography, it’s essential to consider several key factors.
Firstly, select a room with ample natural light or an artificial lighting setup that can be controlled to achieve the desired look for images. Ensure the space is free from clutter and distractions, providing a clean backdrop for the glass objects to stand out.
Setting up a shooting table with a seamless white or black background can help isolate the subject and maintain a consistent aesthetic. Position the table near a window or light source to take advantage of the natural light while having artificial lighting options available for consistent illumination in any condition.
It’s crucial to have enough space to move around the shooting area comfortably, allowing different angles and perspectives to capture the glass product effectively. Allocate a designed area for positioning the camera, tripod, and other equipment, ensuring easy access and stability during the shoot. Consider factors like power outlets for lighting equipment, props, and tools to be within reach, facilitating a smooth workflow and minimizing disruptions.
Creating a dedicated and organized space for shooting glass product photography will enable you to focus on capturing the intricate details, textures, and reflections of the glass objects while producing high-quality, visually appealing images that showcase the product effectively.
How to prepare for the photoshoot

Begin by cleaning the glassware thoroughly using a lint-free cloth and glass cleaner to remove any dust, fingerprints, or smudges that could mar the final image.
Next, set up a dedicated shooting space with a neutral backdrop, such as a seamless white or black background, to highlight the glass objects effectively. Control the lighting in the space by using diffused natural or artificial lighting to minimize glare and reflections.
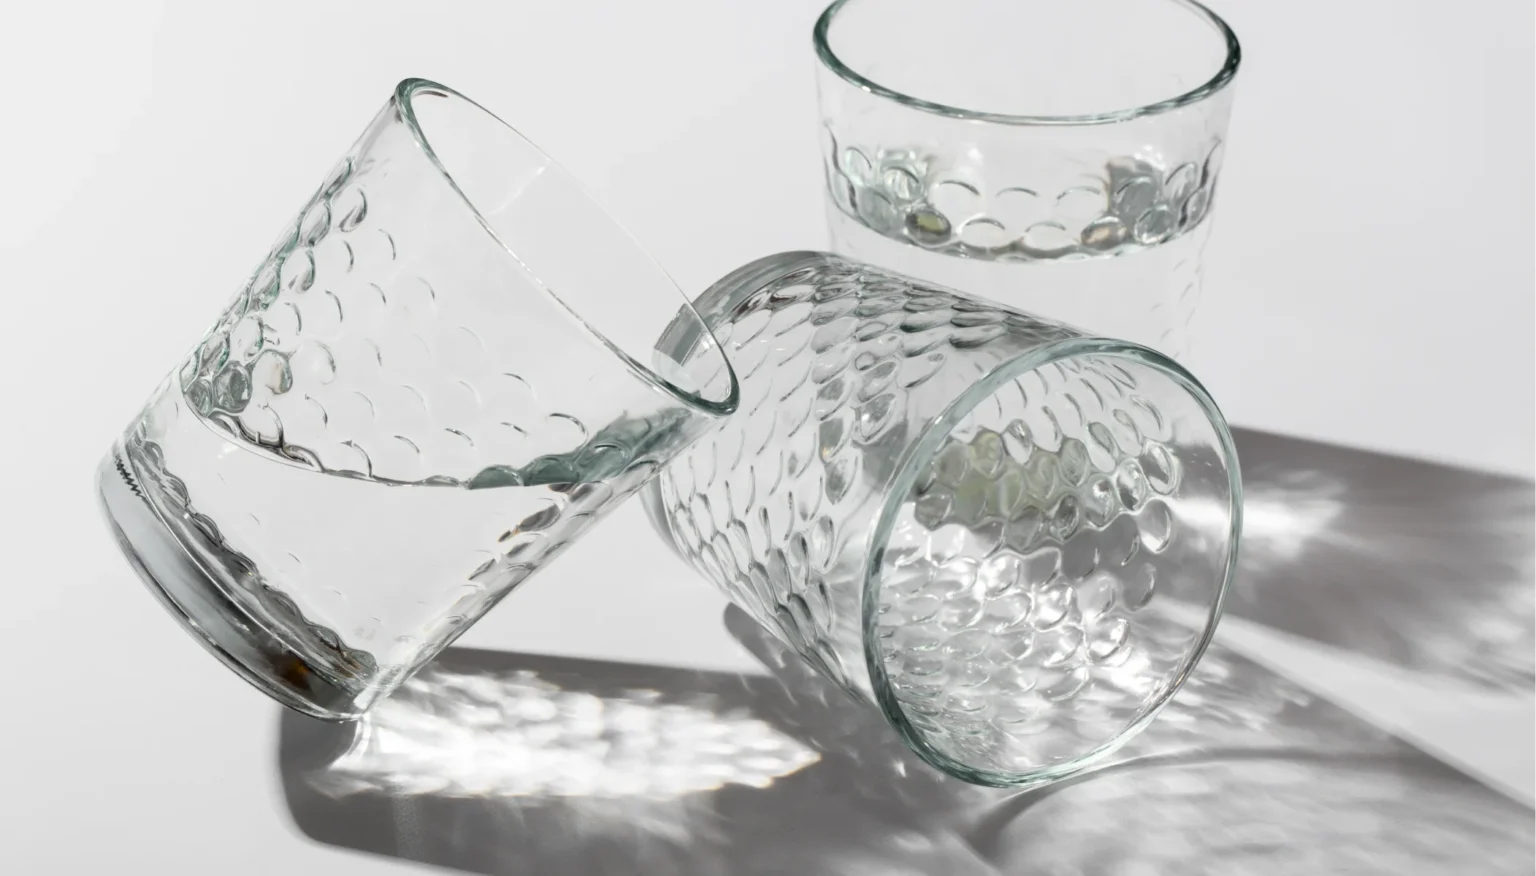
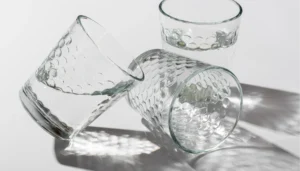
Position the glass products strategically on the shooting table, considering angles and composition that showcase their unique features and details. For example, if you wish to create a glass reflection under the item, it’s best to get another identical glass and place it with the rim down. Then, add the glass you want to photograph on top of the first. This will help create that beautiful reflection without other additional props.
Use props like reflective surfaces or colored backdrops to enhance the visual appeal of the image, and add interest to the composition. Experiment with different lighting setups, camera angles, and composition to capture the glass from various perspectives, ensuring you have an adequate range of shots to choose from during post-processing.
How to light the glass
When lighting glass objects for photography, focusing on the background specifically can create a striking visual impact. To achieve this, consider using the backlighting technique, where the background behind the glass is illuminated separately from the glass object itself.
Start by positioning a light source behind the glass or background material to create a bright, even glow that emphasizes the outlines and shapes of the glass. This technique helps to isolate the glass object from the background, providing contrast and enhancing its translucency and reflective qualities.
Experiment with different background colors or materials to create unique effects, such as using colored gels or textured surfaces to add visual interest and depth to the composition. By lighting only the background, you can achieve a clean and minimalist look that highlights the glass object as the focal point of the image.
Alternatively, incorporating fill lights on the sides can help balance the overall lighting scene, providing additional illumination to the glass object and reducing shadows or dark areas.
Positioning fill lights at a slight angle to the sides of the glass can help enhance its shape and contours, creating a three-dimensional effect that adds depth and dimension to the image.
Adjust the intensity and positioning of the fill lights to achieve a desired level of brightness and illumination that complements the backlighting effect while maintaining a natural and balanced look.
Experiment with different lighting setups, angles, and compositions to find the optimal configuration that highlights the beauty and details of the glass object while enhancing its overall visual impact. Pay attention to how the light interacts with the glass surfaces, reflections, and textures to capture captivating and aesthetically pleasing images that showcase the unique characteristics of the glassware.
Through careful lighting technique and experimentation, you can create stunning photographs that effectively emphasize the beauty, clarity, and intricacies of glass, focusing on background illumination and strategic fill light usage.
Tips on improving your glass photography

When photographing glass products, several tips and tricks can help enhance the quality of the images. Here they are:
- Ensure the glass is clean and free of any smudges, fingerprints, or dust particles that could detract from the overall clarity of the product.
- To minimize reflections and glare, consider using polarizing filters or shooting in a controlled lighting environment with diffused natural light or artificial light sources.
- Experiment with different angles and compositions to showcase the shape, texture, and details of the glassware.
- Utilize props or backgrounds that complement the glass product and add visual interest to the image without overshadowing the main subject.
- Create a sense of depth and dimension by incorporating backlighting or side lighting to highlight the contours and transparency of the glass. Pay attention to the positioning of the light source to avoid hotspots or harsh shadows on the glass surfaces.
- Consider shooting multiple shots at varying exposure and angles to capture different perspectives and ensure you have a range of options during the editing process.
By implementing these tips, you can enhance your glass product photography and produce visually appealing and professional-looking images that effectively showcase the beauty and craftsmanship of the product.
Wrapping up
In conclusion, to excel in glass product photography, photographers should pay attention to details, experiment with lighting, and employ creative composition techniques. With practice and persistence, photographers can maximize the potential of their skills, crafting complete images that showcase the beauty and intricacies of glass objects.
FAQ
What are common challenges faced by photographers when shooting glass products?
Photographing glass products often involves dealing with reflections, smudges, and transparency issues. Achieving clarity and capturing the unique characteristics of the glass while minimizing unwanted reflections can be challenging.
How can lighting techniques enhance glass product photography?
Effective lighting techniques, such as using diffusers or reflectors, can help minimize reflections on glass surfaces and highlight the details and texture of the product. Experimenting with different lighting angles can also create interesting effects and enhance the overall aesthetic of the image.
Why is composition crucial in glass product photography?
Composition plays a vital role as it determines the visual appeal and impact of the image. Paying attention to framing, angles, and background choices can help create a visually pleasing composition that draws the viewer’s attention to the glass product and effectively shows its features.


