
Compelling visuals play a crucial role in attracting customers and driving sales, even more so for an e-commerce company. When it comes to professional bracelet product photography, computer-generated imagery can unlock a wealth of creative possibilities.
In this article, we will guide you through the process of using CGI for bracelet photography, offering essential tips and techniques. They will help you achieve stunning visuals that showcase intricate details and unique characteristics of your jewelry.
Professional bracelet photography influences sales
High-quality images that are visually appealing and accurately depict the product have a significant impact on sales.
Compelling imagery makes a product stand out and creates a positive first impression. For example, up to 90% of customers tend to buy a product based on its visual appearance.
In addition, computer-generated professional photos accurately depict the product and convey its true qualities and features without misleading elements. This transparency builds trust with customers, who are more likely to purchase if they know exactly what they are buying.
Moreover, well-executed and detailed product images increase the perceived value of the item and make it appear more desirable to potential buyers. These images help customers visualize how the product fits into their lives and encourage them to take the next step to purchase.
By showing the product from different angles and highlighting its unique selling points, you can effectively communicate the product’s value proposition. Eye-catching images also encourage the sharing of product images so that satisfied customers can spread the word about the brand and its products on social media or through word of mouth.
Ultimately, high-quality product photography contributes to a positive customer experience, which can have a significant impact on brand perception and customer loyalty. Professional product photography attracts attention, builds trust, increases perceived value, and creates a compelling customer experience that will undoubtedly impact sales.
How can CGI help with bracelet photoshoot
CGI is the best option for product photography, and it’s the same for bracelet photography. With computer-generated images, you can enjoy numerous benefits that traditional photography cannot offer.
Computer-generated images eliminate the need for physical prototypes and the associated costs. Instead, you create virtual models of bracelets, saving both time and money. These models can be rendered in high resolution, allowing detailed close-ups and showcasing intricate design parts that would be difficult to capture with traditional photos.
In addition, CGI offers complete control over lighting and reflections, ensuring optimal product presentation and highlighting the unique features of each bracelet. This flexibility enables easy customization, such as changing colors, textures, or materials, without requiring physical changes. This allows seamless product variations and the ability to create different looks.
Because they are digitally designed and rendered, computer-generated images can also be adapted for various marketing materials such as websites, catalogs, and social media. This ensures a consistent look and feel across different platforms and enables greater versatility for your branding.
Another significant benefit is the creation of photorealistic images that are indistinguishable from traditional photographs. CGI allows precise control over every aspect of the image, including the perfect placement of the bracelet, ideal lighting conditions, and flawless reflections. This level of control ensures that the product is presented as impressively as possible, enhancing its visual appeal and increasing the chances of appealing to potential customers.
CGI also removes geographical restrictions. Because it can be done remotely, you can collaborate with artists and designers from anywhere in the world.
Finally, CGI can also be useful for displaying dynamic features of bracelets, such as animations or interactive elements, greatly enhancing the user experience and engagement. For example, if the bracelet has charms, you can create an animation that allows the user to view them directly on the bracelet.
Overall, computer-generated imagery offers a cost-effective, efficient, and highly customizable solution for bracelet product photography.
How we can help you with it
If you want to enhance your brand and your image, we can help you. The first thing you need to know about us is that you can test us for free! This way you can make sure that we are what your brand needs to improve and overcome the competition.
All you need to do is send us a few pictures of your product, which we will then use to create a 3D model. We only need to create the three-dimensional model once. It is saved in our library, and we can use it again in further collaborations with you.
Once the model is ready, you can choose from four image styles: Catalog, Minimalist, Simple Props, and Custom. Each style offers different benefits and uses, so you should choose the style that best suits your needs and budget. You can find more information about the individual styles here.
Why should you choose us? We have more than 20 years of experience in the market and love to improve the lives of our customers. We enjoy helping others to evolve through the universal principles of art, and we would be delighted if you would allow us to continue to provide you with high-quality images of your products.
Developing a new image for your brand or products may seem daunting at first, but we can help you get the best out of your products and services with high-quality images and professional product photography. Get in touch with us, and let’s get started!
Bracelet photography ideas
You can capture the beauty and elegance of bracelets in a variety of creative ways. From close-up shots that show unique details and materials to lifestyle photos that portray them in different settings, the possibilities are endless. In this section, we provide some of the best ways to showcase the splendor of these accessories.
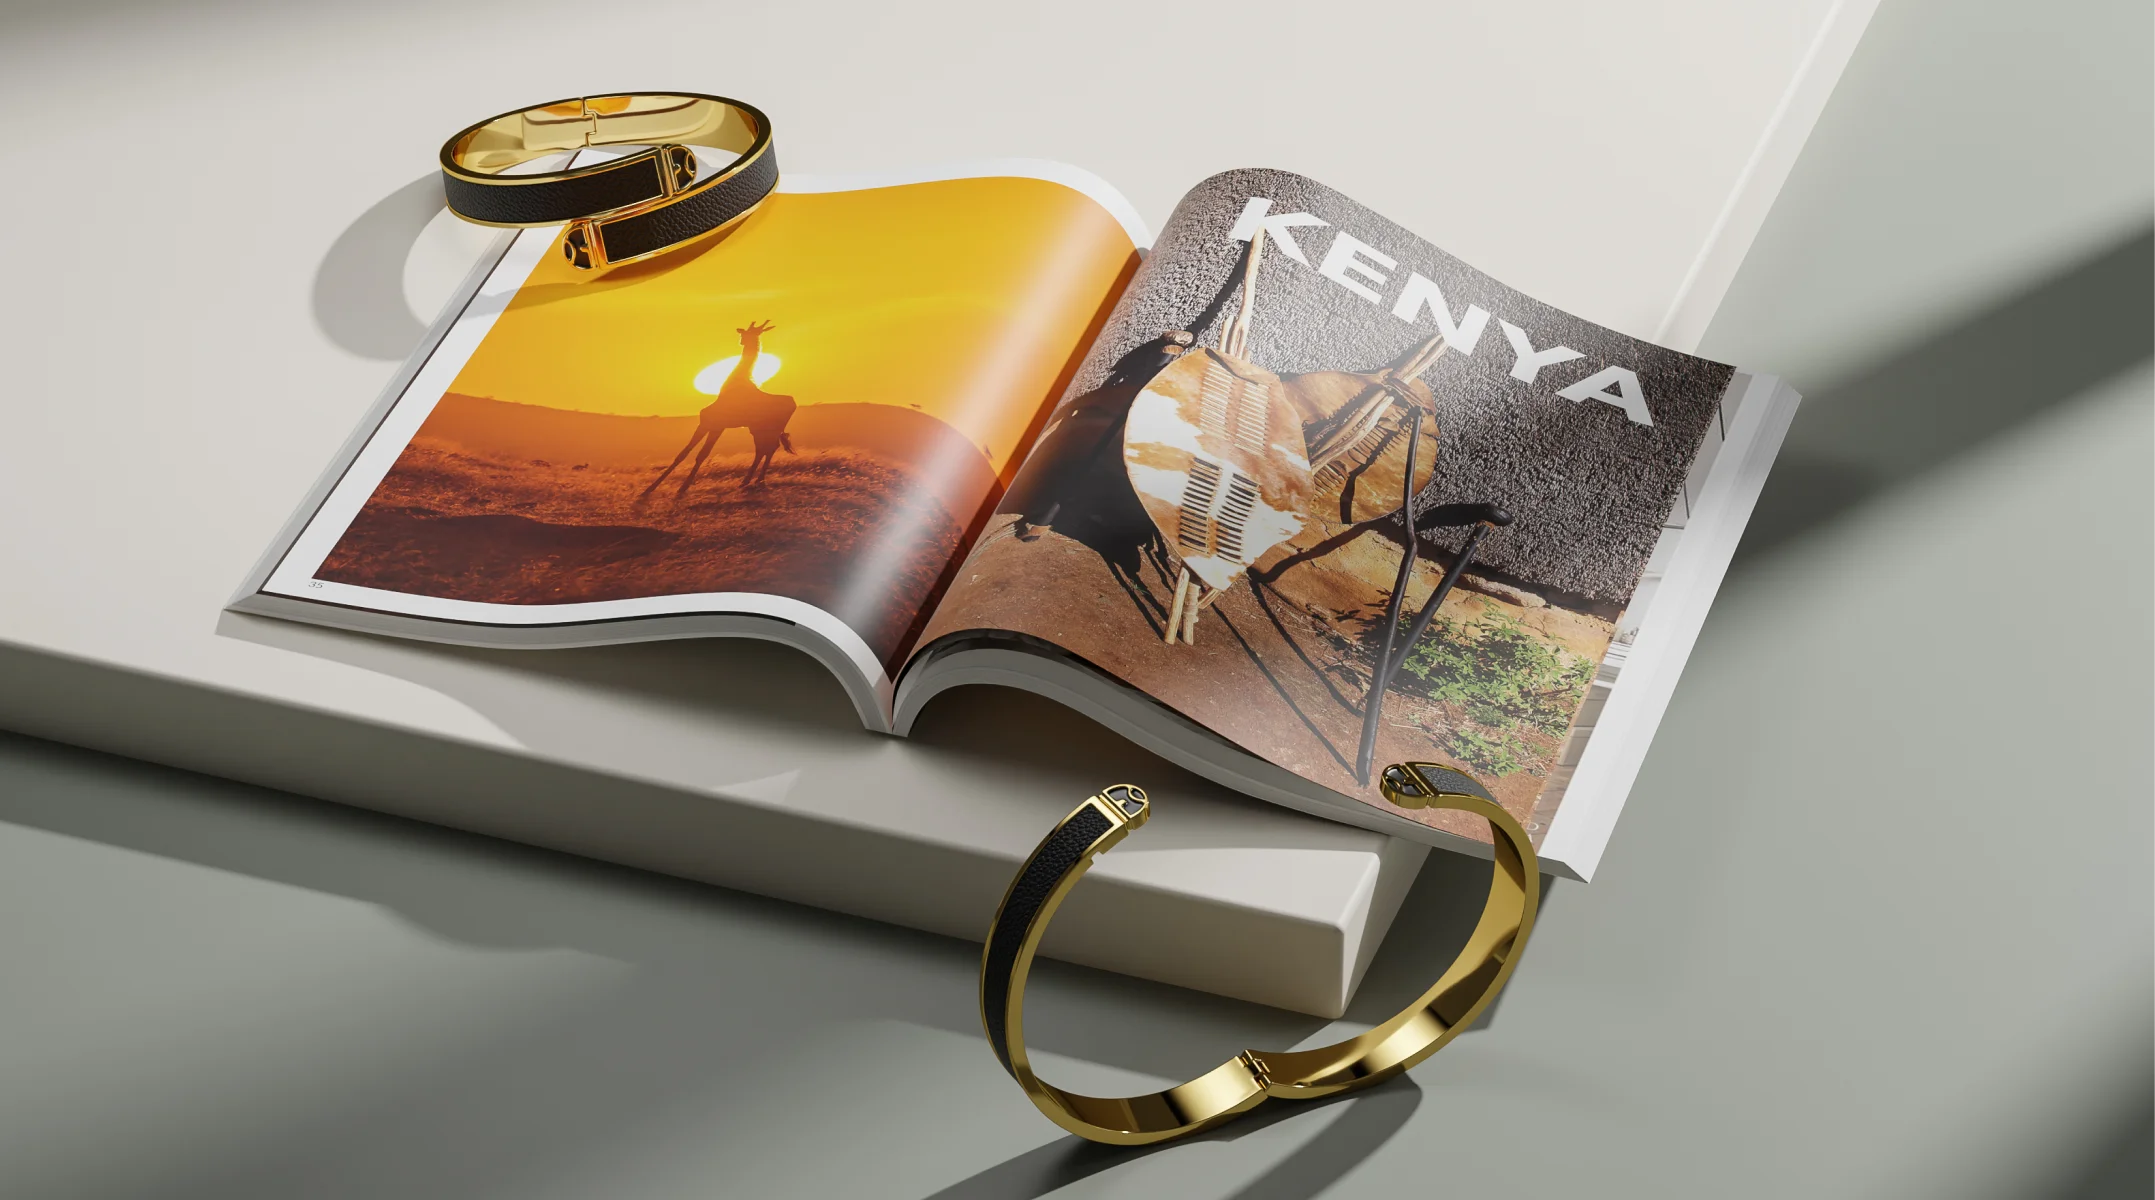
Flat lay
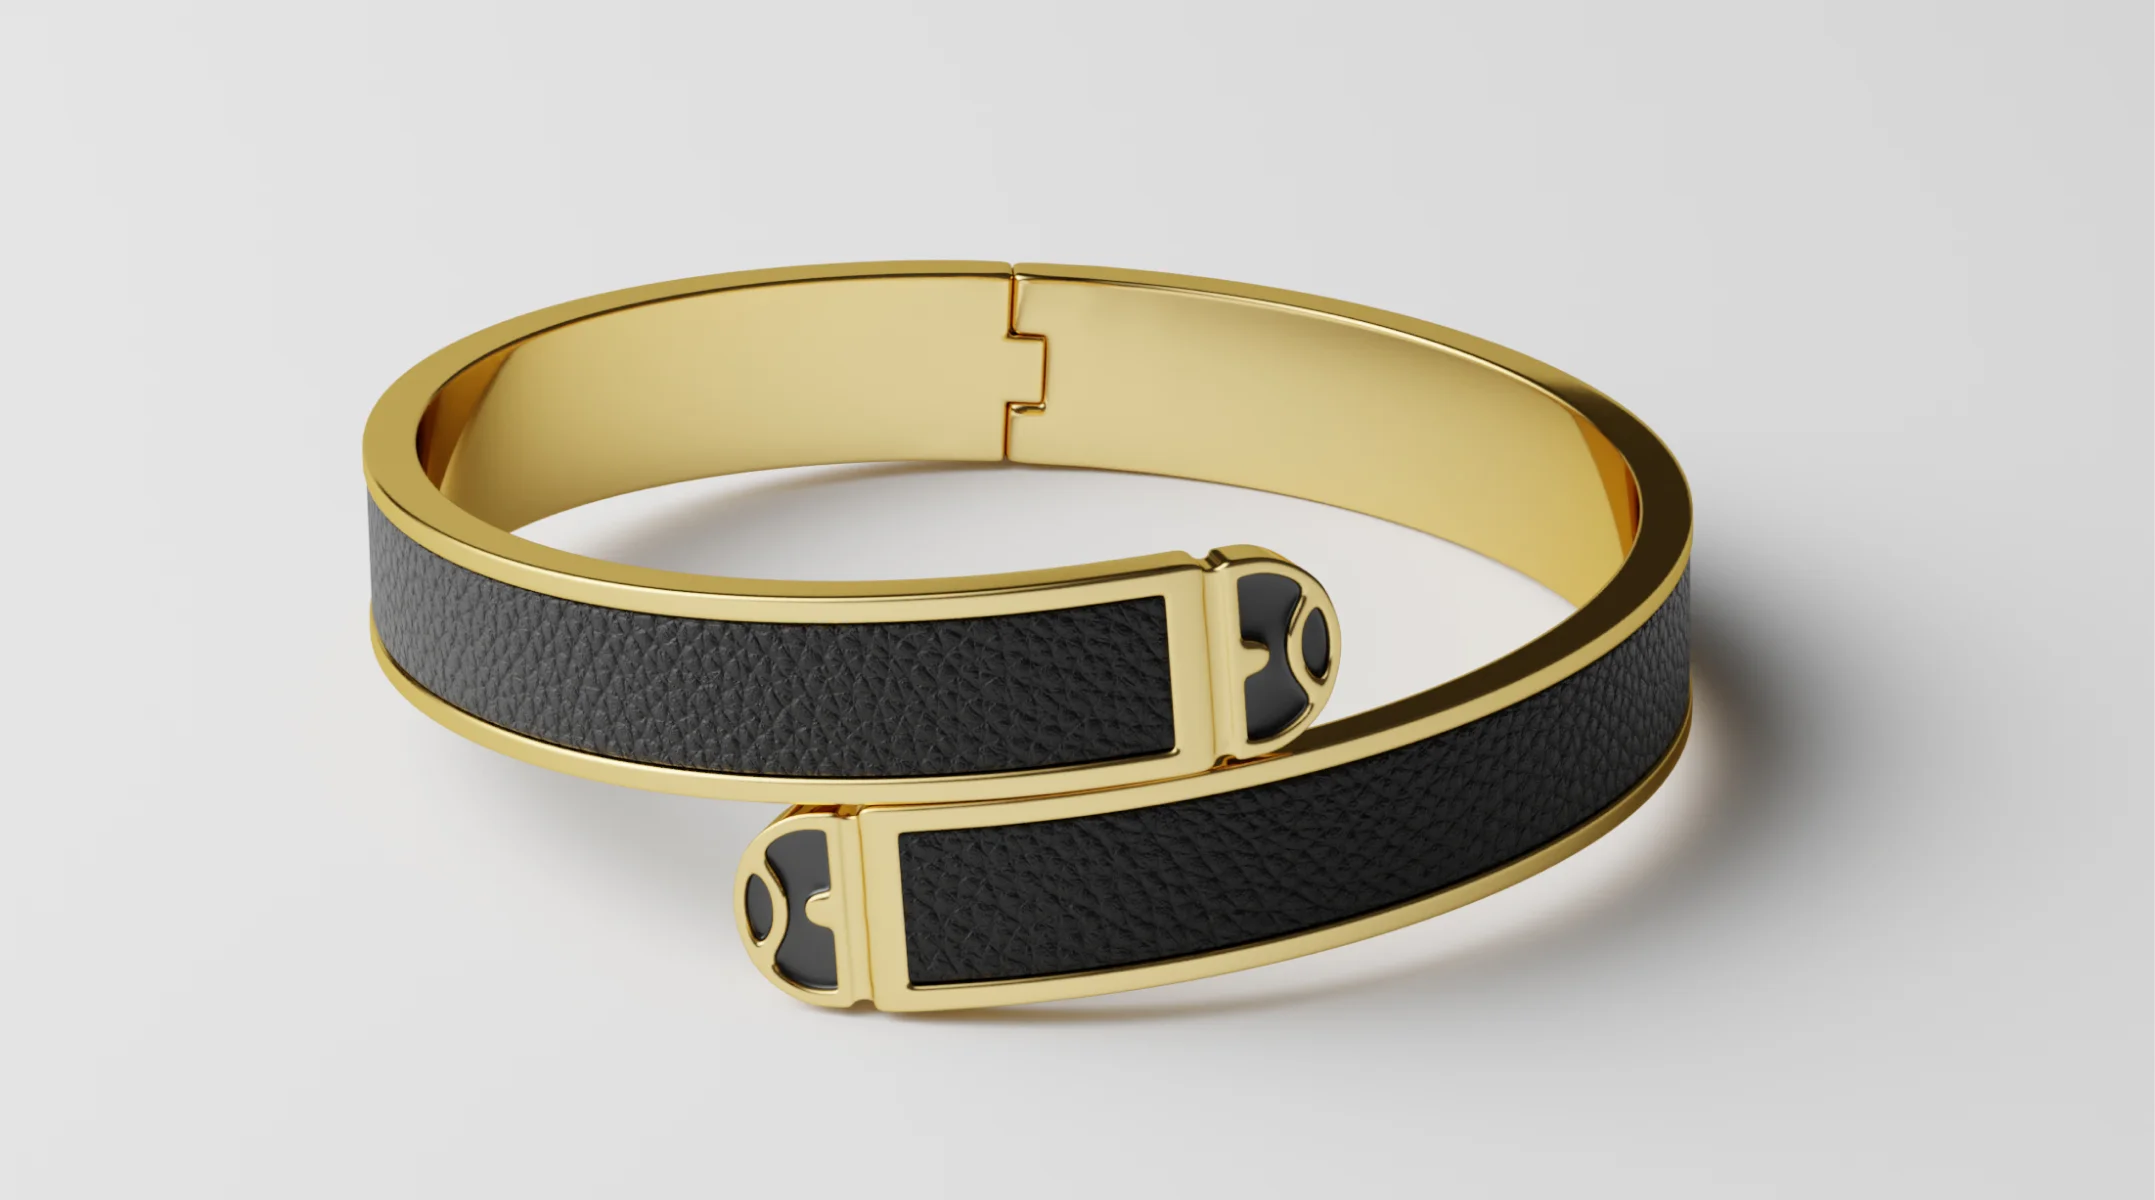
When using the flat lay approach, all elements are set on a simple flat surface or a textured one. You can place the bracelet in the middle of the stage and arrange other related props – jewelry boxes, flowers, pearls, or even other jewelry if they are a set – around it. You can experiment with the view on this one. While it is usually taken from above, you can go closer to the accessory and use it for a close-up view.
The flat-lay method involves placing all the elements on a simple flat or textured surface. You can place the bracelet in the center of the stage and arrange other related props – jewelry boxes, flowers, pearls or even other jewelry if it’s a set – around the bracelet. You can experiment with the angle of the bracelet. While it is usually shot from above, you can get closer to the accessory and use it for a close-up.
Also pay attention to the texture of the bracelet. For example, this shooting style works best for tennis and chain bracelets, charm and beaded bracelets, and slider bracelets. Their flowing character makes for an interesting composition and easy positioning.
When doing it digitally, you can quickly change the props and elements around the bracelet to enhance the overall look. Add more or remove some of them if they overshadow the item. Or, you can move the bracelet around until you are satisfied with it.
Also, you can always return to a previous setting, if that looks better, with just a few clicks of a button. Therefore, digital bracelets are often easier and more efficient to work with than with physical models.
On a velvet cushion
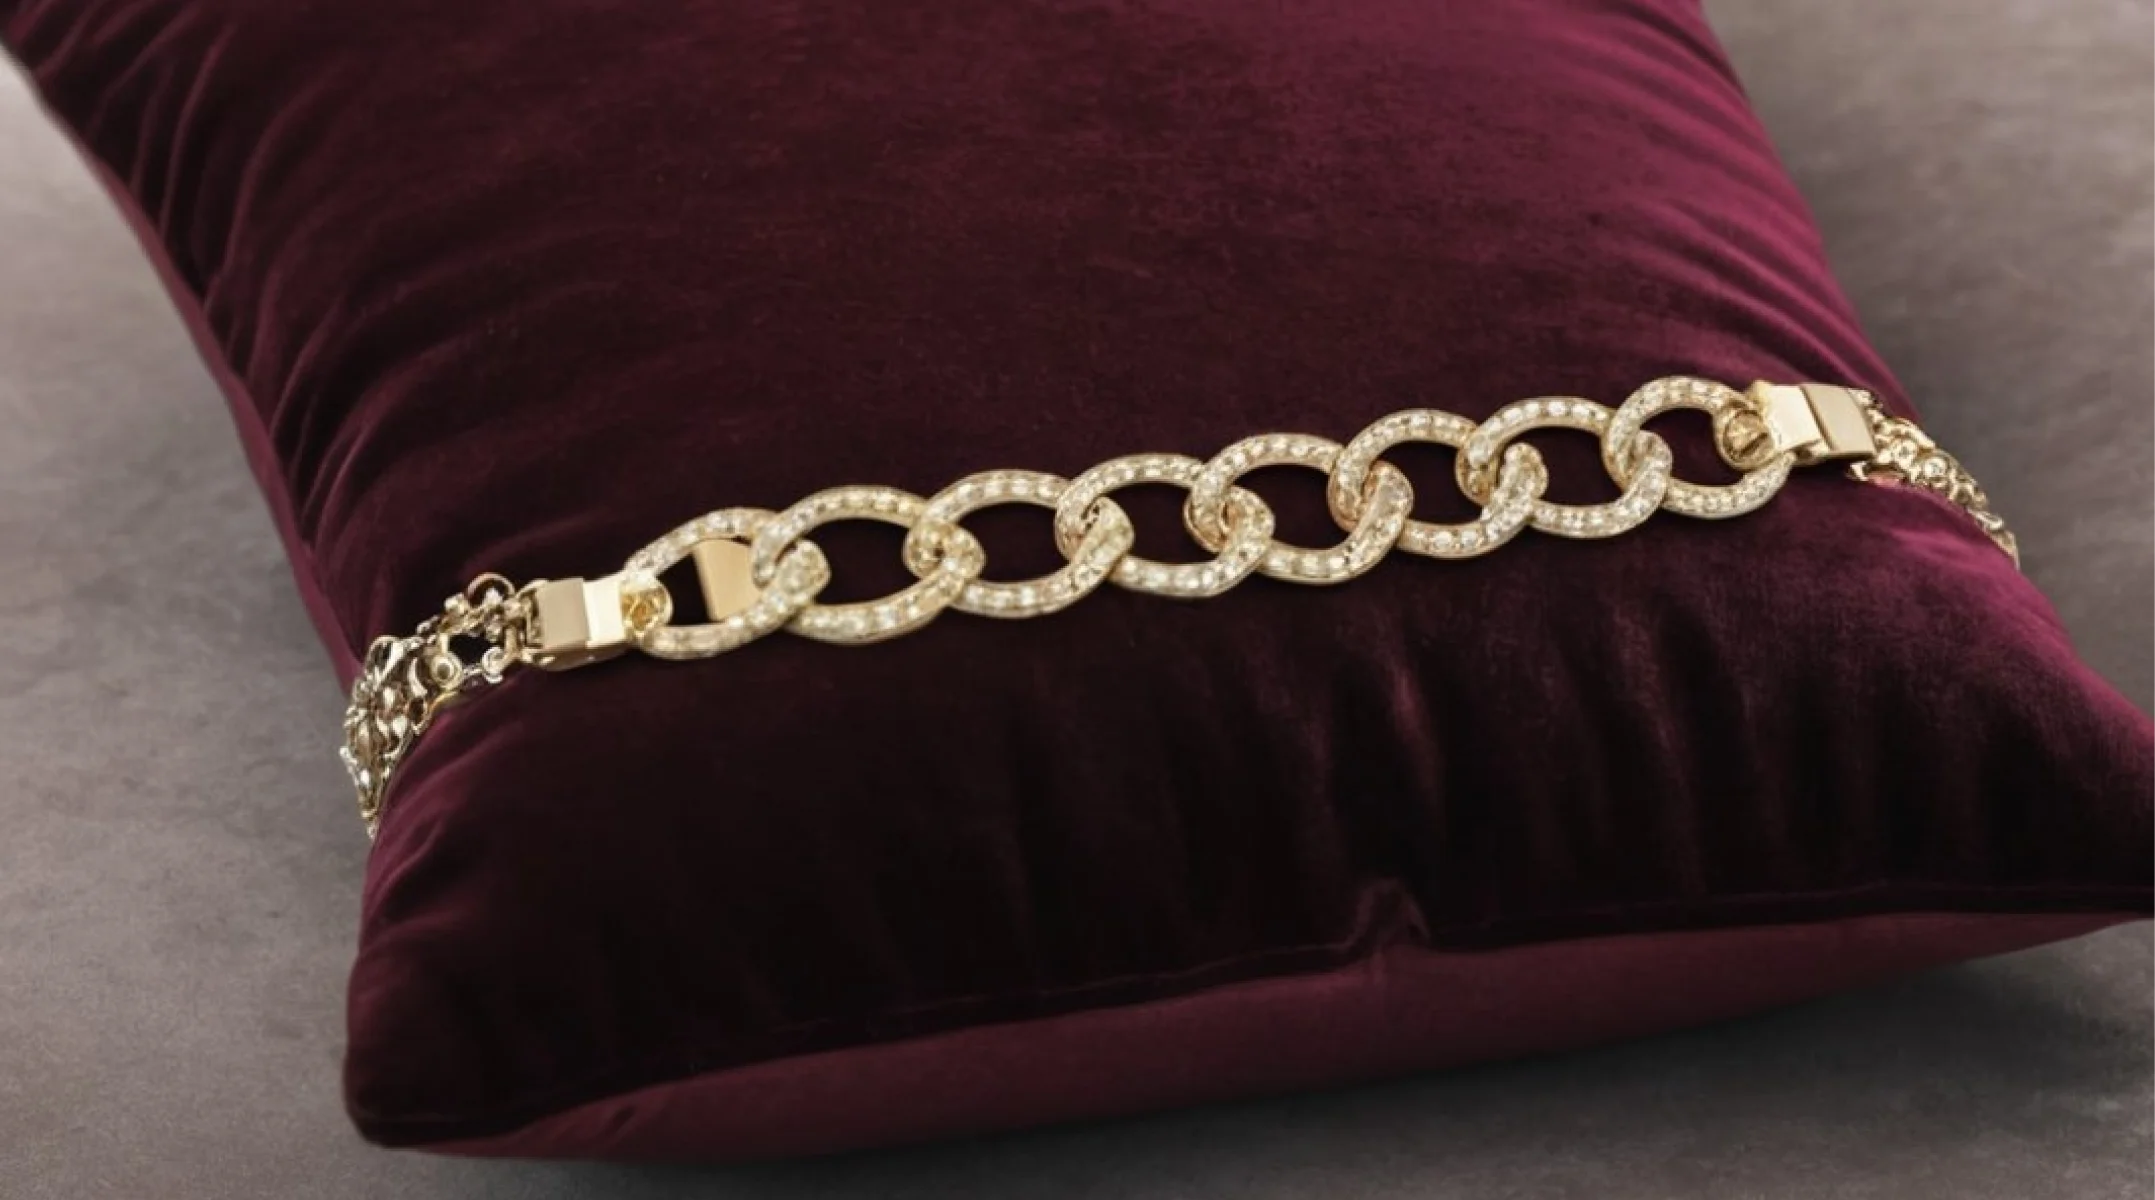
Photographing a bracelet on a black or white velvet cushion is more of a traditional approach. This setup adds an element of luxury and sophistication to the image. The soft and plush texture of the velvet provides a visually pleasing backdrop that can enhance the overall aesthetic of the bracelet.
By placing the accessory on a velvet cushion, you can create a more elevated and elegant look, especially if the color of the cushion complements the bracelet. This setup can help draw attention to the finer details of the bracelet while also adding a touch of glamor to the overall composition.
Even better, this style can work perfectly with any bracelet. For those on a chain with higher mobility, you can use a top-view shot, whereas, for those more rigid, a front shot with the main details in focus is an excellent choice.
With a 3D model, you can go into more detail, as you have complete control over all elements, including the velvet cushion. You can add depth to it, for example, if you want to emphasize that one model of a bracelet is heavier than the other, or, you can quickly adjust its color when you change the bracelets. Experiment with it and see which one best suits your project.
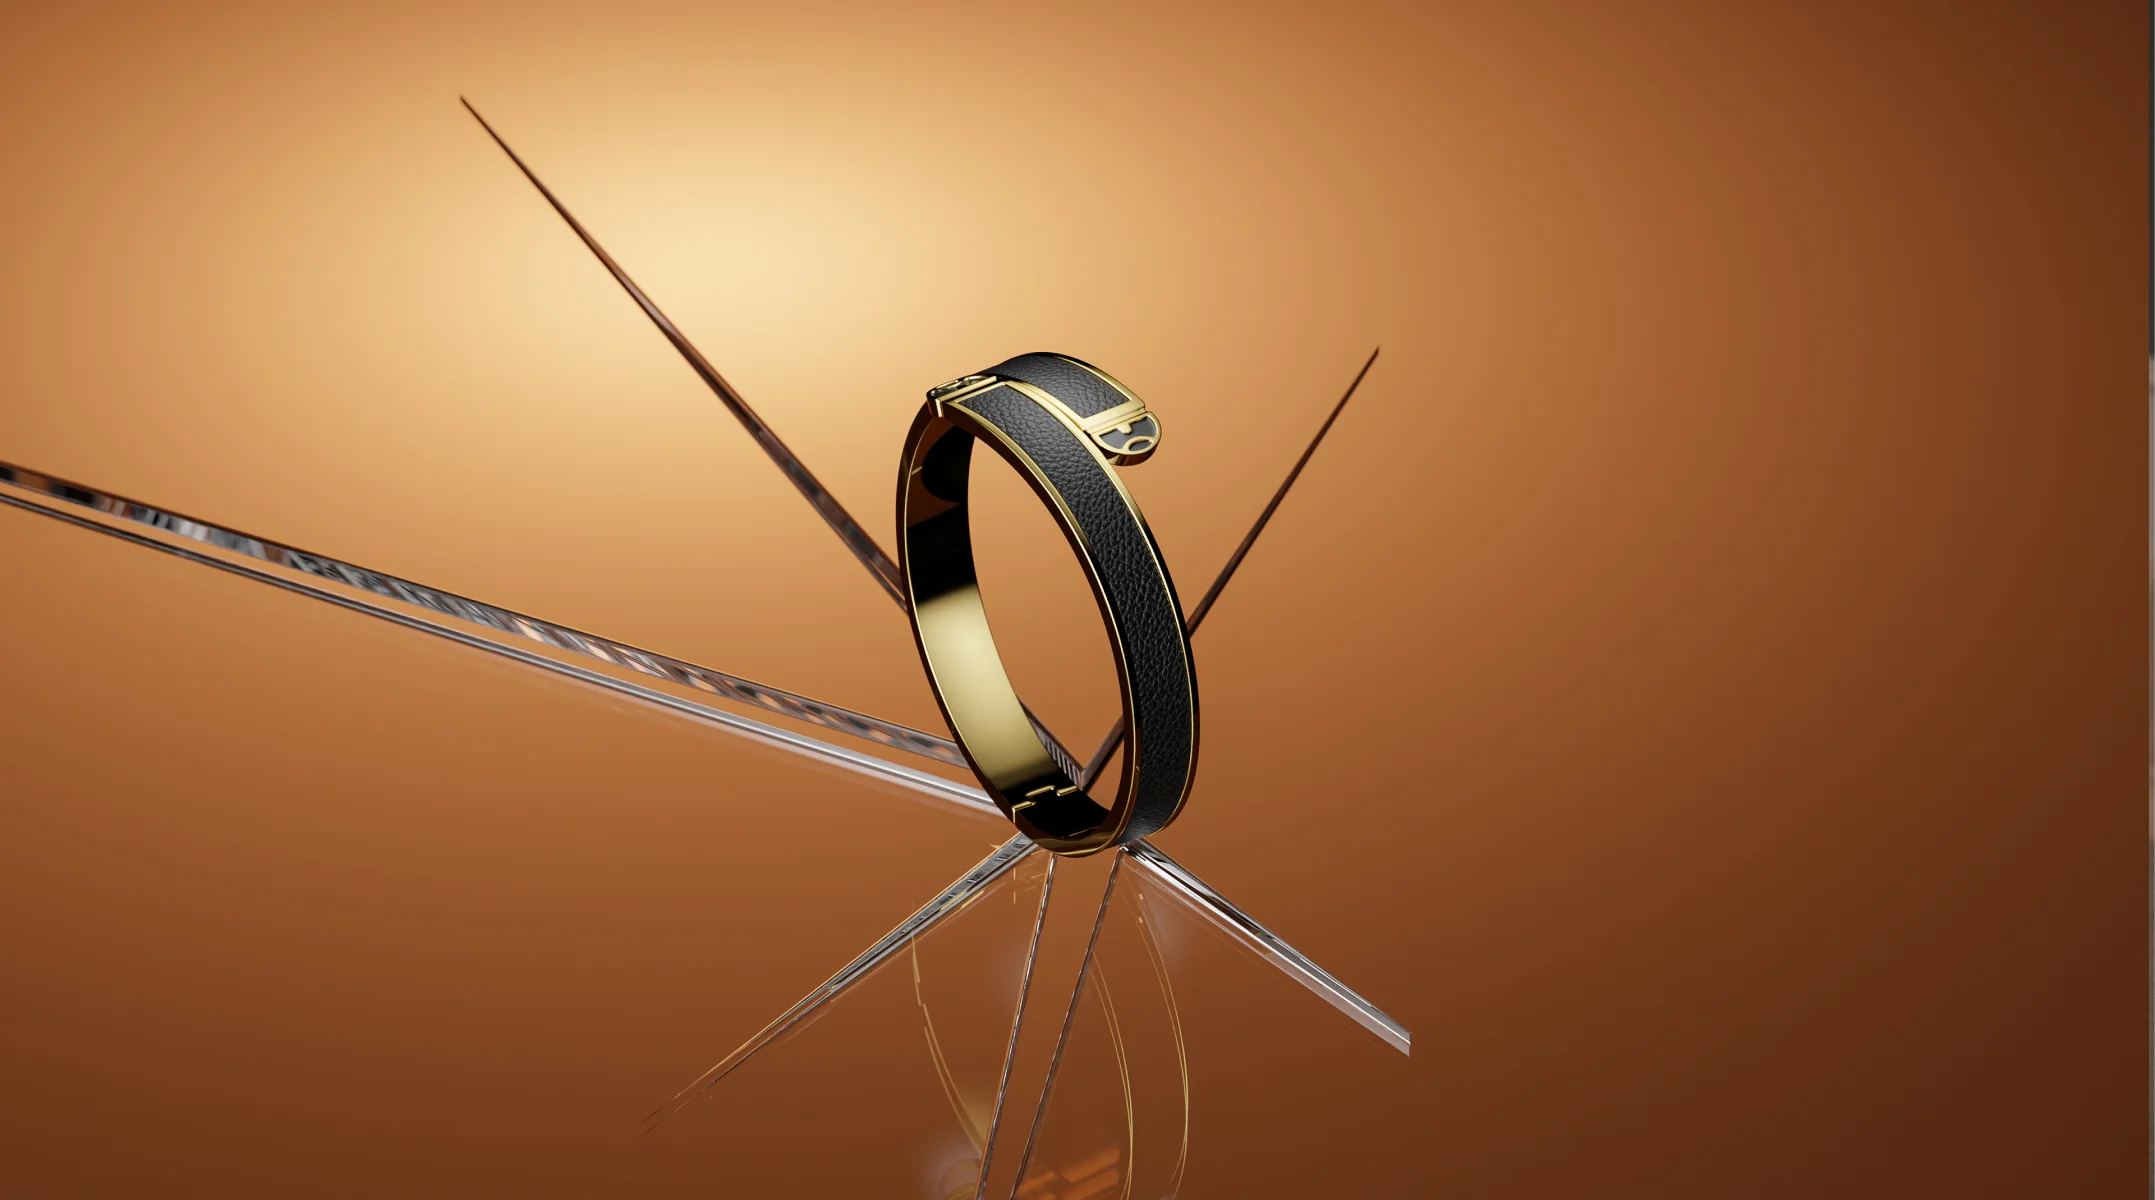
Hanging it from something
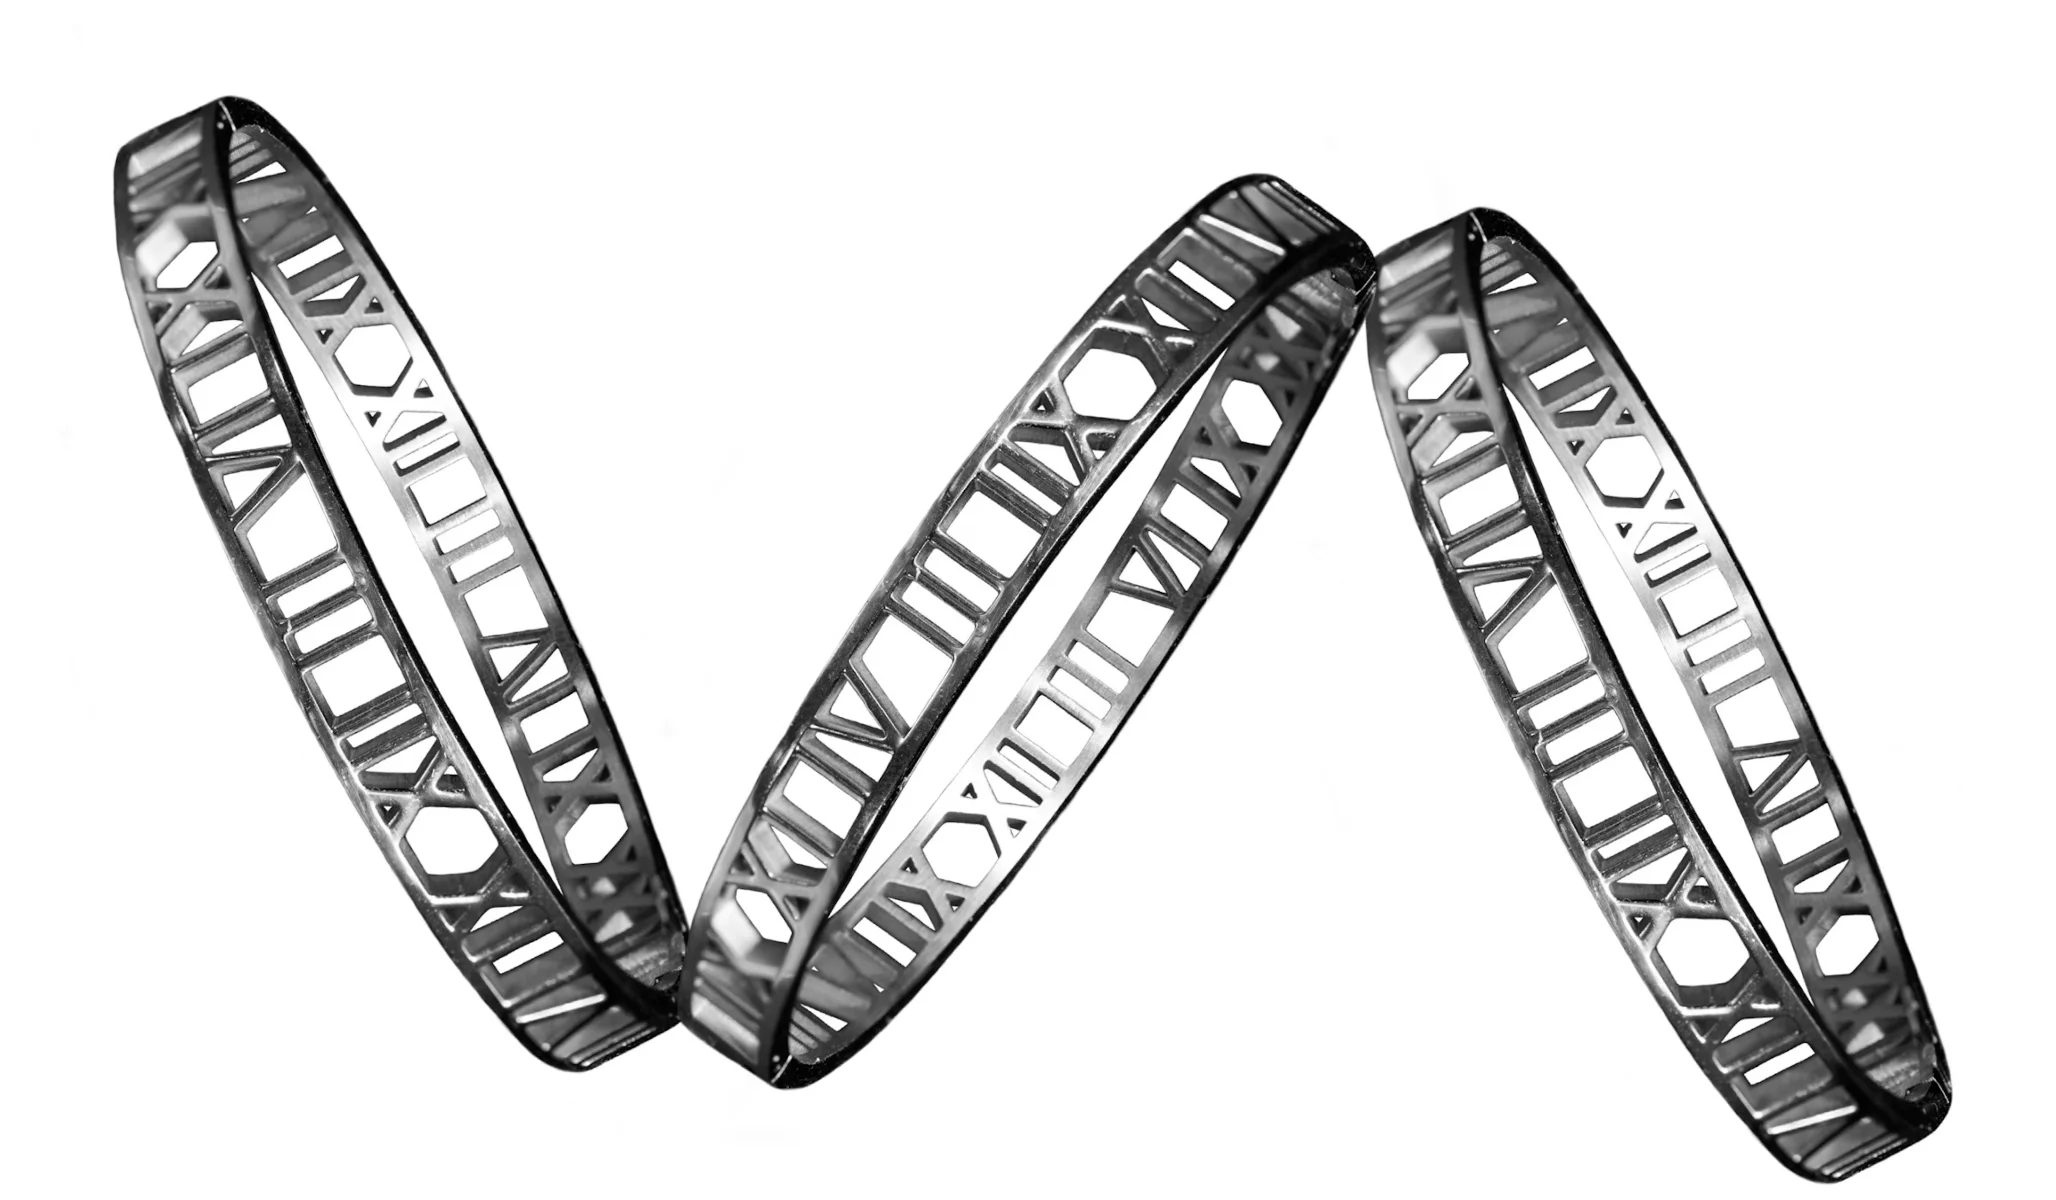
Hanging a bracelet from something can create a unique and visually captivating photograph. By suspending the bracelet from a string, branch, or any other suitable prop, you can showcase its shape, length, and movement, allowing potential customers to see how it looks when worn. This approach also adds a sense of dynamism to the image, breaking away from the traditional flat lay or static setups.
With CGI, this technique receives another dimension. Thanks to the realistic 3D model, you can simulate the physics of it hanging from virtually any object. Strings, branches, beautiful flowers, and even objects that would in real life be unable to hold a bracelet, like leaves, pearls, or even paper, are just a few examples of what you can use.
By applying textures, lighting, and other effects in the virtual environment, you can generate a lifelike image that conveys the essence of the bracelet hanging, even without the physical object. This allows for flexibility in angles, lighting, and other visual elements, providing creative freedom in showcasing the bracelet.
Use a model
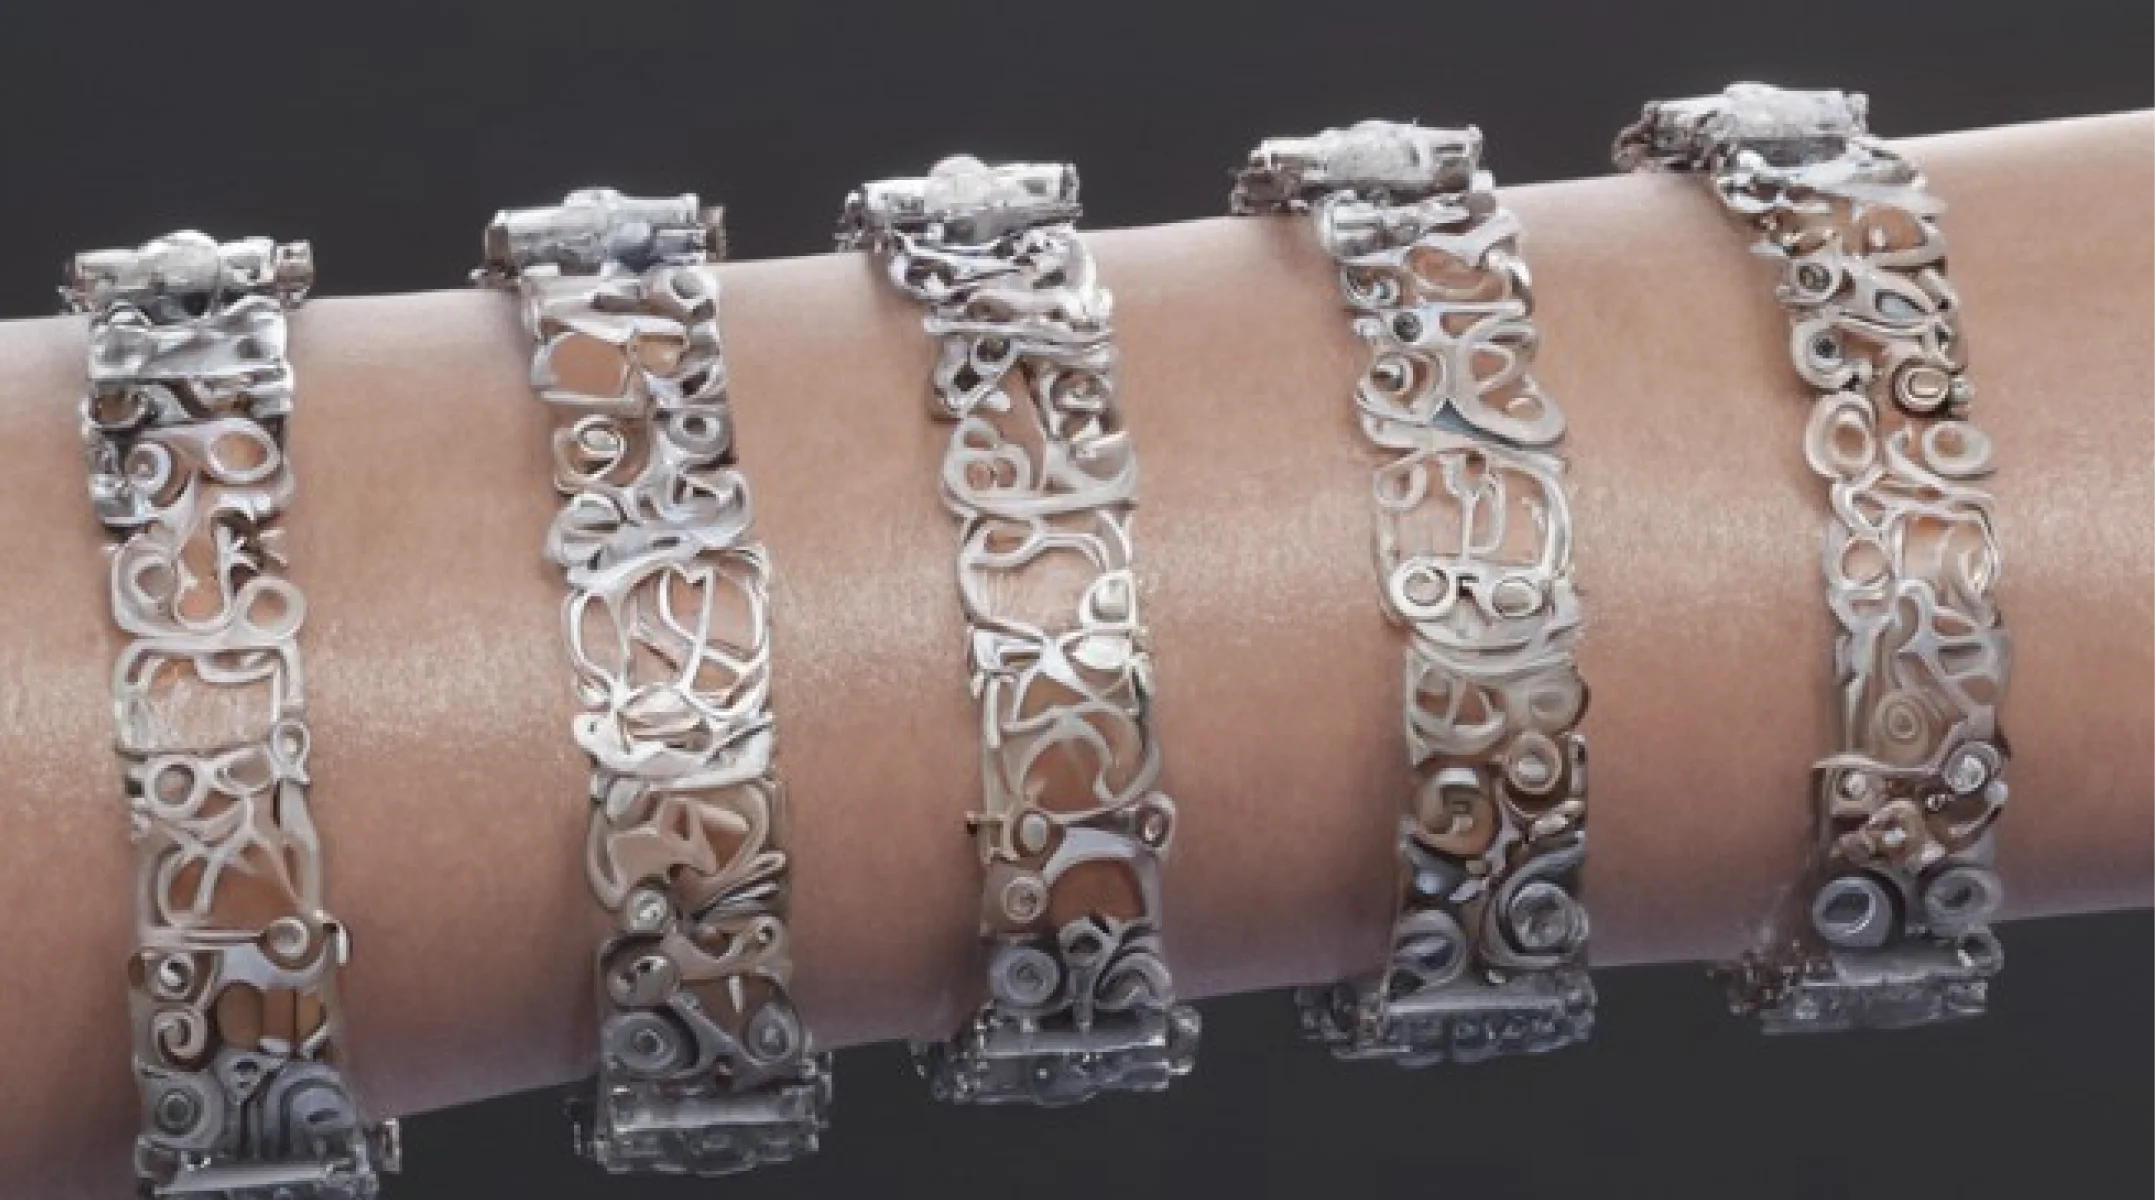
When using a model for photographing accessories, you have the advantage of showcasing the item in a real-life context. The model’s hand can convey the bracelet’s size, demonstrating how it fits on the wrist and how it drapes or hangs if applicable. The model’s movements can add a sense of dynamism and personality to the images, making them more engaging to viewers.
Additionally, you can style the model with clothing, other accessories, or a specific theme to create a desired aesthetic and enhance the overall visual appeal of the bracelets. This helps potential customers envision themselves wearing the bracelet and can make the product more enticing.
When you create everything digitally, you can create a virtual model that matches your desired specifications. This includes defining the virtual model’s body shape, skin tone, and other attributes. The virtual model’s hands and wrist would be accurately positioned and posed to showcase the bracelet in various angles and orientations.
Using digital rendering techniques, you can generate high-quality images of the CGI model wearing the bracelet. These images can simulate realistic lighting conditions, reflections, and shadows to make the final result visually convincing and appealing. Therefore, it’s a faster and more budget-friendly way than hiring a real model and shooting in a physical studio.
Dynamic angles and detailed close-ups
CGI bracelet photography allows for dynamic angles and detailed close-ups just like traditional photography. Since the bracelet is digital, you have the flexibility to position the camera at any angle or distance to capture the desired shot.
Dynamic angles
Thanks to the digital model of the wrist accessory, you have complete control over camera angles. Thus, you can position the virtual camera as you want, allowing you to capture the item from different perspectives.
This means you can experiment with overhead shots, dramatic angles, or dynamic angles that showcase the bracelet’s design and features in a visually appealing way. You can even simulate camera movements like pans, tilts, or rotations to add further dynamism to the visuals.
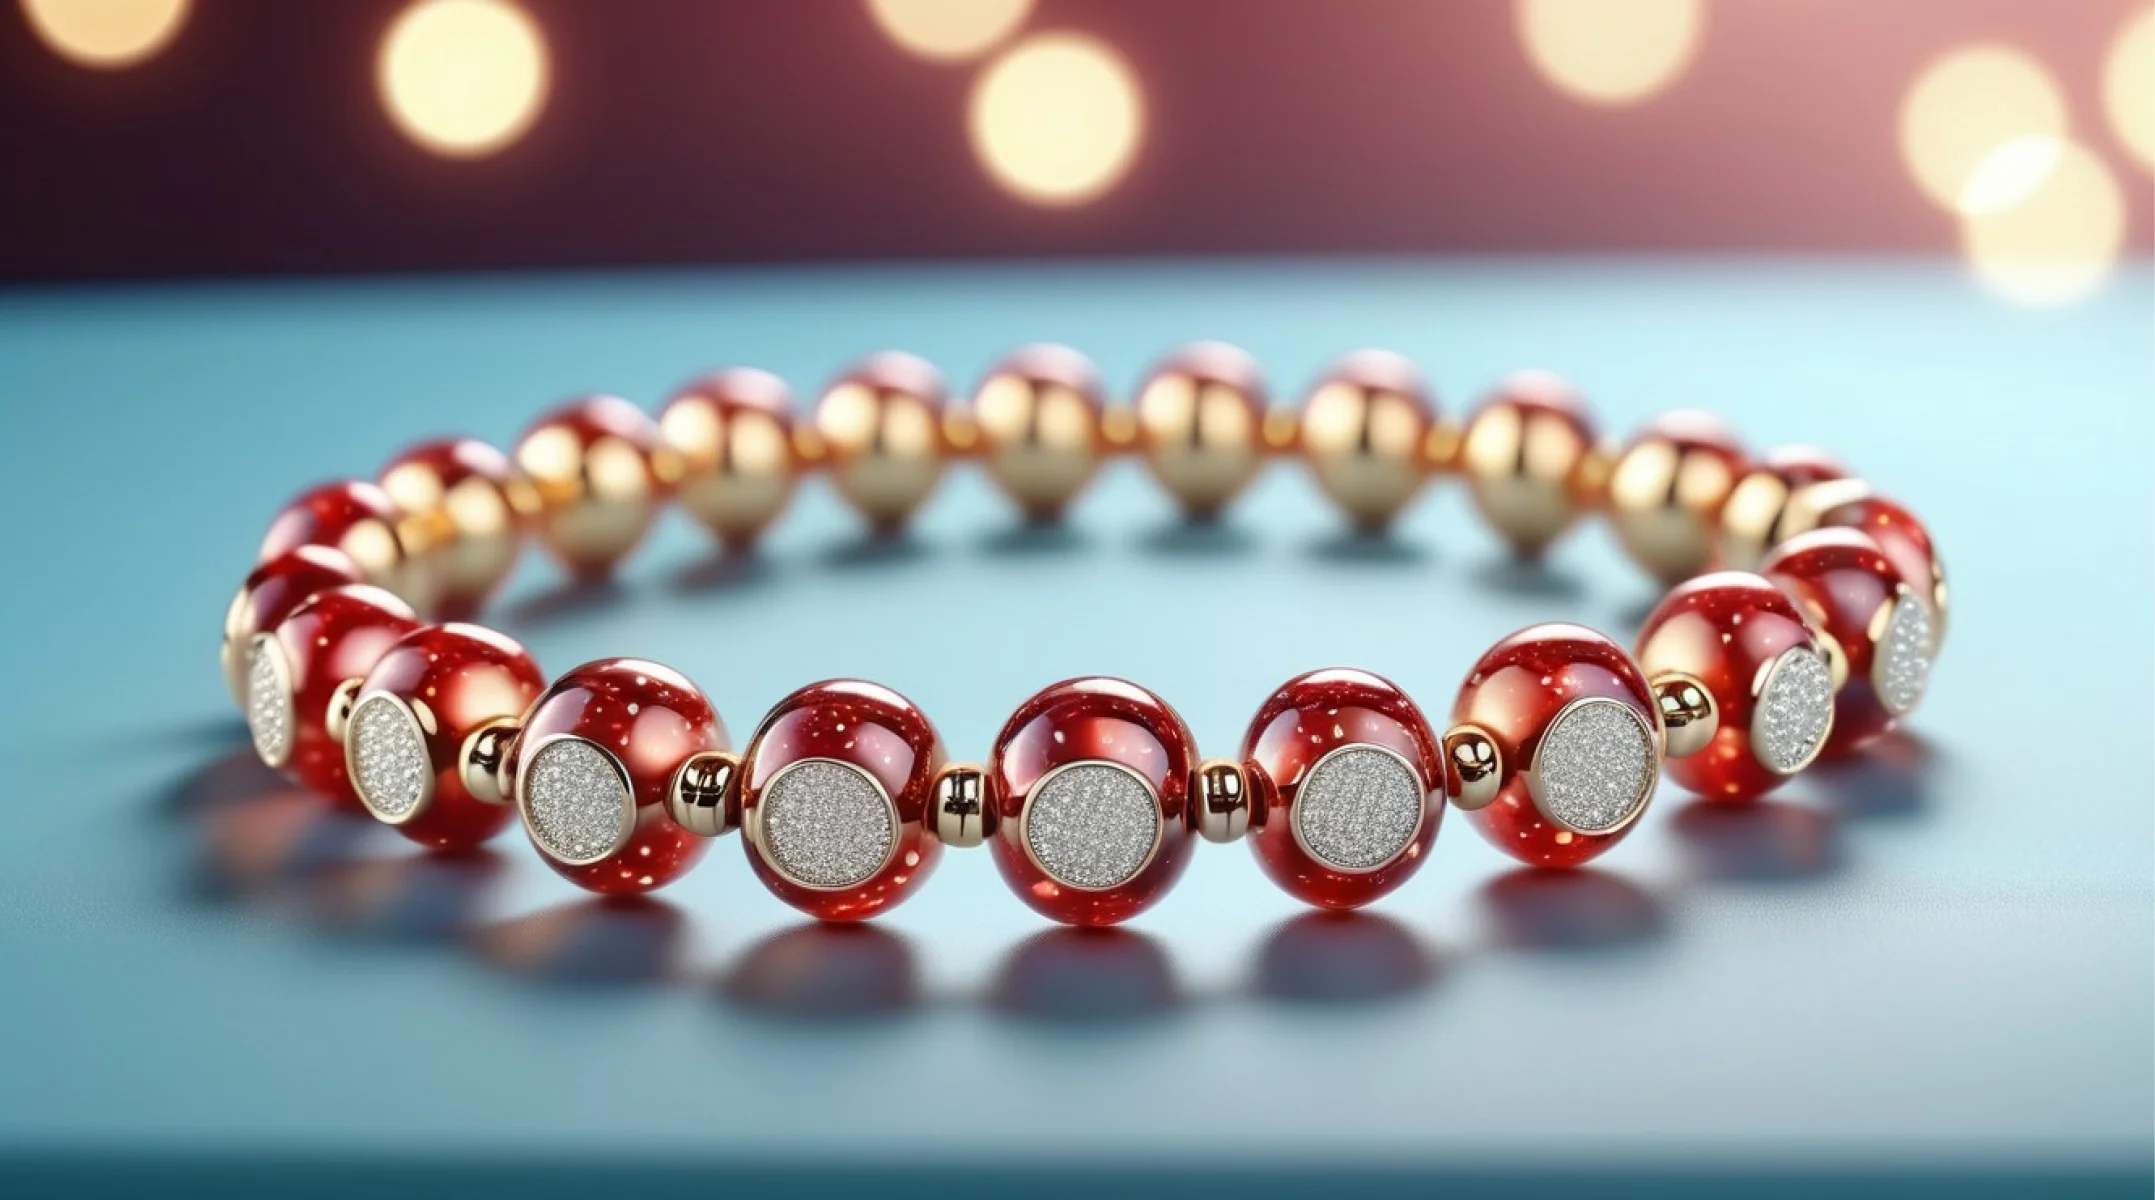
Detailed close-ups
Thanks to the perfect zoom a 3D model can support, you can capture highly detailed close-ups of it. By zooming in on a specific area, you can highlight the intricate details, textures, and craftsmanship of the piece.
This can include capturing fine engravings, gemstones, or any other intricate elements that may not be easily visible from a distance. The level of detail can be enhanced by using high-resolution textures and rendering techniques that accurately portray the surface characteristics and materials of the bracelets.
Overall, computer-generated imagery allows for the exploration and presentation of your desired jewelry piece in several creative methods. Experiment with it and see which one fits your project best. Or, let us help you with it. Try our services for free and see your product come alive.
Necessary equipment
Depending on your preferred photographing style – traditional or digital – there are several pieces of equipment you will require. Each style needs different equipment, therefore, pay close attention to your budget.
Equipment for digital photography
For computer-generated product photography, the equipment is different from the one for traditional photography, as you won’t need physical cameras or lighting setups. Therefore it’s a more budget-friendly approach. Here’s what you will need:
- Computer – a powerful computer with sufficient processing power and memory is crucial for generating CGI product images. It should meet the system requirements of the software you’ll be using for rendering.
- 3D modeling and rendering software – you’ll need 3D modeling and rendering software like Blender, 3D Max, or Maya to create the virtual product models and scenes. These software packages allow you to build 3D models, apply textures, and simulate lighting and camera setups. You can check out our list of software right here.
- Editing and compositing software – post-processing is often needed for CGI product photography. Software like Adobe Photoshop or similar programs allows you to adjust colors, add backgrounds or other elements, enhance details, and apply any final touches to achieve the desired look.
Computer-generated product photography requires a different set of skills and equipment compared to traditional photography. It relies heavily on using software and digital techniques to create realistic and detailed virtual product images.


Equipment for traditional photography
The equipment for traditional photography, however, includes a lot more elements. Therefore, you will require a hefty budget if you plan on doing product photography by yourself.
- Camera – a DSLR or a mirrorless camera with manual controls and the option to use different lenses is recommended. Look for a camera with good resolution and image quality to capture the details you want.
- Macro lenses – a macro lens is essential for capturing detailed close-ups, especially for jewelry. It allows you to focus on small details and fine textures with a shallow depth of field. A lens with a focal length of 60mm to 100mm is ideal for product photography.
- Lighting – a well-lit setup is crucial to showcase the jewelry pieces effectively. You can use a combination of natural light, diffused lighting, and additional artificial lighting such as studio lights or softboxes to control the intensity, direction, and shadows in your shots. Light tents or lightboxes can also help diffuse light and create a uniform lighting environment.
- Tripod – a sturdy tripod is beneficial to keep your camera steady and reduce the risk of blurriness, especially when shooting in low light or utilizing longer exposure times for sharpness. It allows for consistent framing and composition.
- White/colored background – a clean, neutral background is recommended to keep the focus on the bracelet. A white background is commonly used for product photography, but you can experiment with different colors, textures, and props to create a unique look.
- Reflectors and diffusers – these tools aid in controlling and manipulating light. Reflectors bounce light onto the bracelet to reduce shadows or add highlights, while diffusers soften harsh lighting, providing a more even, flattering illumination.
- Editing software – post-processing software will help you enhance and fine-tune your images, adjusting colors, exposure, sharpness, and removing imperfections.
Remember, the specific equipment you may need can vary based on your budget, desired quality, and the style of photography you want to achieve.
In conclusion, the choice between different equipment options ultimately depends on personal preference, available resources, and desired outcomes. It’s important to note that CGI provides more flexibility and customization without the need for physical products.
When deciding on the best approach, factors such as the level of realism, creative requirements, and available tools should be taken into account. On the other hand, traditional photography requires a lot more equipment, which means that doing product photography on your own can be quite expensive.
Bracelets CGI product photography tips
If you’re doing product photography on your own, to make sure your final product image is perfect, you should keep in mind a few elements.
- Accurate 3D modeling. Ensure that the 3D model of the bracelet is detailed and realistic, capturing its unique features, textures, and materials.
- Focus on lighting. Pay close attention to visual lighting setups to create realistic shadows, highlights, and reflections on the bracelet. Experiment with different lighting angles and intensities to enhance its visual appeal.
- Material realism. Master virtual materials and textures to accurately present the look and feel of the bracelet. Pay attention to factors like metal finishes, gemstone reflections, or any other specific materials present in the bracelet design.
- Customization option. With CGI, take advantage of the ability to customize the bracelet attributes easily. Showcase variations in color, size, or design to provide customers with a comprehensive view of the product options.
- Attention to detail. Make sure the smallest details like clasps, engravings, or intricate designs, are accurately represented and visible.
- Consistency in style. Maintain consistency in the overall style and approach to bracelet photography to create a cohesive look for your product line.
Remember, practice and experimentation are key to mastering CGI photography techniques for bracelets.
Wrapping up
In conclusion, mastering bracelet product photography with CGI offers unique opportunities for customization, flexibility, and control. With practice and experimentation, harnessing the power of computer-generated images opens up endless possibilities for showcasing bracelets in a compelling way that grabs customers’ attention and enhances the overall product presentation.
FAQ
What software or tools do I need for creating CGI bracelet product photos?
You will need 3D modeling software, like Blender or Maya, rendering software, like V-Ray or Arnold, and image editing software, like Adobe Photoshop.
How can I create realistic lighting and shadows for the CGI model?
You can achieve it through various techniques, including setting up virtual light sources with appropriate intensity, color, and positioning.
Are there any specific camera angles or perspectives that work best for showcasing bracelet details in CGI?
Varying camera angles and perspectives can showcase different bracelet features effectively. The voice of angles depends on the desired emphasis, whether it’s the clasp, gemstones, or overall design.
What techniques can I use to achieve a smooth and seamless integration of CGI bracelets with real-life backgrounds or environments?
To achieve this you can match lighting conditions, adjusting shadows and reflections, while ensuring proper perspective and scale.
Are there any recommended post-processing steps or editing techniques for enhancing the final photo?
The post-processing may involve adjusting colors, contrast, and sharpness, and adding finishing touches to make the imagery look more appealing and professional.


