If you’ve ever looked at a beauty campaign and wondered, How do they make her skin glow like that? – you’re not alone. Beauty photography is an art that combines lighting, technique, and creativity to make products and people look downright irresistible. And here’s the truth: it’s not just about flawless models or high-end cameras. It’s about smart on-set choices that elevate your shots from flat to fabulous.
Today, you’re about to get the inside scoop. We’ll walk through the lighting setups that make your subject’s features pop, how to prep skin and hair so they shine without overpowering the look, and the styling secrets pros use to create scroll-stopping images. Plus, we’ll cover shooting makeup products without models, and finish with posing, composition, and CGI tips to make your beauty shots stand out like never before.
Choosing backdrops and lighting to enhance your subject’s features

One of the easiest ways to improve your beauty shots is by choosing the right backdrop and lighting setup. These decisions can make or break your image, no matter how stunning your model or product is.
Pick neutral backdrops for focus
Neutral backdrops keep the focus on your subject. Soft greys, beiges, or muted pastels don’t compete with skin tones or makeup colors. Beauty photographers swear by seamless paper backdrops in grey or beige to achieve that editorial, clean look.
Proof? Look at any high-end beauty campaign – you’ll rarely see loud backgrounds unless it’s intentional branding. Even then, it’s balanced with lighting to avoid distraction. Neutral backdrops allow lighting and makeup to take center stage without visual clutter.
Why does this matter? Because your backdrop sets the stage. If it’s too loud, it steals the spotlight from what you actually want to sell, AKA your model’s glowing skin or that creamy lipstick texture.
Use soft, directional lighting to sculpt features
When your background is neutral, lighting becomes your power tool. The best lighting for beauty photography is usually soft yet directional. Think large softboxes, beauty dishes, or diffused window light angled to highlight cheekbones, jawlines, and eyes. Experts explain that beauty lighting should sculpt without creating harsh shadows.
Why does this work? Because harsh shadows exaggerate texture. You want to enhance features without emphasizing pores or fine lines. A large softbox at a 45-degree angle with a reflector opposite is a classic beauty lighting setup that flatters almost every face.
Create catchlights for sparkling eyes
Another lighting secret: play with catchlights. Those bright reflections in the eyes bring portraits to life. Using a ring light or positioning reflectors can create a natural sparkle, making your model look fresher and more awake.
If you want to see this in action, scroll any beauty Instagram feed. The images that stop you in your tracks usually have bright, well-placed catchlights that make the eyes pop. It’s a small detail with a big impact.
Learn about 9 Instagram Product Photography Tips for Stunning Photos.
Add color gels for a creative mood
Finally, consider colored gels to elevate your beauty shots creatively. Subtle pink or blue gels can add mood and dimension, especially for beauty shoot ideas targeting a youthful or editorial vibe. Just keep the color wash subtle to avoid overpowering makeup tones.
A hint of color can set your image apart, giving it that high-fashion or moody magazine look that draws viewers in.
Preparing your model for flawless results

Beautiful lighting is pointless if your model’s skin and hair aren’t prepped to perfection. Preparation is half the battle when it comes to enhancing beauty photos.
Start with skin prep. Good makeup for photography always begins with clean, hydrated skin. That means thorough cleansing, exfoliating to remove dead skin, and applying moisturizer to plump the complexion. Prepping skin properly reduces dry patches that foundation can cling to, resulting in a smoother finish.
If you’re shooting glossy makeup looks or editorial wet skin styles, apply facial oil or glossy primer. This creates the luminous effect you see in many high-fashion campaigns. For matte looks, use an oil-control primer to keep shine in check under hot lights.
Hair prep matters too. Flyaways are your enemy. Makeup tips for photo shoots often ignore hair, but static strands catch light and draw attention away from the face. Lightly mist hairspray onto a toothbrush and brush down flyaways for a sleek finish without weighing hair down.
Next, involve your creative team. On-set beauty tips always include your makeup artist and hairstylist because they catch details you may miss behind the lens. They’ll adjust stray hairs, refresh lipstick, or blot shiny areas mid-shoot to keep your shots consistent and professional.
Lastly, encourage your model to hydrate and sleep well before the shoot. Puffy eyes and dull skin can’t always be fixed with lighting or editing. Well-rested skin makes any photographer’s job twice as easy.
So, remember: perfect beauty shots start with prepped skin, tamed hair, and a collaborative team that ensures every little detail is polished before you even press the shutter.
Shooting makeup products without a model

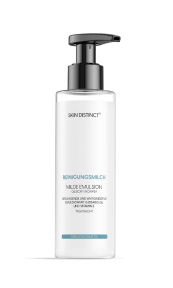
Beauty photography isn’t just about faces. Your product shots need to shine, too. From lipstick swatches to foundation bottles, these images build trust with your audience. Let’s break down practical beauty shots tips for product photography.
Choosing the right background
Your background should make the product pop while aligning with brand aesthetics. White or neutral backgrounds are classic because they ensure true color representation, essential for makeup products. Peerspace recommends textured neutrals like marble or stone slabs for added luxury.
Big brands like Fenty Beauty often shoot products on creamy stone backdrops to communicate quality and style without stealing focus from the product itself. Why does it work? Because it provides visual interest while keeping the product the hero of the shot.
Lighting to enhance textures and colors
Lighting is everything in beauty photography tips. Soft, even lighting ensures product colors appear true-to-life. Harsh lighting can create glare on shiny packaging or distort colors, leading to disappointed customers. Most experts suggest placing your light at a 45-degree angle to highlight textures like lipstick bullet ridges or embossed logos.
For glittery or shimmery products, adding a small backlight can make sparkles pop, giving depth and realism to the shot. Think eyeshadow pans with visible shimmer particles – backlighting makes them stand out beautifully.
Using props for storytelling
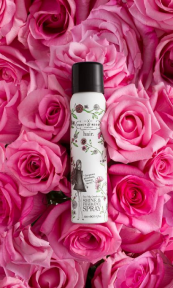
Props help create a lifestyle vibe even in studio beauty shots. Think flowers next to skincare bottles, brushes near eyeshadow palettes, or crushed pigment swatches beside lipsticks. The trick is to use props sparingly so they don’t clutter the frame.
For example, a single rose petal next to a pink blush connects the product to a feminine, romantic feeling without screaming for attention.
Creating swatches that sell
Swatches are crucial in makeup product photography. They show texture, coverage, and color payoff. For cream or liquid products, use a palette knife to create smooth, thick swatches that look professional. For powder products, use a flat shader brush to pick up pigment and create an even stroke on a clean surface.
Why does this matter? Because customers want to see exactly what they’re buying. Clean, realistic swatches build trust and increase conversions.
Background removal and color correction
After shooting, you may need to remove backgrounds for e-commerce listings. Use high-quality clipping path techniques to maintain natural shadows. Poor cutouts look amateurish and can cheapen your product image.
Finally, always color correct to match the true product shade. Nothing hurts beauty brand credibility like a lipstick that looks coral on your site but turns out fuchsia in person.
When you combine smart background choices, lighting setups, storytelling props, clean swatches, and precise editing, your makeup product photos will look professional, beautiful, and ready to sell.
Posing, composition, and post-production practices

Once your model and lighting are ready, it’s time to think about posing, composition, and final edits to enhance beauty photos naturally.
Posing for beauty shots
Keep poses simple. Beauty photography focuses on the face, so avoid dynamic poses that twist the body away from the camera. Slight tilts of the head, direct eye contact, or eyes closed with relaxed lips create intimacy and showcase makeup artistry.
Also, try directing the model’s chin slightly down and eyes up for a powerful yet soft look. This pose elongates the neck and brings attention to eyeshadow and lashes.
Composing your shots
Composition should direct the viewer’s gaze to the product or makeup area you want to highlight. For beauty portraits, framing the face tightly removes distractions. Cropping at the forehead or just below the chin is common in editorial beauty photography.
Think of the rule of thirds, too. Placing eyes along the top third line makes the shot feel balanced and professional.
Keeping post-production natural
Beauty shoot ideas often tempt you to over-edit. But overly retouched skin can look plastic and unrelatable. Masterclass suggests using frequency separation techniques to smooth skin while keeping natural pores and texture visible.
For makeup, adjust saturation carefully. Enhance colors to match reality, not exceed it, unless you’re intentionally creating an artistic, surreal look. Your goal is to enhance beauty photos without distorting reality.
Why CGI is the smart choice
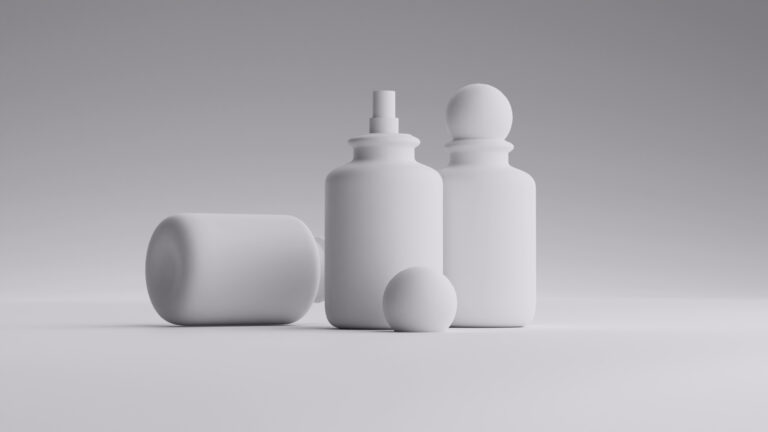
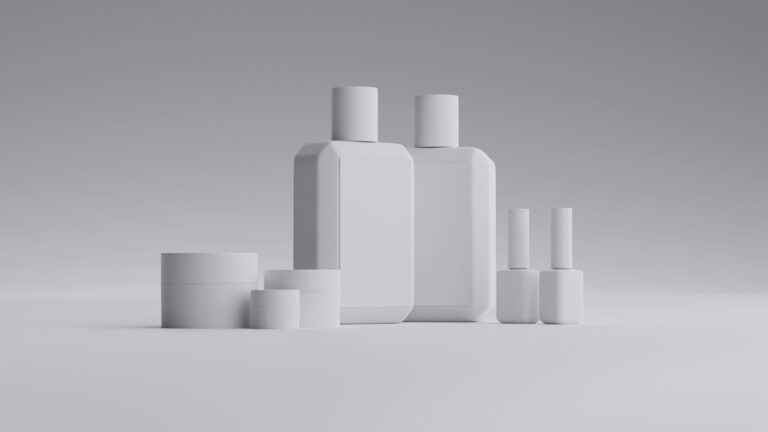
If you want flawless beauty shots without the endless logistical challenges of models, lighting setups, and on-set prep, CGI is your secret weapon. With CGI, you can create perfect lighting, textures, and colors digitally, producing images that look just as stunning (if not more) than traditional photography. Plus, you’ll save a whole lot of time, budget, and stress.
Imagine never having to worry about booking models, coordinating makeup artists, or dealing with last-minute cancellations again. CGI lets you create hyper-realistic visuals anytime you need them. At Welpix, we specialize in CGI beauty photography that showcases makeup and skincare products with impeccable precision. From rich lipstick swatches that show true shade and coverage, to skincare jars that glow with pristine lighting, your products will always look their absolute best, without even needing to ship them to a studio.
Incorporating CGI into your workflow also means no costly reshoots when packaging changes. Need to launch a new shade? CGI makes color swaps effortless, so your entire product line stays consistent without re-photographing everything from scratch. Best of all, you can experiment with different compositions, props, and backgrounds to find the perfect visual story for your brand.
That’s why leading beauty brands are integrating CGI into their product photography strategies to stay ahead of the curve. It’s fast, scalable, and delivers premium results every time, so you can focus on what really matters: growing your brand and wowing your customers.
Wrapping up
Enhancing your beauty shots on set isn’t about having the most expensive gear or the top model in the country. It’s about understanding lighting, preparing your model with care, composing with intention, and editing with subtlety. And if you want to go a step further, combining these skills with CGI gives you limitless creative control to produce captivating images that sell.
So next time you’re planning a beauty shoot, remember: these beauty shot tips are your blueprint to stand out in a crowded market.
FAQ
What lighting is best for beauty photography?
Soft, diffused lighting with large modifiers like softboxes or beauty dishes is ideal, as it flatters skin and enhances features without harsh shadows.
How do I prepare my model’s skin for a beauty shoot?
Cleanse, exfoliate, and hydrate thoroughly. Use primers suited to the makeup finish you want (matte or glossy) and ensure flyaways are smoothed for a polished look.
What background works best for beauty shots?
Neutral, seamless backdrops in soft greys, beiges, or muted pastels work best to keep attention on the model or product and avoid color casts.
How can I photograph makeup products professionally?
Use neutral or textured luxury backdrops, even lighting to show true color, and props sparingly to tell a brand-aligned story. Clean, thick swatches build trust with customers.
Why is CGI good for beauty shots?
CGI ensures perfect lighting, consistent textures, and realistic color representation without reshoots or physical product limitations, saving time and ensuring top-tier visuals.


