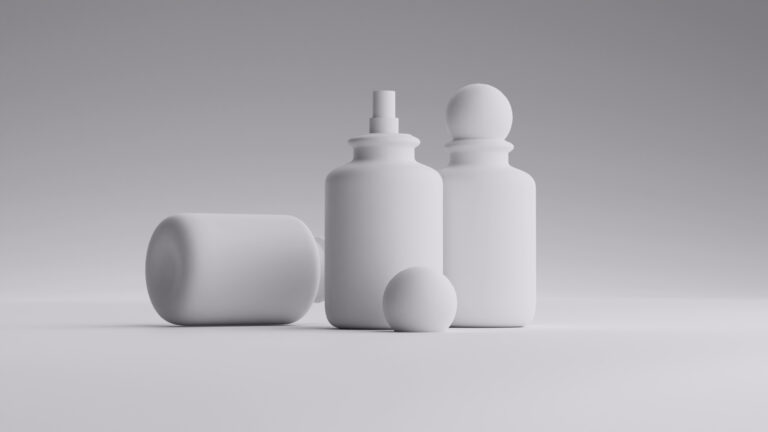
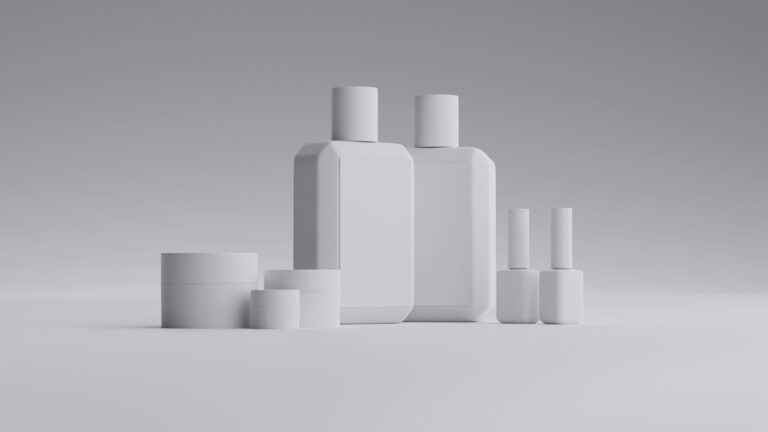
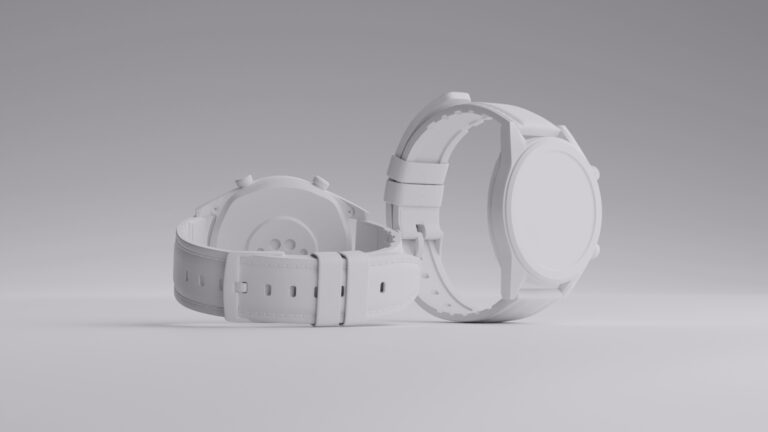
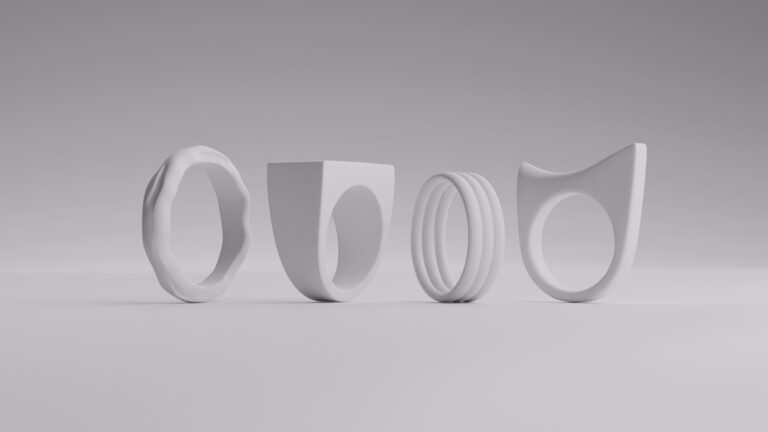
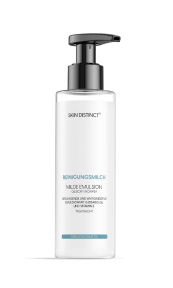
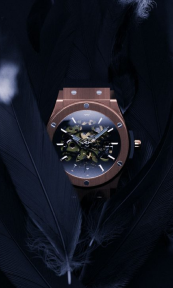
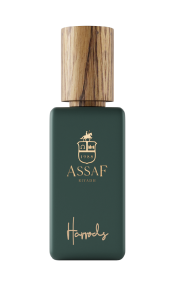
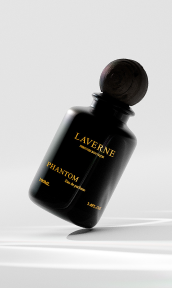
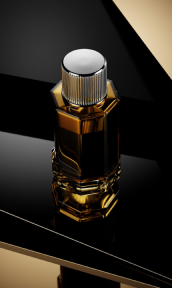
Ever wondered how someone can make their product images seem so realistic with so many clear details? In product photography, we call it capturing textures. If you want to make your catalog or marketing materials look like this, then it’s crucial that you pay attention to some of these tips for capturing textures in product photography.
While capturing the overall shape, color, and functionality of a product is essential, one aspect is often overlooked: capturing its texture. A product’s texture can create a tactile experience for potential customers, allowing them to imagine how it would feel to own and use the item. In this article, we will share some valuable equipment and techniques that can help you effectively capture textures in product photography to increase visual appeal and improve customer engagement.
Picking the proper equipment
Before you go into the actual activity of shooting the best textures for your product photography, you need to nail down the appropriate tools that can make your work a lot easier. Check out these insightful tips for capturing textures in product photography, and always remember: if some of these tools turn out to be a bit too expensive for our budget, you can find used ones with the same functionality but at a cut-price!
Tripod for stabilizing shots
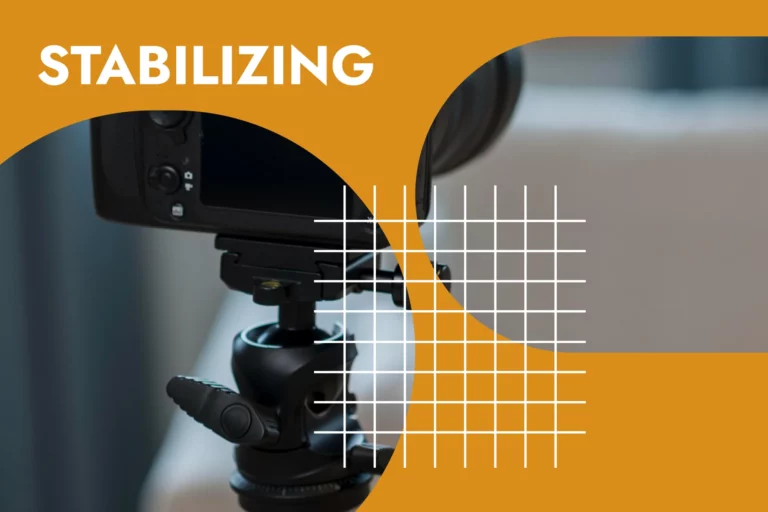
A tripod is a great way to capture textures in product photography. By using a tripod, you ensure stability and avoid unwanted blur in your images. This lets you capture the nuances of your goods with pinpoint accuracy and clarity, bringing out the intricate designs or surfaces of your products.
Positioning your camera at eye level with the product is critical to effectively capturing textures. A tripod makes it easy to adjust the height and angle of your camera to ensure you’re looking straight at it. This perspective allows for a clear view of all the fine details, so the viewer can appreciate even the smallest elements in your images. Plus, using a tripod eliminates camera shake caused by holding the camera manually, resulting in sharper images that render textures beautifully.
Preventing camera shaking with a timer
An effective way to overcome camera shake is to use a timer. The utilization of a timer eliminates the necessity of manually pressing the shutter button, thereby minimizing the potential for camera shake.
To use a timer effectively, first place your camera on a stable surface or tripod. This will ensure that your camera remains steady throughout the exposure. Compose and focus the image you want, then activate your camera’s timer function. Most cameras offer different timer options, such as a 2-second or 10-second delay before taking a picture. Once the timer is activated, do not touch or move the camera until the photo is taken.
Quality lens for a clear look

It’s important to capture the textures of your product to show off its details and quality. One of the best types of lenses to achieve this is a macro lens. Macro lenses are specifically designed for close-up photography and allow you to capture intricate details with exceptional clarity. These lenses can focus very close, so they are good for capturing details like the fine grain of wood or the intricate stitching in fabrics.
Another suitable option for capturing textures in product photography is a fixed-focal-length lens with a wide aperture. Fixed focal length lenses possess a fixed focal length, thereby preventing the possibility of zooming in or out, similar to zoom lenses. However, what they lack in versatility, they make up for in image quality and speed. Large aperture lenses (smaller f-number) let more light hit the camera sensor, resulting in sharper photos with more distinct textures.
Useful tips for capturing textures in product photography
Now that you have your equipment set up, it’s time to take some killer product shots! Take a deep dive into the next section and learn all the tips you need about capturing textures in product photography.
Experiment with macro photography

Macro photography is a powerful tool for capturing intricate structures in product photography. By employing specialized lenses and techniques, you can highlight the smallest details of a product’s surface, resulting in visually stunning images that highlight the product’s distinctive texture. To use macro photography effectively in product photography, there are a few tips to keep in mind.
First, lighting is crucial when it comes to capturing textures. To emphasize specifics and create depth, it’s best to employ diffused light sources, such as light boxes or diffusers. This minimizes harsh shadows and evenly illuminates the subject. Second, choosing the right aperture setting is critical to keeping the texture sharp. A small aperture increases depth of field and keeps more of the product’s surface in focus. Ultimately, the lens’s stability holds great significance in macro photography, as even the smallest movements can result in blurred images. If you are keen to learn more about how to effectively use macro photography to your advantage, check out one of our latest articles here.
Use auto focus
By far, one of the best tools at your disposal is your camera’s autofocus feature. To maximize the effectiveness of this potent instrument, it is imperative to select a lens with exceptional sharpness to guarantee the capture of every texture with utmost precision. You can also achieve a greater depth of field with a small aperture, allowing more textures to be in focus.
Another tip for using autofocus effectively when capturing textures is to use spot or single-point focusing instead of multipoint focusing. If you pick a specific spot to focus on, the camera can capture the smallest details and unique textures in that spot. Furthermore, experimenting with different lighting settings can greatly improve texture capture in product photography.
Get your exposure right
Using textures in product photography can make your images look better, and the right exposure setting is important for making sure those textures are properly shown. To achieve this, here are some tips and techniques that can help you capture stunning textures in your product photos.
It’s significant to understand the concept of exposure and how it affects texture. The term “exposure” refers to the amount of light that reaches the camera sensor and determines the degree of lightness or darkness of your image. When shooting textures, you should avoid overexposure or underexposure. To achieve ideal lighting conditions, first employ your camera’s manual setting and adjust the aperture, shutter speed, and ISO to match the lighting.
Wrapping up
All in all, textures in product photography are crucial for businesses that want to showcase the quality and craftsmanship of their products. By following these tips, you can create stunning images that highlight the textures of your products. If, however, you seek highly detailed images with complete control over every aspect of your product’s appearance, CGI offers a distinct advantage over traditional photography.
With CGI, you can create photorealistic images that not only capture the textures but also allow for customization and experimentation. As technology continues to advance, more businesses are turning to CGI for their product photography needs to achieve unparalleled levels of detail and realism. What are you waiting for? Learn more about CGI here and get started on your jaw-dropping imagery right now!
FAQ
Why is capturing textures important in product photography?
Including textures is critical because they add depth and realism to your product images. Textures enhance visual appeal, give the viewer a tactile feel, and help the customer make an informed decision about the quality and material of the product.
What equipment do I need to capture textures effectively?
To capture textures in product photography, you need a high-quality camera with manual settings, a stable tripod to avoid camera shake, and suitable lenses (macro lenses are great for close-ups).
Are there specific settings I should use on my camera for capturing textures?
Yes, for shooting textures, use a smaller aperture (higher f-number) to increase depth of field and ensure that more of the product surface remains in focus.
