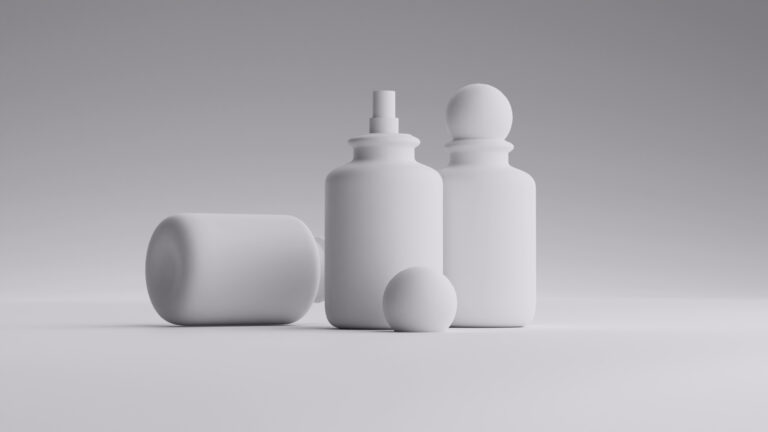
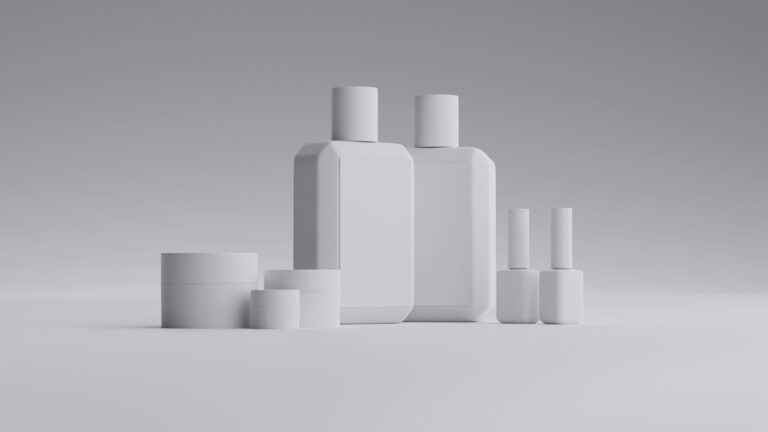
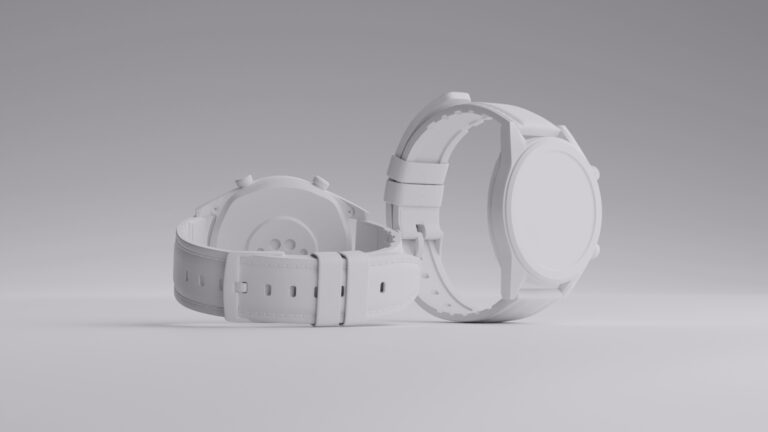
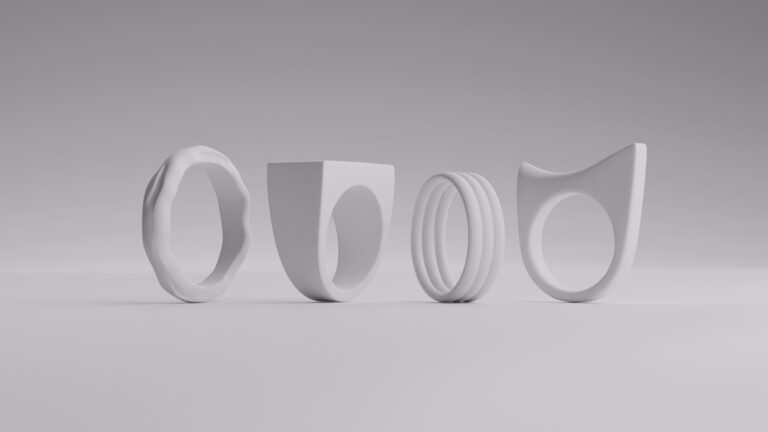
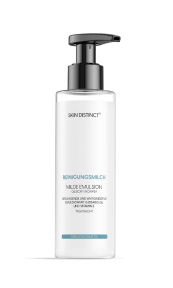
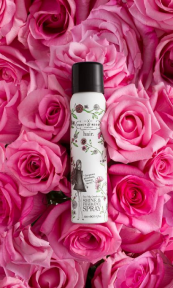
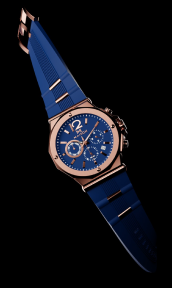
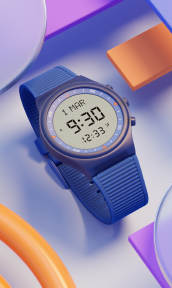
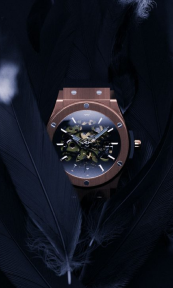
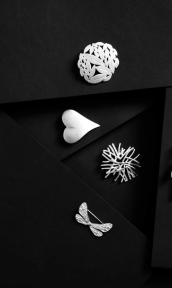
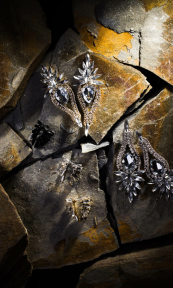
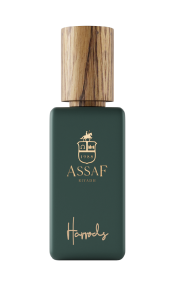
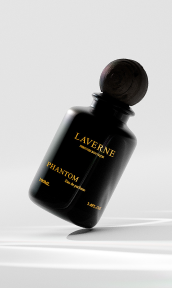
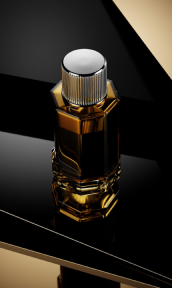
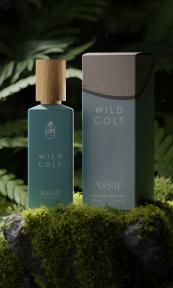
The moody, dramatic style is taking over e-commerce – and for good reason. Dark and atmospheric product photos add that touch of luxury and intrigue that makes shoppers stop scrolling and start clicking. It’s amazing how the right shadows and highlights can transform everyday items into works of art that tell your brand’s unique story.
Don’t worry if you’re new to low-light photography – we’ve got you covered. In this guide, we’ll break down everything from basic camera settings to pro-level techniques, making it easy to create scroll-stopping product images. We’ll explore all the tricks that’ll help you nail those stunning dark and moody shots, even in tricky lighting conditions. Let’s dive in and level up your photography game!
Best camera settings for low-light photography

Let’s talk camera settings – they’re the secret sauce to nailing those moody product shots you’re after. The key players here are aperture, shutter speed, and ISO. Think of them as your photography power trio.
Want a dreamy background blur that makes your products pop? A wide aperture is your best friend. Choose a lens that opens to f/1.8 or f/2.8, and you’ll get loads more light and that gorgeous blurred background effect that screams professional. Sure, quality lenses can be an investment, but they’re total game-changers for low-light shots.
Slow and steady wins the race with shutter speed. While a slower speed lets in more light, it can turn your crisp product shot into a blurry mess. That’s where a trusty tripod becomes your MVP, especially when shooting slower than 1/60th of a second. If you want to go the extra mile, use your camera’s timer or a remote trigger to avoid any shakiness from pressing the button.
Now, let’s talk ISO – your camera’s light sensitivity superpower. Today’s cameras are pretty impressive at handling high ISOs, but there’s still a sweet spot to find. Try to stay under ISO 3200 to keep those pesky noise grains at bay. Take some test shots at different ISO levels before your big shoot – it’s like creating your own camera’s cheat sheet for perfect exposure every time.
Lighting techniques for mood. Natural and artificial light

Strategic lighting placement transforms ordinary product shots into captivating visual stories. Low light doesn’t mean no light – it’s about controlling and shaping the available light to create atmosphere while maintaining the professional quality necessary for e-commerce success.
Artificial light
One effective technique involves using a single light source positioned at a 45-degree angle to your product. This creates dramatic shadows that add depth and dimensionality to your images. Light modifiers like softboxes or diffusers help control the intensity and spread of light, preventing harsh highlights while maintaining a moody atmosphere. Experimenting with different modifier sizes and distances can dramatically affect the final look of your images.
Reflectors become invaluable tools in low-light product photography. Using white or silver reflectors to bounce light back into shadow areas gives you precise control over contrast levels. This technique allows you to maintain the dark atmosphere while ensuring product details remain visible and attractive to potential buyers. Black reflectors or negative fill cards can also deepen shadows strategically, adding drama to your compositions.
Natural light
Natural window light can be super effective for low-light product photography, too. Shooting during golden hour or on overcast days provides soft, directional light that’s perfect for creating moody product images. Combined with black flags or negative fill cards to control reflection and deepen shadows, window light offers a cost-effective solution for achieving professional results. Understanding how different times of day affect light quality helps you plan shoots for optimal results.
Dreamy low-light composition and styling

Ready to level up your product styling game? In low light photography, how you arrange your products can make or break your shot. Think of your composition as a dance between light and shadow – every position counts.
Those dark, moody areas aren’t just for show. They’re like invisible arrows pointing exactly where you want your viewers to look. It’s amazing how a well-placed shadow can guide someone’s eye right to that special feature you want to highlight. This trick works wonders for luxury products – sometimes less really is more when you’re aiming for that high-end feel.
When it comes to props and backgrounds, think like a supporting actor – they should make your star (your product) shine brighter, not steal the show. Go for matte surfaces that won’t create distracting reflections, and don’t be afraid to embrace darker backdrops. Those deep, rich backgrounds can make your products look like they’re floating in a sea of luxury.
Here’s a game-changing tip: try working with layers in your composition. Position some elements slightly in front of or behind your main product to create depth. A strategically placed prop in soft focus can frame your product perfectly while adding that professional touch to your photos. Just remember – every element should have a purpose in telling your product’s story.
Think about the rule of thirds, but with a twist for low light. Instead of placing your product dead center, try positioning it where the shadows naturally create a spotlight effect. This technique can transform a simple product shot into an artistic statement that captures attention and holds it. The best part? Once you master these composition basics, you’ll find yourself naturally creating scroll-stopping shots that look like they belong in a high-end magazine.
Post-processing for impact

Post-processing is where the final bit of magic happens. First things first: always shoot in RAW. It’s like giving yourself a time machine for your photos, letting you rescue details from shadows or fix exposure issues without ruining image quality. Trust me, you’ll thank yourself later when you can pull out hidden details that would’ve been lost forever in JPEG.
Color grading is your secret weapon to setting that perfect mood. Think of it like adding a filter, but way more professional. Playing with warm tones can make your product feel cozy and inviting – perfect for lifestyle brands. Or cool things down for that high-end, sophisticated vibe. The best part is that once you find a look you love, you can save it as a preset and your whole product line will have that consistent, professional feel.
And let’s talk about everyone’s least favorite party guest – noise. You know, those grainy bits that show up in low-light shots. Modern editing software is amazing at cleaning this up, but don’t go overboard. It’s like seasoning your food – you want just enough to enhance, not overwhelm. Pro tip: focus more on reducing luminance noise (the brightness stuff) than color noise. This keeps your images looking clean while preserving all those important product details your customers need to see.
Effective focus stacking

Focus stacking can be a real game-changer for your low-light product photography. When you’re shooting with those wide-open apertures for that dreamy low-light look, keeping everything sharp can be tricky. That’s where this cool technique comes in – it’s like having a photography superpower that lets you get the best of both worlds.
Think of focus stacking like taking a bunch of puzzle pieces and putting them together to make one perfect picture. You’ll take several shots of your product, each focused on a different spot, then blend them together in post-processing. The result? Tack-sharp details from front to back, while keeping that gorgeous moody atmosphere you worked so hard to create.
Got some fancy jewelry or watches to shoot? This technique is about to become your best friend. Focus stacking software makes it easy to merge all those shots seamlessly. No more choosing between showing off the sparkle of the gemstones or the intricate details of the setting – now you can have it all.
To nail this technique, keep your camera steady and your lighting consistent between shots. Sure, you can splash out on fancy automated focus rails if you’re doing this regularly, but don’t worry if you’re just starting out. With a steady hand and some patience, you can get amazing results doing it manually. Just take your time and make sure each shot is perfectly lined up.
Want to take your focus stacking to the next level? Try combining it with different angles and compositions. For example, when shooting a watch, take one set of stacked images straight on to capture the face details, and another set at an angle to show off the case and band. This gives you options to showcase your product from multiple perfectly focused perspectives, making your final images even more versatile for your e-commerce needs.
Embracing CGI alternatives

CGI takes product photography to new heights by creating a completely controlled digital environment. In this virtual studio, you can craft any lighting scenario without physical limitations or equipment constraints.
Want to create that perfect moody shot? CGI artists can craft any lighting scenario you dream up. Everything’s adjustable with a few clicks, from soft, subtle highlights to dramatic shadows. The best part? Once you nail that perfect look, you can apply it consistently across your entire product line. No more worrying about lights shifting or shadows changing between shots.
Here’s why CGI is a total money-saver: imagine you’ve got a product in ten different colors, or you need seasonal variations of your shots. Instead of setting up multiple photo shoots, you can quickly update your digital assets with new colors, materials, or lighting styles. It’s like having a photography time machine – make changes whenever you need them, without the hassle and expense of reshooting everything from scratch.
Wrapping up
Low-light product photography opens a world of creative possibilities for your e-commerce presence. By mastering shadow and light, you can transform ordinary product shots into compelling visual stories that capture attention and drive engagement in today’s competitive digital marketplace.
Your journey into low-light photography starts here. Whether you choose traditional photography techniques or explore the precision of CGI, success comes from balancing technical skill with artistic vision. Keep experimenting with different approaches, and you’ll develop a signature style that sets your brand apart and creates lasting connections with your audience.
FAQ
What camera settings work best for low-light product photography?
Start with a wide aperture (f/1.8-f/2.8), slower shutter speed (with tripod), and moderate ISO (800-3200). Adjust based on your specific lighting conditions and camera capabilities.
How can I reduce noise in low-light product photos?
Use a tripod to maintain lower ISO settings, shoot in RAW format, and apply selective noise reduction in post-processing. Consider using exposure bracketing for cleaner final images.
Do I need expensive lighting equipment for low-light photography?
No, you can achieve professional results with a single light source, reflectors, and modifiers. Window light combined with basic light modifiers can produce excellent results.
How can I ensure my products are properly exposed in low light conditions?
Use spot metering on key product features, bracket your exposures, and shoot in RAW format to maintain maximum editing flexibility in post-processing.
Is CGI a better option than traditional photography for low-light product shots?
CGI offers greater control, consistency, and flexibility, especially for businesses with multiple product variations. However, the choice depends on your specific needs, budget, and timeline.


