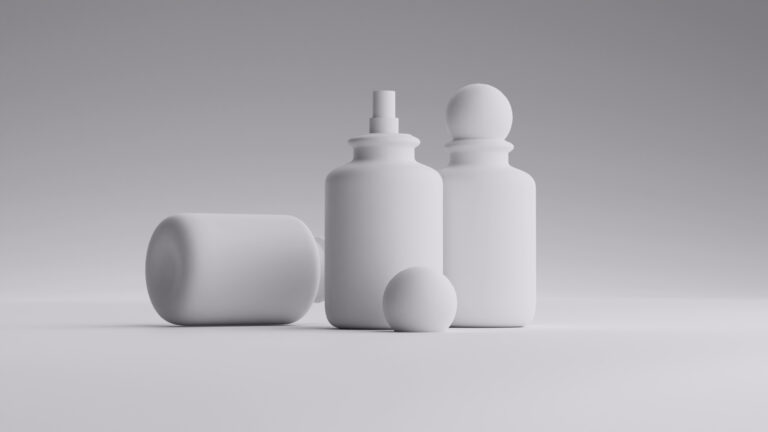
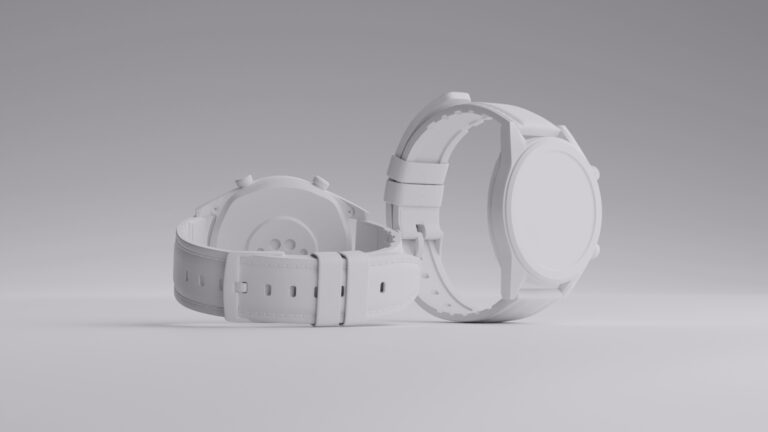
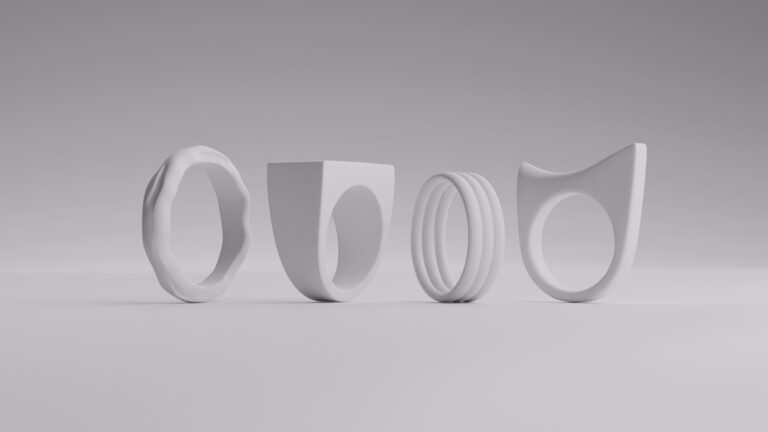
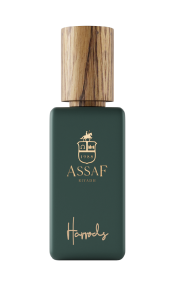
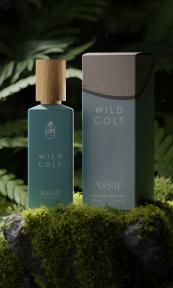
Packshot photography is essential in today’s visually-driven market. It presents products in an appealing light, captivating potential customers and driving sales. Regardless of what you’re selling, high-quality packshot photography can make a significant difference. Let’s delve into the details of packshot photography and learn some practical tips for producing impressive images.
Understanding the essence of packshot photography

At its core, packshot photography serves as the conduit between a product’s tangible attributes and the intangible desires of consumers.
Each photograph is a narrative, weaving together design, craftsmanship, and innovation to create an irresistible visual symphony. Packshot photography offers consumers a glimpse into the soul of a product, igniting desires, and fueling aspirations.
A well-executed image is more than just a visual representation; it’s an invitation to explore, to connect, and ultimately, to purchase. It evokes emotions, sparks curiosity, and fosters trust—a silent ambassador for your brand in the digital realm.
Crafting compelling photography requires a blend of artistry, technical skill, and attention to detail. Here are some practical tips to help unveil the essence of your products through captivating imagery:
- Understand Your Audience: Before picking up the camera, delve into the psyche of your target audience. What drives their purchasing decisions? What aesthetic preferences resonate with them? Tailor your packshot photography to speak directly to their desires and aspirations.
- Focus on Details: The devil is in the details, they say, and nowhere is this truer than in packshot photography. Highlight the intricate features, textures, and finishes of your product, inviting viewers to immerse themselves in its craftsmanship.
- Tell a Story: Every product has a story to tell—a narrative of inspiration, innovation, or transformation. Use it to weave this narrative into your imagery, creating a compelling backstory that resonates with your audience on a deeper level.
- Experiment with Lighting: Lighting can make or break an image. Experiment with different lighting setups – natural light, artificial light, diffused light – to find the perfect balance that accentuates your product’s contours and highlights its best features.
- Embrace Minimalism: Less is often more. Embrace minimalism in your compositions, using negative space to draw attention to the focal point—the product itself. Keep backgrounds clean and uncluttered, allowing the product to take center stage.
- Maintain Consistency: Consistency is key in packshot photography, especially if you’re showcasing a range of products or building a cohesive brand identity. Establish a style guide for your imagery, outlining guidelines for composition, lighting, and post-processing to ensure a uniform look and feel across all your visuals.
Keep in mind these tips and apply them the next time you decide to take a photo. They will surely come in handy and will elevate your final result.
Creating compelling visuals with packshot photography

Nowadays, attention is fleeting, and competition is fierce. So, the role of packshot photography emerges as pivotal, serving as a cornerstone in crafting compelling visual narratives that profoundly resonate with audiences.
For example, one technique to instill a sense of quality in your images is to use minimalist backgrounds. Big companies meticulously showcase the sleek design and innovative features of their products against a minimalist backdrop. This helps evoke a sense of sophistication and premium quality.
Through meticulously curated imagery, packshot photography has the unique ability to evoke emotions, spark curiosity, and ignite desires, effectively transforming passive viewers into active participants in the brand experience.
Similarly, the iconic drink bottle has been immortalized through photography, with images that capture the essence of happiness and celebration, reinforcing the brand’s emotional connection with consumers.
In the digital age, where consumers rely heavily on visual cues to make purchasing decisions, the importance of compelling visuals cannot be overstated, and packshot photography rises to meet this demand with aplomb.
For instance, Amazon employs high-quality photography to showcase products from various sellers, providing shoppers with detailed images that instill confidence and drive conversions. This ensures that products are presented only in the most flattering light while using packshot photography to build brand identity, foster trust, and drive conversion rates.
Furthermore, it serves as a silent ambassador for brands in the digital realm, offering consumers a glimpse into the soul of a product and reinforcing brand values and promises.
Through the strategic use of composition, lighting, and styling, packshot photography has the power to elevate even the most mundane products into objects of desire, commanding attention and leaving a lasting impression on viewers.
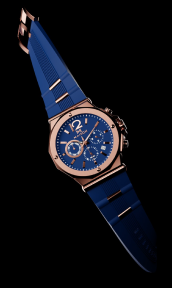
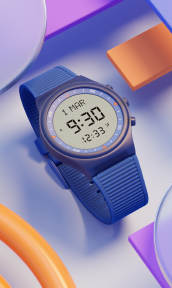
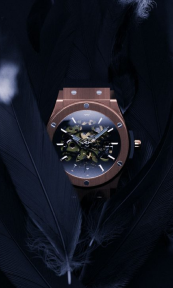
Consider the imagery used by luxury fashion brands, where photography transforms accessories like handbags or watches into aspirational symbols of status and sophistication.
In essence, packshot photography transcends the confines of traditional marketing tactics, offering brands a dynamic platform to connect with consumers on a visceral level and forge meaningful relationships that extend beyond the transactional.
As brands continue to navigate the ever-evolving landscape of digital marketing, packshot photography remains an indispensable tool for creating compelling visuals that captivate, inspire, and compel action, driving brand success in the digital age.
Producing impressive packshot images: a step-by-step guide

Producing impressive images requires a delicate balance of artistry, technical skill, and attention to detail. From preparation and set-up to shooting and post-processing, each stage plays an important role. Whether you’re a seasoned photographer or just starting, this guide will equip you with knowledge and techniques to elevate your packshot photography to new heights.
Step 1: Preparation
First and foremost, you should ensure that the product is clean and free of any blemishes or imperfections. This will help you create a crisp and professional-looking image that will impress your audience. It’s also important to choose a suitable background for your product photos. A neutral color, such as white or gray, is often the best option, as it helps to minimize distractions and keep the focus on the product. This can be especially important if you’re selling products online, where customers may be browsing through multiple products at once.
Step 2: Set Up
Another thing to keep in mind when taking product photos is lighting. Natural light is often the best option, as it helps to create a bright and vibrant image that shows off the product in the best possible way. If natural light isn’t available, you can also use artificial lighting to achieve similar results. Position your product on a stable surface, such as a table or a photography backdrop stand, ensuring it’s centered and properly aligned.
Step 3: Camera and Equipment
Use a high-quality digital camera with a macro lens, to help you to capture sharp, detailed images. Also, consider using a tripod. These are essential for keeping the camera steady and maintaining consistency across multiple shots. To better control your environment lighting, you can also consider using reflectors or diffusers to control the lighting and reduce harsh shadows.
Step 4: Composition and Framing
Once you have all the equipment ready, it’s time to create the composition. Experiment with different angles, perspectives, and compositions to find the most flattering view of the product. You should pay attention to the arrangement of elements within the frame, ensuring that the product is the focal point and occupies a significant portion of the image.
Step 5: Focus and Depth of Field
When all the elements are set, and you’ve decided how your image will look, it’s time to place the camera. Set your camera to manual focus mode to ensure precise focus on the product. Adjust the aperture to control the depth of field, keeping the entire product in sharp focus while blurring the background for a professional-looking effect.
Step 6: Shooting
Take multiple shots from various angles and orientations to provide versatility and options during the editing process. Pay attention to details such as lighting, reflections, and shadows, making adjustments as needed to achieve the desired look. Experiment until you are satisfied with the shot.
Step 7: Editing and Post-Processing
Once you’ve taken enough photos, transfer the images to your computer. This is where the editing begins. Use photo editing software such as Adobe Photoshop or Lightroom to enhance the colors, contrast, and sharpness. Remove any imperfections or distractions in the background, ensuring a clean and polished final result.
Step 8: Final Touches
Once you’re satisfied with the edits, save the images in the appropriate file format and resolution for their intended use, whether it’s for web or print. Add any branding elements or product labels if necessary, and ensure they comply with the required specifications and guidelines.
Overall, taking the time to prepare your products and set up your photoshoot properly will help you to create compelling product images that will catch the eye of potential customers and help you sell more products. So take your time, experiment with different setups, and don’t be afraid to get creative!
Embracing innovation in packshot photography

Innovation is at the heart of packshot photography. Advancements in technology continually reshape the way products are presented and perceived, therefore, it’s important to know about them and use them to make your brand stand out. In this section, we’ll explore the latest trends and emerging technologies revolutionizing the field of packshot photography, offering new possibilities for creativity and engagement.
- 360-Degree Product Photography
With the rise of immersive online shopping experiences, 360-degree product photography has gained traction as a powerful tool for engaging consumers. By allowing viewers to rotate and explore products from every angle, 360-degree photography provides a more interactive and realistic shopping experience, enhancing confidence and reducing returns.
- Augmented Reality (AR) Integration
Augmented reality has emerged as a game-changer in packshot photography, enabling brands to overlay digital content onto real-world environments in real time. By integrating AR technology, brands can offer interactive product demonstrations, virtual try-ons, and interactive storytelling experiences, enhancing consumer engagement and driving conversions.
- Artificial Intelligence (AI) Image Editing
AI-powered image editing tools are revolutionizing the post-processing phase of packshot photography, automating tedious tasks and streamlining workflow efficiency. From automated background removal to intelligent color correction algorithms, AI-driven editing tools empower photographers to achieve professional-quality results with minimal manual intervention.
- Interactive Product Configurators
Interactive product configurators leverage 3D rendering technology to allow consumers to customize and visualize products according to their preferences. By integrating configurator tools into packshot photography, brands can offer personalized shopping experiences, driving customer satisfaction and loyalty.
- Drone Photography for Aerial Shots
Drone photography has opened up new perspectives in packshot photography, enabling photographers to capture stunning aerial shots of products in outdoor settings. From sprawling landscapes to dynamic action shots, drone photography adds a sense of scale and drama, creating visually striking visuals that command attention.
By embracing these innovative trends and technologies, you can expand your creative horizons and deliver packshot imagery that exceeds consumer expectations. As the field of photography continues to evolve, staying informed and adaptable to emerging trends will be key to staying ahead of the curve and achieving success in the competitive market landscape.
Wrapping up
Packshot photography is crucial for businesses to showcase their products. Understand its importance, follow practical tips and a guide to producing impressive packshot images that captivate audiences and drive sales. Highlight unique features and maintain a professional presentation to elevate your product photography and stand out in today’s competitive marketplace.
FAQ
What equipment do I need for packshot photography?
You’ll need a digital camera with manual settings, preferably a DSLR or mirrorless camera, along with a tripod to keep the camera steady. A macro lens or a lens with a zoom range suitable for close-up shots is recommended for capturing fine details.
What background should I use for packshot photography?
A clean, neutral background is ideal to ensure the focus remains on the product.
How can I make my packshot images stand out?
Focus on highlighting the unique features and qualities of the product. Pay attention to composition, framing, and lighting to create visually appealing images that capture viewers’ attention. Experiment with different angles and perspectives and add creative elements such as props or dynamic compositions.
What post-processing techniques can enhance packshot images?
Common post-processing techniques include adjusting exposure, contrast, and color balance to enhance overall image quality. Additionally, you can remove blemishes, smooth out imperfections, and enhance details. Crop and resize to optimize your composition and aspect ratio for different platforms.
How can I ensure consistency in my packshot photography?
Establish a style guide. Consider outlining guidelines for composition, lighting, and editing techniques. Use consistent lighting setups and camera settings across all images, and maintain uniformity in background choice and product positioning.


