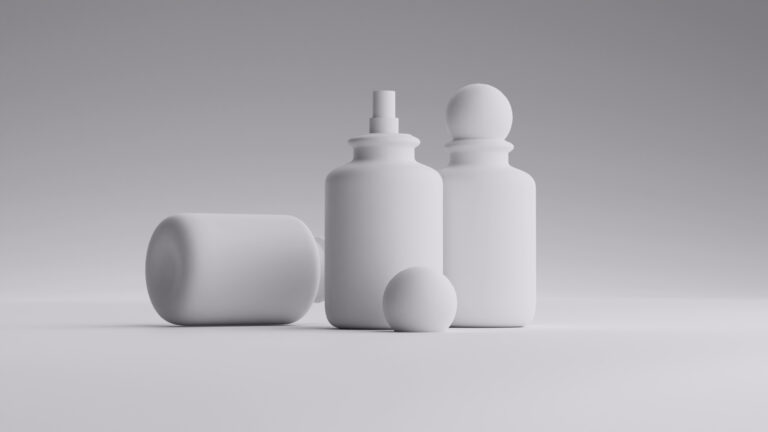
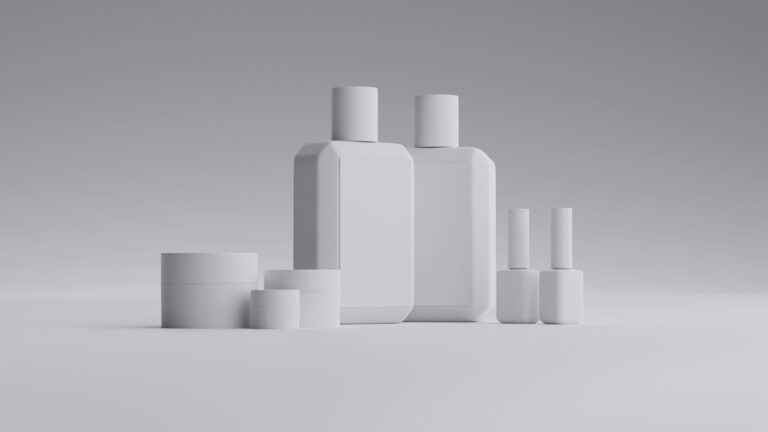
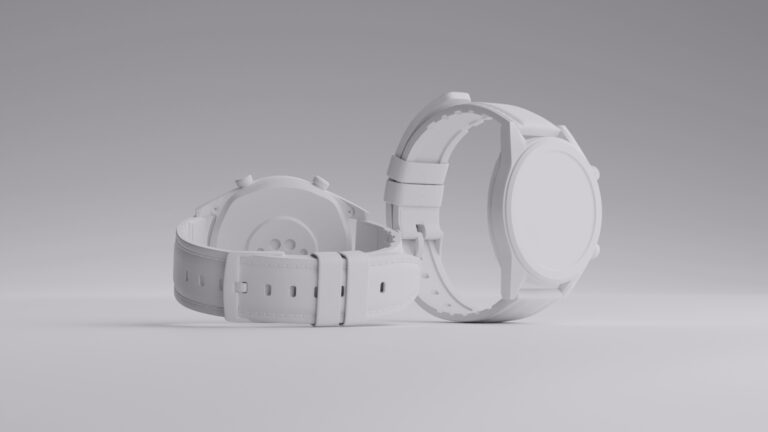
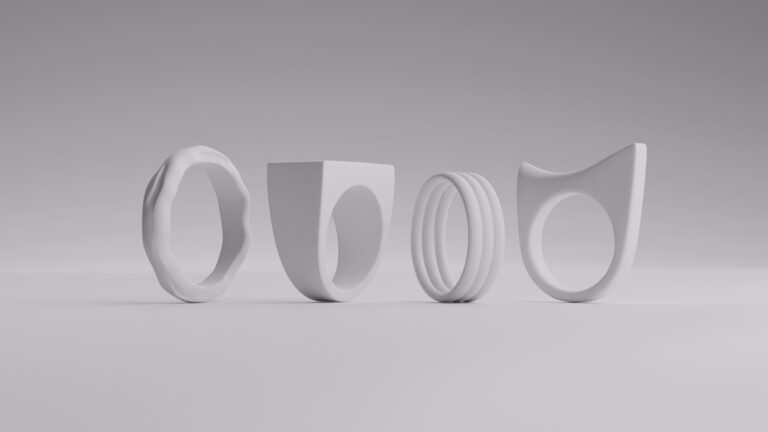
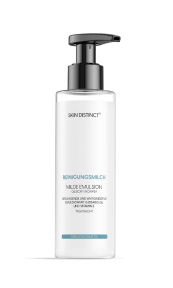
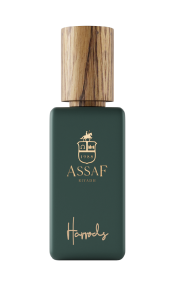
In product photography, subtle details can make a huge impact. One technique widely used to create polished, high-quality product images is the addition of reflection. A well-executed reflection not only enhances the aesthetic appeal but also provides a sense of depth and professionalism that can set your products apart from the competition. In this article, we’ll walk through how to add reflection in product images step-by-step, using software like Adobe Photoshop or other editing tools.
Why Add Reflection?

Reflections in product images can elevate the quality and professionalism of your photos. Whether you’re selling items online or showcasing products in a catalog, adding a reflection can make a striking visual difference. Here are several reasons why reflections matter in product photography:
- Visual Appeal: Reflections create a sleek, polished look that enhances the overall aesthetic of the image. This technique mimics placing a product on a glossy surface, making it look high-end and sophisticated.
- Depth and Dimension: Adding a reflection gives the product image a three-dimensional feel. It makes the product look more lifelike and tangible, helping potential customers better visualize it in a real-world setting.
- Focus on the Product: Reflections naturally draw the eye back to the product. By grounding the item with a subtle reflection, you emphasize its shape and design while keeping distractions to a minimum.
- Increased Perceived Value: Products displayed with reflections often look more premium and luxurious. This subtle enhancement can influence how customers perceive the quality of the product, making it appear more desirable.
- Consistency and Branding: Using reflections across multiple product images helps create a uniform, branded look. A consistent presentation across different products or product lines can boost brand identity and professionalism.
Adding reflections to product images is a simple yet effective way to elevate visual appeal and make your products stand out. By enhancing depth, focusing attention, and increasing the perceived value of your items, reflections offer a powerful tool for improving your product photography.
Step-by-Step Guide to Adding Reflection in Photoshop

Before getting started, you’ll need access to photo editing software. Adobe Photoshop is the most popular choice, but you can also use free alternatives like GIMP or online tools that offer similar functionalities.
Step 1: Open Your Product Image
Open your product image in Photoshop. Ideally, your product should be placed on a solid background, preferably white or gray, as this makes it easier to add reflections.
Step 2: Duplicate the Product Layer
To create a reflection, you’ll need to duplicate the product layer. In the Layers panel, right-click on the layer containing your product and select “Duplicate Layer.”
Step 3: Flip the Duplicated Layer
Next, flip the duplicated layer vertically so it appears as a mirror image of your original product. To do this, go to Edit > Transform > Flip Vertical. You’ll now see the product flipped upside-down.
Step 4: Position the Reflection
Move the flipped product below the original, aligning it so the bottom edge of the product meets where the reflection should start. This is typically where the product would meet a reflective surface, such as a glossy table or a polished floor.
Step 5: Create a Mask
In the Layers panel, select the reflection layer and click on the Add Layer Mask icon. The mask will allow you to gradually fade the reflection, making it look more natural and less harsh.
Step 6: Apply a Gradient to the Mask
With the layer mask selected, choose the Gradient Tool from the toolbar. Set the gradient to go from black to white, which will hide parts of the reflection. Click and drag from the bottom of the reflection upwards, gradually fading the reflection into transparency. Adjust the length of your gradient to achieve the desired level of reflection.
Step 7: Lower the Opacity
To make the reflection more realistic, lower the opacity of the reflection layer. Go to the Opacity setting in the Layers panel and reduce it to around 40-60%, depending on the desired effect. This helps ensure that the reflection isn’t too dominant or distracting.
Step 8: Add a Blur (Optional)
For an even more realistic look, you can apply a slight blur to the reflection. Go to Filter > Blur > Gaussian Blur and adjust the blur radius to soften the reflection. This creates the effect of a reflective surface that isn’t perfectly smooth, like a soft sheen rather than a mirror.
Alternative Tools
If you don’t have access to Photoshop, there are other ways to add reflections using free tools:
- GIMP: GIMP is a free alternative to Photoshop and offers similar functionalities. The process to add reflection is almost identical, with layer duplication, flipping, and gradient masking.
- Online Editors: Several online tools such as Pixlr and Photopea allow for image editing. These tools often include features like layer manipulation, opacity adjustment, and gradient tools, making it possible to add reflections without specialized software.
By following this step-by-step guide, you can easily add reflections to your product images in Photoshop, giving them a more polished and professional look. Whether you’re enhancing the product’s realism or creating a sleek, modern effect, reflections can elevate the overall quality of your photos. With practice, this technique can become a powerful tool in your editing workflow, helping your products stand out with minimal effort.
Adding Reflections with CGI and 3D Models

In addition to traditional photo editing methods, another powerful approach to adding reflections in product images is through computer-generated imagery. CGI uses 3D modeling software to create lifelike product images that can be customized in any environment, allowing you to add reflections seamlessly. This technique is becoming increasingly popular in industries like e-commerce, fashion, and automotive, where products need to be rendered in ultra-realistic environments.
How CGI and 3D Models Work for Product Reflections
With CGI, you can create a 3D model of your product using software like Blender, Autodesk 3ds Max, or Cinema 4D. These tools allow you to:
- Model the Product in 3D: Using reference photos or CAD files, a 3D model of the product is created. This model can be manipulated from any angle, giving you complete control over how the product is displayed.
- Place the Product on a Virtual Surface: In a CGI environment, you can choose or create a reflective surface, such as glass, marble, or polished wood. The software automatically generates realistic reflections based on the product’s position, lighting, and surface material.
- Adjust Lighting and Shadows: One of the biggest advantages of CGI is the ability to control every aspect of the lighting environment. You can simulate different types of light sources and angles, which automatically create realistic reflections and shadows. This eliminates the need for manual editing, as the software calculates how light interacts with the product and surface.
Steps to Add Reflection with CGI
Adding reflections with CGI is a straightforward process that allows for highly realistic results by simulating light and surface interactions. Here’s how you can get started:
Step 1: Create or Import the 3D Model
You can either model the product from scratch or use a pre-existing 3D model from a CAD file or an online library. Most industries today, especially in electronics or furniture, have CAD files available for product rendering.
Step 2: Set Up the Environment
Choose a reflective surface in the 3D environment. In most 3D software, you can assign materials like glass, metal, or polished concrete to the surface, which automatically simulate real-world reflections.
Step 3: Configure Lighting
Add virtual light sources, such as spotlights or ambient lighting, that replicate studio conditions. The reflections will adjust based on the light’s position and intensity, creating realistic results.
Step 4: Render the Image
Once everything is set, render the scene. The software will compute how light interacts with the product and surface, producing natural reflections. Rendering times vary based on the complexity of the scene and the quality of the output.
Step 5: Post-Process (if needed)
After rendering, you can further enhance the image in post-processing tools like Adobe Photoshop or After Effects. However, in most cases, CGI can generate such realistic results that little to no post-processing is required.
By following these steps, you can efficiently create realistic reflections with CGI, streamlining the process while delivering high-quality product images with minimal manual effort.
Benefits of Using CGI for Reflections

Using CGI for reflections offers numerous advantages over traditional methods, providing a faster, more flexible way to create lifelike product images. Here are some key benefits of incorporating 3D models into your workflow.
- Realistic Results with Minimal Effort: Once the 3D model and environment are set up, reflections are automatically generated based on lighting and surface properties. This is much quicker than manually adding reflections in post-production.
- Flexibility: CGI allows for infinite customization. You can easily change the background, surface material, or lighting to achieve different reflective effects without having to re-shoot the product.
- Consistency: In industries with large product catalogs, CGI ensures consistency in the presentation of products. By using the same 3D model, environment, and lighting setup, you can maintain a uniform look across all product images.
- Cost-Effective for Large-Scale Projects: While setting up a CGI workflow may seem costly upfront, it can save significant time and money in the long run, especially if you need to generate hundreds of product images or frequently change product designs.
Popular Software for CGI Product Reflections
Selecting the right software is crucial, to effectively utilize CGI for product reflections. Here’s a brief look at some popular tools that can help you achieve high-quality, realistic results.
- Blender (Free): Blender is an open-source 3D modeling and rendering software that is powerful enough for professional-quality reflections. It has built-in tools for materials, lighting, and rendering.
- Autodesk 3ds Max: This software is widely used in commercial product visualization. It offers sophisticated tools for surface materials and reflections, making it a popular choice for product photography in CGI.
- Cinema 4D: Known for its ease of use, Cinema 4D is another excellent tool for creating photorealistic product images with reflections. Its rendering engine allows for highly detailed reflections in a variety of environments.
- KeyShot: This is a specialized rendering software that focuses on quick and easy product visualization. It’s great for adding reflections because it provides a simple workflow and doesn’t require advanced 3D modeling skills.
Overall, CGI offers a highly efficient and scalable solution for creating realistic reflections, making it an ideal choice for businesses seeking consistent, high-quality product images with minimal effort.
Wrapping up
Using CGI to add reflections in product images can save a significant amount of time while delivering highly realistic and professional results. With 3D modeling and rendering, you can automate the reflection process, allowing for greater flexibility and scalability, especially in industries with large product inventories.
Whether you’re creating individual product images or a complete virtual showroom, CGI provides a cost-effective and visually stunning solution for adding reflections quickly and easily.
FAQ
What are the key benefits of adding reflections to product images?
Adding reflections enhances the visual appeal of product images, provides depth and dimension, focuses attention on the product, increases the perceived value, and helps maintain consistency across a brand’s product line.
Can I add reflections to product images without using Photoshop?
Yes, you can use free tools like GIMP or online editors such as Pixlr and Photopea. These tools offer similar functionalities for adding reflections, including layer manipulation, gradient adjustments, and opacity controls.
How does CGI compare to traditional photo editing for adding reflections?
CGI offers a more automated and scalable solution for adding reflections. It allows for realistic results with less manual effort by simulating light and surface interactions in a 3D environment, which can be more efficient than manual photo editing for large projects.
What software should I use if I want to create realistic reflections with CGI?
Popular CGI software options include Blender, Autodesk 3ds Max, Cinema 4D, and KeyShot. Each of these tools provides robust features for modeling, rendering, and creating realistic reflections, with varying levels of complexity and ease of use.
How can I make sure that reflections look realistic in my product images?
To ensure realistic reflections, consider factors such as proper alignment of the reflection with the product, appropriate opacity and gradient adjustments, and the use of high-quality lighting and surface materials. In CGI, configure lighting and surface properties accurately to match real-world conditions for the best results.


