Product photography is all about creating visually stunning images that highlight the features and details of the subject. However, one of the biggest challenges is dealing with shadows. Shadows can detract from the overall appeal of the photograph and make it look unprofessional. Fortunately, with the right techniques and equipment, it’s possible to minimize, even eliminate, shadows from your product photography. In this guide, we’ll explore practical tips and strategies for mastering light and banishing shadows from your product photography.
Understanding shadows
In product photography, understanding how shadows behave and how they can either enhance or detract from your final image is crucial for achieving the desired result.
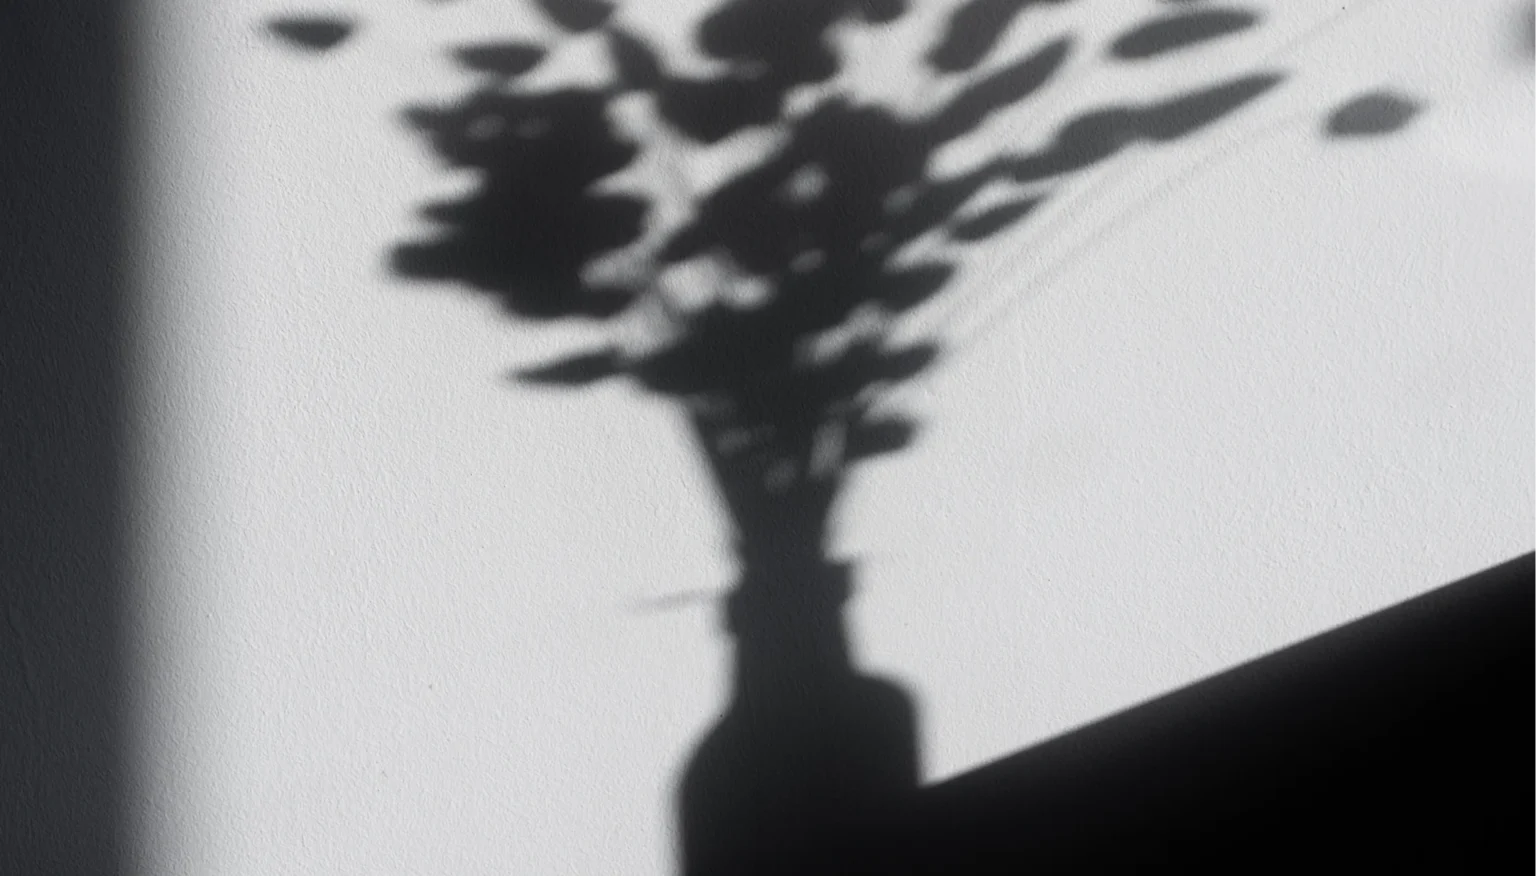
Shadows are not just the absence of light; they are an integral part of how we perceive depth, texture, and form in an image. Also, there are two types of shadows:
- Attached: These are shadows that are directly connected to the subject. They often appear beneath or beside the product and help ground it in the scene.
- Cast: Cast shadows occur when an object blocks light from reaching a surface. In product photography, they can appear on the backdrop or adjacent surfaces depending on the positioning of the light source relative to the subject.
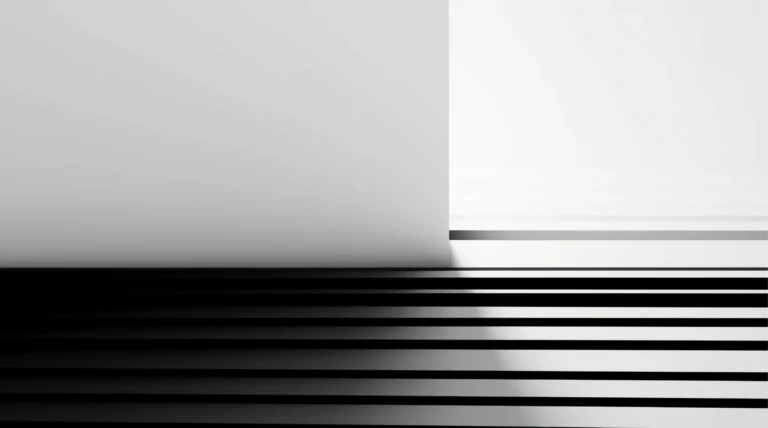
Shadows can vary in depth and contrast depending on the intensity and direction of the light source. Hard light sources, such as bare bulbs or direct sunlight, create sharp-edged shadows with high contrast, while diffused light produces softer, more gradual transitions between light and shadow.
Understanding how to control the depth and contrast of shadows allows you to create the desired mood and emphasis in your product images. For example, soft, subtle shadows can evoke a sense of elegance and sophistication, while dramatic, high-contrast shadows can add impact and visual interest.
Shadow placement and composition:
The placement of shadows within the frame can significantly impact the composition and the visual balance. Consider how shadows interact with the subject and surrounding elements to create depth and dimension.
Experiment with different angles and perspectives to find the most flattering arrangement of shadows for your product. Sometimes, adjusting the position of the light source or the orientation of the subject can minimize unwanted shadows and enhance the overall composition.
Shadow removal vs. shadow retention:
While the goal of eliminating shadows is often to achieve a clean, evenly lit image, there are instances where strategically retaining shadows can enhance the visual appeal of the photograph.
Shadows can add depth, texture, and dimension to your product images, creating a sense of realism and visual interest. Instead of completely eradicating shadows, consider how you can leverage them to enhance the mood and storytelling aspect of your photography.
Controlling shadow direction and length:
The direction from which light falls onto your subject dictates the placement and length of shadows. For instance, when using a single light source positioned directly above the subject, shadows will typically appear beneath it, creating a classic, downward shadow. Conversely, positioning the light source to the side can cast shadows that extend horizontally.
Consider the angle and direction of the shadows about the product’s features and desired aesthetic. Experiment with different lighting angles to achieve the desired shadow direction and length that accentuates the product’s shape and form.
Shadow intensity and texture:
The intensity and texture of shadows can significantly impact the mood and visual appeal of your product photography. While harsh, high-contrast shadows can create a sense of drama and intrigue, softer shadows contribute to a more subtle and understated look.
Adjusting the distance between the light source and the subject, as well as the size and type of light modifier used, can influence the quality of shadows. Larger light sources produce softer, more diffused shadows, whereas smaller sources yield sharper, more defined shadows.
Pay attention to the surface texture of your subject and how it interacts with shadows. Matte surfaces tend to diffuse light and produce softer shadows, while glossy or reflective surfaces can create more pronounced and specular reflections.
Emphasizing shape and form:
Shadows are instrumental in accentuating the shape, contours, and details of your product. By strategically positioning light sources and controlling shadow depth and direction, you can highlight key features and enhance the three-dimensional appearance of the subject.
Experiment with sculpting light and shadow to create visual interest and emphasize the unique characteristics of your product. Whether it’s showcasing intricate textures, defining product edges, or accentuating curves and silhouettes, shadows can be invaluable tools for shaping and defining your subject.
Understanding shadow complexities is crucial for professional product photography. Therefore, attention to detail and a keen understanding of how shadows influence perception create compelling product photographs.
Tips for eliminating shadows
Now that we’ve explored the fundamentals of understanding shadows in product photography, let’s dive into actionable tips and techniques for effectively eliminating or minimizing unwanted shadows in your images. Whether you’re a seasoned pro or just starting, these practical tips will empower you to master the art of shadow elimination and take your product photography to the next level.
1. Use Diffused Lighting: Instead of harsh, direct lighting, opt for diffused light sources such as softboxes, umbrellas, or diffusers. Diffused light produces softer shadows and creates a more flattering look for product photography.
2. Multiple Light Sources: Employing multiple light sources from different angles can help to evenly illuminate the subject and reduce the prominence of shadows. Experiment with various configurations to find the optimal setup for your specific product.
3. Positioning Lights Strategically: Pay close attention to the placement of your light sources relative to the subject. Position them at angles that minimize shadows while still providing adequate illumination. Consider using a key light to illuminate the main subject and fill lights to soften shadows and provide additional brightness.
4. Utilize Light Diffusers and Reflectors: In addition to softboxes and umbrellas, consider using light diffusers and reflectors to further control and manipulate the quality of light in your images. Diffusers help scatter light evenly, reducing harsh shadows and creating a more natural-looking illumination. Reflectors, on the other hand, bounce light back onto the subject to fill in shadows and enhance overall brightness. Experiment with different materials and configurations to achieve the desired lighting effect.
5. Consider Ambient Light: Take advantage of ambient light in your shooting environment to supplement your artificial lighting setup. Natural light can be diffused or filtered through curtains or windows to create a soft, flattering illumination that minimizes shadows.
6. Experiment with Light Modifiers: Light modifiers such as grids, snoots, and barn doors can help to control the direction and intensity of light, allowing you to sculpt the desired lighting effect and minimize unwanted shadows.
7. Employ Backlighting Techniques: Experiment with backlighting techniques to create a halo effect around your subject and reduce the prominence of shadows. By positioning a light source behind the product, you can create a subtle rim light that separates the subject from the background and adds depth to the image. Be mindful of balancing the backlight with fill or ambient lighting to avoid overexposure and maintain proper exposure levels.
8. Watch for Unwanted Reflections: While minimizing shadows is essential, be cautious of introducing unwanted reflections or glare into your images, especially when photographing products with glossy or reflective surfaces. Position light sources and modifiers strategically to avoid direct reflections and minimize specular highlights. Use polarizing filters or matte spray to reduce surface reflections and enhance the clarity of your product shots.
9. Consider Light Painting Techniques: Light painting involves selectively illuminating parts of the scene with a handheld light source to control the distribution of light and shadow. This technique allows for precise shadow manipulation and creative experimentation, enabling photographers to sculpt light and highlight specific areas of interest within the frame. Use a long exposure and a narrow aperture to capture the subtle nuances of light painting effectively.
10. Evaluate and Adjust Continuously: Continuously review your images during the shooting process to identify any remaining shadows or areas that may need adjustment. Make incremental changes to your lighting setup, camera settings, or product positioning as needed to achieve the desired outcome. Regularly evaluating and fine-tuning your approach will help you refine your skills and produce consistently high-quality results over time.
To eliminate shadows in product photography, combine technical expertise, creativity, and attention to detail. With practice, you will achieve stunning results that captivate viewers and elevate your product photography.
Equipment and camera settings
In addition to mastering lighting techniques, using the right equipment and adjusting your camera settings are crucial steps in eliminating shadows in product photography.
Invest in high-quality lighting equipment, including strobes, continuous lights, and modifiers, to achieve professional results. While it may require an initial investment, reliable lighting gear is essential for consistent and effective shadow elimination.
Using a sturdy tripod ensures stability and allows you to fine-tune your composition without worrying about camera shake. A stable camera setup is essential for capturing sharp, shadow-free images, especially in low-light conditions.
Adjust camera settings
Proper camera settings are crucial for achieving optimal exposure and minimizing shadows in product photography. By understanding how different settings affect the final image, photographers can fine-tune their approach to produce shadow-free results. Here’s a closer look at the key camera settings and techniques for shadow elimination.
Aperture (f-stop):
The aperture setting controls the size of the lens opening through which light passes. A wider aperture (lower f-stop) lets in more light, resulting in a shallower depth of field and a blurred background, which can help reduce distractions and minimize the appearance of shadows. However, be mindful of maintaining adequate depth of field to ensure sharp focus on the entire product, especially when photographing items with multiple layers or intricate details.
For example, when photographing a small product, such as a wristwatch, with intricate details, use a wide aperture (e.g., f/2.8 or f/4) to create a shallow depth of field. This blurs the background and reduces distracting elements, minimizing shadows and drawing focus to the product itself
Shutter speed:
Shutter speed determines the length of time the camera’s sensor is exposed to light. A faster shutter speed freezes motion and reduces the risk of camera shake, which can result in sharper images with minimal blur. When shooting in low-light conditions or with artificial lighting, using a faster shutter speed helps to minimize the influence of ambient light and reduce the visibility of shadows. However, avoid setting the shutter speed too fast, as it may lead to underexposure, particularly in dimly lit environments.
When photographing a product under bright studio lighting, such as a jewelry item, use a fast shutter speed (e.g., 1/200s or faster) to prevent motion blur and capture sharp, shadow-free images. A fast shutter speed helps freeze any movement, ensuring crisp details without the risk of introducing unwanted shadows from motion.
ISO sensitivity:
ISO sensitivity measures the camera’s ability to capture light, with higher ISO values increasing sensitivity to light but also introducing digital noise or graininess to the image. When shooting in low-light situations or with limited available light, increasing the ISO can help brighten the image and reduce shadows. However, be cautious of using excessively high ISO settings, as this can degrade image quality and introduce unwanted noise. Aim to strike a balance between minimizing shadows and preserving image clarity by selecting the lowest ISO setting possible while maintaining adequate exposure.
When a product in a dimly lit environment, such as a candle-lit dinner set, increase the ISO sensitivity (e.g., ISO 800 or higher) to brighten the image and minimize shadows. A higher ISO allows the camera to capture more light, reducing the visibility of shadows while maintaining adequate exposure.
White balance:
White balance settings control the color temperature of the image, ensuring accurate color representation under different lighting conditions. Adjusting the white balance allows photographers to correct for warm or cool color casts caused by artificial or natural lighting sources, helping to achieve true-to-life colors and minimizing color discrepancies that can accentuate shadows. Experiment with different white balance presets or manually adjust the white balance to suit the specific lighting conditions of your shoot and achieve optimal color accuracy.
When indoors, under fluorescent lighting, adjust the white balance setting to the “Fluorescent” preset or manually tweak the color temperature to neutralize any greenish tint and minimize shadows. Correcting the white balance ensures accurate color representation and reduces the likelihood of color casts that can accentuate shadows.
Exposure compensation:
Exposure compensation allows photographers to manually adjust the exposure settings to brighten or darken the image as needed. When dealing with shadows, consider increasing the exposure compensation slightly to brighten shadowed areas and reveal more detail in darker regions of the image.
Alternatively, if shadows appear too harsh or overexposed, dialing down the exposure compensation can help restore balance and retain highlight detail. Continuously review the histogram and monitor exposure levels to ensure consistent and accurate exposure throughout the shoot.
A product with high contrast, such as a black leather bag against a white background, requires you to dial down the exposure compensation by -0.5 or -1 EV to prevent overexposure and retain detail in highlight areas. This helps balance the exposure and minimizes the risk of harsh shadows or blown-out highlights.
Use RAW format:
Shooting in RAW format preserves more image data and provides greater flexibility for adjusting exposure, color, and shadow detail during post-processing. RAW files contain uncompressed data straight from the camera’s sensor, allowing for more precise adjustments without sacrificing image quality. When shooting in challenging lighting conditions or situations where shadows are prominent, opting for RAW format gives photographers greater control over shadow elimination and ensures optimal image quality in the final output.
For instance, intricate textures and subtle shadow details, such as a ceramic vase, need you to shoot in RAW format to capture maximum image data. This provides greater flexibility in post-processing to adjust shadow detail, fine-tune exposure, and achieve optimal image quality without compromising shadow elimination.
By understanding how your camera works and how shooting format can influence exposure and shadow detail, you can fine-tune your approach to achieve optimal results. Through experimentation, practice, and attention to detail, you can capture stunning, shadow-free images that highlight the beauty and intricacies of your products.
Wrapping up
Eliminating shadows in product photography requires expertise, creative vision, and attention to detail. Position lights strategically and use the right equipment and settings to produce captivating images. With practice, you can create stunning photos that showcase your products in the best light, leaving a lasting impression on your audience.
FAQ
Why are shadows a concern in product photography?
Shadows can detract from the overall appearance of a product image by obscuring details, creating distractions, and diminishing the perceived quality of the product. Minimizing or eliminating shadows ensures that the product is showcased in the best possible light, enhancing its visual appeal and attractiveness to potential customers.
What are some common causes of shadows in product photography?
Shadows in product photography can be caused by various factors, including the positioning of the light source, the angle of the subject, the surface on which the product is placed, and the characteristics of the product itself. Understanding these factors allows photographers to identify and address potential shadow issues effectively.
How can I minimize shadows without compromising the overall lighting of the image?
Utilizing diffused lighting sources, positioning lights strategically, using reflectors to bounce light, and adjusting camera settings are effective techniques for minimizing shadows while maintaining balanced illumination. Experimentation with different lighting setups and modifiers can help achieve the desired result.
Is it possible to eliminate shadows in product photography?
While it may be challenging to eliminate shadows, especially in certain lighting conditions or with complex subjects, employing advanced lighting techniques, utilizing specialized equipment such as light tents or boxes, and leveraging post-processing tools can significantly reduce the visibility of shadows and create a more polished final image.
How can I ensure consistency in shadow elimination across different product photography sessions?
Establishing a standardized lighting setup, using reliable equipment, maintaining consistent camera settings, and documenting successful techniques can help ensure consistency in shadow elimination across various product photography sessions. Regular evaluation and adjustment of methods based on specific shooting conditions and product requirements also contribute to achieving consistent results.
