Chocolate product photography is a delicious blend of art and technique. Whether you’re showcasing artisanal truffles, gourmet chocolate bars, or decadent desserts, capturing the essence of chocolate requires attention to detail and creativity. In this guide, we’ll explore ten techniques to help you elevate your chocolate product photography, covering lighting, composition, styling, editing, and more.
Mastering Lighting

Lighting is paramount in chocolate product photography, as it directly affects the texture, shine, and overall visual appeal. Soft, diffused light is ideal for highlighting the richness of chocolate without casting harsh shadows or creating unwanted reflections.
Whether you’re shooting with natural light from a window or artificial light sources like softboxes, the key is to achieve a gentle, even glow that accentuates the chocolate’s inherent allure. Experiment with different lighting angles and intensities to find the perfect balance that brings out the best in your chocolate products.
Consider using side lighting at a low angle to create shadows that emphasize the texture and contours of the chocolate, adding depth and visual interest to your photographs.
For example, place a box of gourmet chocolate truffles on a white surface near a window with soft, diffused sunlight streaming in. Position a white reflector on the opposite side to fill in any shadows gently, creating a soft, even glow that highlights the truffles’ texture and shine.
Highlighting Texture

Texture is a defining characteristic of chocolate that can elevate its visual appeal when captured effectively in photographs. By using side lighting at a low angle, you can create shadows that accentuate the intricate details and surface textures, revealing their smoothness and richness.
Try different lighting setups to find the one that best highlights the texture of your chocolate products, whether it’s glossy truffles or intricately molded bars. Pay attention to the interplay of light and shadow, adjusting your setup to enhance the texture without overpowering the overall composition.
The goal is to create images that tempt the viewer’s senses and evoke the irresistible allure of chocolate indulgence. So, you could, for example, arrange a selection of artisanal chocolate bars on a dark, textured background.
Then, use side lighting from a low angle to cast shadows. This will accentuate the intricate designs and surface details of the chocolate, revealing the smoothness of the bars and the richness of their cocoa content.
Choosing the Right Background

Selecting an appropriate background is essential for creating a cohesive and visually appealing composition in chocolate product photography.
Opt for neutral tones such as brown, cream, or gray to complement the richness of the chocolate without detracting from its allure. Textured surfaces like wood or marble can add depth and visual interest to your photographs, providing a suitable backdrop for showcasing the chocolate products.
Consider the mood and aesthetic you want to convey, choosing a background that enhances the overall composition while allowing the chocolate to take center stage. Remember to keep the background simple and unobtrusive, ensuring it complements rather than competes with the main subject.
With the right background, you can create stunning images that captivate the viewer’s attention and evoke the irresistible indulgence of chocolate.
For instance, you can place a decadent chocolate cake on a rustic wooden tabletop, contrasting the dark, glossy surface of the cake with the natural warmth and texture of the wood. The neutral background allows the cake’s intricate decorations and luscious layers to stand out without competing for attention.
Composition Techniques

Composition is key to creating visually appealing and engaging chocolate product photographs. There are several techniques you can use. For example, the rule of thirds, leading lines, and framing create dynamic and balanced compositions.
Try placing the chocolate product off-center using the rule of thirds. This will create a sense of visual interest and balance. Also, consider the placement of props and negative space to draw the viewer’s eye toward the main subject and create a compelling narrative within the frame.
By mastering composition techniques, you can effectively convey the allure and indulgence of chocolate in your photographs.
In your next shooting, you can try this example: position a box of assorted chocolates off-center on a white porcelain platter, adhering to the rule of thirds. Surround the chocolates with scattered cocoa beans and delicate sprigs of mint, creating a visually pleasing arrangement that draws the viewer’s eye to the focal point while adding depth and interest to the composition.
Styling for Impact

Styling plays a crucial role in enhancing the visual appeal of chocolate product photography and creating a cohesive narrative. Keep the styling simple and elegant, using props and garnishes to complement rather than overpower the chocolate.
Consider incorporating elements like fresh berries, nuts, or cocoa powder to add texture and visual interest to the composition. Pay attention to color harmony and balance, ensuring the styling enhances the overall aesthetic while highlighting the chocolate as the focal point.
With thoughtful styling, you can create images that evoke a sense of indulgence and luxury, enticing viewers to savor the irresistible allure of chocolate.
For instance, arrange a selection of chocolate truffles on a sleek, black serving tray, adorned with a dusting of powdered sugar and fresh raspberries. The minimalist styling allows the luxurious chocolates to take center stage, while the vibrant red berries add a pop of color and a hint of tartness to complement the sweetness of the chocolate.
Playing with Reflections

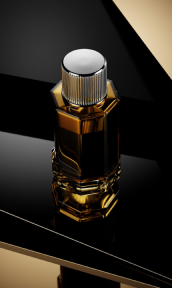
Reflective surfaces can add depth and visual interest to chocolate product photography, creating dynamic compositions that capture the viewer’s attention.
Experiment with placing chocolate products on glossy surfaces such as glass or acrylic. This will help you capture subtle reflections that enhance their allure. Be mindful of the placement of lights and props to control and manipulate reflections effectively.
By playing with reflections, you can create captivating images that showcase the lusciousness and indulgence of chocolate in a unique and visually striking way.
A relevant example of the above-mentioned technique is to place a box of chocolates on a glossy black marble surface. This setting will help you capture the subtle reflections of the chocolates’ wrappers and the ambient surroundings. The reflective surface adds a touch of elegance and sophistication, enhancing the allure of the chocolates and creating visual interest through juxtaposition.
Utilizing Props

Props are essential tools in chocolate product photography, allowing you to enhance the visual storytelling and create a sense of context and indulgence.
Choose props that complement the chocolate product and help convey the desired mood and aesthetic. For example, vintage silverware, elegant serving platters, or delicate napkins can add a touch of sophistication and luxury to your photographs.
Be mindful of the scale and placement of props, ensuring that they enhance rather than overshadow the chocolate. Consider incorporating elements that evoke a sense of indulgence and decadence, such as gold accents, luxurious fabrics, or fresh flowers.
Display a selection of chocolate bonbons on a vintage silver platter, accompanied by antique dessert forks and crystal wine glasses. The ornate props evoke a sense of opulence and refinement, enhancing the luxurious appeal of the chocolates and setting the scene for an indulgent dining experience.
With thoughtful prop selection and styling, you can create images that transport viewers into a world of irresistible indulgence and elevate the allure of your chocolate products.
Creating Mouthwatering Close-Ups

Close-up shots are powerful tools for capturing intricate details and textures, evoking a visceral response and tempting the viewer’s senses. Focus on the glossy surface, intricate swirls, or delicate decorations of the chocolate product to showcase its craftsmanship and lusciousness.
Use a macro lens or the macro mode on your camera to capture crisp, high-resolution images that highlight the tiniest nuances of the chocolate. Experiment with different angles and perspectives to find the most flattering and visually striking compositions.
Pay attention to lighting and depth of field, ensuring that the chocolate remains the focal point while the background fades into a soft blur. With skillful close-up photography, you can create mouthwatering images that entice viewers to indulge in the irresistible pleasure of chocolate.
For example, capture a close-up shot of a single truffle, focusing on its glossy exterior and intricate swirls of chocolate ganache. Use a macro lens to highlight the delicate details and textures, immersing the viewer in the lusciousness of the chocolate and enticing their taste buds with the promise of indulgence.
Experimenting with Angles and Perspectives

Embrace experimentation with various shooting angles and perspectives to add depth and interest to your chocolate product photography. Explore viewpoints such as shooting from above to capture a flat lay of assorted chocolates arranged in an enticing display.
Alternatively, get down low to capture a dynamic, eye-level shot that immerses the viewer in the indulgent world of chocolate. Changing perspectives allows you to create unique compositions that engage the viewer’s imagination and evoke a sense of intrigue.
Be brave and think outside the box! Try unconventional angles to capture the essence of chocolate from new and exciting perspectives. Through experimentation, you can discover innovative ways to showcase the beauty and allure of chocolate, captivating your audience with visually compelling images.
You can start by shooting from above to capture a flat lay of assorted chocolate pralines arranged symmetrically on a marble countertop. The bird’s-eye view showcases the variety and abundance of the chocolates, inviting the viewer to explore the delectable selection from a unique perspective.
Post-Processing and Editing

Post-processing and editing are essential steps in refining your chocolate product images to achieve the desired look and feel. Use editing software such as Adobe Lightroom or Photoshop to fine-tune aspects such as exposure, contrast, and color balance.
Aim to enhance the richness and vibrancy of the chocolate while maintaining a natural and realistic appearance. Be cautious not to over-edit, as this can detract from the authenticity and appeal of the chocolate. Pay attention to detail and consistency throughout the editing process, ensuring that each image reflects the indulgent allure of chocolate while maintaining visual coherence with your overall photography style.
With skillful post-processing, you can elevate your chocolate product images to new heights, enticing viewers with irresistible visuals that evoke the pleasure and decadence of chocolate.
For instance, use Adobe Lightroom to adjust the exposure and contrast of a photograph featuring a chocolate fondue fountain. This will improve the color richness and warmth of the ambient lighting. Fine-tune the saturation and vibrance to accentuate the lusciousness of the chocolate, ensuring that it looks as tempting on screen as it does in person.
Chocolate Product Photography Bonus Tips

Although you can easily use any of the above-mentioned scenarios and techniques to enhance your chocolate photography, we want to share three more bonus tips. These will help add diversity to your photos and enhance your overall brand image.
Capturing Emotion and Storytelling
Beyond the visual appeal, chocolate evokes emotions and narratives that can be captured through photography. Consider incorporating storytelling elements into your images to evoke feelings of indulgence, nostalgia, or celebration.
Showcase moments of enjoyment, such as someone savoring a piece of chocolate or sharing a box of chocolates with loved ones. Use props, settings, and models to create scenes that tell a story and resonate with your audience.
By infusing your chocolate product photography with emotion and storytelling, you can create images that not only showcase the products but also connect with viewers on a deeper level, eliciting cravings and emotions associated with the pleasure of chocolate.
Showcasing Variety and Versatility
Chocolate comes in a wide range of forms, flavors, and uses, from bars and truffles to cakes, drinks, and savory dishes. Showcase the versatility of chocolate products by featuring a variety of offerings in your photography.
Experiment with different types of chocolate, such as dark, milk, and white, as well as various flavor combinations and fillings. Highlight how chocolate can be incorporated into different recipes and culinary creations, from decadent desserts to savory dishes like mole sauce or cocoa-rubbed meats.
By showcasing the diverse range of chocolate products and their potential applications, you can inspire and entice your audience while highlighting the endless possibilities of working with chocolate in the kitchen and beyond.
Exploring CGI and Digital Rendering
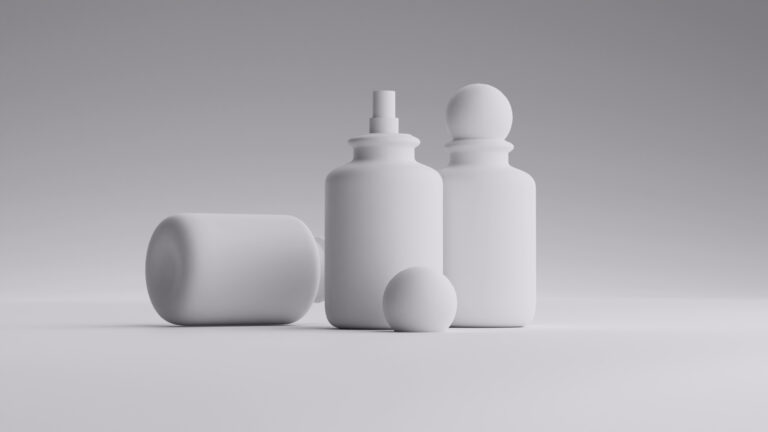
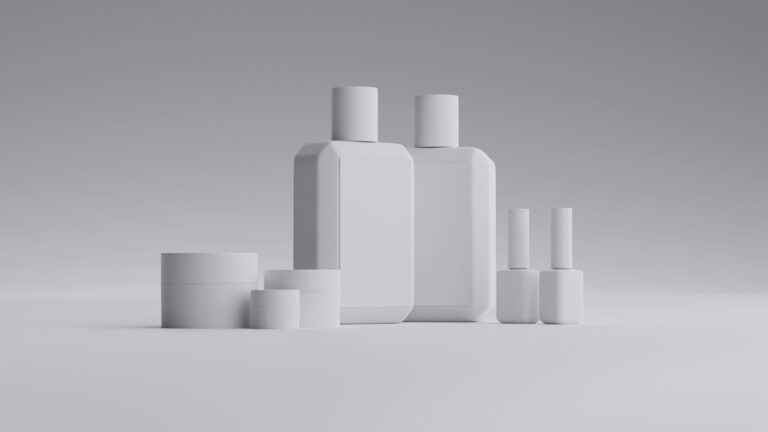
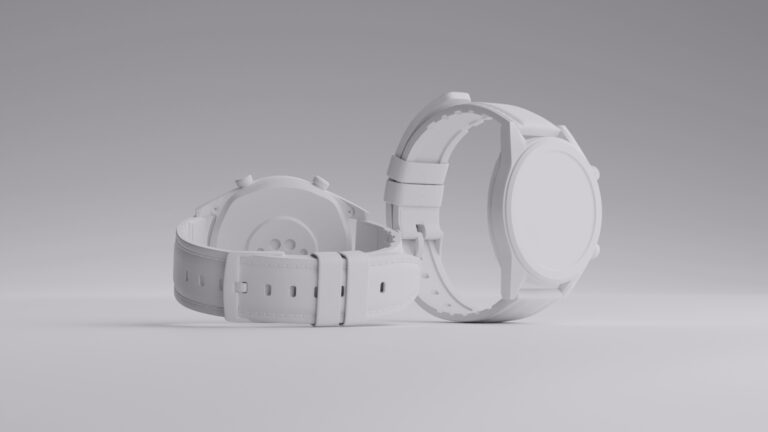
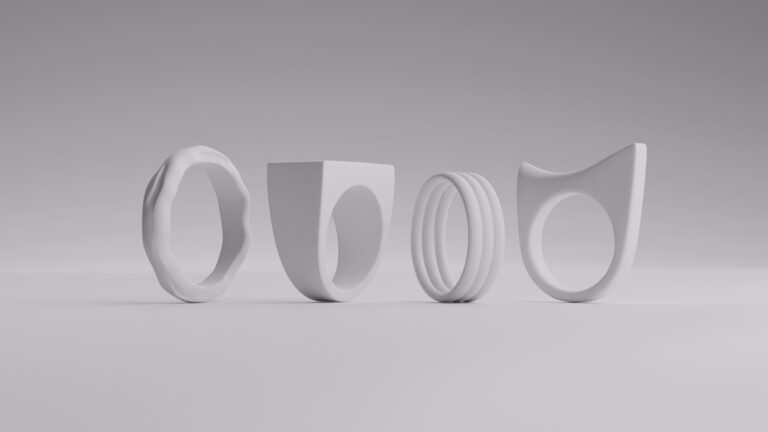
In addition to traditional photography techniques, consider leveraging CGI and digital rendering to create hyper-realistic images of chocolate products. It allows precise control over lighting, textures, and compositions, enabling you to showcase chocolate products in idealized settings and conditions. You can try us for free and see how the product can look!
Experiment with 3D modeling software to create virtual representations of chocolates with intricate details and lifelike textures. Explore different lighting setups and environments to simulate natural light or studio lighting effects with unparalleled precision.
With CGI, you can create photorealistic images that rival traditional photography, offering limitless creative possibilities and flexibility in showcasing chocolate products in captivating and immersive ways.
Integrating CGI into your chocolate product photography toolkit allows you to push the boundaries of creativity and produce stunning visuals that captivate and engage your audience.
Wrapping up
Capturing visually appealing and enticing photographs of chocolate products requires a blend of technical skill, creativity, and attention to detail. By mastering lighting, composition, styling, and editing techniques, you can elevate your chocolate product photography to new heights, enticing viewers with mouthwatering images that evoke the irresistible allure of chocolate. Experiment with different approaches, and don’t be afraid to let your creativity shine as you showcase the delicious world of chocolate through your lens.
FAQ
Can I use natural light for chocolate product photography?
Yes, natural light can be an excellent choice for chocolate photography as it provides a soft, diffused glow that enhances the richness of chocolate without harsh shadows. Position your setup near a window to utilize natural light effectively.
How can I prevent chocolate from melting under studio lights?
To prevent chocolate from melting under studio lights, use low-heat LED lights or keep the lights at a distance from the chocolate products. Alternatively, work quickly and efficiently during the shoot to minimize exposure to heat.
What props work best for enhancing chocolate product photography?
Props that evoke a sense of indulgence and luxury, such as elegant serving platters, fine China, or fresh fruits, can enhance chocolate product photography. Choose props that complement the chocolate without overshadowing it.
How can I achieve a glossy finish on chocolate products for photography?
To achieve a glossy finish on chocolate products, ensure they are at room temperature and free from condensation. You can also lightly brush the surface with a small amount of vegetable oil or cocoa butter to enhance the shine.
Is it necessary to use a macro lens for close-up shots of chocolate?
While a macro lens can capture intricate details with precision, you can also achieve impressive close-up shots with a standard lens by adjusting your camera settings and getting close to the subject. Experiment with different lenses to find the best option for your needs and budget.


