

Candle product photography is an essential part of successful marketing and sales, whether online or in retail. Whether you are a candle manufacturer looking to showcase your creations or a retailer looking to highlight your candle range, mastering the art of candle product photography is crucial to increasing sales and creating an impactful visual brand presence. In this article, you will learn the importance of candle product photography, the key elements to consider when photographing candles, and tips for creating stunning and captivating images that attract customers.
The importance of qualitative product images

Quality product photography is essential in the candle industry. High-quality images can help create a memorable first impression and communicate the value and appeal of a candle to potential customers.
In an industry where aesthetics and ambiance play a significant role in customers’ purchasing decisions, visually appealing photos can set a candle apart from the competition and grab attention.
Well-done product photography of candles can showcase the features, fragrances, and unique selling points and help to create an emotional connection with the viewer and generate interest in a purchase.
In addition, high-quality images can also help to convey the craftsmanship and attention to detail that goes into the making of each candle, further enhancing its perceived value and desirability.
In a digital world where online shopping is becoming increasingly popular, visually compelling images of candles are essential to capture the attention of potential customers and drive sales.
Investing in professional product photography or learning to capture stunning images yourself can make a significant difference to the success of a candle business.


How can CGI help with high-quality images
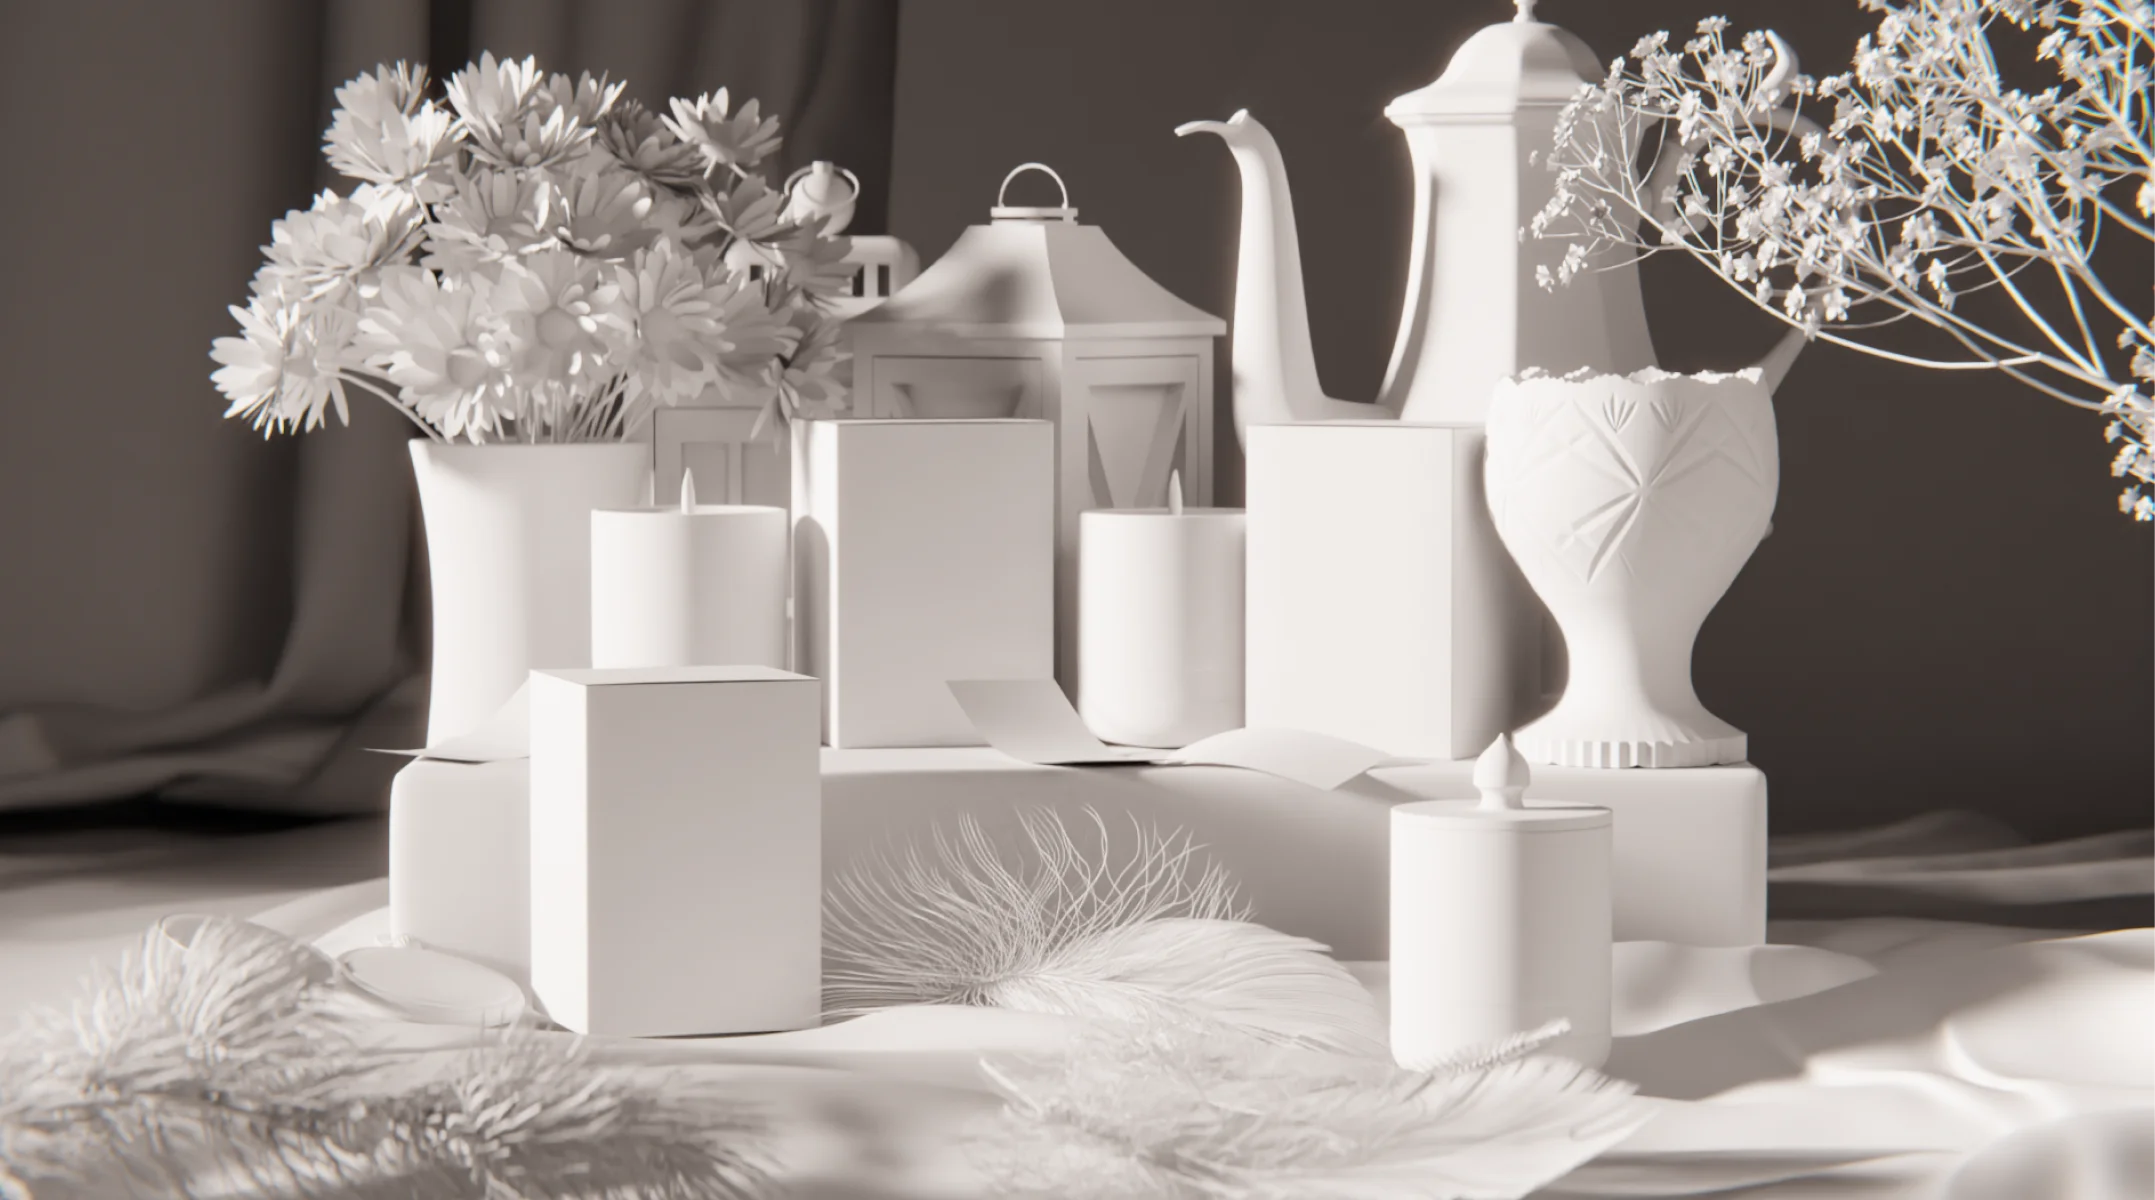
CGI (Computer Generated Imagery) can play an important role in the creation of high-quality images in the candle industry. By using digital technology, candle manufacturers and retailers can create hyper-realistic and visually captivating images that showcase products in unique and creative ways.
Take a look at our portfolio to see how our professional team can help your business stand out from the crowd with high-quality, stunning images. Just send us a few images of your product and we will do the rest. Try us for free and see how your product can come to life with CGI.
Here are five ways 3D models can help with high-quality candle images.
- Customization: Computer-generated images allow complete control over every aspect of the image, including lighting, composition and design. This level of customization can help create images that are perfectly aligned with a brand’s visual identity and message.
- Consistency: With a 3D model, you can ensure that all images of your candle products have a consistent look and feel, which is crucial for building a coherent visual brand presence across different platforms and channels.
- Versatility: It offers endless possibilities when it comes to staging images in different settings, environments and angles. This flexibility allows for more creative and eye-catching final photos that can grab customers’ attention and set your brand apart from the competition.
- Cost-effectiveness: While traditional product photography can be extensive and time-consuming, 3D rendering can be a more cost-effective option in the long run. Once the initial models and assets are created, they can be easily customized and reused for future projects.
- Realism: Modern technology is now so advanced that the resulting image is indiscernible from a photograph. This level of realism can help create stunning visuals that effectively convey the beauty and appeal of candles.
Computer-generated imagery can be a valuable tool for creating high-quality candle product images that stand out in a competitive market. These images can help drive sales and increase brand recognition. Whether used in conjunction with traditional photography or alone, 3D models offer endless possibilities for creating visually stunning and compelling images that resonate with your target audience.
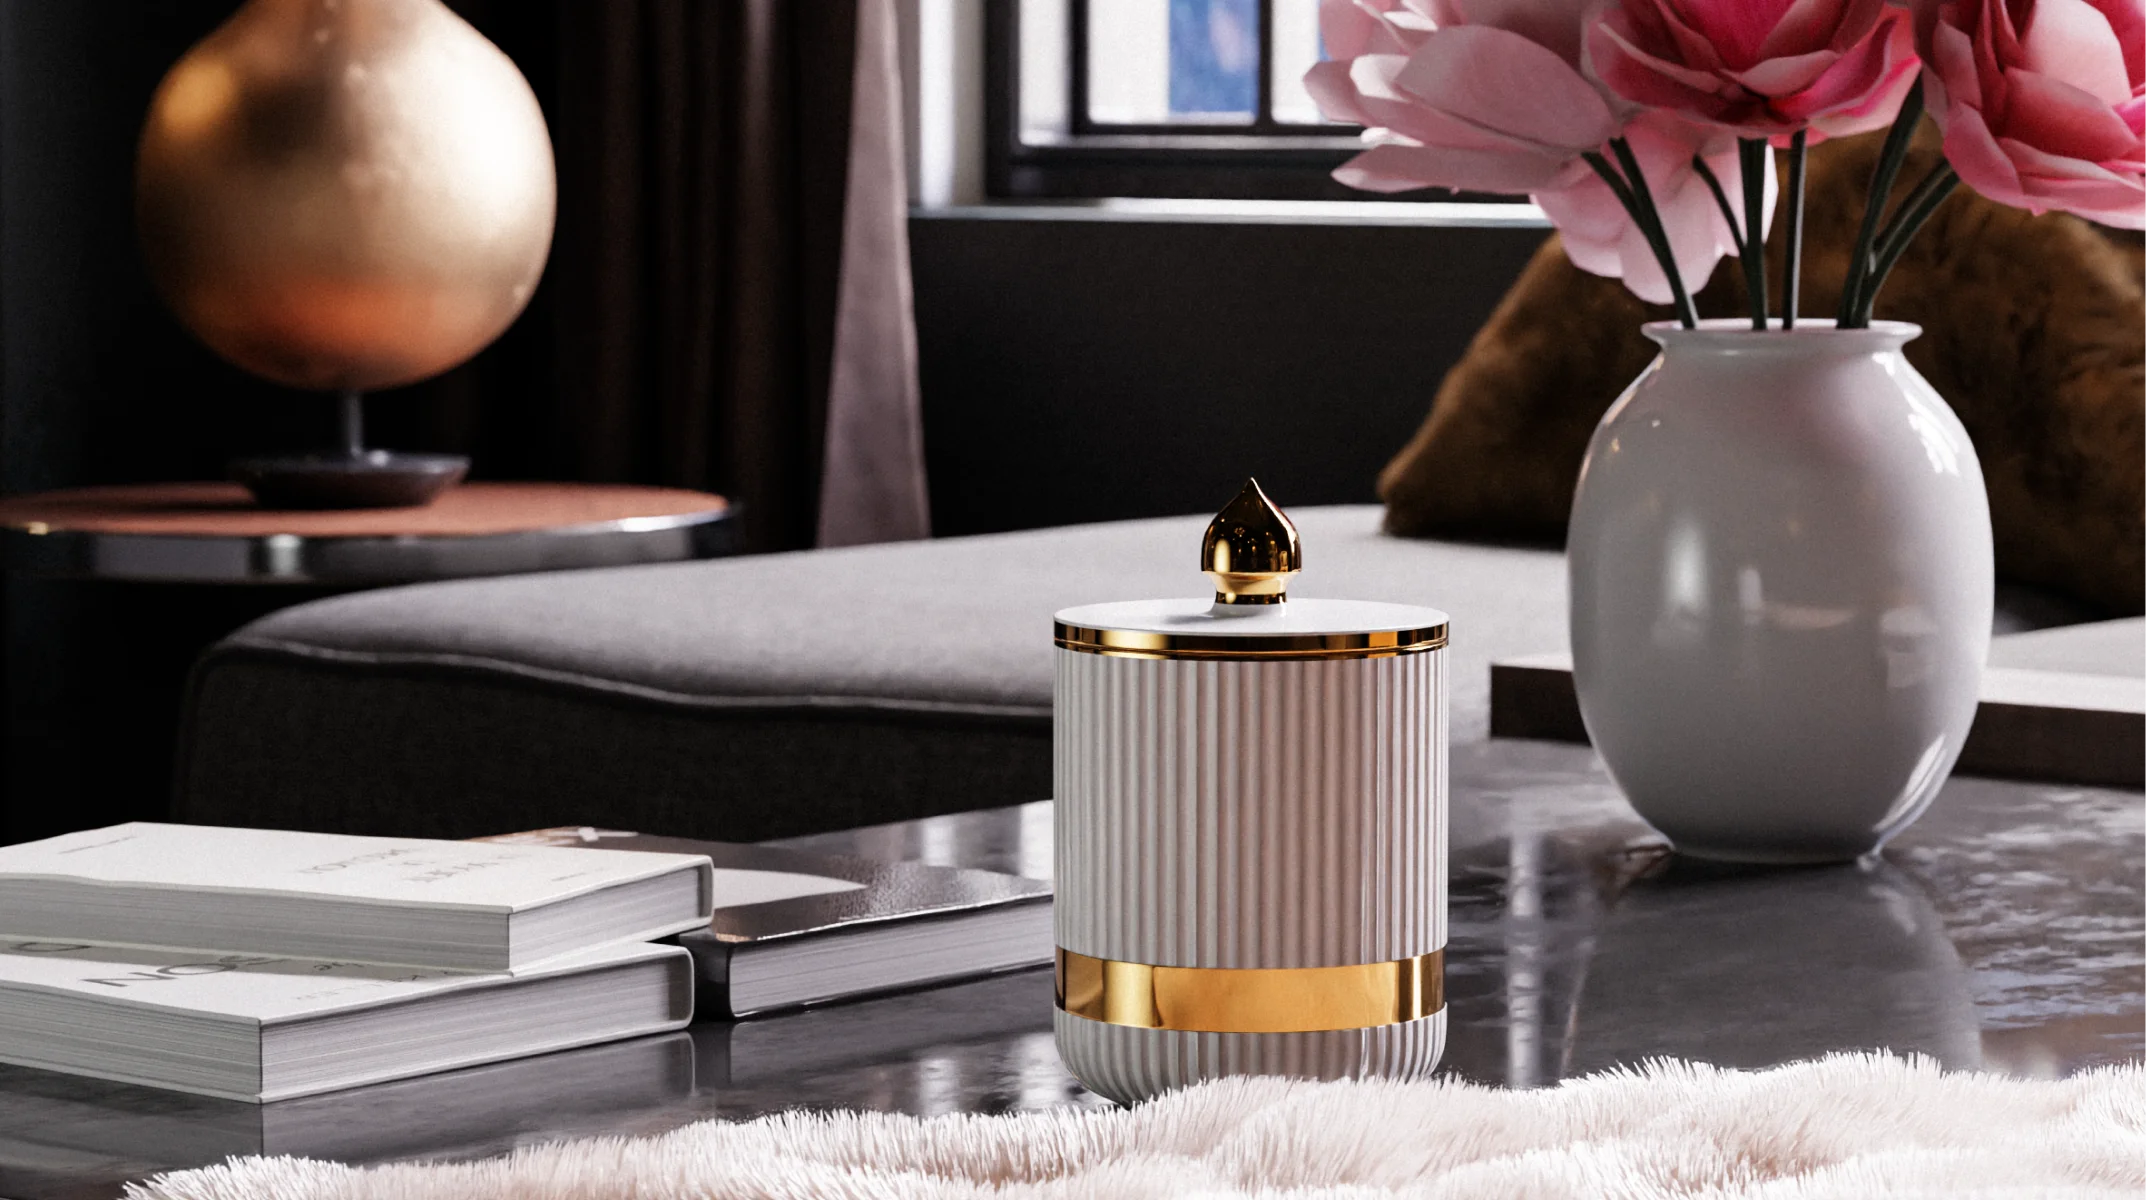
Choosing the right setting
Choosing the right setting for candle product images is essential in creating a visually appealing and effective marketing tool. The setting should complement the candle and its intended use, evoke a desired mood or ambiance, and highlight the features and benefits of the product.
Consider the aesthetic. The setting should reflect the style, design, and overall aesthetic of the candle. For example, a rustic, farmhouse candle looks best in a cozy and rustic setting. On the other hand, a modern, sleek candle is better suited for a clean and minimalist background.
Think about the scent and theme. If the candle has a specific scent profile or theme, the setting should help enhance and reinforce that. For example, a lavender-scented candle matches with a relaxing spa-like setting. A holiday-themed candle, on the other hand, could be showcased in a festive and cozy environment.
Pay attention to lighting. Lighting plays a crucial role in setting the mood and highlighting the features of the candle. Natural light is always the best choice, thanks to its soft and flattering quality. But artificial lighting can also be used to create a specific atmosphere or highlight particular elements of the candle.
Consider the target audience. The setting should resonate with the target audience and appeal to their preferences and tastes. For example, candles aimed at a younger demographic can be photographed in a trendy and vibrant setting, while candles targeting a more mature audience require an elegant and sophisticated environment.
Keep it simple. While the setting should enhance the candle and create a visually appealing image, it’s essential not to overwhelm or distract from the main focus, which is the candle itself. A clutter-free and unobtrusive background can help ensure the candle takes center stage.
By carefully selecting the right setting for the candle, you can create visually stunning and efficient marketing materials that resonate with your customers, highlight the unique features of your product, and ultimately drive sales.
Perfecting lighting conditions
Perfecting lighting conditions is crucial for creating high-quality product images that accurately showcase your product’s features and appeal. Here are some tips for achieving the perfect lighting condition for your candles.
- Use natural light. Natural light is often the best option for capturing the true colors and details of the candle. Position your setup near a window or in a well-lit room to take advantage of the soft, diffused natural light. Avoid direct sunlight, as it can create harsh shadows and overexpose the image.
- A user lightbox or softbox. If natural light is limited or inconsistent, consider using a lightbox or softbox to create a controlled lighting environment. These tools can help diffuse light and reduce harsh shadows, resulting in a more evenly lit and professional-looking image.
- Experiment with angles. Different lighting angles can dramatically affect the look of the candle in your images. Play around with the position of your light source to see how lighting from different angles can highlight the texture, shape, and details of the candle. For instance, showcase the intricate patterns of a handcrafted beeswax candle by placing it at a slight angle to catch the light.
- Avoid overhead lighting. Overhead lighting can create unflattering shadows and uneven lighting on the candle. Instead, position your light source at an angle to the candle, either above or to the side, to create a more natural and appealing look.
- Use reflectors or diffusers. Reflectors and diffusers can help manipulate and control the lighting in your setup. Reflectors bounce light back onto the subject to fill in the shadows, while diffusers soften and diffuse harsh light for a more natural and flattering effect.
- Consider the mood. The lighting should also reflect the mood or ambiance you want to convey with your candle images. Soft, warm lighting can create a cozy and inviting atmosphere, while brighter, cooler lighting may evoke a more modern and sleek vibe.
Experiment with different lighting setups and techniques to find the perfect balance that highlights the unique features of your items and enhances their visual impact on your customers.
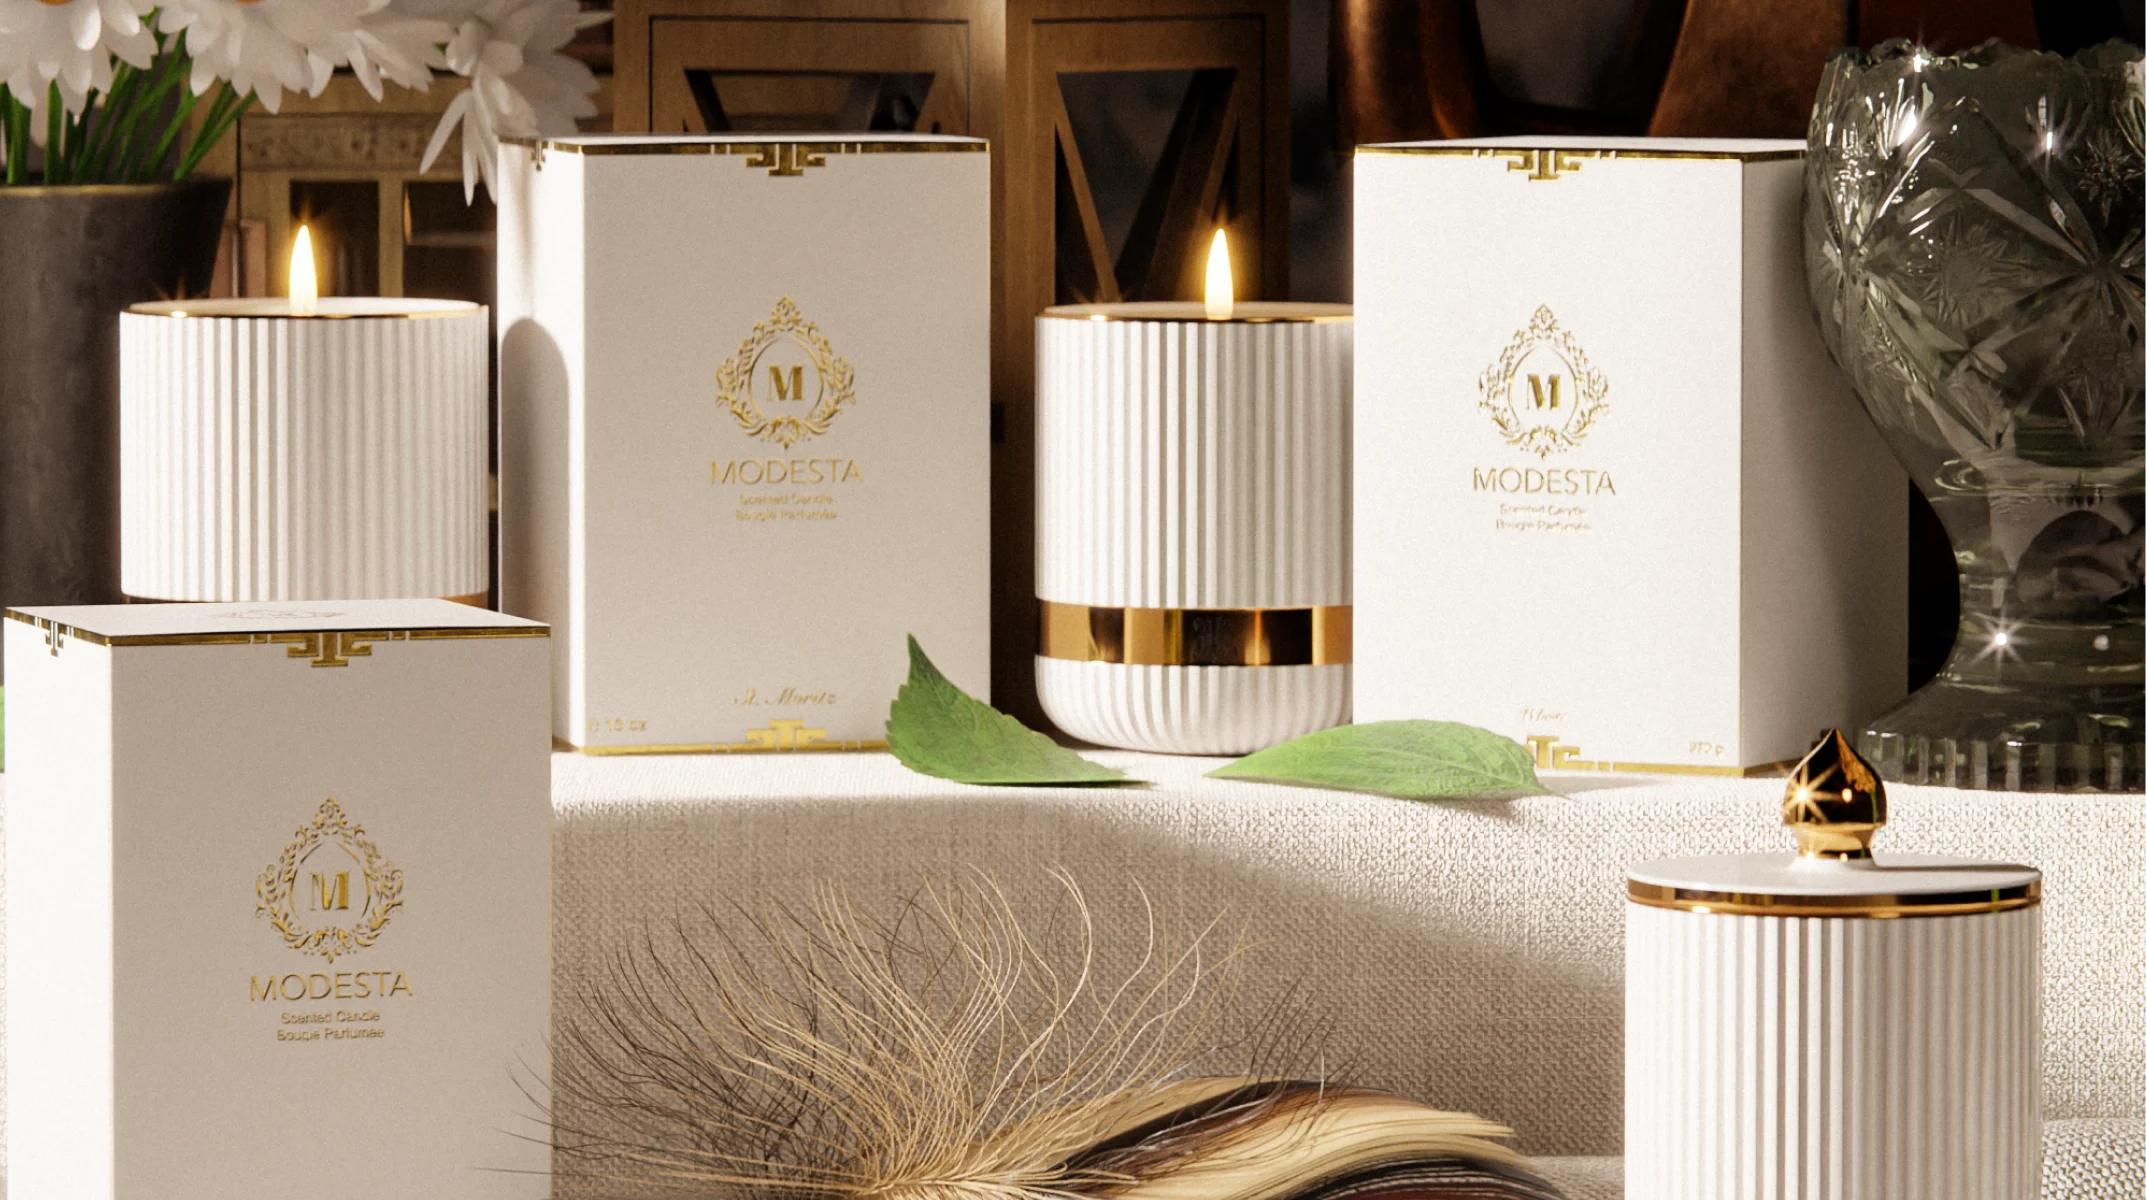
Strategic candle placement

Strategic candle placement is essential for creating visually appealing and effective product displays to attract customers and showcase the beauty and features of your product. Here are a few examples of how you can maximize your candles by strategically alternating the display.
Group the candles by size, color, and scent. By grouping candles based on similarities, you create a cohesive and harmonious display that highlights the different options available to your customers.
Use varying heights. Play with different heights when displaying candles to create visual interest and depth. Consider using candle holders or risers to elevate some candles and create a dynamic and eye-catching display.
Create focal points. Place a few key items in prominent positions to draw attention and create focal points within your display. Use these focal points to showcase best-selling or featured candles you want to highlight.
Create symmetry or asymmetry. Experiment with symmetrical or asymmetrical arrangements to create different visual effects. Symmetrical displays can create a sense of balance and order, while asymmetrical arrangements can be more dynamic and intriguing.
If you want to showcase the candles physically, consider the size and layout of the space where you are displaying them. Make sure the placement allows customers to easily view and access the candles, and consider any architectural features or existing decor that can complement or enhance the display.
Enhance the impact of your candle by incorporating props and decor that complement them. Consider using items like foliage, flowers, mirrors, or decorative trays to add texture, color, and visual interest to the arrangement.
Keep your candle displays fresh and engaging by rotating them regularly. Switch up the placement, grouping, and arrangements of the candles to maintain visual interest and showcase different products to customers.
Be creative, and don’t stop on just one single display. Play around with different placements and techniques to find the most beautiful arrangement that complements your product.
Consistent color scheme and thoughtful composition
In creating captivating candle product displays, it is essential to maintain a consistent color scheme and thoughtful composition. Begin by selecting the color palette that resonates with your brand identity and the aesthetic of your candles. For instance, if you sell nature-inspired candles, you may opt for earthy towns like greens and browns to evoke a sense of tranquility and connection to the outdoors. Coordinate these colors harmoniously throughout your display to create a cohesive look that appeals to customers.
To enhance visual interest and impact, consider incorporating contrast and balance in your composition. For instance, you could mix and match candles of varying sizes and shapes in complementary colors, adding depth and dimension to your display. Utilizing contrasting elements like textured candle holders or metallic accents can also create a visually striking effect.
Pay attention to the principles of design, such as balance and emphasis, when arranging your candles. Create a visually pleasing layout that guides the viewer’s eye toward key focal points, such as a centerpiece candle surrounded by smaller accent candles. Additionally, leave negative space around your candles to allow them to shine and stand out.
Experiment with different heights and layering techniques to add visual intrigue to your displays. For instance, you could use candle holders of various heights to create a dynamic arrangement that draws the viewer’s gaze upwards. By incorporating these design elements thoughtfully, you can create engaging and eye-catching displays that resonate with customers and emphasize the beauty of your candles.
Quality photography equipment and editing techniques
Investing in quality photography equipment is essential for capturing professional and visually appealing images. To start, consider purchasing a high-resolution digital camera with interchangeable lenses to ensure maximum flexibility and image quality. For example, a DSLR (Digital Single-Lens Reflex) camera from reputable brands like Nikon or Canon can provide excellent image clarity and detail.
Additionally, using a sturdy tripod can help stabilize your camera and prevent the blur in your photos, especially in low light conditions or when shooting long exposures. A remote shutter release can also be handy for capturing shots without causing a camera shake.
In terms of editing techniques, utilizing editing software such as Adobe Photoshop or Lightroom can help enhance and refine your images. For instance, adjusting brightness, contrast, and saturation levels can improve the overall look of your photos, making them more visually appealing.
Another editing technique you should consider is spot editing. This technique means you can focus on specific areas of the image to fine-tune details or correct imperfections. These can include removing blemishes, adjusting colors, or sharpening certain elements to make them stand out.
Moreover, learning about composition techniques such as the rule of thirds, leading lines, and framing can help you create visually engaging photographs. Experimenting with different angles, lighting setups, and perspectives can also elevate the quality of your photography.
By combining quality photography equipment with effective editing techniques and composition skills, you can produce professional quality images that showcase your product in the best possible light and attract customer’s attention.
Wrapping up
In conclusion, mastering the art of stunning candle product photography requires a mix of quality equipment, effective editing techniques, and creative composition skills. Remember to experiment, practice, and continually refine your skills to create captivating images that attract customers. With dedication and attention to detail, you can take your candle product photography to the next level and make a lasting impression on your audience.
FAQ
What type of camera is best for candle product photograph photography?
A DSLR camera with a high-resolution sensor is best for candle product photography.
What lighting setup is ideal for capturing the intricate details of candles?
Soft, refused lighting sources like natural light or softboxes are ideal for highlighting the details of candles.
How can I enhance and edit my candle product photos to make them more visually appealing?
Use editing software like Adobe Photoshop or Lightroom to adjust lighting colors and sharpness in your candle product photos.
What composition techniques can I use to create captivating candle product images?
Use techniques like the rule of thirds, leading lines, and symmetry to create visually appealing compositions for your images.
How can I effectively showcase the unique features and qualities of my candles through photography?
Focus on capturing the shape, texture, and color of your candles in natural and styled settings, to effectively showcase their unique qualities.