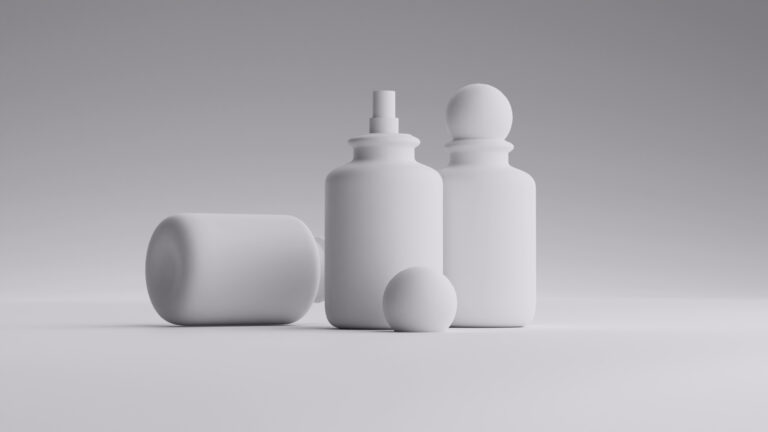
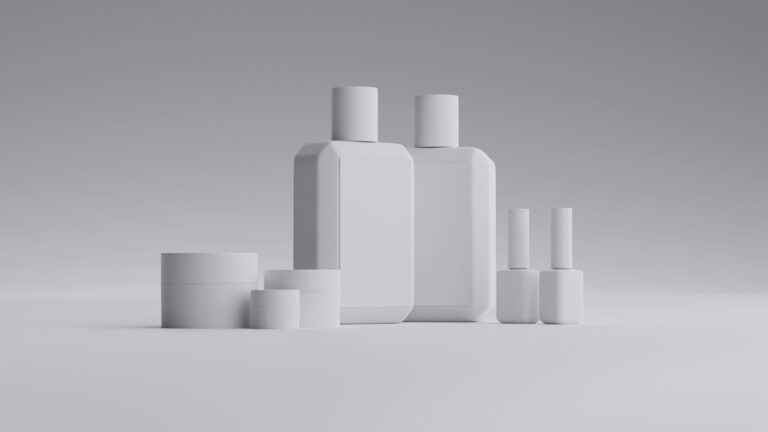
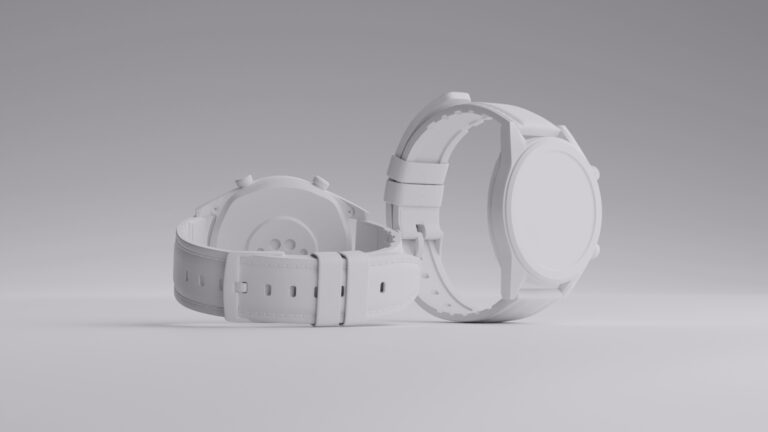
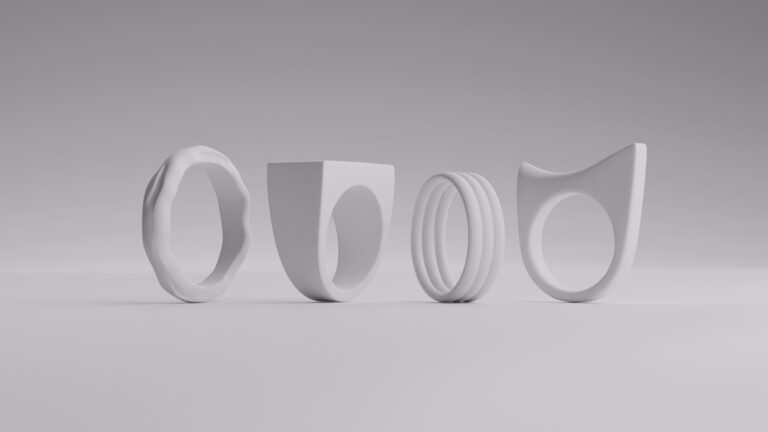
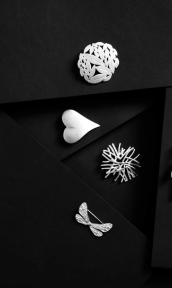
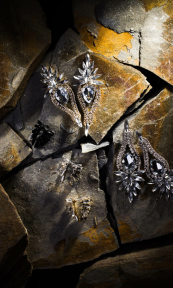
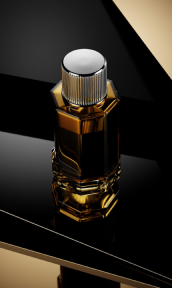
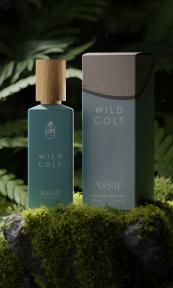
When it comes to binoculars, a blend of traditional photography techniques and modern CGI can elevate the visual presentation to new heights. It can show every detail of the product and provide a better understanding of what the customers will receive.
Basics of Product Photography

Capturing compelling images is essential for effectively showcasing the features and craftsmanship of items like binoculars.
Lighting plays a crucial role in product photography, influencing how textures, shapes, and colors are depicted. When photographing binoculars, it’s essential to use soft light sources such as softboxes or diffusers to achieve even illumination. Strategically position lights to highlight key features like lenses and dials, ensuring the product is well-lit without harsh shadows or reflections.
Selecting the right angles is also important for presenting binoculars comprehensively. A front view showcases the overall design and silhouette, emphasizing aesthetic appeal. A side view highlights depth and profile, focusing on ergonomic features and design elements. Top and bottom views capture details like eyepieces, focus wheels, and unique features from overhead and underneath angles. Close-up shots zoom in on intricate details such as lens coatings, adjustment mechanisms, and branding using macro lenses or close-up filters, ensuring clarity and sharpness.
Backgrounds should always complement the product without diverting attention. Neutral backgrounds like plain white, gray, or black ensure the binoculars stand out distinctly, minimizing distractions and emphasizing features. Experiment with colored backgrounds in subtle hues that harmonize with the item’s colors or convey a specific atmosphere.
Effective composition guides the viewer’s eye and enhances the product’s appeal. Utilize the rule of thirds to position key elements along intersecting lines for balanced compositions. Negative space around the product draws attention to details and emphasizes its presence. Integrate props or additional elements to create depth and context, enhancing the narrative and visual storytelling of the binoculars’ usage or features.
Utilize a DSLR or mirrorless camera paired with lenses suitable for product photography, ensuring versatility in capturing various angles and details. Adjust aperture settings to control depth of field, ensuring sharp focus across the entire binoculars, especially in close-up shots. Use a tripod for stability and minimize camera shake, particularly in low-light conditions or when using slower shutter speeds for optimal exposure.
Mastering these fundamental aspects of product photography for binoculars enables you to create compelling images that effectively highlight their features and appeal. Whether enhancing photographs with CGI or presenting them as standalone captures, a solid understanding of the basics is essential for achieving professional-quality results.
CGI and Its Benefits

CGI stands for computer-generated images, and it involves creating 3D models and rendering them digitally. This medium offers several advantages, especially when it comes to binoculars. Here are some of them:
- Flexibility: Unlike traditional photography, CGI allows for limitless adjustments in color, texture, and design elements without the need for physical prototypes. This flexibility enables rapid iteration and customization to meet specific marketing or creative requirements.
- Cost-Effectiveness: The ability to reuse and modify assets reduces long-term costs associated with reshoots and physical prototyping.
- Consistency: It ensures uniformity across all images, maintaining precise lighting, angles, and product placement in every shot. This consistency is particularly valuable for creating cohesive product catalogs or marketing campaigns.
- Creative Freedom: With CGI, you can explore imaginative concepts and environments that may be challenging or impossible to achieve with traditional photography.
- Integration with Real Photographs: CGI can seamlessly integrate with real photographs, allowing for the enhancement or augmentation of product images. This hybrid approach blends the realism of photographs with the versatility of digital rendering to create compelling visual narratives.
Here are a few tips on how to use the digital benefits for your products, as 3D models offer several unique advantages tailored to help customers and marketers.
Firstly, computer-generated images allow detailed showcases of intricate features such as lens coatings, adjustment mechanisms, and ergonomic designs. These elements can be emphasized to highlight the binoculars’ technical sophistication and craftsmanship, providing potential buyers with a clear view of the product’s quality and functionality.
Secondly, CGI provides extensive customization options. Manufacturers can digitally showcase binoculars in various configurations, colors, and settings without the need to physically assemble each variation. This flexibility caters to diverse consumer preferences and market segments, accommodating specific needs and enhancing the product’s appeal through tailored visual representations.
Moreover, CGI enables effective contextualization of binoculars. By placing them in realistic settings such as outdoor adventures, wildlife observation scenes, or urban landscapes, 3D models help consumers visualize how the product fits into their lifestyle or specific use case scenarios. This contextual approach enhances the product’s storytelling capabilities, making it easier for potential buyers to connect with and understand its practical applications.
In essence, computer-generated images revolutionize binocular product photography by offering detailed showcases, extensive customization options, and compelling contextualization, thus enhancing marketing efforts and consumer engagement in meaningful ways.
Integrate CGI with Real Photographs Step-by-Step

Integrating CGI with real photographs involves a step-by-step process to seamlessly blend digital elements with real-world imagery, enhancing the overall visual presentation of products like binoculars. Here’s a cohesive breakdown of the process:
- Planning and Conceptualization: Before starting, outline your goals and creative vision for the project. Decide which parts of the image will be CGI and which will be captured in real photographs. Sketch out ideas and gather reference images to guide the process.
- Software Selection: Choose appropriate software for 3D modeling, rendering, and post-processing:
- 3D Modeling: Use tools like Blender, Autodesk Maya, or Cinema 4D to create accurate 3D models of the binoculars and any additional elements.
- Rendering: Employ rendering engines such as V-Ray, Arnold, or Octane Render to generate photorealistic images with realistic lighting and textures.
- Post-Processing: Utilize software like Adobe Photoshop or Affinity Photo for final adjustments, compositing CGI elements with real photographs, and refining the overall image quality.
- Creating the 3D Model: Develop a detailed 3D model of the binoculars using the chosen 3D modeling software. Pay attention to accurate proportions, textures (like metal, rubber, or glass), and intricate details such as lens coatings and adjustment mechanisms. If you need help with this part and you’d rather have the model done professionally, we are happy to help you. You can take advantage of our free trial and just send us an image of your product. Our team will handle the rest.
- Texturing and Detailing: Apply textures to the 3D model to mimic real-world materials. Use high-resolution images and advanced mapping techniques to ensure realism. Fine-tune details like reflections and surface imperfections to enhance the authenticity of the CGI elements.
- Setting Up the Scene: Import the real photographs and 3D models into your chosen rendering software. Set up the virtual environment and lighting to match the lighting conditions and perspective of the real photographs. Consider using HDRI maps for accurate lighting and reflections.
- Rendering the Images: Render the 3D models from various angles to match the perspective and lighting of the real photographs. Ensure the resolution and aspect ratio of the CGI renders match those of the real photographs to maintain visual consistency.
- Post-Processing and Integration: Import the rendered CGI images into your post-processing software alongside the real photographs. Use layer masks and blending techniques to integrate CGI elements with real images. Adjust colors, shadows, and highlights to achieve a cohesive look.
- Final Touches: Add final details such as reflections, shadows, and atmospheric effects to enhance realism and visual appeal. Perform any necessary color grading and sharpening to polish the composite image to professional standards.
By following these step-by-step instructions, you can effectively integrate CGI with real photographs to create captivating and realistic images of binoculars. This hybrid approach leverages the strengths of both CGI and traditional photography, offering flexibility, creative control, and enhanced visual impact in product presentations.
Wrapping up
Integrating CGI with traditional product photography offers a powerful way to create stunning visuals for binoculars. By understanding the basics of product photography and leveraging the flexibility of CGI, you can produce images that captivate and inform potential customers. Follow the steps outlined in this guide to experiment with and perfect your approach, ultimately elevating the presentation of your binoculars to a professional standard.
FAQ
What is CGI in product photography, and how is it used for binoculars?
CGI, or Computer-Generated Imagery, is the creation of visual content using computer software. In product photography, CGI is used to create highly detailed and realistic images of products like binoculars without the need for physical prototypes. This allows for perfect lighting, angles, and settings that might be difficult to achieve with traditional photography.
What are the advantages of using CGI over traditional photography for binocular products?
CGI offers several advantages including flexibility in design alterations, cost-effectiveness in the long run, and the ability to showcase the product in diverse environments without physical constraints. Additionally, CGI can highlight intricate details and features of binoculars that might be challenging to capture with traditional methods.
What software is typically used for CGI in product photography?
Common software used for CGI in product photography includes Autodesk Maya, Blender, 3ds Max, and Cinema 4D. These programs offer powerful tools for modeling, texturing, and rendering high-quality images of products such as binoculars.
How do you ensure the CGI renderings of binoculars are realistic?
Realism in CGI renderings is achieved through high-quality modeling, accurate texturing, proper lighting, and attention to detail. Reference images of real binoculars are used to replicate textures and materials. Additionally, using physically based rendering (PBR) techniques ensures that the interaction of light with the surfaces looks natural.
Can CGI be integrated with traditional photography techniques?
Yes, CGI can be integrated with traditional photography techniques to create hybrid images. This can involve combining real photos of certain elements with CGI-generated ones to produce a seamless final product. This approach leverages the strengths of both methods, allowing for greater creative flexibility and often reducing production costs and time.


