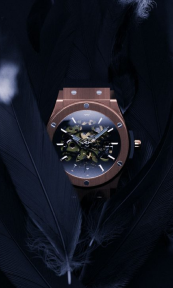
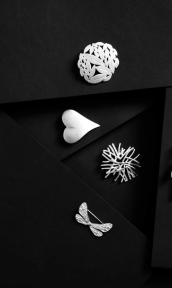
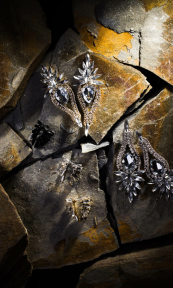
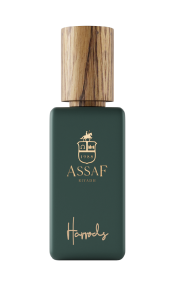
Importance of lighting in product photography
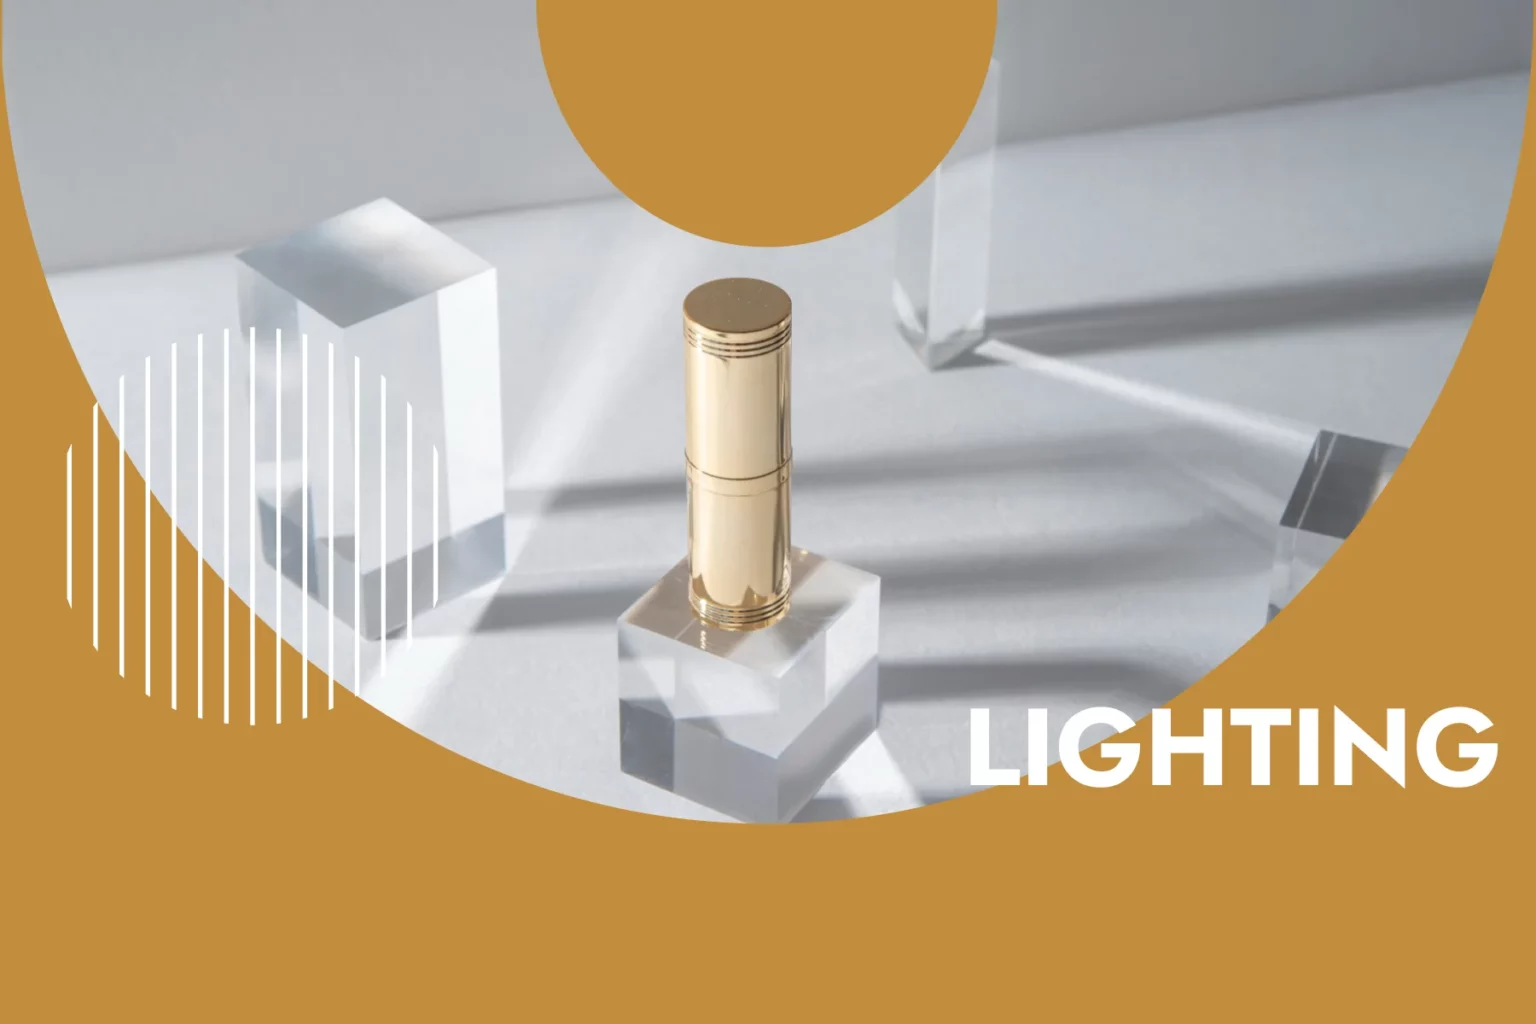
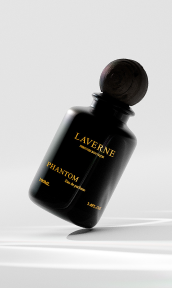
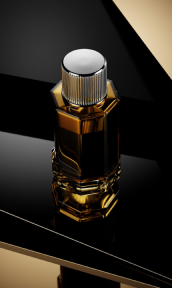
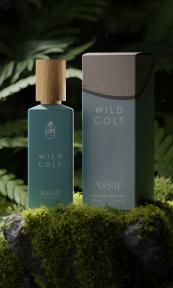
Lighting in product photography can make the difference between the success and failure of your marketing efforts. It can transform an ordinary snapshot into an extraordinary work of art by creating a mood, highlighting details, and emphasizing the right features. That’s why it’s important to pay close attention to lighting when photographing products.
One of the most significant aspects of lighting in product photography is to ensure that the light source is consistent throughout the shot. This means using the same color temperature and intensity for each shot so that the images have a consistent look. It’s also essential to consider the angle of the light source and its distance from the subject. These factors can affect how shadows are cast on your products and can highlight or detract from certain elements.
These are just a few of the tips for lighting in product photography that we’ll discuss today. So tune in and light your shots better than ever before!
Types of lighting equipment for product photography
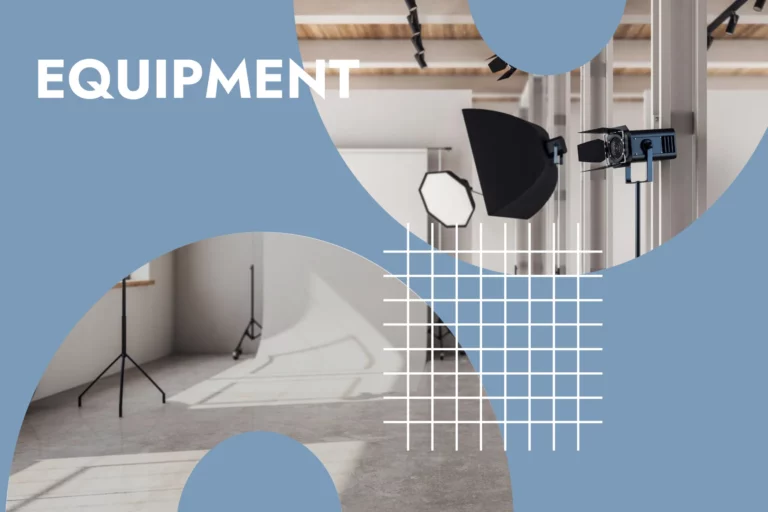
Depending on your marketing needs, you can use different types of lighting equipment for product photography. The right lighting equipment can make all the difference in how your products look in photos. There are many types of lighting equipment for product photography, each with its advantages and disadvantages.
One of the most popular lighting equipment is a soft box. These are usually square or rectangular boxes that attach to the front of a light source, such as a strobe or continuous light. Soft boxes diffuse light to create soft, even lighting that’s great for highlighting small details on your products.
Another type commonly used in product photography is an umbrella reflector. This type of reflector has a reflective surface that bounces light back onto your subject while diffusing it slightly to create softer shadows.
Finally, we have one piece of equipment that ties it all together: Light stands. Just as you need a tripod to stabilize your shot, a light stand is just as important to the integrity of your product images.
Using natural light
Natural light is by far the best type of lighting you can use for your product photos. While there are various types of lighting that photographers use, natural light has proven to be one of the most beneficial sources for capturing stunning product photos. Using natural light in product photography offers several advantages that other lighting sources cannot.
First, natural light is free! Unlike artificial light, you don’t have to spend money on expensive equipment or lamps. All you require is a window with plenty of sunlight coming through it. Secondly, natural light creates a soft and diffused effect on your products, which helps to highlight their textures and details. This means that you can capture even the smallest details, such as fine stitching or intricate patterns, which will increase the attractiveness of your products to potential customers.
Pro-tip: If possible, wait for the golden hour. It will provide your images with a crisp and soothing look at the same time.
Key lighting techniques for highlighting products
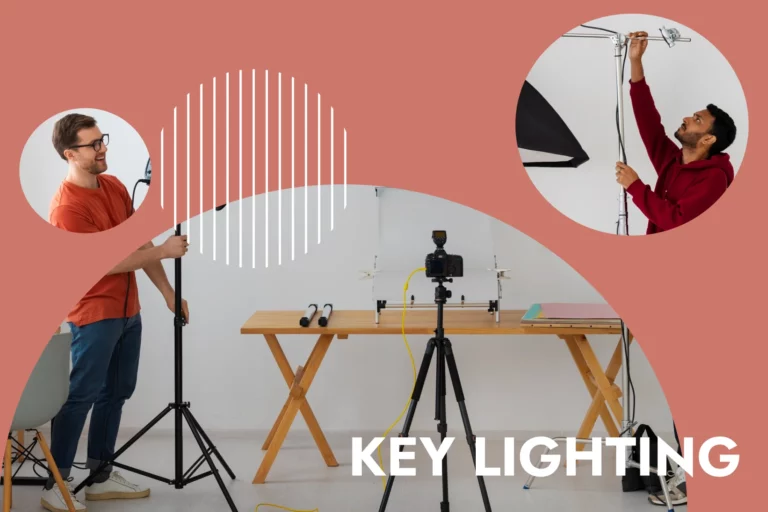
If you want to hit the mark every time with your lighting, you need to pay attention to some techniques. The right lighting can make a product look enticing and desirable, while poor lighting can make it look dull and unattractive.
One of these techniques is to use a soft light source to minimize harsh shadows and achieve even illumination of the product. This can be achieved by diffusing natural light or artificial light with soft boxes or umbrellas. Additionally, adding backlighting can help emphasize the contours of the product and make it stand out from the background.
Another important technique is to manipulate the direction and intensity of light for optimal effect. For example, side lighting can emphasize texture and depth, while top-down lighting can emphasize shape and form. It’s influential to know your audience’s preferences and keep them in mind when photographing your product.
Creating shadows and depth with lighting
Lighting is much more than a source of illumination, it’s a way to add texture to your images. To create shadows and depth in your product photos, you need to know how the light behaves. You should always consider the direction of the light source. Light from one side will create shadows on the opposite side of the subject, while light from above will cast a shadow under the subject.
Also consider the intensity of the light – brighter light casts harsher shadows than weaker light. Using diffused light can be especially helpful in creating soft shadows that add depth without being too harsh or distracting. Diffusers ensure that light is spread evenly across the subject, rather than concentrating it in one area.
Color temperature and white balance in product photography
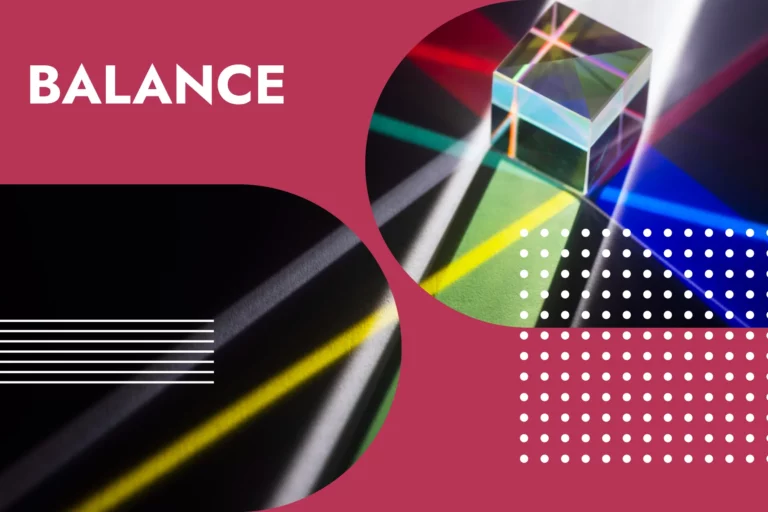
Color temperature and white balance are two critical aspects of lighting in product photography. Understanding how these elements work together can make a significant difference in the final image quality. Color temperature refers to the warmth or coolness of the light. The higher the value, the cooler or bluer the light appears, while lower values indicate warmer or more yellowish tones.
White balance, on the other hand, refers to adjusting the colors so that the whites in an image appear properly white. In product photography, accurate color representation is essential to present products effectively. If the white balance is not set correctly, images can have a color cast that distorts their true appearance. For example, a product shot under warm light may appear too yellowish without the correct white balance.
Balancing ambient light with artificial light
The first step to balancing ambient light and artificial light is to understand the characteristics of each light source. Ambient light comes from natural sources such as sunlight or room lighting, while artificial light refers to man-made sources such as lamps or studio lights.
It’s important to know that these two types of light have different color temperatures and intensities, which can affect the overall brightness and hue of your photos. To achieve a balanced lighting effect, you need to carefully control both ambient and artificial light.
Common lighting mistakes to avoid in product photography
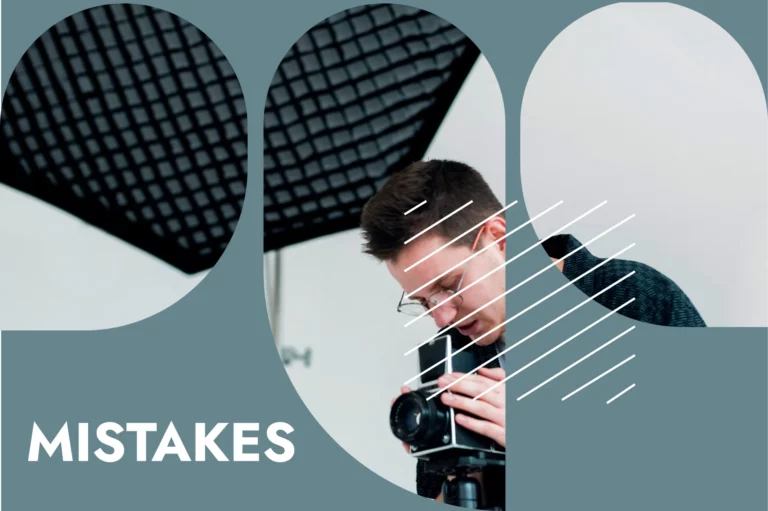
What are the most common lighting mistakes in product photography that you should avoid?
- First, you should know how much light you need. Using little light is a big mistake that can lead to boring and unattractive images. If you use multiple lights from different angles, you can create an interesting shadow play on your product that will highlight its texture and shape.
- Second, using the wrong type of light for product photography can also be problematic. Fluorescent lights tend to produce a bluish tint, while incandescent lights produce yellow tones that may not accurately reflect the true color of your product.
- Another common mistake is overexposing or underexposing the image. This usually happens when you don’t properly adjust the exposure settings on your camera, resulting in images that are too bright or too dark.
Post-processing and fine-tuning lighting in product photography
Post-processing and fine-tuning lighting in product photography is an important technique to create stunning images. Retouching is the process of editing images after they have been taken. Using editing programs like Adobe Photoshop and Lightroom, photographers can adjust brightness levels, shadows, and highlights to improve the overall quality of the image.
Fine-tuning lighting can be done during post-processing by adjusting exposure settings or tonal values. This process helps control contrast levels while highlighting specific areas of the image that need attention.
Conclusion
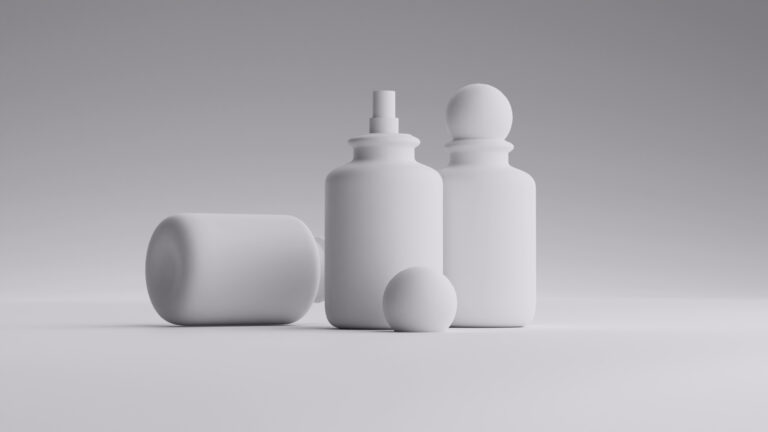
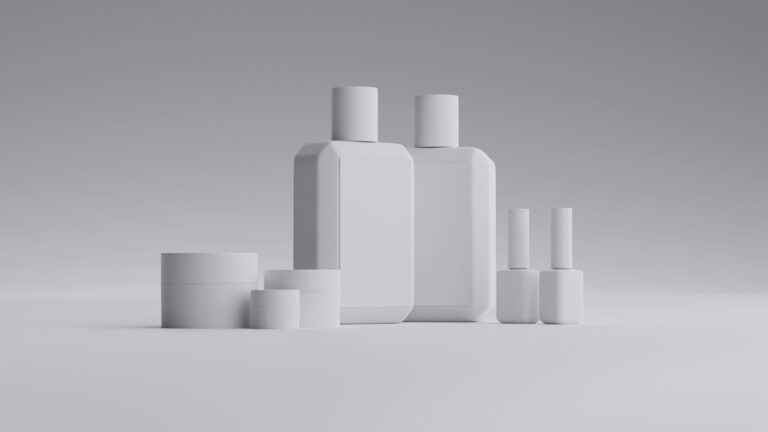
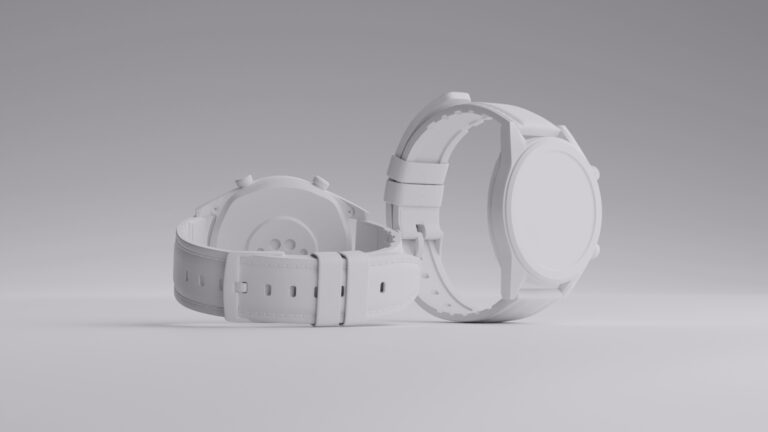
Now that you have learned all about lighting in product photography, we’d like to show you a more convenient way to light your shots. CGI product photography is one of the newest tools you can use to brighten up your shots. While you have limited control over the lighting of your shots in traditional studio photography, CGI offers entirely different benefits.
You can shape reality in any way you want and have all the tools at your fingertips. However, even though creating stunning images with CGI seems like a breeze, learning how to use this groundbreaking technology takes some time. That’s why we offer our professional product photography services remotely, cheaper and faster than ever before. To learn more about our work and see the wonderful things we can do with your product, schedule your FREE consultation call now.
FAQ
What role does lighting play in product photography?
Lighting is the heart and soul of product photography, as it influences most of the elements that play a big part in the aesthetic of a product image.
What type of lighting equipment is necessary for product photography?
Equipment is an essential part of lighting in product photography, and you should choose from pieces such as a soft box, an umbrella reflector, and many more.
What are some common mistakes to avoid when it comes to lighting in product photography?
Common lighting mistakes in product photography include not knowing the amount of light you need, using the wrong type of lighting, and the list goes on.
