If you’ve ever watched a sleek product animation and thought, “How do they do that?”—you’re not alone. Creating a crisp, scroll-stopping animated product video takes more than just fancy software. It’s a whole workflow built on creative planning, technical know-how, and tight collaboration. And when done right, it can make your product shine brighter than a shelf full of neon signage.
In this blog, we’ll walk you through the entire 10-step product animation process—from first sketch to final export. Whether you’re new to animation or looking to sharpen your production pipeline, this guide has your back.
We’ll break it down into pre-production, production, and post-production, then wrap up with examples, best practices, and why CGI is the ace in your pocket for stunning visuals.
Pre-production: laying the groundwork

This phase sets the tone for your whole animation project. It’s where ideas are born, refined, and translated into a workable plan. Skip steps here or rush through them, and you’ll likely run into roadblocks later on—delays, confusion, unexpected revisions, and a whole lot of unnecessary stress.
You might find that the animation doesn’t match your brand tone, that key features got overlooked, or that the message just doesn’t land. And fixing that downstream? It’s costly and time-consuming.
But if you take your time and really lock in your pre-production workflow—defining your concept, locking the script, aligning with your brand, and gathering assets—you build a solid foundation. Everyone involved knows what’s being made, why it matters, and what success looks like.
From that point on, everything flows smoother. You reduce back-and-forth, minimize rework, and ensure your final animated product video hits all the right notes. So don’t treat this phase as “just planning”—it’s where the real magic starts.
1. Concept development
Before any pixels move, you need a big-picture vision. What’s the goal of the animation? Who’s it for? What product are you showing, and how should it feel—futuristic, earthy, luxurious?
Start by aligning the animation with your brand identity and audience expectations. For example, a tech brand might go for clean lines and futuristic lighting in a 3D product animation, while a skincare company might use soft pastel tones and gentle motion.
At this stage, brainstorm ideas, references, and initial sketches. Keep the focus on what you want the viewer to feel and do after watching. Should they buy, sign up, share? That answer shapes the rest of the process.
2. Scriptwriting and messaging
Now we turn that idea into a script. Even if there’s no voiceover, a written outline helps organize visuals and ensures the message is clear.
A good script is short, sharp, and benefit-driven. Think punchy taglines, simple product descriptions, and a clear flow from intro to call to action. If your animated product video is showing off a new smartwatch, for instance, highlight key features in logical order—design, functionality, user interface—so it feels natural to the viewer.
Launching a high-end blender? You might want to start with a dynamic visual of it powering through frozen fruit, then explain the motor strength, blade tech, and easy-clean design. Selling wireless earbuds? Open with the sleek charging case snapping shut, then highlight noise cancellation, battery life, and seamless device pairing. Tailor your script’s structure to the product’s strongest selling points—and let the animation amplify them.
Avoid jargon. Speak your audience’s language, and keep things simple. A 60-second animated video usually needs no more than 90–120 words of script.
3. Storyboarding and visual planning
This is where your ideas start taking shape. A storyboard is like a comic strip version of your animation. It maps out every major shot or transition, complete with rough visuals and timing notes.
It doesn’t need to be pretty. Even stick figures and scribbles will do, as long as they communicate the key scenes and camera angles.
Storyboarding lets you test pacing, plan transitions, and make sure everyone’s on the same page before diving into expensive production. It’s one of the most underrated animation steps—but it’s what keeps the animation production process lean and mean.
4. Asset planning and approvals
This is the last crucial step before the animation begins: gather or create all the assets you’ll need. That includes product references, brand guidelines, logos, colors, fonts, packaging designs, or 3D models.
If your product doesn’t yet exist physically, no problem—that’s where 3D product animation really shines. You can use CAD files or reference photos to model the item from scratch. This is especially useful for startups, crowdfunding campaigns, or pre-launch marketing, where visualizing the product early can help generate buzz and investor interest.
Once assets are ready and the storyboard is approved, you’ve got the green light to move into production. Now the real fun begins. This is where your static ideas start to breathe, move, and captivate—and where the product’s personality truly takes shape.
Production: bringing your product to life

Time to animate, render, and build the magic frame by frame. This is where the product animation workflow kicks into high gear. All the planning, scripting, and designing finally start to pay off as you watch your product come to life on screen.
Every movement, every camera angle, and every visual effect is carefully crafted to make your product feel dynamic and irresistible. It’s no longer just a concept—it’s a visual experience, ready to engage your audience and show off what makes your product shine.
5. 3D modeling (or 2D design setup)
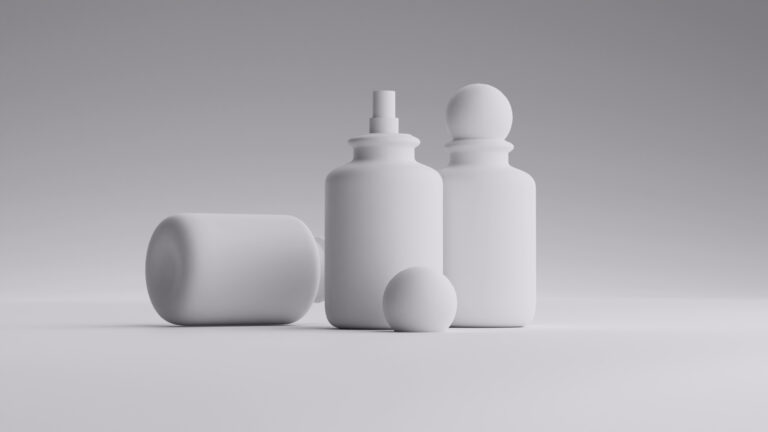
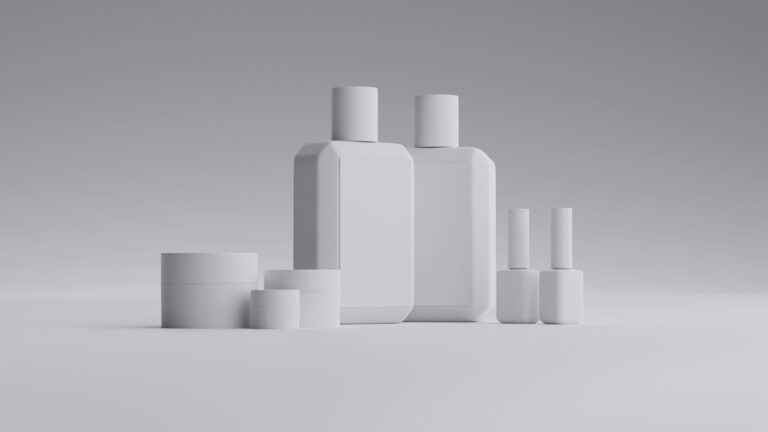
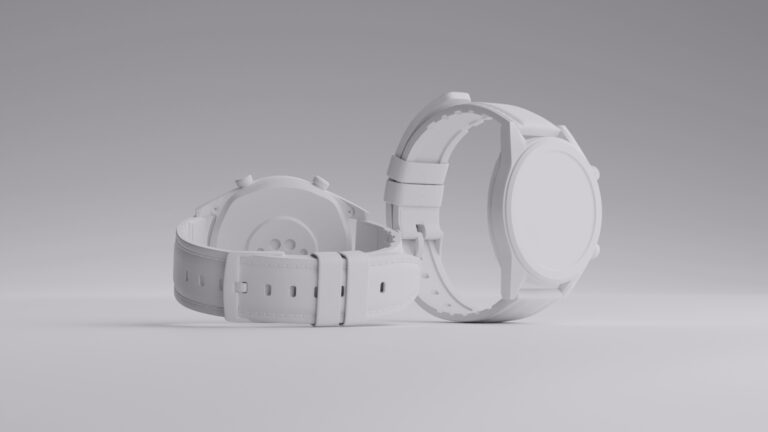
For 3D product animation, it all starts with modeling the item in software like Blender, Maya, or Cinema 4D. The goal is to create an accurate digital twin of your product—down to the last curve, groove, and screw.
Need to show how your coffee machine works inside? Model the internal parts too. Want to focus on sleek design? Emphasize surface materials and lighting. Creating a new line of athletic shoes? Highlight the cushioning layers, sole grip, and breathable fabric. Launching a beauty tool like a facial roller or hair dryer? Zoom into the texture, the ergonomic handle, and how it interacts with skin or hair. Got a kitchen gadget with multiple attachments? Show how each piece connects and functions in a clean, satisfying sequence.
The more detail you add, the more your audience trusts what they’re seeing—and the more likely they are to hit that “buy” button.
For 2D animations (think explainer-style), you’ll create flat vector illustrations instead of models. But the principle is the same: accuracy, brand consistency, and visual appeal are the name of the game.
6. Texturing and lighting
A product model without textures is like a cake without frosting—technically edible, but not very tempting.
Texturing involves applying surface materials to your product—plastic, metal, leather, glass, you name it. Lighting adds depth and realism. This is what turns a basic model into something that looks touchable.
Smart lighting choices can also influence the overall mood and emotional tone of your animated product video. For clean beauty brands, using bright, soft, and even lighting creates a sense of freshness, purity, and simplicity that resonates with audiences looking for gentle, trustworthy products. If you’re showcasing a line of eco-friendly cleaning tools, for instance, natural daylight tones can help convey cleanliness and sustainability.
On the other hand, darker, more directional lighting works beautifully for tech gadgets or luxury items, where drama, sophistication, and edge are part of the appeal. Think of how a premium smartwatch or high-end speaker might be lit with sharp contrasts and moody shadows to highlight precision, power, and premium design. The way you light your product can say just as much as the product itself—so don’t treat it as an afterthought.
Together, textures and lighting make or break your animated product video. This is where your product starts looking real—sometimes even better than real.
7. Animation
Here’s where everything moves. Animators add motion to the product—rotations, break-apart views, assembly sequences, and fluid demonstrations.
Say you’re animating a water bottle: you might rotate it to show off the design, then zoom into the cap to reveal its leak-proof mechanism. Maybe you even add droplets rolling down the side to evoke freshness and hydration. You could follow that with a quick shot of it fitting perfectly into a gym bag or bike holder, reinforcing its on-the-go appeal and versatility.
Motion has to feel intentional. Too slow and you lose attention. Too fast and viewers miss key info. Timing is everything. This is also where camera moves come in—pans, tilts, zooms—to guide the viewer’s eye and create energy.
8. Rendering previews
Once the animation is blocked out, the studio usually renders a preview version. This doesn’t include all final effects or super high-res visuals yet. It’s like a dress rehearsal.
This is a key moment in the animation project steps—your chance to spot pacing issues, awkward transitions, or anything that doesn’t align with the brand vibe. It’s cheaper and faster to make changes now than after the final render.
Before committing to the heavier rendering process, previews can also be used for internal stakeholder reviews.
Post-production: polish, perfect, deliver

The animation’s almost ready to go. Now it’s time to sweeten the visuals, add final touches, and export for different platforms. This stage is all about polish—refining colors, smoothing transitions, and ensuring everything feels cohesive and intentional. It’s where good becomes great, and your product video gets dressed up and ready to shine in the spotlight.
9. Sound design and music
Even a silent product benefits from sound. Background music adds emotion and energy. Subtle sound effects—like clicks, whooshes, or liquid pouring—can make an animation feel tactile and immersive.
This is especially true in animated product videos where the viewer needs to feel the product through visuals and sound. For example, imagine the crisp snap of a phone case locking into place, the soft fizz of a carbonated drink being poured, or the low hum of a high-tech blender powering up. These subtle audio cues create a sensory connection that visuals alone just can’t deliver—making the product feel real, present, and irresistible.
Just be careful not to overwhelm the viewer. Sound should enhance the product, not distract from it. And always make sure you’ve got the proper rights for any music you use.
10. Final render and delivery
Time to hit render. This is where all those textured frames get processed into high-quality video. Depending on the complexity, rendering can take hours—or even days.
Once it’s done, you’ll export different versions for different channels: full HD or 4K for YouTube, shorter cuts for Instagram or TikTok, and maybe a square version for Facebook.
You’ll also optimize file sizes without losing quality. This ensures fast load times and sharp visuals across platforms.
And voila—you’ve got a ready-to-roll animated product video that’s built to wow.
Matching animation styles with product types

Not every product needs the same animation approach. Choosing the right style is one of the smartest product animation best practices.
For tech gadgets, 3D product animation works beautifully. You can rotate, zoom in, even show internal mechanisms. Think AirPods, drones, gaming consoles—products where form and function matter.
For apps or digital platforms, motion graphics are often the way to go. These animations can simulate user interfaces, walkthrough features, and simplify abstract concepts. Perfect for fintech, SaaS, and mobile tools.
Consumer goods like cosmetics or food often benefit from stylized 2D or hybrid animations. You can play up textures, colors, and lifestyle cues in a way that’s visually delightful and brand-friendly.
High-end furniture or architecture? Go for photorealistic CGI with cinematic lighting. Show the product in aspirational environments to connect with your audience emotionally.
The key is to match your animation technique to your product’s value proposition. What are you selling: function, feeling, status, or simplicity? Let the visuals reflect that.
Why CGI is the best choice for product animation

When it comes to professional product animation, CGI offers unmatched flexibility, realism, and control. Let’s break down why it’s the top pick for brands that want to stand out.
First, CGI lets you create stunning visuals without needing a physical product. This is ideal for prototypes or products still in development. Got a new smartwatch in the works? Animate it before it even hits the shelf.
Second, CGI allows you to tweak every detail—lighting, textures, camera angles—without reshooting. You can show one product in five different colorways, all without touching a studio set.
Third, CGI works magic with impossible shots. Exploded views, slow-mo liquid effects, transparent materials—you name it. Try doing that with a real camera.
And let’s talk numbers for a second—because CGI doesn’t just save time, it saves serious money. You’re skipping the cost of shipping physical products across the country (or the world), renting high-end studios, hiring photographers, stylists, lighting crews, and dealing with expensive reshoots when something changes.
Plus, you’re shrinking your carbon footprint while you’re at it—fewer trucks, fewer flights, less waste. For many companies, especially those selling online, it’s the smarter, leaner, and greener way to create stunning visuals.
More than anything, CGI makes your product feel elevated. It shows the audience that you care about design, quality, and experience. And in a crowded e-commerce market, that can be the difference between scroll-past and sold-out.
Wrapping up
The product animation process is more than just moving images—it’s a full creative journey. From concept development to rendering the final video, every step matters. Each phase builds on the last to create a smooth, professional-looking result that can boost conversions, improve brand perception, and bring your product to life.
Whether you’re showcasing a new app, kitchen gadget, or high-end accessory, the animation workflow can be adapted to fit your goals. With CGI, you unlock even more possibilities—faster turnarounds, higher realism, and flexible revisions.
Want to give your e-commerce visuals a serious glow-up? Start by understanding these animation project steps. Then team up with a skilled animation studio (like us here at Welpix) to make the magic happen.
FAQ
What is the typical timeline for a product animation project?
It varies, but most product animation workflows take between 2–6 weeks, depending on complexity and revision rounds.
Do I need a physical product to create an animation?
Nope! CGI lets us model your product from scratch based on photos, sketches, or CAD files.
Can product animations include text or branding?
Absolutely. Adding motion text, logos, and branded colors is standard practice and helps reinforce your visual identity.
How long should an animated product video be?
Keep it under 90 seconds for best engagement. For social media, 15–30 seconds is ideal.
What file formats will I receive?
We typically deliver MP4, MOV, and web-optimized versions. Custom sizes for Instagram, YouTube, and e-commerce sites are also available on request.


