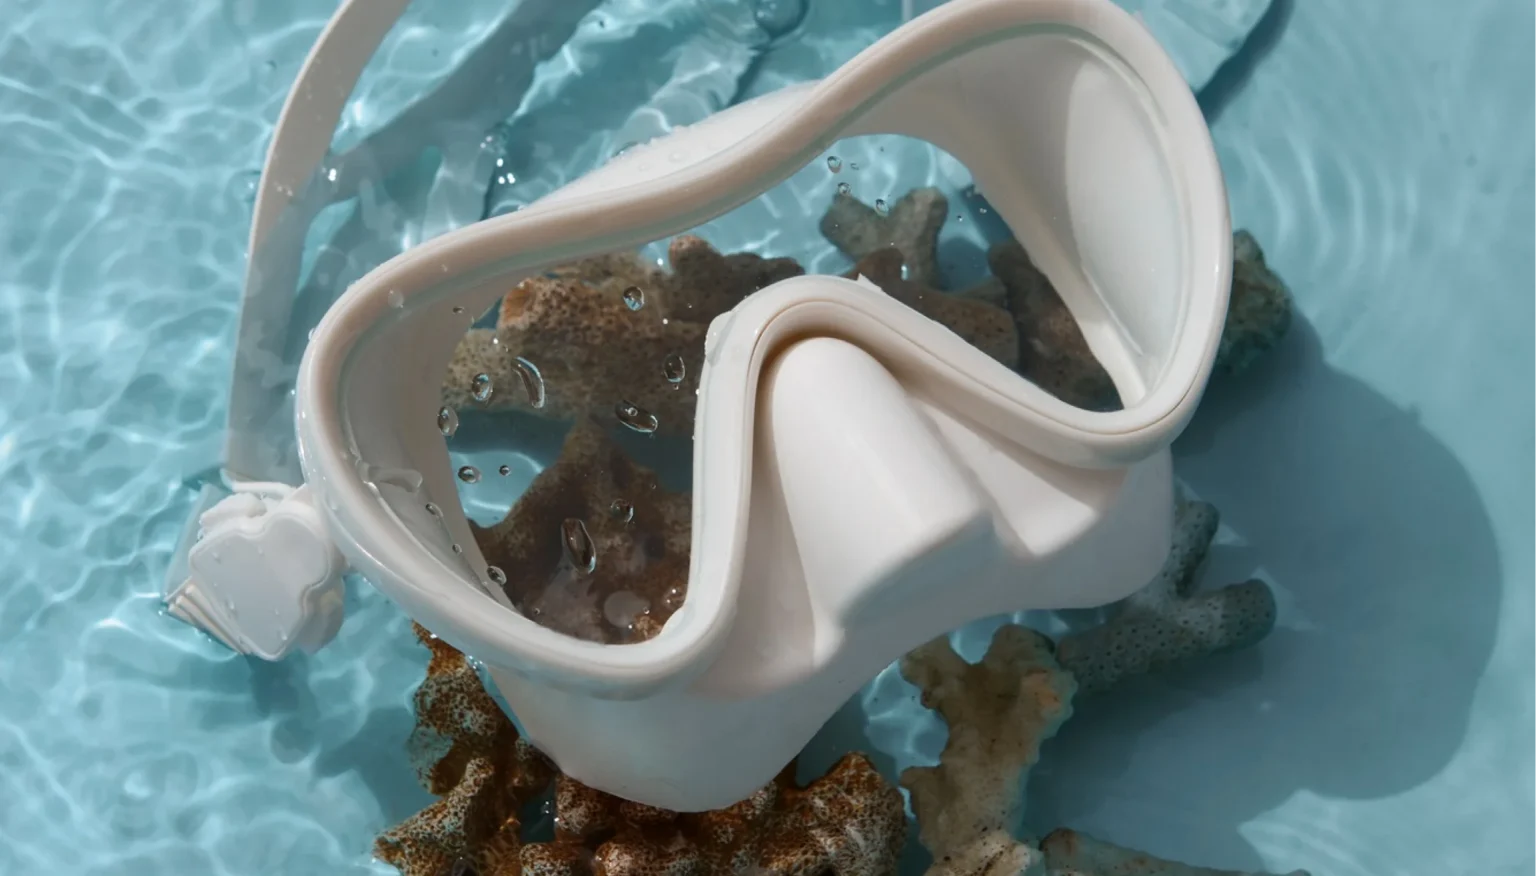
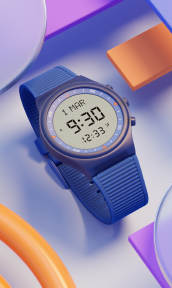
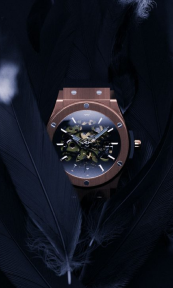
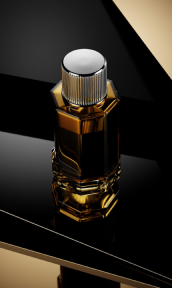
Beneath the waves lies an enchanting realm waiting to be explored through the lens of a camera. Underwater product photography is a unique niche that opens up a world of challenges and opportunities for photographers. From essential gear like waterproof housings to mastering specialized lighting techniques, let’s plunge into the depths of this captivating art form.
Diving into the ocean
Gear essentials
Embarking on an underwater photography expedition requires meticulous preparation and specialized equipment. Each piece of gear plays a crucial role in ensuring the success of your venture. From waterproof housings designed to protect your camera to macro lenses that unveil the intricacies of underwater subjects, let’s delve into the essential tools for capturing the beauty beneath the waves.
Waterproof housings
Waterproof housings serve as the armor for your camera, safeguarding it against the challenges posed by the underwater environment. Precision-engineered for specific camera models, these housings provide not only protection but also easy access to essential controls. Ensuring a proper fit and accessibility is vital for a seamless underwater photography experience.
Underwater lighting
Underwater environments can limit natural light, causing colors to appear dull and images to lack clarity. Therefore lighting is crucial to unlocking the vibrant colors of the underwater world. Strobes offer adjustable brightness to illuminate your subjects, bringing out their true colors. Continuous LED lights provide a natural-looking light source, reducing backscatter and enhancing the overall clarity of your underwater images. Properly positioning and adjusting lighting equipment is essential for achieving optimal results.
Macro lenses
Dive into the details with macro lenses crafted specifically for underwater use. Macro lenses allow you to capture intricate patterns on coral reefs or reveal the textures of underwater products with precision. Understanding the working distance and focusing capabilities of your chosen macro lens is key for capturing stunning close-ups.
Dome ports
Dome ports play a pivotal role in reducing distortion and refracting light, providing a clearer view of your subjects. They are particularly useful for wide-angle shots and capturing expansive underwater scenes. Choosing the right dome port for your lens and understanding its impact on your field of view is essential for achieving sharp and distortion-free images.
Buoyancy control devices
Achieving the right buoyancy is essential for stability underwater. Devices like buoyancy control devices (BCDs) offer fine-tuned adjustments, making it easier to handle your equipment and maintain the perfect depth for your shots. Ensuring proper weight distribution and practicing buoyancy control techniques are crucial for a smooth and controlled underwater photography experience.
Red filters and neutral density filters
Combat color distortion by using red filters. These filters help restore warm tones to your underwater images by compensating for the color shift that occurs underwater. Understanding the appropriate use of red filters and experimenting with different filter densities can significantly improve the color accuracy of your photographs.
In bright underwater conditions, such as in shallow water or on sunny days, light can be harsh and colors may appear washed out. A neutral density filter helps to reduce the amount of light entering the camera, allowing you to achieve balanced exposures and enhance the colors of your images.
Anti-fog inserts
Underwater photography often involves rapid temperature changes, leading to fogging inside the camera housing. Anti-fog inserts absorb moisture and prevent condensation from forming on the lens, ensuring clear visibility and preventing your images from being compromised by foggy spots.
With the right equipment, you can effectively capture high-quality underwater product images, overcome challenges associated with underwater photography, and elevate your work to new creative heights.
Challenges and solutions
As with any specialized field of photography, underwater photography comes with its own set of challenges. From buoyancy control to color distortion, understanding and overcoming these obstacles are vital for capturing breathtaking images beneath the surface.
- Buoyancy – Achieving the right buoyancy is an ongoing challenge for underwater photographers. Balancing your equipment ensures stability and prevents accidental damage to the delicate underwater ecosystem. Some photographers use buoyancy control devices to fine-tune their setup, making handling more manageable. Also, consider bracing yourself against a fixed object or the ocean floor, and practice controlled breathing to steady your movements.
- Color distortion – Underwater, colors shift due to the absorption of different wavelengths of light. Combat color distortion by using color-correction filters or adjusting the white balance settings on your camera. Experiment with different filters to find the combination that best suits your shooting conditions and brings out the true colors of your subjects. Shoot in RAW format to adjust colors during post-processing, and consider using external light sources to enhance color vibrancy.
- Optimal shooting angles – The dynamics of shooting from various angles are different underwater. Experiment with shooting from below, above, and from different perspectives to capture the most engaging and dynamic shots. Varied angles add depth and interest to your compositions, turning ordinary product shots into extraordinary underwater visions.
- Limited visibility – Water clarity and visibility can vary greatly depending on the location and weather conditions, affecting the overall quality of your underwater images. To combat this, stay close to your subjects and use a focus light to assist your camera’s autofocus. Additionally, consider shooting in shallower waters where visibility tends to be better. Also, position yourself close to your subject to minimize water distortion, and consider using a wide-angle lens to capture more of the scene and compensate for reduced visibility.
- Currents and tides – Unpredictable currents and tides can impact your ability to compose shots and maintain stability. Plan your dives during periods of minimal tidal activity, and use natural features like rocks or coral formations to shield yourself from strong currents. Practice shooting in different current conditions to enhance your adaptability.
- Equipment maintenance – Saltwater is harsh on equipment. Regularly rinse and clean your gear with fresh water after each dive to prevent corrosion. Invest in anti-fog solutions and ensure O-rings are properly lubricated. Regular maintenance is key to the longevity and performance of your underwater photography equipment.
- Backscatter – Backscatter occurs when particles in the water reflect the light from your strobes or camera flash, creating unwanted specks or “snow” in your images. To minimize backscatter, position your lighting sources at an angle to your camera, use a lower power setting on your strobes, or consider using a snoot or diffuser to direct light more precisely onto your subject.
- Focusing issues – Underwater conditions can make it challenging to achieve accurate focus on your subjects, particularly in low visibility or macro photography situations. Use a dive light or focus light to assist in focusing, manually adjust your focus to compensate for the water’s distortion, and utilize a wide depth of field to ensure sharpness throughout your image.
- Composition and framing – Underwater environments can be visually complex, with various marine life, corals, and structures competing for attention in your frame. To create visually appealing compositions, consider using leading lines to draw the viewer’s eye to your subject, utilize negative space to provide breathing room for your subject, and experiment with different angles and perspectives to capture unique and engaging images.
- Water pressure and depth – As you dive deeper underwater, the pressure increases, which can affect your camera equipment and photography techniques. To handle water pressure and depth challenges, invest in a high-quality underwater camera housing that is rated for the depth you plan to shoot at, familiarize yourself with the operating limits of your gear, and follow proper diving procedures to ensure your safety and the integrity of your equipment.
- Marine life behavior – Capturing images of underwater products may involve working around marine life that can be unpredictable or easily spooked. To navigate marine life behavior challenges, respect the natural environment and maintain a safe distance from wildlife, use slow and deliberate movements to avoid startling creatures, and consider using a telephoto lens for close-up shots of shy or elusive species.
- Post-processing and editing – After capturing your underwater product images, post-processing and editing play a crucial role in enhancing colors, adjusting exposure, and refining details. Utilize editing software such as Adobe Lightroom or Photoshop to fine-tune white balance, contrast, saturation, and sharpness, remove backscatter or unwanted distractions, and bring out the beauty of your underwater subjects through careful editing techniques.
Tips for Success
Success in underwater product photography is not just about the gear; it’s about mastering the nuances of the underwater world and translating them into captivating images. Here are some key tips to elevate your underwater photography game.
Patience and preparation
Underwater product photography demands patience and preparation. Familiarize yourself with the underwater environment, anticipate the movement of your subjects, and be ready for unexpected opportunities. Waiting for the right moment often results in the most captivating images.
Master your equipment
Before embarking on an underwater shoot, ensure you are intimately familiar with your camera and gear. Practice changing settings, adjusting lighting, and troubleshooting potential issues in controlled environments. This familiarity will translate into confidence and efficiency during actual shoots.
Experiment with depth of field
Varying your depth of field can add a creative dimension to your underwater product photography. Experiment with wide apertures for a shallow depth of field, highlighting the main subject while blurring the background. Conversely, use smaller apertures to capture more details in expansive underwater scenes.
Create a story with sequences
Instead of relying solely on individual shots, consider creating storytelling sequences. Capture the progression of a product from different angles, comprehensively showcasing its features. This approach not only adds visual interest but also provides a more comprehensive view for the viewer.
Go underwater from the comfort of your studio
Creating underwater product photography in a studio setting can be a unique and creative challenge. While it’s not as straightforward as shooting in a real underwater environment, you can simulate the effect using various techniques. Here’s a brief guide to help you achieve it.
When it comes to product photography, choosing the right equipment is crucial. A DSLR or mirrorless camera paired with a macro lens is ideal for capturing close-up shots that showcase your product’s details and textures.
Underwater photography requires proper lighting to avoid dull-looking scenes. Use waterproof or water-resistant studio lights to ensure safety and consistent illumination underwater.
The choice between a water tank or a clear acrylic container depends on your preference and the size of your product. Opting for a clear background can help keep the focus on the product while creating a sense of depth and immersion.
Create a water tank. A stable and clean water tank provides a controlled environment for your underwater shoot, minimizing distractions and ensuring consistent results. So, start by choosing a large clear container or tank that can accommodate the product. Clean the tank thoroughly to remove any dirt or residue that could affect the photo quality.
Then, fill the tank with clean, clear water, avoiding any water with chlorine or harsh chemicals. Using distilled water reduces the risk of water spots, maintaining the clarity of your images and preventing unwanted blemishes on your product. Also, adding a water conditioner improves clarity by reducing haziness and suspended particles in the water, resulting in sharper and more vibrant images.
Set up your lighting equipment around the tank to ensure proper illumination for the photoshoot. Proper placement of studio lights outside the water tank minimizes reflections and glare, providing even illumination across your product. Adding colored gels to your lights enhances the underwater ambiance and can evoke different moods, adding depth and interest to your photos.
Strategic positioning of lights minimizes unwanted reflections, ensuring that your product remains the focal point of the image. A polarizing filter reduces reflections on the water surface, allowing for clearer visibility of your product and enhancing overall image quality.
Positioning lights strategically helps create soft, diffused lighting that minimizes harsh shadows and highlights, resulting in a more balanced and visually appealing image. Adjusting the intensity of lights allows you to control the contrast and mood of your photos, emphasizing important details and textures in your product.
Carefully place the product into the water tank, using weights if necessary to keep it in place underwater. Securing your product prevents it from moving or floating within the water, allowing you to maintain control over its positioning and ensuring sharp, focused images
Then, adjust the camera settings, such as the white balance and exposure, to suit underwater photography conditions. A fast shutter speed freezes motion in the water, capturing crisp images of your product without blur or distortion.
Adjusting the aperture controls the depth of field, determining how much of the scene is in focus and allowing you to highlight specific aspects of your product. Keeping the ISO low maintains image quality by reducing digital noise, ensuring that your underwater photos are sharp and clear.
Experiment with angles. Exploring different shooting angles adds visual interest and allows you to highlight unique features of your product from various perspectives, enhancing the overall composition and storytelling of your images.
Fine-tuning colors and contrast during post-processing enhances the underwater effect, creating a cohesive and visually striking final image. Adjusting contrast and sharpness further enhances details and textures, ensuring that your product stands out and commands attention in the final photo.
By following these steps and understanding their importance, you can effectively create stunning underwater product photography in a studio setting, capturing your products in a unique and captivating way.
Go digital
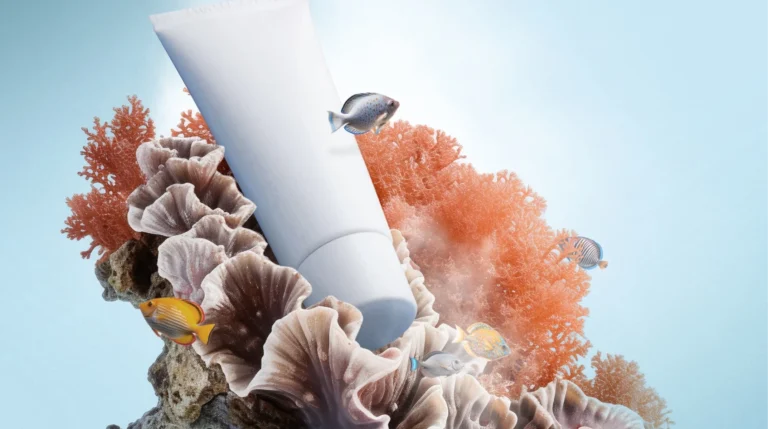
While you can traditionally do this, having to do with water by submerging your equipment or using an “underwater studio”, you can also obtain the same results using modern means.
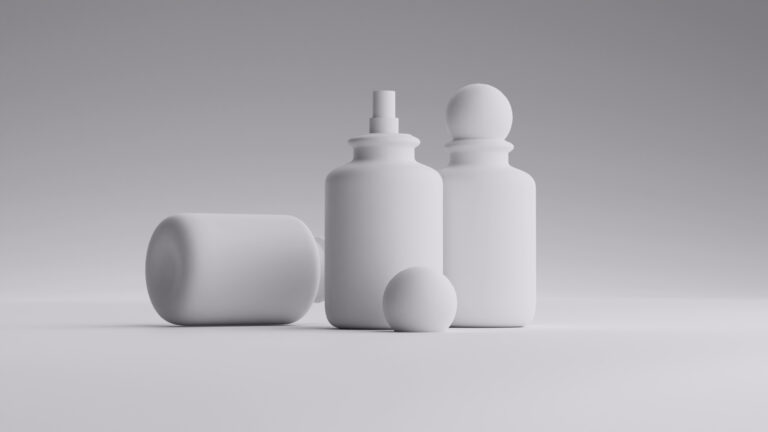
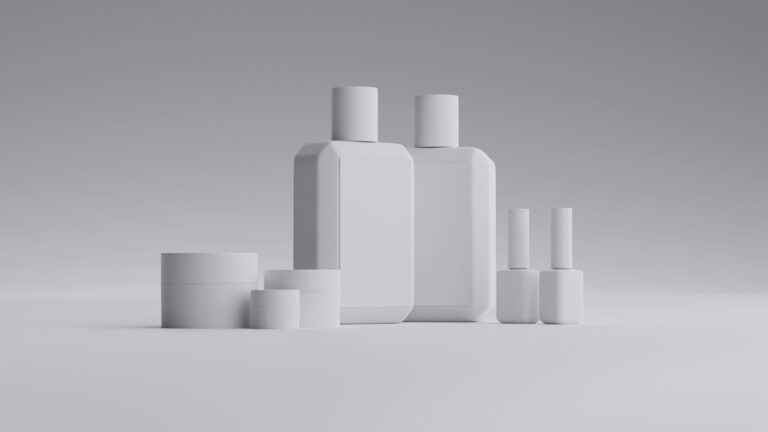
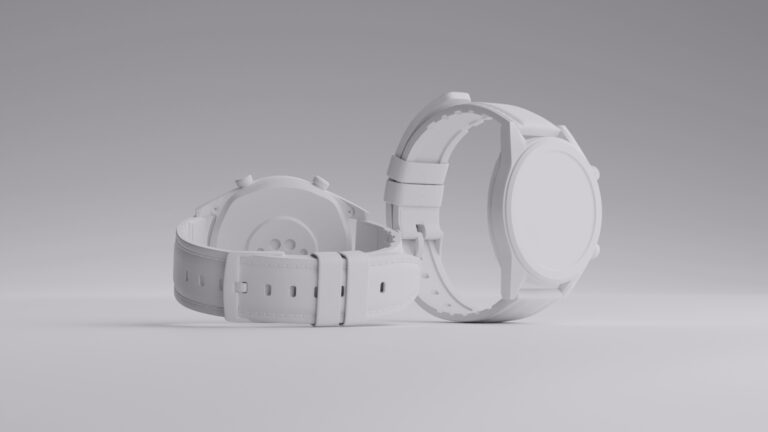
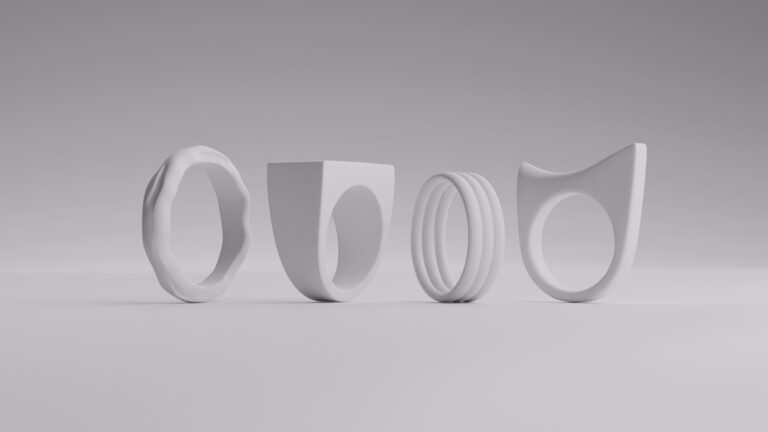
Computer-generated imagery can mimic underwater product photography by creating realistic and detailed virtual underwater environments, products, and scenes. Here are some ways in which CGI can replicate the look and feel of underwater product photography:
- Virtual Rendering: CGI software enables designers and artists to create highly detailed and lifelike 3D models of products, textures, and underwater landscapes. By utilizing advanced rendering techniques, such as ray tracing and global illumination, CGI artists can simulate light behavior underwater, including caustics, light refraction, and color absorption, to achieve a realistic underwater effect.
- Texturing and Materials: In underwater product photography, the textures and materials of products play a crucial role in conveying realism and depth. CGI allows artists to apply custom textures, materials, and shaders to virtual objects, simulating the appearance of various materials underwater, such as metal, plastic, glass, or organic surfaces like coral and seaweed.
- Lighting and Shadows: Underwater environments have distinct lighting characteristics, including dappled sunlight, soft shadows, and color shifts due to light absorption in water. CGI software provides precise control over lighting parameters, allowing artists to replicate natural underwater lighting conditions, adjust intensity and color temperature, and create realistic shadows and light patterns that mimic the aquatic environment.
- Water Effects: To enhance the realism of underwater scenes, CGI artists can simulate water effects such as caustics, ripples, and particle dynamics. By incorporating dynamic water simulation tools and fluid dynamics algorithms, CGI software can create convincing water interactions around virtual products, adding depth and movement to the scene.
- Post-Processing and Compositing: Once the virtual underwater product scene is rendered, CGI artists can apply post-processing techniques to fine-tune colors, contrast, depth of field, and other visual aspects. By compositing multiple layers, adjusting levels, and adding depth cues such as underwater haze or particles, CGI artists can achieve a photorealistic underwater product image that closely resembles traditional underwater photography.
Overall, CGI offers a versatile and flexible approach to simulating underwater product photography, allowing artists and designers to create immersive and visually stunning underwater product images without the constraints and limitations of shooting underwater. With the right tools, skills, and attention to detail, CGI can replicate the beauty and complexity of underwater environments, products, and lighting conditions with exceptional realism and artistic vision.
Wrapping up
Underwater product photography is a thrilling and rewarding endeavor for those willing to take the plunge. With the right gear, knowledge, and a passion for the aquatic world, photographers can overcome the challenges and create stunning images that showcase the beauty and diversity of underwater products.
For those seeking an alternative approach, CGI offers a digital avenue to replicate the underwater experience, providing a unique perspective and creative freedom. So, gear up, dive in, and unlock the full potential of this fascinating niche in photography, whether in the real depths of the ocean or the virtual realm of CGI.
FAQ
What equipment is essential for underwater product photography?
The essential equipment includes a waterproof camera housing, external strobes, and specialized lenses.
How should lighting be adjusted for underwater photography?
Use strobes to counteract the loss of color and detail caused by water, with proper positioning to reduce backscatter.
What are the common challenges in underwater product photography?
The common challenges are maintaining stability, dealing with buoyancy, and adjusting to the change in perspective.
How can depth of field be managed for underwater photography?
Use the appropriate apertures and focus techniques to ensure the desired sharpness levels.
What post-production techniques are useful for enhancing underwater product photography?
Adjust the color balance, contrast, and clarity to correct distortions and enhance the overall image quality.
