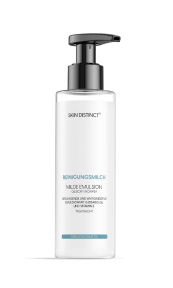
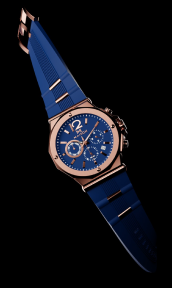
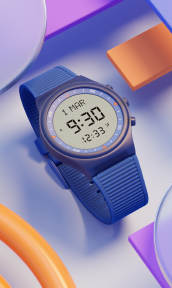
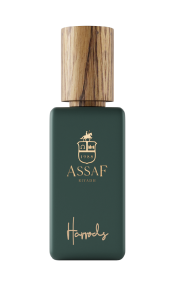
Visuals are your virtual storefront. Since online shoppers cannot physically interact with products, high-quality images are essential for converting potential customers. The right photos can highlight your product’s features, convey value, and build trust. Here are five fundamental qualities that can make your e-commerce product photos stand out and drive sales.
High Resolution and Clarity: The Foundation of Effective Product Photos

High resolution and clarity are indispensable. This quality enables potential buyers to get an up-close, detailed view, ensuring that no detail goes unnoticed. Here’s a deeper look into why high resolution and clarity matter so much and how you can achieve them effectively.
Why High-Resolution Matters
High-resolution images are crucial for several reasons:
- Enhanced Detail Visibility: Customers can zoom in on the product and see intricate details like stitching, texture, and finishes. This is particularly important for products where detail speaks to quality, such as clothing, jewelry, and tech gadgets.
- Professionalism and Trustworthiness: Blurry, pixelated images can make your store look unprofessional, potentially driving customers away. Conversely, crisp, clear photos convey professionalism, building trust with potential buyers.
- Improved User Experience: On many e-commerce sites, users can zoom in on images for a closer look. High-resolution photos ensure that images remain sharp even at high levels of magnification, allowing customers to examine products with confidence.
- Reduced Return Rates: When customers have access to highly detailed product photos, they’re better informed and more likely to be satisfied with their purchase. Fewer surprises translate to fewer returns, which ultimately benefits both the retailer and the buyer.
Understanding Resolution and Choosing the Right Settings
The resolution of an image is typically measured in pixels per inch (PPI). In general, the higher the PPI, the sharper and more detailed the image will appear.
For e-commerce, it’s recommended to use images with a resolution of at least 1024×1024 pixels. This ensures clarity across various devices, from smartphones to large desktop monitors. Higher-end products or sites with zoom functionality might benefit from resolutions around 2000×2000 pixels or more.
Using the right file format can also impact resolution quality. JPEG is a popular choice because it offers a good balance between quality and file size. PNG files are ideal for images with transparent backgrounds or where lossless quality is crucial, while WebP, a newer format, offers high-quality images with smaller file sizes, which can improve loading times.
Clarity isn’t just about high resolution; it’s also about capturing sharp, crisp images that highlight your product’s best features. Here are some techniques for maximizing image clarity:
- Use a Quality Camera: Although some smartphones have excellent cameras, a DSLR or mirrorless camera typically provides superior clarity and control. These cameras allow for manual adjustments to settings like aperture, shutter speed, and ISO, which can impact the sharpness and detail of your photos.
- Set the Right Focus: Ensure that your camera is properly focused on the product, not the background. For small or intricate items, use the camera’s macro mode to capture fine details. For larger products, a slightly higher aperture (f/5.6 to f/8) will keep the whole product in focus.
- Tripod and Remote Shutter Release: Movement, even subtle hand movements, can reduce the clarity of a photo. Using a tripod stabilizes the camera, while a remote shutter release or camera timer minimizes the chances of blur caused by pressing the shutter button.
- Adjust the Camera’s Settings:
- ISO: Keep the ISO as low as possible (100 or 200) to minimize noise in your images. High ISO settings can make photos grainy, which detracts from clarity.
- Aperture: A mid-range aperture (like f/5.6 or f/8) offers a good depth of field for product photography. This keeps most of the product in focus while still providing enough light.
- Shutter Speed: For sharp images, use a faster shutter speed to reduce motion blur. If lighting conditions are low, combine a slower shutter speed with a tripod to capture clear, bright images.
Post-Processing for Enhanced Clarity
Once you’ve taken your photos, post-processing can help refine clarity and sharpen the image. Here are a few tips for editing:
- Use Editing Software: Tools like Adobe Photoshop or Lightroom offer options to enhance image sharpness. Adjustments to clarity, contrast, and sharpness can make a significant difference in how details appear.
- Noise Reduction: If any graininess or digital noise appears, especially in low-light shots, using noise reduction filters can help. Be cautious with this setting, as excessive noise reduction can cause a loss of detail.
- Avoid Over-Editing: Over-sharpening can make images look unnatural, which can reduce the professional appeal. Subtle adjustments that enhance the image without distorting it are ideal.
Optimization Without Losing Quality
High-resolution images are essential, but they can also result in large file sizes that affect website load times. Here’s how to optimize images without sacrificing clarity:
- Compression: Use tools like TinyPNG or JPEGmini to reduce file size without compromising quality. These tools optimize images for web use, making them load faster while maintaining high resolution.
- Responsive Images: Many e-commerce platforms support responsive images, which display a different version of the image depending on the device being used. This can ensure that users see a high-resolution image on larger screens while smaller devices load a more optimized version.
- Consider WebP Format: This format provides excellent image quality at smaller file sizes, which is advantageous for website loading speeds and user experience.
High resolution and clarity are foundational to effective product photos. By focusing on capturing fine details and maintaining image sharpness, you create a professional and trustworthy presentation that allows customers to make informed decisions. Investing time and resources into achieving high-resolution, clear photos can significantly boost your brand’s reputation and positively impact your conversion rates.
Proper Lighting: The Key to Captivating E-Commerce Product Photos

Lighting is one of the most critical aspects of product photography. It has the power to transform an ordinary photo into one that captures attention, highlights key product features, and conveys quality. With the right lighting, you can bring out the true colors, textures, and details of your product, making it more appealing to potential customers.
Why Proper Lighting is Essential
Lighting affects how colors appear on camera. Without proper lighting, colors may look faded, dull, or inaccurate, which can lead to customer dissatisfaction if the product they receive doesn’t look like the one in the photo. Proper lighting ensures color accuracy, helping customers get a true sense of the product’s appearance.
Good lighting reveals the finer details of a product, such as texture, material, and finish. This is particularly important for products where touch and feel matter, like fabric, leather, and intricate designs. Lighting that enhances detail helps customers make more informed decisions, reducing the likelihood of returns.
Properly lit photos look more polished and professional, which builds trust with potential buyers. Poorly lit photos, on the other hand, can make even high-quality products appear cheap, negatively impacting your brand image.
Types of Lighting for E-Commerce Photography
Understanding different lighting types and their effects will help you choose the right setup for your products:
- Natural Lighting
Best For: Lifestyle images, outdoor products, and items where soft shadows and natural tones are desirable.
Natural lighting, particularly during golden hour (early morning or late afternoon), can create a warm and inviting look. It’s ideal for lifestyle shots where products are shown in use, as it gives a realistic, organic feel.
Tips: Use a window with indirect sunlight to avoid harsh shadows. If direct sunlight is unavoidable, consider using a diffuser (like a sheer curtain) to soften the light and create a more even, balanced look.
- Studio Lighting
Best For: Consistent, professional photos for all types of products, especially where control over lighting conditions is needed.
Studio lighting, such as softboxes or LED panel lights, allows complete control over lighting angles, brightness, and shadows. This is particularly useful for maintaining consistent lighting across different product shots, which is important for online store aesthetics.
Tips: Start with a simple three-point lighting setup (key light, fill light, and backlight) to minimize shadows and add depth. Softboxes are great for creating diffused light that evenly illuminates your product, while ring lights work well for close-ups by reducing shadows and enhancing detail.
- Continuous vs. Flash Lighting
Continuous Lighting: This type of lighting stays on, allowing you to see how the light affects the product in real time. Continuous lighting is often preferred for product photography because it enables easy adjustments and creates a consistent light source.
Flash Lighting: Flash lighting provides a brief, intense burst of light and is useful for capturing sharp, high-clarity images. However, flash can be tricky to work with as it requires more precise adjustments and often needs diffusers to soften harsh shadows.
Tips for Setting Up Proper Lighting
The next time you decide to use lighting in your photos, keep in mind the following tips:
Use a Lightbox for Small Products – A lightbox is an enclosed box with translucent sides that diffuses light evenly over the product. It’s ideal for shooting small items like jewelry, watches, and electronics. With a lightbox, you can achieve soft, shadow-free lighting, which highlights the product and makes it stand out against the background.
Control Shadows – Shadows can add depth but can also distract or obscure details if not managed well. For most e-commerce photos, soft shadows are desirable. Using multiple light sources, such as a primary light (key light) and a secondary light (fill light), will help reduce harsh shadows and create a more balanced image.
- Fill Light: This secondary light is usually placed on the opposite side of the key light, with a lower intensity. It helps soften shadows and gives a more even, three-dimensional look to the product.
- Back Light (or Rim Light): Positioning a light behind the product can help separate it from the background, adding a subtle glow or outline that enhances its shape and form.
Adjust Light Positioning and Angle – The positioning and angle of your lights significantly affect how your product appears. For example, overhead lighting can create unattractive shadows, while lights placed at a 45-degree angle on either side often produce even illumination.
- Experiment with Angles: Try adjusting the light to different positions to see how it affects your product. Some products, like glass or shiny surfaces, benefit from side lighting to reduce reflections and glare.
Use Diffusers and Reflectors
- Diffusers: Placing a diffuser between the light and the product softens harsh light and creates an even spread. This can be as simple as a piece of white fabric or a professional diffuser. Diffused light minimizes reflections, particularly on shiny surfaces.
- Reflectors: Reflectors bounce light back onto the product, reducing shadows and adding brightness. A white foam board or specialized reflector can be used on the opposite side of the light source to fill in shadows and bring out details.
Experiment with Background Lighting – Background lighting can add depth and separation, especially for products shot on white or colored backgrounds. A small, soft light aimed at the background can prevent your product from blending in and enhance the overall aesthetic. This technique is particularly useful for shooting items on a white backdrop, creating a clean, professional look.
Check for Consistency Across Photos – If you’re shooting a range of products, ensure that your lighting setup is consistent across all photos. Consistency is essential for e-commerce, as it helps maintain a cohesive look across your website or product catalog. Consistent lighting also makes it easier for customers to compare products accurately.
Investing time in setting up proper lighting is essential for producing high-quality e-commerce product photos. With the right lighting techniques, you’ll be able to capture true-to-life images that reflect your product’s value, attract attention, and build trust with customers.
True-to-Life Color Representation: Building Trust with Accurate Product Photos

True-to-life color representation ensures that customers see shades, tones, and hues as they truly are, preventing disappointment when the product arrives. When your photos closely match the actual colors of your products, you build trust with your customers and help reduce returns due to mismatched expectations.
When customers receive a product that looks exactly as it did online, they’re more likely to feel satisfied with their purchase. Color discrepancies can lead to disappointment, frustration, and ultimately, returns.
Additionally, a significant number of returns in e-commerce are due to unmet expectations regarding product appearance, especially color. By ensuring that your product images accurately reflect the real colors, you can minimize the chance of returns, saving time and money.
Moreover, accurate colors give your e-commerce site a professional look, showing that you pay attention to details. This builds trust, as customers will feel more confident that they’re getting exactly what they see online.
Factors Influencing Color Accuracy
- Lighting Conditions: Lighting has a significant impact on how colors appear in photos. Warm lighting can make colors look more yellow or orange, while cool lighting gives them a blue or green tint. For accurate color representation, use neutral lighting, such as daylight-balanced bulbs or indirect natural light.
- Camera Settings: Camera settings like white balance and exposure play a big role in capturing accurate colors. White balance settings control the color temperature, while exposure affects brightness. When these settings are off, colors may appear too warm, cool, or washed out.
- Editing Software and Monitors: Many photographers adjust images in post-production to enhance colors, contrast, and brightness. However, editing software can introduce slight changes in color if adjustments are too aggressive. Additionally, monitor calibration is essential for accurate color viewing, as uncalibrated monitors may display colors inaccurately, which could affect editing.
Tips for Achieving True-to-Life Color Representation
Here’s how you can use colors to your advantage:
- Use Neutral Lighting. Aim for daylight-balanced (5000-5500K) lighting when setting up your product photography. Daylight-balanced bulbs mimic natural light and help achieve a neutral color temperature. Avoid colored lighting, as it can distort the colors in the photo. Even regular household lights may add yellow or green tints, so it’s best to use lighting specifically designed for photography.
- Set the Correct White Balance. Adjust your camera’s white balance to match the lighting environment. Many cameras have presets for different lighting conditions, such as sunlight, shade, or artificial light. Alternatively, you can set a custom white balance by using a white or gray card in the shot. If you’re shooting with a smartphone, use the manual or “Pro” mode to adjust the white balance, which can help avoid overly warm or cool tones in the final image.
- Avoid Over-Editing. Editing software like Adobe Lightroom or Photoshop offers tools to adjust colors but use them sparingly. Enhancing saturation or contrast can make colors appear more vibrant, but too much adjustment can lead to unrealistic colors that don’t match the product’s actual appearance. Focus on subtle adjustments that enhance the image without distorting the color. Aim for consistency across all images, so each product looks realistic and cohesive on your e-commerce platform.
- Calibrate Your Monitor. Use a color calibration device to adjust your monitor’s color settings. These tools analyze your monitor’s color output and adjust it to ensure accurate color reproduction. This is particularly useful if you’re editing on multiple monitors, as it ensures color consistency across different screens. Monitors can drift over time, leading to subtle color shifts. Aim to recalibrate your monitor every few weeks to maintain consistent color accuracy, especially if you’re working with a high volume of product photos.
- Test Images on Multiple Devices. Customers may view your images on various devices, from smartphones to desktop monitors. Since each device displays colors slightly differently, it’s a good idea to test your images on several devices. This will give you a sense of how they might appear to a broader audience and help you identify any major discrepancies. If you find that colors vary too much across devices, consider creating slightly optimized versions of your images for different platforms. Many e-commerce platforms allow you to upload device-specific images, ensuring the best viewing experience regardless of device.
- Use a Color Checker for Consistency. A color checker (such as the X-Rite ColorChecker) is a reference card with a set of standardized color swatches. You can include it in the first shot of each product session, and then use it to adjust colors in post-production. By matching the colors in your photos to the known values of the color checker, you can ensure that your colors remain consistent and accurate. Most professional editing software includes tools for color matching. You can use these tools to adjust the colors in your photo to closely align with the color checker, which is particularly helpful if you shoot under different lighting conditions.
Remember, accurate colors go a long way in establishing a professional, trustworthy brand image, which is crucial for success in the competitive world of e-commerce.
Consistent and Clean Backgrounds: Enhancing Focus and Brand Cohesion in Product Photography

The background of your product photos plays a vital role in drawing attention to the product itself and providing a cohesive visual experience for shoppers. Consistent, clean backgrounds help highlight the product, reduce distractions, and establish a professional brand aesthetic.
A simple, clean background directs the viewer’s attention straight to the product. Busy or cluttered backgrounds can distract from the main subject and make it difficult for customers to see product details, which is especially important when shopping online.
A consistent background across all product photos helps create a unified look, enhancing your brand’s identity and professionalism. This cohesion is particularly important for e-commerce platforms, where a uniform appearance can make your store look well-organized and aesthetically pleasing, building trust with customers.
Additionally, clean backgrounds, especially plain white or neutral ones, are easier to work with during post-processing. They make it simpler to adjust lighting, color, and contrast, and if needed, to remove or replace the background entirely. This saves time and resources in photo editing.
Many e-commerce platforms, including Amazon and eBay, require product images to have a plain white or neutral background. Meeting these requirements ensures your listings are accepted and displayed in the most professional manner possible.
Choosing the Right Background for Your Product
White is the most popular choice for e-commerce product photos because it highlights the product without adding color or texture that could distract. It’s also versatile, as it fits well with nearly all product types and helps colors stand out, making products look clean and sharp.
Additionally, if you want to soften the look of your photos or create a warmer feel, light gray or beige backgrounds can be a good alternative. These colors add subtle contrast and work well with a wide range of products, especially those with light or white elements, which might blend into a white background.
For brands that want to establish a distinct aesthetic, colored backgrounds can be effective when used sparingly. Stick to light, muted shades to avoid overpowering the product. These are especially useful for brand-focused or lifestyle shots, but should still be kept consistent across all photos to maintain brand cohesion.
Moreover, textured or styled backgrounds can work well for lifestyle photos that show products in a natural setting. However, it’s important to keep these textures subtle and uncluttered so they don’t steal attention from the product itself. Think neutral wood, marble, or fabric backdrops that add a touch of context without creating visual noise.
Tips for Achieving a Clean, Consistent Background
- Use a Backdrop Sweep: A seamless background sweep is a roll of paper or fabric that transitions smoothly from vertical to horizontal, creating a continuous background with no visible edges. These are especially useful for achieving a clean, professional look and are widely available in neutral tones.
- Invest in a Lightbox for Smaller Products: A lightbox provides a simple, enclosed space with consistent lighting and a smooth background, ideal for small products like jewelry, accessories, or electronics. Most lightboxes have interchangeable white and neutral backdrops, allowing you to control the look and maintain consistency across photos.
- Minimize Shadows and Distractions: Ensure even lighting to avoid harsh shadows, especially if you’re using a plain background. Soft lighting from multiple angles, or using diffusers with your lights, can help achieve a shadow-free look, keeping the focus on the product. For backgrounds with texture, make sure the texture is subtle enough to avoid pulling attention away from the product.
- Consider Background Removal Tools: If you can’t achieve a clean background in the initial shot, consider using editing software to remove or replace it. Adobe Photoshop and online tools are popular choices for background removal, making it easy to place the product on a white or neutral background without reshooting.
- Use Consistent Camera Angles and Composition: Maintaining consistency in the background includes how the product is framed in the shot. For example, if you’re shooting a range of products from different angles, use the same perspective and positioning across all photos. This creates uniformity and a visually satisfying experience for your customers.
- Match Backgrounds to Your Platform’s Requirements: Different platforms may have specific guidelines on backgrounds. For instance, Amazon requires pure white backgrounds (RGB 255, 255, 255) for main product images. Familiarize yourself with these guidelines and adapt your background setup accordingly to avoid issues with listings and maintain a professional look across all sales channels.
- Batch Shooting for Efficiency and Consistency: When photographing multiple products, set up your background and lighting once and shoot all products in the same session. This ensures that every photo has the same lighting, background, and perspective, making your images more uniform. Batch shooting is particularly helpful for product lines with similar items, as it reduces the need for constant re-adjustments.
Whether you opt for a classic white background or a subtle neutral tone, keeping the backdrop simple and cohesive helps draw attention to the product, builds trust with customers, and provides a polished look to your online store.
Multiple Angles and Close-Ups: Offering a Complete Product View for Informed Purchases

One of the biggest digital challenges is helping customers feel confident about what they’re buying without being able to touch or see the product in person. Showing multiple angles and close-ups of your products is essential for providing a comprehensive view, allowing customers to see every detail and understand exactly what they’re getting.
Providing various views of a product helps customers visualize it better and assess it from all sides. By showcasing multiple angles, you reduce uncertainties and allow customers to gain a realistic sense of the product’s size, shape, and features.
When customers know exactly what to expect from a product, they’re less likely to be disappointed upon receiving it. Multiple angles help clarify what the product looks like, leading to fewer surprises and a lower likelihood of returns due to unmet expectations. Moreover, close-ups let you showcase key features, textures, and materials that are hard to appreciate from a distance.
These details can be especially important for products where craftsmanship, material quality, or intricate designs are selling points.
Types of Angles to Include
- Front View: This is the most straightforward and often the first image customers see. It gives a head-on look at the product, establishing the basic shape and design.
- Back View: The back of a product can reveal important features that aren’t visible from the front. For example, showing the back of a dress or a piece of furniture provides a complete view, helping customers assess overall style and detail.
- Side Views: Side views are helpful for products with depth or distinctive profiles. This angle is particularly useful for products like shoes, bags, or electronics, where the side view reveals additional features like zippers, buttons, or design elements.
- Top and Bottom Views: These views are essential for products with features on all surfaces. For example, showing the top view of a table reveals the surface pattern, while the bottom view of a pair of shoes can display sole details. These angles provide a well-rounded perspective, adding transparency to the buying experience.
- 45-degree Angles: Also known as three-quarter views, these angles provide a perspective that combines the front and side of a product. This is a popular angle for product photography because it gives a more dimensional view and adds depth, helping customers visualize the product in a real-world context.
- Contextual or Lifestyle Angles: While not a strict angle in the traditional sense, lifestyle photos place the product in a relevant setting, showcasing it in use. These types of photos are helpful for products like home decor, clothing, or fitness gear, allowing customers to visualize the item in its intended environment.
Tips for Capturing Effective Close-Ups
- Focus on Textures and Materials: Close-ups are an excellent way to highlight the textures, materials, and fine details of your product. For instance, a close-up of a leather handbag should showcase the grain of the leather, while a close-up of a watch might focus on the dial and craftsmanship. This level of detail helps customers appreciate the product’s quality and finish.
- Show Functional Details: For many products, close-ups of functional features are crucial. For example, if you’re selling a backpack, show close-ups of the zipper, pockets, and straps. These detailed shots provide a better understanding of the product’s usability, which is valuable for customers looking for specific functionalities.
- Highlight Unique Selling Points (USPs): If your product has unique features, make sure to capture close-ups of these. This might include special stitching, custom engravings, or intricate designs. These details are often what set your product apart from competitors, so they should be showcased prominently.
- Use a Macro Lens for Fine Details: For products with small, intricate elements, a macro lens can be helpful. It allows you to capture extreme close-ups with high clarity and detail. This is particularly useful for jewelry, watches, and other small items where customers want to inspect the details closely.
- Capture Close-Ups of Branding Elements: If your product includes branding elements like logos, tags, or unique packaging, highlight them with close-ups. This is a great way to reinforce your brand identity and showcase any branded touches, which can be a selling point for customers who value brand recognition.
- Use Consistent Lighting and Backgrounds: Even with close-ups, consistency matters. Use the same lighting setup and background for close-up shots as you do for other angles, ensuring a uniform look. This not only adds to your brand’s professional appearance but also prevents distractions, allowing customers to focus on the product details.
- Provide Multiple Close-Up Shots: For products with various key details, don’t hesitate to offer multiple close-up views. For example, if you’re selling a piece of clothing, you could include close-ups of the fabric texture, stitching, buttons, and any embellishments. The more detailed views you provide, the more informed customers will feel.
By giving customers the chance to inspect every detail, you help them make informed decisions, boost their confidence, and foster a positive online shopping experience.
How CGI Can Enhance E-Commerce Product Images
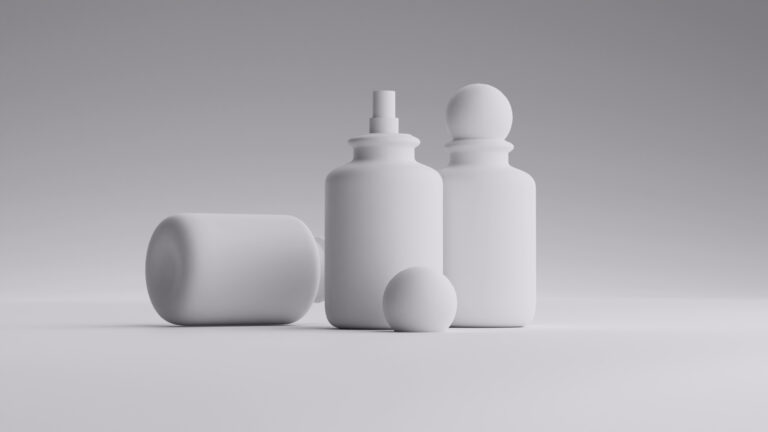
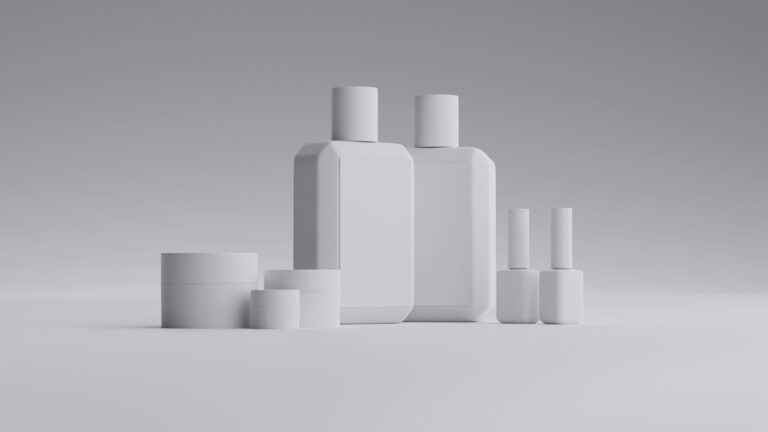
Computer-generated imagery (CGI) is becoming an increasingly popular tool for e-commerce product photography, offering benefits that traditional photography sometimes cannot. By using CGI, businesses can create photorealistic images of products without the need for physical items or elaborate photoshoots. Here’s how CGI can elevate e-commerce product images:
- Unlimited Flexibility: With CGI, you can create images of products in various settings, colors, and styles that might not be feasible with traditional photography. This is particularly useful for showcasing product variations or placing products in diverse, customized environments.
- Consistent Quality and Lighting: CGI allows for complete control over lighting, shadows, and reflections. This means each product image can be created with perfectly uniform lighting and backgrounds, resulting in highly professional, consistent images across all products.
- Cost-Effective for Large Catalogs: Creating physical prototypes for every product variation can be time-consuming and expensive. CGI can streamline this process, especially for large product catalogs or items with multiple configurations, reducing costs while maintaining high image quality.
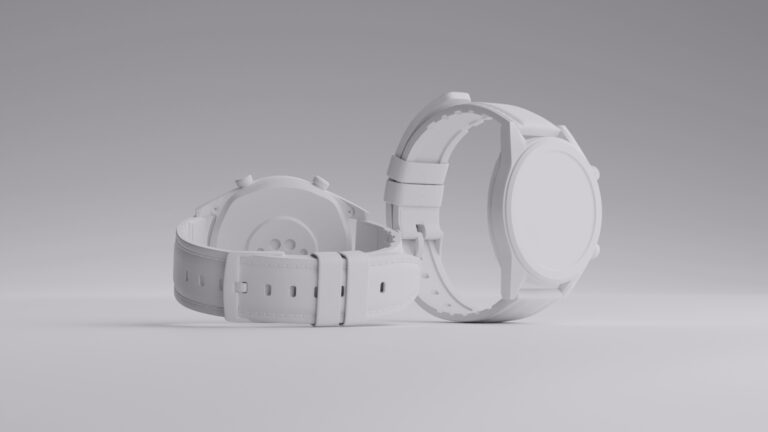
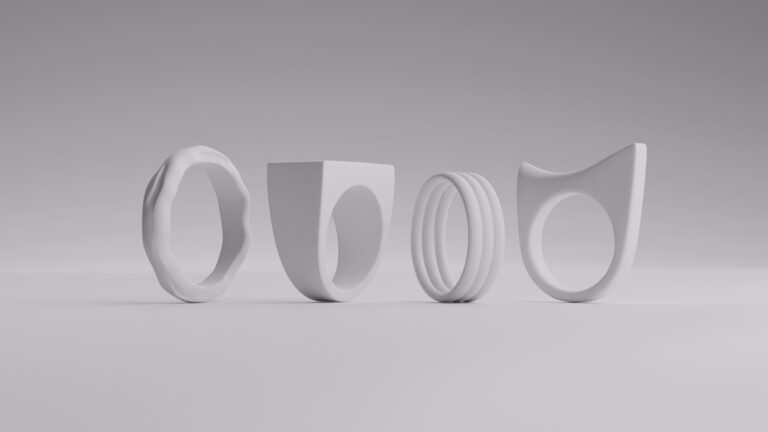
- Enhanced Close-Up Detail: CGI allows for extreme zoom and high-definition detail that can be challenging to achieve with standard photography. This is ideal for capturing intricate textures and features, making it a valuable option for industries like jewelry, electronics, and automotive parts.
- Efficient Updates and Changes: When a product design changes or new variations are added, CGI images can be modified digitally without requiring new photo shoots. This allows for faster updates, ensuring that e-commerce listings always reflect the most current product information.
Overall, when it comes to creating and using high-quality product images, computer-generated assets work better than the ones received through traditional mediums.
Wrapping up
Great product photos can significantly enhance the customer experience on your e-commerce website. By focusing on high resolution, proper lighting, accurate color, clean backgrounds, and multiple angles, you’ll be well on your way to creating visuals that engage, inform, and convert. Remember, a picture is worth a thousand words—so make every image count!
FAQ
What are the essential qualities of great e-commerce product images?
The essential qualities include high resolution and clarity, proper lighting, true-to-life color representation, consistent and clean backgrounds, and multiple angles and close-ups.
How can I ensure my product images are high-quality?
Invest in a good camera or smartphone with high-resolution capabilities, use a tripod for stability, and ensure your lighting setup is adequate to avoid shadows and enhance clarity.
Why is color accuracy important in product photography?
Color accuracy is crucial because it ensures customers see the product as it truly is, reducing the likelihood of returns due to mismatched expectations and enhancing customer trust.
What type of background works best for product photography?
Clean, neutral backgrounds like white or light gray are most effective for product photography, as they keep the focus on the product and create a professional, cohesive look.
How does CGI differ from traditional photography for e-commerce?
CGI allows for greater flexibility and control over product representation, enabling brands to create realistic 3D models, showcase various features and angles, and maintain consistency across images without the constraints of physical photography.


