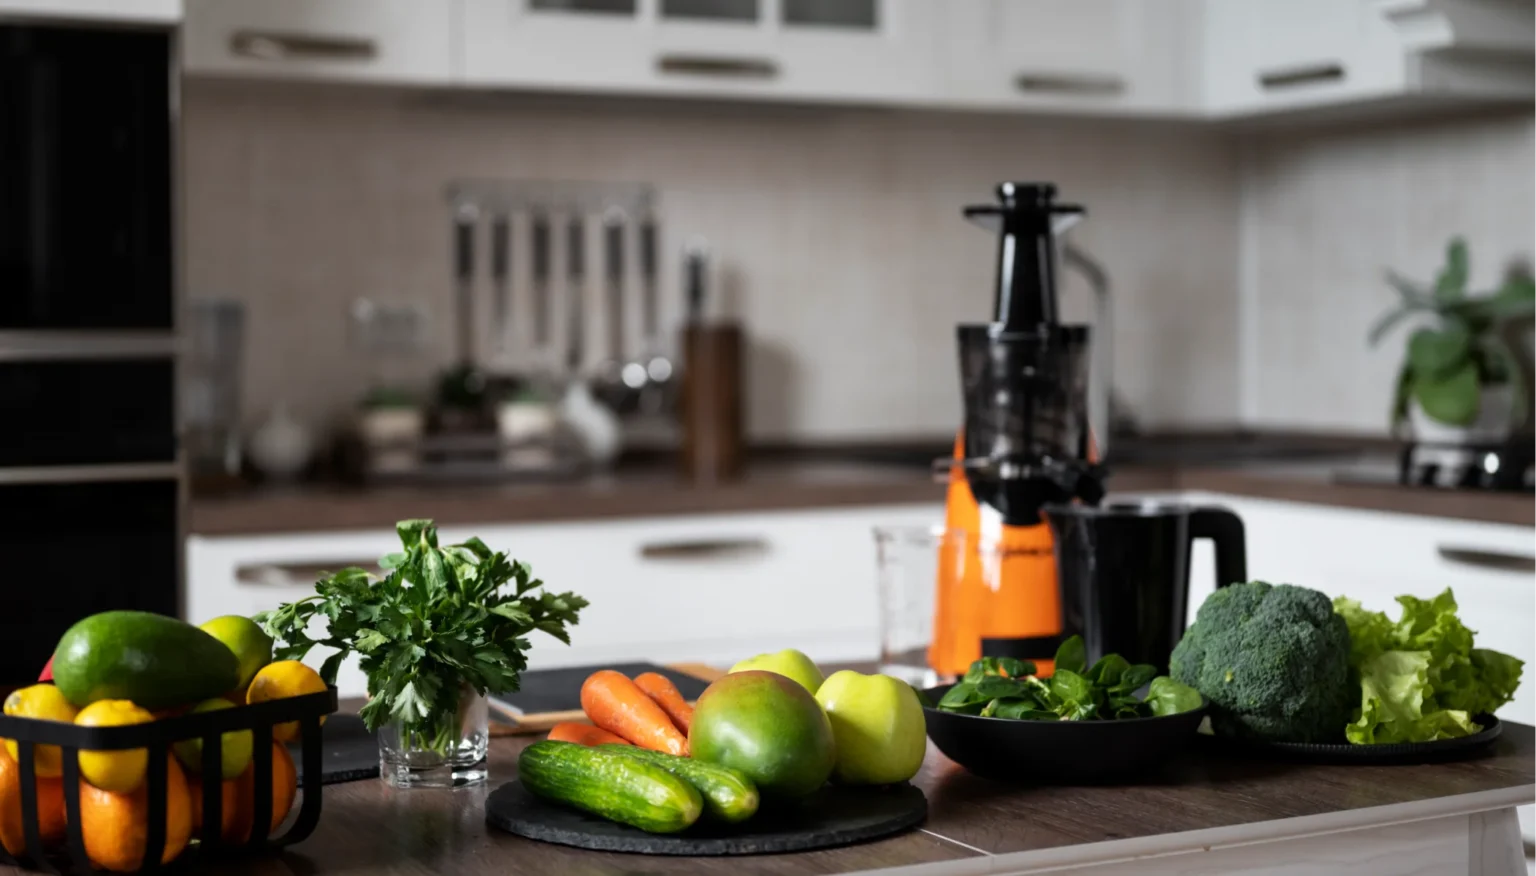
Captivating product visuals is crucial for success, especially in the culinary world. Kitchen product photography goes beyond snapshots; it’s about capturing a product’s essence and value. This article explores techniques for mastering this art, so, let’s dive right into it.
Understanding the Basics of Kitchen Product Photography
Mastering kitchen product photography requires a solid understanding of the fundamental principles that govern the craft. From lighting to composition, each element plays a crucial role in creating visually stunning images that effectively showcase the product.
Lighting is the cornerstone of photography, and in kitchen product photography, it takes on added importance due to the need to highlight textures and enhance visual appeal. Natural light can provide a soft, flattering glow, perfect for capturing the warmth and vibrancy of food products.
Alternatively, artificial light sources such as studio strobes or continuous lights offer greater control over intensity and direction, allowing photographers to create dramatic effects. Experimenting with different lighting setups, such as backlighting to create a halo effect around the product or side lighting to emphasize texture, can yield striking results.
Composition is the art of arranging elements within the frame to create visually compelling images. In kitchen product photography, composition plays a crucial role in guiding the viewer’s eye to the focal point—the product itself.
The rule of thirds, which divides the frame into thirds both horizontally and vertically, provides a basic framework for creating balanced compositions. Placing the product off-center, along one of the imaginary gridlines, can add visual interest and create a more dynamic image. Additionally, incorporating leading lines, such as the handle of a utensil or the edge of a cutting board, can draw the viewer’s gaze toward the product.
Props are essential tools for adding context and interest to kitchen product photos. They can help tell a story, evoke emotions, and enhance the overall aesthetic of the image. For example, placing fresh herbs or spices next to a cooking utensil can convey a sense of freshness and flavor.
Similarly, using colorful kitchen linens or decorative accents can add visual interest and create a cohesive theme. When selecting props, it’s essential to choose items that complement the product without overpowering it. A delicate balance must be struck between adding context and maintaining focus on the main subject—the product itself.
Creating the right environment is crucial for achieving the desired aesthetic in kitchen product photography. This includes choosing an appropriate background and setting up the product in a way that highlights its features.
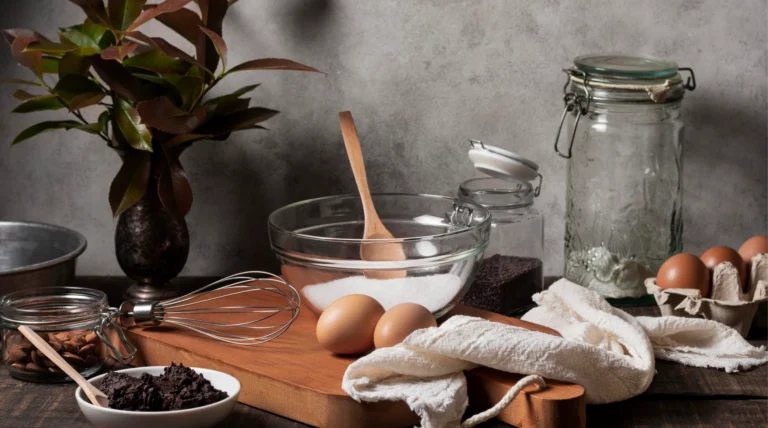
For example, photographing a rustic wooden cutting board against a backdrop of fresh produce can evoke a sense of farm-to-table simplicity. Similarly, arranging baking ingredients around a mixing bowl can create a sense of anticipation and excitement. Paying attention to details such as surface textures, background colors, and overall ambiance can elevate the visual appeal of the image and create a more immersive experience for the viewer.
In summary, mastering kitchen product photography requires a combination of technical skill, creative vision, and attention to detail. By understanding the basics of lighting, composition, props, and setting the environment, you can create compelling images that effectively showcase kitchen products in their best light.
Experimenting with Lighting to Highlight Textures
In kitchen product photography, lighting is not just about illuminating the scene; it’s about accentuating textures and creating depth to make the products come alive.
Natural vs. Artificial Light: Natural light, when properly utilized, can produce stunning results in kitchen product photography. Place your setup near a window where diffused sunlight streams in gently. This soft, even light helps highlight textures without casting harsh shadows. However, natural light can be inconsistent, especially depending on the time of day and weather conditions.
Alternatively, artificial light sources offer more control over the lighting environment. Studio strobes or continuous lights can be positioned strategically to emphasize textures and create mood. Experiment with different angles and intensities to achieve the desired effect. For instance, a softbox placed to the side can cast gentle shadows, enhancing the texture of a wooden cutting board or the grain of a piece of fruit.
Soft and Hard Lighting Techniques: Soft lighting is ideal for capturing delicate textures and creating a sense of warmth in kitchen product photos. This can be achieved by diffusing light sources or bouncing them off reflective surfaces. For example, placing a white sheet or diffusion panel between the light source and the product softens harsh shadows and produces a flattering glow.
On the other hand, hard lighting can be used to create dramatic effects and emphasize specific details. Directing a spotlight or using a snoot to concentrate light on a particular area can bring out intricate textures and patterns. For instance, highlighting the edges of a knife blade or the ridges of a citrus peel can add visual interest and depth to the image.
Using Reflectors and Diffusers: Reflectors and diffusers are invaluable tools for controlling and manipulating light in kitchen product photography. A silver or white reflector can bounce light back onto the subject, filling in shadows and brightening dark areas. Conversely, a diffuser can soften harsh light and create a more flattering, even illumination.
For example, when photographing shiny metal cookware, such as stainless steel pots and pans, placing a white reflector opposite the light source can help reduce harsh reflections and create a more pleasing highlight. Similarly, using a diffuser in front of a bright window can soften the sunlight, preventing harsh shadows and preserving the delicate textures of food products.
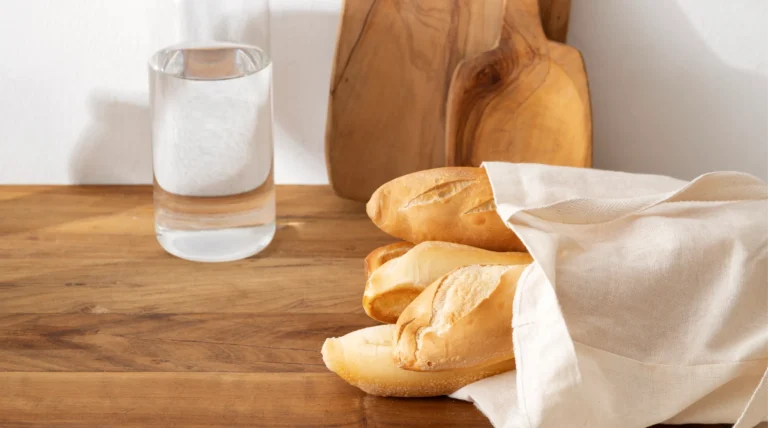
Consider photographing a loaf of bread on a wooden cutting board. By positioning the setup near a window and using a white reflector to bounce sunlight onto the bread, you can create soft, diffused lighting that highlights the texture of the crust and the crumb. Alternatively, for a more dramatic effect, you could use a directional spotlight to cast shadows and create contrast, emphasizing the rustic, artisanal quality of the bread.
Experiment with different lighting setups and techniques to discover what works best for showcasing the unique characteristics of each product.
Arranging Products in Aesthetically Pleasing Compositions
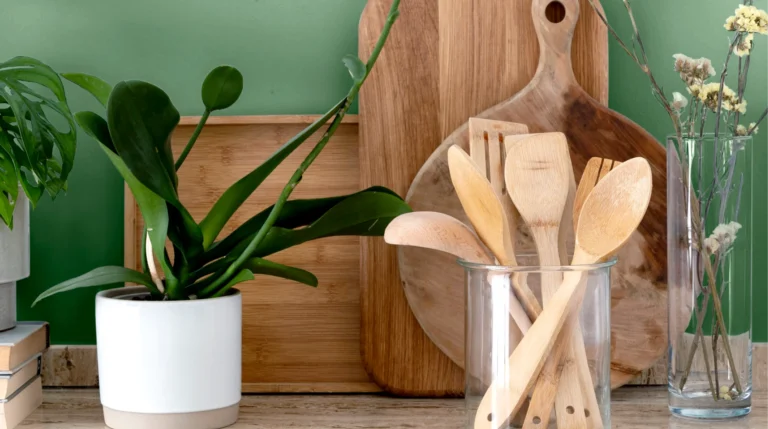
Composition is the art of arranging elements within the frame to create visually compelling images. In kitchen product photography, thoughtful composition not only showcases the product but also enhances its appeal and tells a story. Here’s a closer look at some techniques and examples to master this crucial aspect
Rule of Thirds and Composition Techniques
The rule of thirds is a fundamental principle in photography that divides the frame into thirds both horizontally and vertically, creating nine equally sized sections. Placing the main subject or focal point along one of the imaginary grid lines or intersections can create a more balanced and visually appealing composition. For example, positioning a cutting board with a knife along one of the vertical gridlines draws the viewer’s eye toward the focal point and creates a sense of balance and harmony.
In addition to the rule of thirds, other composition techniques can be employed to create visually engaging images. Leading lines, such as the edge of a countertop or the handle of a utensil, can guide the viewer’s gaze toward the focal point and create a sense of depth. Framing the subject with surrounding elements, such as ingredients or kitchen utensils, can add context and visual interest to the composition.
Balancing Elements Within the Frame
Achieving balance within the frame is essential for creating aesthetically pleasing compositions in kitchen product photography. This involves distributing visual weight evenly throughout the image to create a sense of harmony. For example, if one side of the frame contains a large, visually dominant element, such as a mixing bowl, balancing it with smaller, complementary elements on the opposite side can create a sense of equilibrium.
Consider photographing a set of kitchen utensils arranged on a countertop. By placing the larger, bulkier items towards the bottom of the frame and the smaller, more delicate items towards the top, you can create a sense of balance and harmony. Similarly, varying the height and placement of each utensil adds visual interest and prevents the composition from appearing static or repetitive.
Grouping Products for a Cohesive Look
Grouping products can create a cohesive and visually appealing composition in kitchen product photography. This technique is particularly effective when photographing related items or creating themed arrangements. For example, arranging a selection of baking ingredients, such as flour, sugar, and eggs, near a mixing bowl and whisk creates a sense of unity and tells a story of baking preparation.
When grouping products, it’s essential to consider their size, shape, and color to ensure a harmonious composition. Varying the placement and orientation of each item adds visual interest and prevents the composition from appearing too static or predictable. Experimenting with different arrangements and perspectives can help you find the most visually compelling composition for your kitchen product photos.
Using Negative Space Effectively
Negative space refers to the empty or unoccupied areas within the frame surrounding the main subject. In kitchen product photography, negative space can be used to draw attention to the focal point and create a sense of balance and simplicity. Placing the product against a clean, uncluttered background allows it to stand out and become the primary focus of the image.
Consider photographing a single piece of fruit, such as an apple or pear, against a plain white backdrop. By leaving plenty of negative space around the fruit, you can create a sense of isolation and focus the viewer’s attention on its vibrant colors and texture. Similarly, positioning a cooking utensil against a simple, neutral background allows its form and details to take center stage.
For example, imagine photographing a set of ceramic dinner plates arranged on a wooden table. By placing the plates slightly off-center and varying their orientation, you can create a sense of movement and dynamism within the composition. Incorporating surrounding elements, such as linen napkins or decorative accents, adds context and visual interest to the scene. By carefully balancing the visual weight of each element and using negative space effectively, you can create a visually compelling composition that showcases the beauty of the plates while telling a story of a farmhouse-inspired dining experience.
By understanding composition techniques, you can create visually engaging images that showcase the beauty and versatility of kitchen products.
Using Props to Add Context and Interest
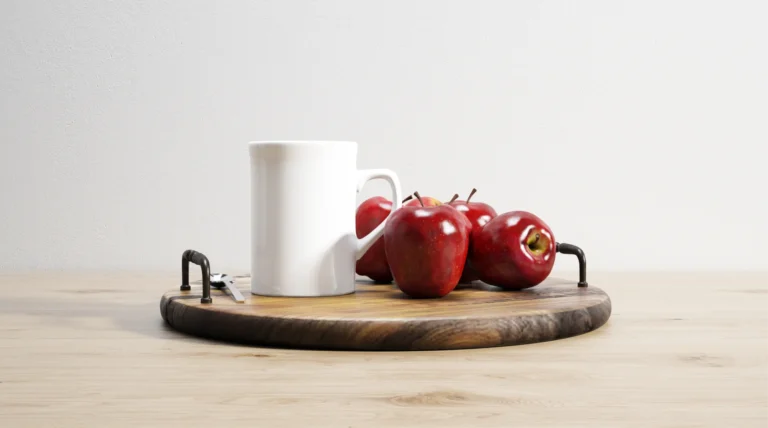
In kitchen product photography, props are invaluable tools for enhancing visual storytelling, adding context, and creating a sense of ambiance. Thoughtfully selected props can elevate the overall aesthetic of an image and help convey the intended message to viewers. Let’s explore some techniques and examples for effectively using props in kitchen product photography:
Selecting Appropriate Props: When choosing props for kitchen product photography, it’s essential to consider their relevance to the product being showcased and the desired aesthetic. Props should complement the product without overpowering it, adding visual interest and context without distracting from the main subject. For example, when photographing a set of baking tools, props such as flour, eggs, and a rolling pin can enhance the narrative and evoke a sense of baking preparation.
Consider the example of photographing a rustic wooden cutting board. Props such as fresh herbs, a chef’s knife, and a bowl of olive oil can add context and suggest culinary use, creating a sense of authenticity and inviting viewers to imagine themselves in the kitchen. Similarly, when photographing a set of ceramic dinner plates, props such as linen napkins, glassware, and decorative accents can enhance the dining experience and create a cohesive theme.
Ideas for Common Props: There are endless possibilities when it comes to selecting props for kitchen product photography. Some common props include utensils, ingredients, kitchen linens, and decorative accents. Utensils such as wooden spoons, spatulas, and whisks can add a sense of functionality and suggest how the product is used. Ingredients such as fresh produce, herbs, and spices can enhance the narrative and evoke a sense of freshness and flavor.
Kitchen linens such as napkins, towels, and aprons can add texture and visual interest to the scene, as well as provide a backdrop for the product. Decorative accents such as flowers, candles, and tableware can add a touch of elegance and create a sense of ambiance. When selecting props, it’s essential to consider the overall theme and mood of the image and choose items that complement the product and enhance the visual storytelling.
Avoiding Clutter: While props can enhance the visual appeal of an image, it’s essential to avoid clutter and maintain focus on the main subject—the product itself. Too many props or overly complex compositions can detract from the product and create visual confusion. Instead, strive for simplicity and elegance, using props sparingly to add context and interest without overwhelming the scene.
In summary, props are powerful tools for adding context and interest to kitchen product photography. By selecting appropriate props, avoiding clutter, and incorporating seasonal and thematic elements, photographers can create visually compelling images that tell a story and evoke emotions in viewers. Experimenting with different props and compositions allows for creative expression and helps photographers develop their unique style.
Styling Techniques for Food Products

When it comes to kitchen product photography, styling food products is a specialized skill that requires attention to detail and creativity. Here are some styling techniques to consider:
- Importance of Food Styling: Food styling is the art of arranging food products attractively to enhance their visual appeal. It involves careful consideration of composition, color, texture, and presentation to create mouthwatering images that captivate viewers.
- Arranging Products Attractively: Pay attention to how food products are arranged within the frame. Experiment with different arrangements to find the most visually appealing composition. Consider factors such as symmetry, balance, and visual flow to create a harmonious image.
- Tricks for Making Food Appear Fresh: Freshness is essential in food photography to entice viewers. Use techniques such as misting fruits and vegetables with water to create a dewy appearance, or brushing pastries with a light glaze to enhance their sheen. Avoid over-handling food products to maintain their natural appearance.
- Using Garnishes and Condiments: Garnishes and condiments can add visual interest and flavor to food photos. Experiment with fresh herbs, spices, sauces, and condiments to enhance the presentation of dishes. Consider the color, shape, and texture of garnishes to complement the food product.
- Creating Depth and Dimension: Use techniques to create depth and dimension in food photography. Experiment with layering ingredients, varying heights, and angles to add visual interest. Consider using props such as utensils, plates, and napkins to create a sense of context and scale.
- Playing with Colors and Textures: Color and texture play a significant role in food photography. Experiment with contrasting colors and textures to create visually striking images. Consider using props such as colorful linens, plates, and backgrounds to add depth and vibrancy to the composition.
- Maintaining Consistency: Consistency is key in food photography, especially when photographing multiple dishes or products. Pay attention to details such as lighting, styling, and composition to ensure a cohesive look across all images. Use a consistent editing style to enhance the overall aesthetic.
- Telling a Story: Food photography is not just about capturing beautiful images; it’s also about telling a story. Consider the context and narrative behind the food product and use styling techniques to convey that story visually. Whether it’s a cozy breakfast scene or a festive holiday spread, let the styling elements enhance the overall narrative of the image.
- Attention to Detail: Finally, pay attention to the smallest details in food styling. Check for any imperfections or blemishes on food products and make necessary adjustments. Use props and styling elements strategically to enhance the overall composition without overwhelming the main subject.
By applying these styling techniques, you can create stunning food photos that not only showcase the products but also evoke emotions and tell a compelling story. Experiment with different approaches and have fun with the creative process!
Practical Tips and Tricks
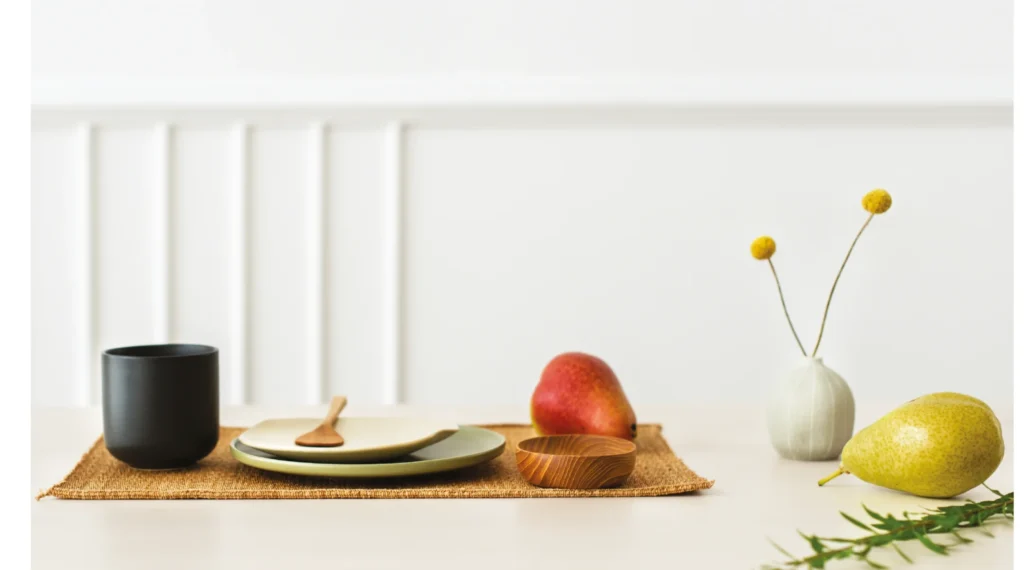
Mastering kitchen product photography requires more than just technical skill; it also involves practical considerations to ensure smooth and efficient photo shoots. Here are some practical tips and tricks to help you achieve professional results.
- Keep the Setup Clean and Organized: Maintain a clean and clutter-free shooting environment to avoid distractions in your photos. Organize your props, equipment, and accessories neatly to streamline the photo shoot process.
- Use Tripods and Stabilizers for Sharp Images: Invest in a sturdy tripod to stabilize your camera and prevent camera shake.
- Optimize Camera Settings for Quality Results: Adjust your camera settings, to achieve the desired exposure and depth of field.
- Focus on Sharpness and Detail: Use manual focus or autofocus with a single focus point to ensure critical areas of the image are sharp and well-defined.
- Experiment with Different Perspectives and Angles: Explore various perspectives and angles to find the most flattering and visually appealing compositions.
- Utilize Props and Accessories Creatively: Use props, accessories, and styling elements creatively to enhance the visual appeal and storytelling of your kitchen product photos.
- Take Test Shots and Make Adjustments: Take test shots and review them regularly to evaluate exposure, composition, and overall image quality.
Remember to stay organized, attentive to detail, and open to experimentation to achieve the best possible results in your photo shoots.
Wrapping up
Mastering the art of kitchen product photography requires a combination of technical skill, creative vision, and attention to detail. With dedication and practice, anyone can become proficient in the art of kitchen product photography.
FAQ
What equipment do I need for kitchen product photography?
You’ll need a digital camera (DSLR or mirrorless), a variety of lenses (such as a macro lens for close-up shots), lighting equipment (natural light or artificial lights like strobes or continuous lights), a sturdy tripod, and basic props and accessories to enhance your compositions.
How can I make food products look more appetizing in photos?
Focus on fresh, high-quality ingredients and use food styling techniques to enhance their appearance. Pay attention to lighting, composition, and presentation to create mouthwatering images that appeal to viewers’ senses.
How do I achieve consistent results in my kitchen product photography?
Develop a workflow that includes planning, styling, shooting, and editing. Create a style guide or mood board to maintain consistency in lighting, composition, and styling across your images. Practice regularly and refine your techniques through experimentation and feedback.
What are some common mistakes to avoid in kitchen product photography?
Avoid using harsh or unflattering lighting, cluttered compositions, distracting backgrounds, and over-processed editing. Be mindful of reflections, shadows, and color balance to ensure your images look professional and polished.
How can I improve my composition and styling skills in kitchen product photography?
Study the work of professional photographers and food stylists for inspiration and guidance. Practice arranging props and products in visually appealing compositions, experiment with different lighting techniques, and seek feedback from peers or mentors to refine your skills over time.
