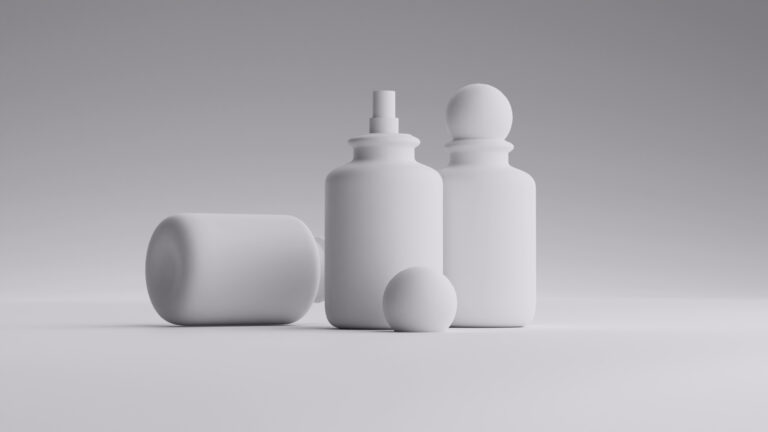
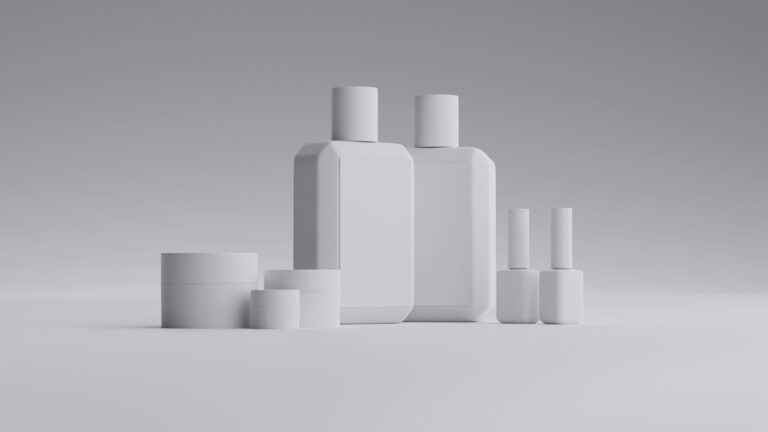
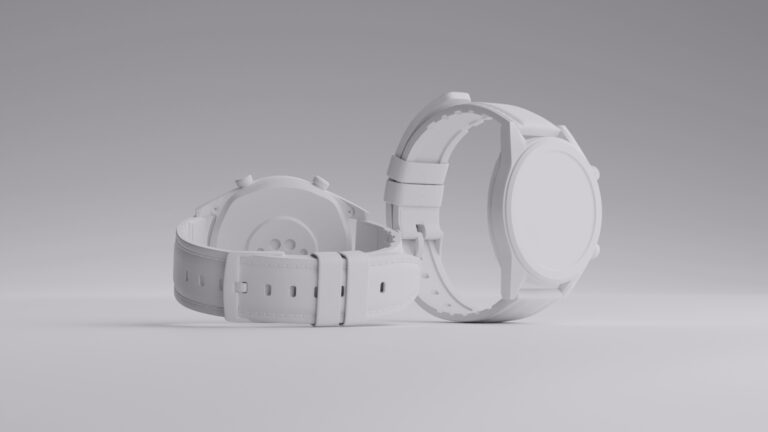
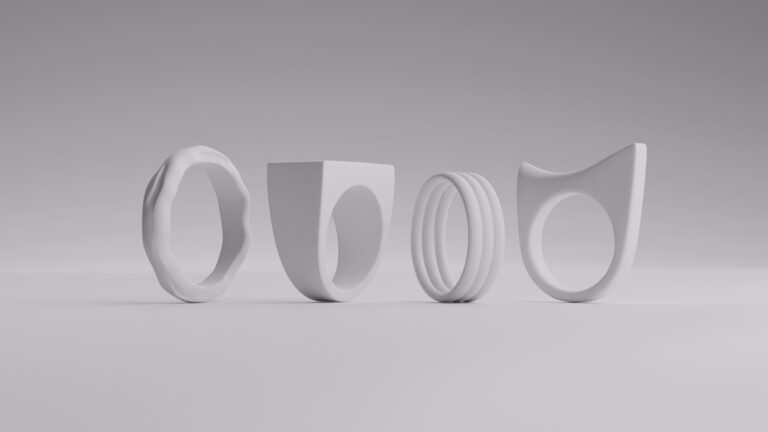
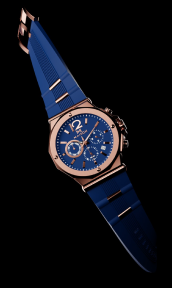
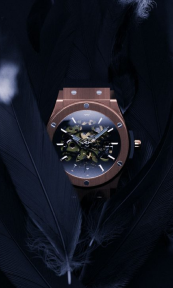
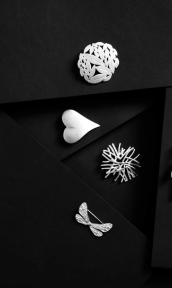
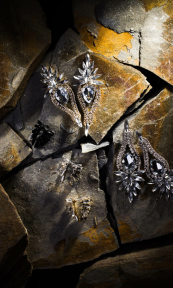
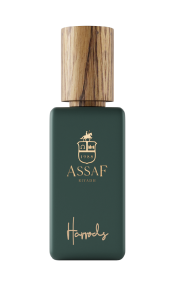
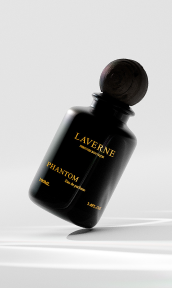
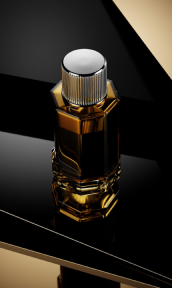
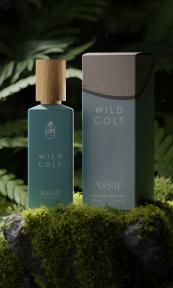
Computer-generated imagery has revolutionized the way we photograph metal products, as it offers unprecedented creative control, precision, and flexibility. Learn how to use CGI for metal product photographs and what are the key steps involved in the process.
Advantages of CGI in Metal Product Photography

The use of CGI not only enhances the creative potential but also offers significant practical benefits. Here are just a few of them:
- Creative Freedom: CGI allows you to create environments and scenarios that would be impossible to achieve with traditional photography. For instance, you can simulate a metal watch glistening in a desert sunset or a stainless steel appliance in a futuristic kitchen without leaving your studio. This level of creative control enables photographers and designers to experiment with various settings and moods, pushing the boundaries of visual storytelling.
- Cost-Effectiveness: While the initial setup for CGI might be higher, it eliminates the need for physical prototypes, elaborate studio setups, and multiple re-shoots, ultimately reducing costs. For example, a company can showcase a range of metal products without manufacturing them simply by altering the CGI model. This method, in particular, benefits companies with extensive product lines, allowing them to save on production and photography costs.
- Consistency: Achieving uniform lighting and angles across multiple products is challenging in traditional photography. CGI ensures consistency in lighting, perspective, and background. For example, an e-commerce site displaying a series of metal kitchen appliances can maintain a consistent look and feel across all product images, enhancing the overall aesthetic and professionalism of the site.
- Post-Production Flexibility: CGI provides unparalleled flexibility in post-production. You can adjust lighting, textures, and even the geometry of the product without the need for reshooting. This means if a client wants to change the finish of a metal chair from brushed to polished, it can be done quickly and easily within the CGI software, saving time and resources.
- Detail and Precision: CGI allows for incredibly detailed and precise representations of metal products. Fine details, like intricate engravings, subtle textures, and complex reflections, can be rendered with high accuracy. For example, a jeweler can use CGI to highlight the intricate craftsmanship of a metal bracelet, showcasing details that might be difficult to capture with traditional photography.
These benefits make it an invaluable tool for photographers and designers aiming to produce high-quality, realistic images of metal products. As technology continues to advance, the potential for CGI in product photography will only expand, further increasing its role as a cornerstone of modern visual marketing.
Key Steps in CGI Metal Product Photography

From conceptualization to post-processing, here are the key steps you should keep in mind to create stunning and realistic images of metal products.
- Conceptualization and Planning
Before diving into the technical aspects, it’s crucial to conceptualize the final image. Determine the style, setting, and mood you want to convey. Create a storyboard or a mood board to guide the process. This step ensures a clear vision and direction for the project, helping streamline the subsequent steps.
- 3D Modeling
The first technical step is creating a detailed 3D model of the metal product. Precision is key here, as the model must accurately represent the real-world dimensions and features of the product. Software such as Blender, Autodesk Maya, or 3ds Max are commonly used for this purpose. Ensure that every aspect, from the basic shape to the intricate details, is meticulously modeled.
Or, if you’d rather let this step in the hands of professionals, we can help you! When you collaborate with us we need to create the 3D model once, the first time we begin working together. After this, we can easily reuse it to provide you with more material for your future projects.
- Texture Mapping
To add depth and authenticity to your metal product, texture mapping is essential. This involves applying high-quality textures to the 3D model to simulate the surface characteristics of the metal. These textures can include scratches, blemishes, and subtle color variations that occur naturally. Texture maps such as bump maps, normal maps, and specular maps help in achieving realistic surface details. Accurate texture mapping can make a significant difference in the realism of the final image.
- Lighting Techniques
Lighting plays a critical role in CGI, especially when dealing with reflective surfaces like metal. Proper lighting techniques can make or break the realism of your CGI images.
- Understanding Reflections: Metal surfaces are highly reflective, and mimicking these reflections in CGI requires a deep understanding of light behavior. Use HDR (High Dynamic Range) environments to create realistic reflections.
- Three-Point Lighting: This classic lighting setup can be adapted for CGI. It involves a key light, a fill light, and a backlight. Adjust the intensity and positioning to highlight the product’s shape and texture without causing harsh reflections.
- Soft and Hard Light: Experiment with both soft and hard lighting to see which best accentuates the product’s features. Soft light can help reduce unwanted reflections, while hard light can bring out the metallic sheen.
- Rendering
Rendering is the process of generating the final image from the 3D model. High-quality rendering engines like V-Ray, Arnold, or Cycles can produce photorealistic images. Pay attention to the rendering settings, such as resolution, sampling, and lighting, to ensure the final output is crisp and detailed. Rendering can be a time-intensive process, but it’s crucial for achieving the desired level of realism.
- Post-Processing
Even after rendering, some post-processing is often necessary. Tools like Adobe Photoshop or Lightroom can be used to adjust colors, enhance details, and add final touches. Post-processing can help in correcting any discrepancies and enhancing the overall visual appeal of the image. Fine-tuning the image in post-production ensures that the final product meets the highest standards of quality.
These steps are essential for creating realistic and captivating images. Mastering them enables you to harness the full potential of CGI, producing visually stunning representations that stand out in the competitive market.
Texture Mapping in CGI Metal Product Photography

Texture mapping is a fundamental aspect of CGI that can significantly enhance the realism and visual appeal of metal product images. Continue reading to find out more!
What is Texture Mapping and What Does It Do?
Texture mapping is a fundamental technique in CGI that involves applying a 2D image, known as a texture, to the surface of a 3D model to give it more detail and realism. This process is essential for replicating the intricate surface characteristics of real-world materials, including metal. By simulating these details, texture mapping significantly enhances the visual appeal and authenticity of computer-generated images.
How Texture Mapping Works
Texture mapping begins with creating or sourcing high-resolution 2D images that represent the surface characteristics of the material. These textures are then projected onto the 3D model using UV mapping, a method that transforms the 3D surface into a 2D space. This ensures that the texture wraps around the 3D object accurately, without stretching or distortion.
The Role of Different Texture Maps
To achieve a realistic representation of metal products, multiple types of texture maps are often used in combination:
- Diffuse Map: This map defines the base color of the surface. For metal, it can include subtle color variations due to oxidation or tarnishing, giving a more natural look. For example, a diffuse map for a copper pipe might include greenish patches to simulate patina.
- Bump Map: Bump maps create the illusion of small surface details like scratches and dents. This is particularly useful for metal surfaces that often have fine imperfections. For instance, a bump map can simulate the tiny grooves on a brushed aluminum surface.
- Normal Map: These maps add more complex surface details by altering the surface normal settings, which affect how light interacts with the surface. This results in a more detailed and nuanced appearance. For example, a normal map can recreate the intricate etchings on a metal coin.
- Specular Map: This map controls the shininess and reflectivity of the surface, determining how light reflects off different parts of the object. For metal products, the specular map can highlight areas where the metal is polished versus more matte areas.
- Roughness Map: Roughness maps define how smooth or rough the surface is, affecting how it interacts with light. A low roughness value makes the metal surface appear smooth and shiny, while a high roughness value gives it a more diffuse reflection. For example, a roughness map can differentiate between the polished handle of a metal tool and its rough, worn working end.
How to Enhance Metal Products with Texture Mapping
Texture mapping brings metal products to life by adding realistic surface details that are crucial for convincing imagery.
Metal objects often show signs of use, such as scratches, dents, and wear marks. By incorporating these details into the texture maps, you can create images that feel authentic and lived-in. For example, a textured rendering of an old, well-used wrench would include subtle scratches and worn edges to reflect its history of use.
Metals are highly reflective, and accurately simulating these reflections is key to realism. Specular and roughness maps work together to mimic how light interacts with the metal surface. For instance, a stainless steel kettle would show sharp, clear reflections on its polished body but more diffuse reflections on its handle if it’s made of brushed metal.
Different metals and finishes have unique surface characteristics. Texture mapping allows for precise replication of these variations. For example, the difference between a chrome-plated metal and a galvanized metal surface can be vividly depicted through the careful use of diffuse, bump, and specular maps.
Examples of Effective Texture Mapping
- Jewelry: In CGI jewelry photography, texture maps can add intricate details like fine engravings and slight surface imperfections that catch the light in specific ways, making the pieces look more realistic and desirable.
- Automotive Parts: For car parts made of metal, texture maps can highlight differences between polished, machined surfaces and rough, cast areas, enhancing the overall realism of the model.
- Electronics: Metal surfaces on electronics, such as smartphones or laptops, can be given a premium feel through careful texture mapping that highlights brushed finishes, polished edges, and fine textural details.
Texture mapping in CGI enhances metal product photography by replicating surface characteristics such as color variations, imperfections, and reflectivity, creating visually appealing and authentic representations.
Tips for Effective Texture Mapping

Here are a few tips and tricks for the next time you want to use texture mapping in your images.
Use High-Quality Textures
Start with high-resolution textures to ensure that the surface details are crisp and clear. Low-quality textures can appear blurry or pixelated, detracting from the overall realism.
Utilize Multiple Texture Maps
For the best results, use a combination of different texture maps:
- Diffuse Map: Defines the base color of the surface.
- Bump Map: Creates the illusion of surface details like scratches and dents.
- Normal Map: Adds more complex surface details without increasing the polygon count.
- Specular Map: Controls the shininess and reflectivity of the surface.
- Roughness Map: Defines how smooth or rough the surface appears, affecting how it interacts with light.
Pay Attention to UV Mapping
UV mapping is the process of projecting a 2D texture onto a 3D model. Ensure that your UV maps are well laid out to avoid stretching or distortion of the texture. Proper UV mapping is essential for achieving accurate and realistic surface details.
Match Textures to Real-World References
Use real-world metal products as references for your textures. Study how different metals react to light, how they wear over time, and the specific patterns they exhibit. This will help you create more authentic and convincing textures.
Experiment with Procedural Textures
Procedural textures are generated algorithmically and can be adjusted dynamically. They offer flexibility and can be used to create complex, detailed surfaces without the need for extensive texture files. Tools like Substance Painter and procedural texturing nodes in software like Blender can be invaluable for this purpose.
Adjust Texture Settings
Fine-tune the texture settings in your rendering software. Adjust parameters like the scale, orientation, and texture intensity to achieve the desired effect. Even small adjustments can have a significant difference in the final appearance of the metal product.
Texture mapping enhances the realism of 3D models. Understanding and applying texture maps helps create lifelike images. Therefore, using high-quality textures and real-world references ensures compelling and true-to-life results.
Wrapping up
Using CGI for metal product photography offers immense advantages regarding creativity, cost, and flexibility. By understanding the intricacies of 3D modeling, texture mapping, lighting, rendering, and post-processing, photographers and designers can create stunning, lifelike images that captivate audiences. Try it for your projects!
FAQ
What are the main advantages of using CGI for photographing metal products?
CGI offers creative freedom, cost-effectiveness, consistency, post-production flexibility, and high detail and precision. It allows for the creation of complex environments and precise control over lighting and reflections, leading to realistic and visually appealing images.
What software is commonly used for CGI metal product photography?
Common software includes Blender, Autodesk Maya, 3ds Max, and specialized rendering engines like V-Ray, Arnold, and Cycles. These tools provide the necessary features for 3D modeling, texture mapping, lighting, and rendering.
Why is lighting important in CGI metal product photography?
Lighting is crucial because metal surfaces are highly reflective and their appearance changes significantly with different lighting conditions. Proper lighting techniques ensure realistic reflections and highlights, enhancing the overall realism of the metal product.
How can texture mapping enhance the realism of metal products in CGI?
Texture mapping adds depth and detail to metal surfaces by simulating real-world imperfections, color variations, and reflectivity. It helps create authentic-looking metal products by accurately representing their surface characteristics.
What are the key steps involved in creating CGI images of metal products?
The key steps include conceptualization and planning, 3D modeling, texture mapping, lighting, rendering, and post-processing. Each step is essential for achieving a realistic and visually appealing final image.


