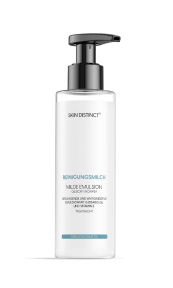
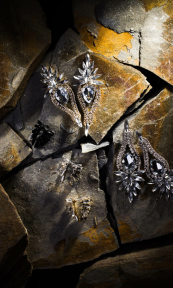
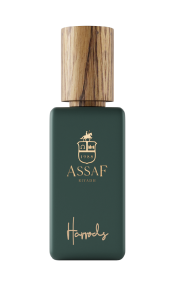
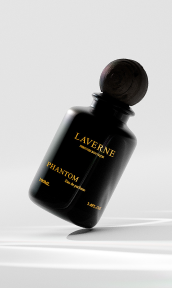
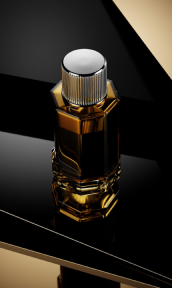
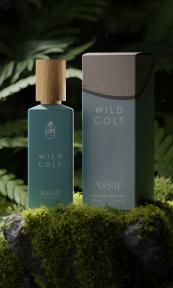
In the world of product photography, lighting can make or break the quality of your images. While professional lighting equipment can be costly, natural light offers a cost-effective, practical solution for capturing stunning product photos. DIY natural lighting not only enhances the true colors and textures of products but also provides a soft, appealing glow that can elevate your photography.
The Importance of Natural Lighting in Product Photography

Natural lighting is a fundamental element in product photography, offering a myriad of benefits that artificial lighting often struggles to replicate. Here’s a deeper dive into why natural light is so important and how it can transform your product photos.
True Colors and Textures
Natural light provides a full spectrum of light, closely mimicking how the human eye perceives color. Natural light ensures that the colors of your products are captured accurately. This is crucial for products where color precision is vital, such as clothing, cosmetics, and food.
The broad range of wavelengths in natural light highlights the fine details and textures of your products. This adds depth and realism, making materials like fabric, leather, and wood look more authentic and appealing.
Soft and Diffused Light
One of the key advantages of natural light is its ability to produce soft and diffused illumination, which is ideal for product photography. Unlike direct artificial lights, natural light tends to be softer and less harsh, minimizing unwanted shadows and blown-out highlights. This results in a more balanced and visually pleasing image.
The gradual transition from light to shadow in natural light helps to create a sense of volume and dimension in your product photos. This is particularly beneficial for capturing the 3D qualities of products.
Cost-Effective and Accessible
Natural light is not only effective but also highly accessible. Utilizing natural light can save you a significant amount of money that would otherwise be spent on professional lighting equipment. All you need is a well-lit space and a few basic tools like reflectors and diffusers.
For those new to product photography, natural light offers an easy and forgiving learning curve. You can experiment with different setups without the complexity and technical knowledge required for artificial lighting systems.
Mood and Aesthetic
Natural light can imbue your product photos with a specific mood or aesthetic that resonates with viewers. The natural warmth of sunlight, especially during golden hours, adds a cozy and inviting feel to your photos. This is ideal for products meant to evoke comfort and relaxation, such as home goods or lifestyle items.
Daylight, particularly during the mid-morning and afternoon, can create a clean, crisp aesthetic. This is perfect for modern, minimalist brands or products that emphasize purity and simplicity.
Consistency and Reliability
Understanding how to use natural light effectively can lead to consistent, high-quality results. Unlike artificial lighting, which can be manipulated and controlled to a fine degree, natural light follows predictable patterns throughout the day. This predictability allows photographers to plan shoots around optimal lighting conditions.
Different times of the year offer unique lighting opportunities. For instance, winter light tends to be cooler and crisper, while summer light is warmer and softer. Leveraging these seasonal changes can add variety and richness to your product photography portfolio.
Natural lighting is an invaluable resource for product photographers, offering true color representation, enhanced textures, soft and diffused light, and a cost-effective solution. Its ability to create a specific mood and aesthetic, coupled with its accessibility and reliability, makes it a preferred choice for capturing stunning product photos. By mastering the use of natural light, you can significantly improve the quality of your images and showcase your products in the best possible light.
Practical Tips for Using Natural Light

Harnessing natural light for product photography can elevate your images, bringing out the true colors, textures, and beauty of your products. Here are detailed, practical tips to help you make the most of natural light in your photography endeavors.
Positioning Products Near Windows
Strategically placing your products near windows is the simplest way to utilize natural light effectively.
- Choose the Right Window: North-facing windows offer consistent, soft light throughout the day, making them ideal for photography. East-facing windows provide warm morning light while west-facing windows offer warm evening light.
- Adjust the Distance: Position your product a few feet away from the window to avoid harsh direct sunlight. The further away from the window, the softer and more diffused the light will be.
- Use Sheer Curtains: If the light is too harsh, use sheer curtains or white bedsheets to diffuse the light, creating a soft and even illumination without harsh shadows.
- Angle of Placement: Experiment with different angles by placing your product at varying angles to the window. Side lighting (with the window light coming from the side of the product) can add depth and texture, while front lighting (with the window behind you, the photographer) provides even, shadow-free light.
Using Reflectors
Reflectors are essential tools that help manipulate and control natural light, ensuring that your product is well-lit from all angles.
- DIY Reflectors: Create cost-effective reflectors using everyday materials. White foam boards, aluminum foil, or even white poster boards work well to bounce light back onto your subject.
- Reflector Placement: Place the reflector opposite the light source to fill in shadows and provide balanced lighting. For example, if the window is to the left of your product, place the reflector to the right.
- Angle Adjustments: Adjust the angle of the reflector to control the intensity and direction of the reflected light. Tilting the reflector can soften or intensify the fill light, allowing for precise control over shadows.
- Multiple Reflectors: Use multiple reflectors to achieve the desired lighting effect. One reflector can fill in shadows, while another can be used to add a catchlight or highlight specific parts of the product.
Understanding the Best Times of Day
The quality and intensity of natural light change throughout the day. Knowing the best times to shoot can significantly impact your photos.
- Golden Hour: The hour after sunrise and the hour before sunset, known as the golden hour, provide warm, soft light with long shadows. This light is perfect for creating a cozy and inviting atmosphere.
- Mid-morning and Late Afternoon: These times offer bright, yet soft light that’s ideal for indoor product photography. The sun is high enough to provide ample light but not so harsh as to create unwanted shadows.
- Overcast Days: Cloudy days are a blessing for product photographers. The clouds act as a giant diffuser, providing soft, even lighting without harsh shadows, making it perfect for shooting outdoors or near windows.
- Avoid Noon: Midday light, especially in summer, can be harsh and unflattering due to the sun being directly overhead. If you must shoot at noon, use diffusers or shoot in a shaded area to soften the light.
Utilizing Natural Reflectors
In addition to artificial reflectors, you can use natural elements to enhance your lighting.
- Walls and Ceilings: White or light-colored walls and ceilings can reflect natural light onto your product, acting as large, natural reflectors. Position your product close to these surfaces to take advantage of the bounce light.
- Ground Reflectors: Light-colored floors or surfaces can bounce light upward, reducing shadows and providing even lighting. If shooting outdoors, consider placing a white sheet or board on the ground to act as a reflector.
Controlling Light with Props
Using props and additional elements can help you control and enhance natural light.
- Diffusers: Use materials like white fabric, translucent paper, or professional diffusers to soften harsh sunlight. Position these materials between the light source and your product to create a gentle, even light.
- Flags and Gobos: Use black foam boards or similar materials to block unwanted light and create defined shadows or highlights. This technique allows for more creative control over the lighting.
- Backgrounds: Light-colored backgrounds can help reflect light onto your product, while darker backgrounds can absorb light, creating contrast and depth.
Utilizing natural light for product photography is a practical and cost-effective way to achieve stunning results. By positioning your products near windows, using DIY reflectors, understanding the best times of day, and employing natural and artificial props to control light, you can enhance the quality of your photos. Experiment with these tips to find what works best for your products, and watch your photography skills soar as you harness the power of natural light.
The Convenience of CGI

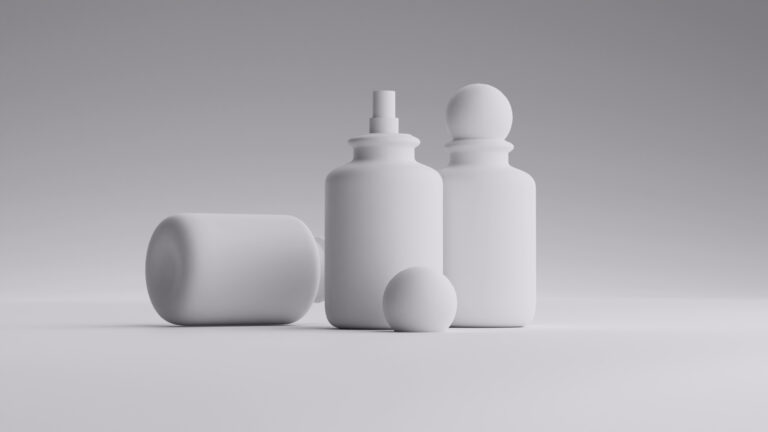
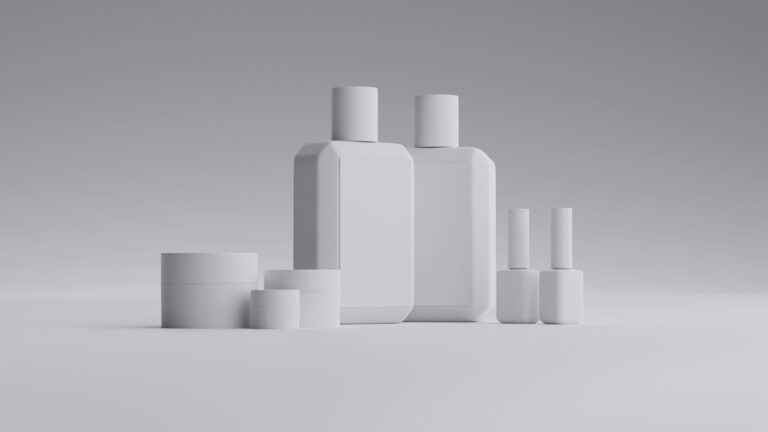
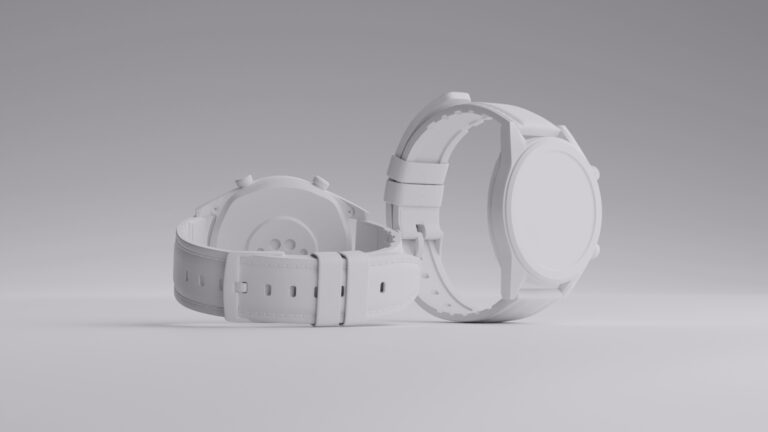
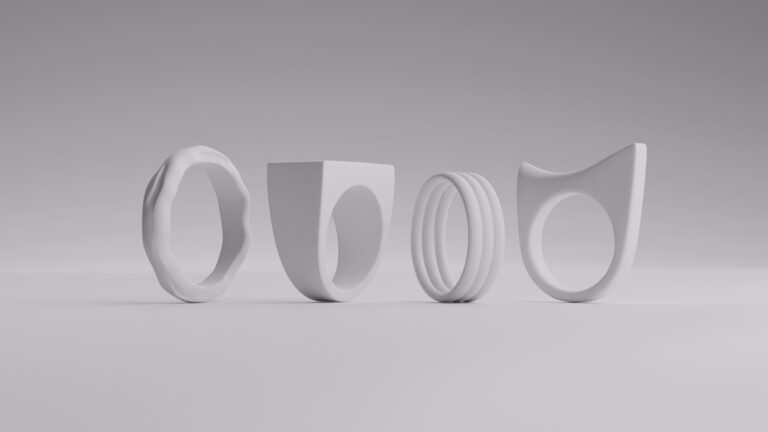
While natural lighting provides a beautiful and authentic touch to product photography, the advancement of technology has introduced an equally powerful tool: Computer-Generated Imagery (CGI). CGI offers a range of benefits that can streamline the photography process, reduce costs, and provide unmatched flexibility and control. Here, we delve into the convenience and advantages of using CGI for product photography.
Speed and Efficiency
CGI can significantly accelerate the product photography process, allowing for quicker turnaround times.
- Instant Adjustments: CGI allows photographers to make immediate adjustments to lighting, shadows, and reflections without having to physically move or modify a setup. This saves time and effort, especially when working with complex lighting scenarios.
- Batch Processing: Multiple product images can be rendered simultaneously, enabling high-volume shoots without the need for repeated manual setup and breakdown.
- No Wait Time: Unlike natural lighting, which depends on the time of day and weather conditions, CGI provides consistent lighting conditions at any time, eliminating delays due to unfavorable lighting.
Cost-Effectiveness
Over time, CGI can be a more cost-effective solution compared to traditional photography methods.
- Elimination of Equipment Costs: CGI eliminates the need for expensive photography equipment, such as cameras, lenses, lights, and diffusers. This can be particularly beneficial for startups and small businesses with limited budgets.
- Reduced Overheads: With CGI, there’s no need for physical studio space, props, or background materials. This reduction in overhead costs makes it an attractive option for businesses looking to optimize their budget.
- Minimalist Workflow: CGI simplifies the workflow by reducing the need for physical handling of products, set construction, and maintenance of equipment, leading to lower operational costs.
Flexibility and Control
CGI offers unparalleled flexibility and control over every aspect of product photography.
- Perfect Lighting: CGI allows for the creation of perfect lighting scenarios that can be adjusted and fine-tuned with precision. Photographers can experiment with different lighting setups, angles, and intensities to achieve the desired effect.
- Consistency Across Shots: CGI ensures consistent lighting and settings across multiple shots, which is crucial for product catalogs and marketing materials. This consistency enhances brand image and professionalism.
- Customizable Environments: With CGI, photographers can create custom environments and backgrounds tailored to the product’s aesthetic. Whether it’s a sleek, minimalist look or an elaborate, themed setup, CGI makes it possible without physical constraints.
- Weather Independence: CGI is not affected by weather conditions, time of day, or seasonal changes. This guarantees a controlled environment, ensuring that the final images meet the desired quality standards regardless of external factors.
Creative Freedom
CGI opens up a world of creative possibilities that are difficult or impossible to achieve with traditional photography.
- Impossible Shots: It enables the creation of complex and imaginative scenes that would be impractical or impossible to set up physically. This includes floating products, intricate backgrounds, and dynamic lighting effects.
- Post-Production Flexibility: Changes can be made easily during post-production without the need for reshoots. Adjustments to colors, textures, and lighting can be done seamlessly, ensuring the final image matches the vision perfectly.
- Versatility in Usage: Computer-generated images can be easily repurposed for various platforms and marketing materials, including websites, social media, print catalogs, and advertisements. Its versatility makes it a valuable asset for comprehensive marketing strategies.
Scalability
For businesses with a large number of products, CGI offers scalable solutions that traditional photography cannot match.
- Catalog Consistency: Large product catalogs can maintain a consistent look and feel across all images, enhancing the overall aesthetic and professionalism of the brand.
- Rapid Updates: New products or updates to existing products can be quickly incorporated into CGI scenes, ensuring that marketing materials are always up-to-date without the need for extensive reshoots.
- Global Accessibility: CGI services can be accessed and utilized from anywhere in the world, enabling global teams to collaborate and produce high-quality images regardless of location.
Computer-generated images present a range of advantages that can greatly benefit businesses looking to streamline their workflow, reduce costs, and achieve high-quality, consistent results. Its speed, cost-effectiveness, flexibility, and creative potential make it an invaluable tool in the modern digital age. By embracing it, you can elevate your product photography, ensuring your images stand out in an increasingly competitive market.
Wrapping up
Natural lighting is a powerful, budget-friendly tool for product photography. By positioning products near windows, using DIY reflectors, and understanding the best times of day to shoot, you can significantly enhance the quality of your images. Embrace the soft, authentic glow of natural light to bring out the true colors and textures of your products. And for those looking for even faster, more convenient options, CGI offers an excellent alternative. With these tips, you’ll be well on your way to capturing stunning product photos that stand out.
FAQ
What are the main benefits of using natural lighting for product photography?
Natural lighting offers accurate color representation, enhanced textures, and soft and diffused light, and is cost-effective and beginner-friendly, making it ideal for capturing authentic and appealing product images.
How can I effectively use natural light for my product photography?
Position products near a north-facing window, use sheer curtains to diffuse light, employ DIY reflectors to fill in shadows and shoot during golden hour or mid-morning for optimal lighting conditions.
What are the advantages of using CGI over traditional photography methods?
CGI provides perfect lighting, consistent settings, cost-effectiveness, creative freedom, and scalability, allowing for rapid updates and high-quality, versatile product images without the need for expensive equipment.


